Showing posts with label Tangarine Dream. Show all posts

Tuesday, 11 September 2018

Highlight by Kristy Abela

This one was actually my first Project using the products from Colour Blast. I received my kit from Tenisha and dived straight into using the Colour Artist Inks... I put it into "Save for later" as that month Ros and Michelle also did amazing layouts using the same colours. First world problems.. I know right!!


My turn now to showcase my sunset.. I snapped this pic on my phone when I got out of my car from my driveway last summer and I love it. It truly shows what the sunsets in Western Sydney are like.. Hotter than hell in summer and spectacular reward at the end of the day!
Have a look at some close ups and I will run through how I achieved the effect at the end. 


I started by pooling Colour Artist Inks onto my page. I started with the lightest colours first, BarleyCider and Rust. Then building up to Sunburnt and Bordeaux. I didn't prime my page. I used a semi gloss cardstock so it wasn't particularly porous as I found that the colours were more vibrant without gesso. I did this in several layers drying some areas with a heat tool to seal in the colours and left other areas wet too add more colour to blend. 


 Once dry I used Colour Artist Ink in Soot to splatter my page. 


I wasn't really satisfied with the soot on its own - too dark as I was hoping to use black embellishments to replicate the silhouette in the photo. I added some Colour Mica Powder in Olive to Gel Medium and watered it down just a touch to add some golden splatters to the background also.


 To finish off the background I added some Colour Paste in Tangerine and used a marbled stamp to add some definition to the background. I had a contrast of shimmery oranges and golds with some flat blacks.. 


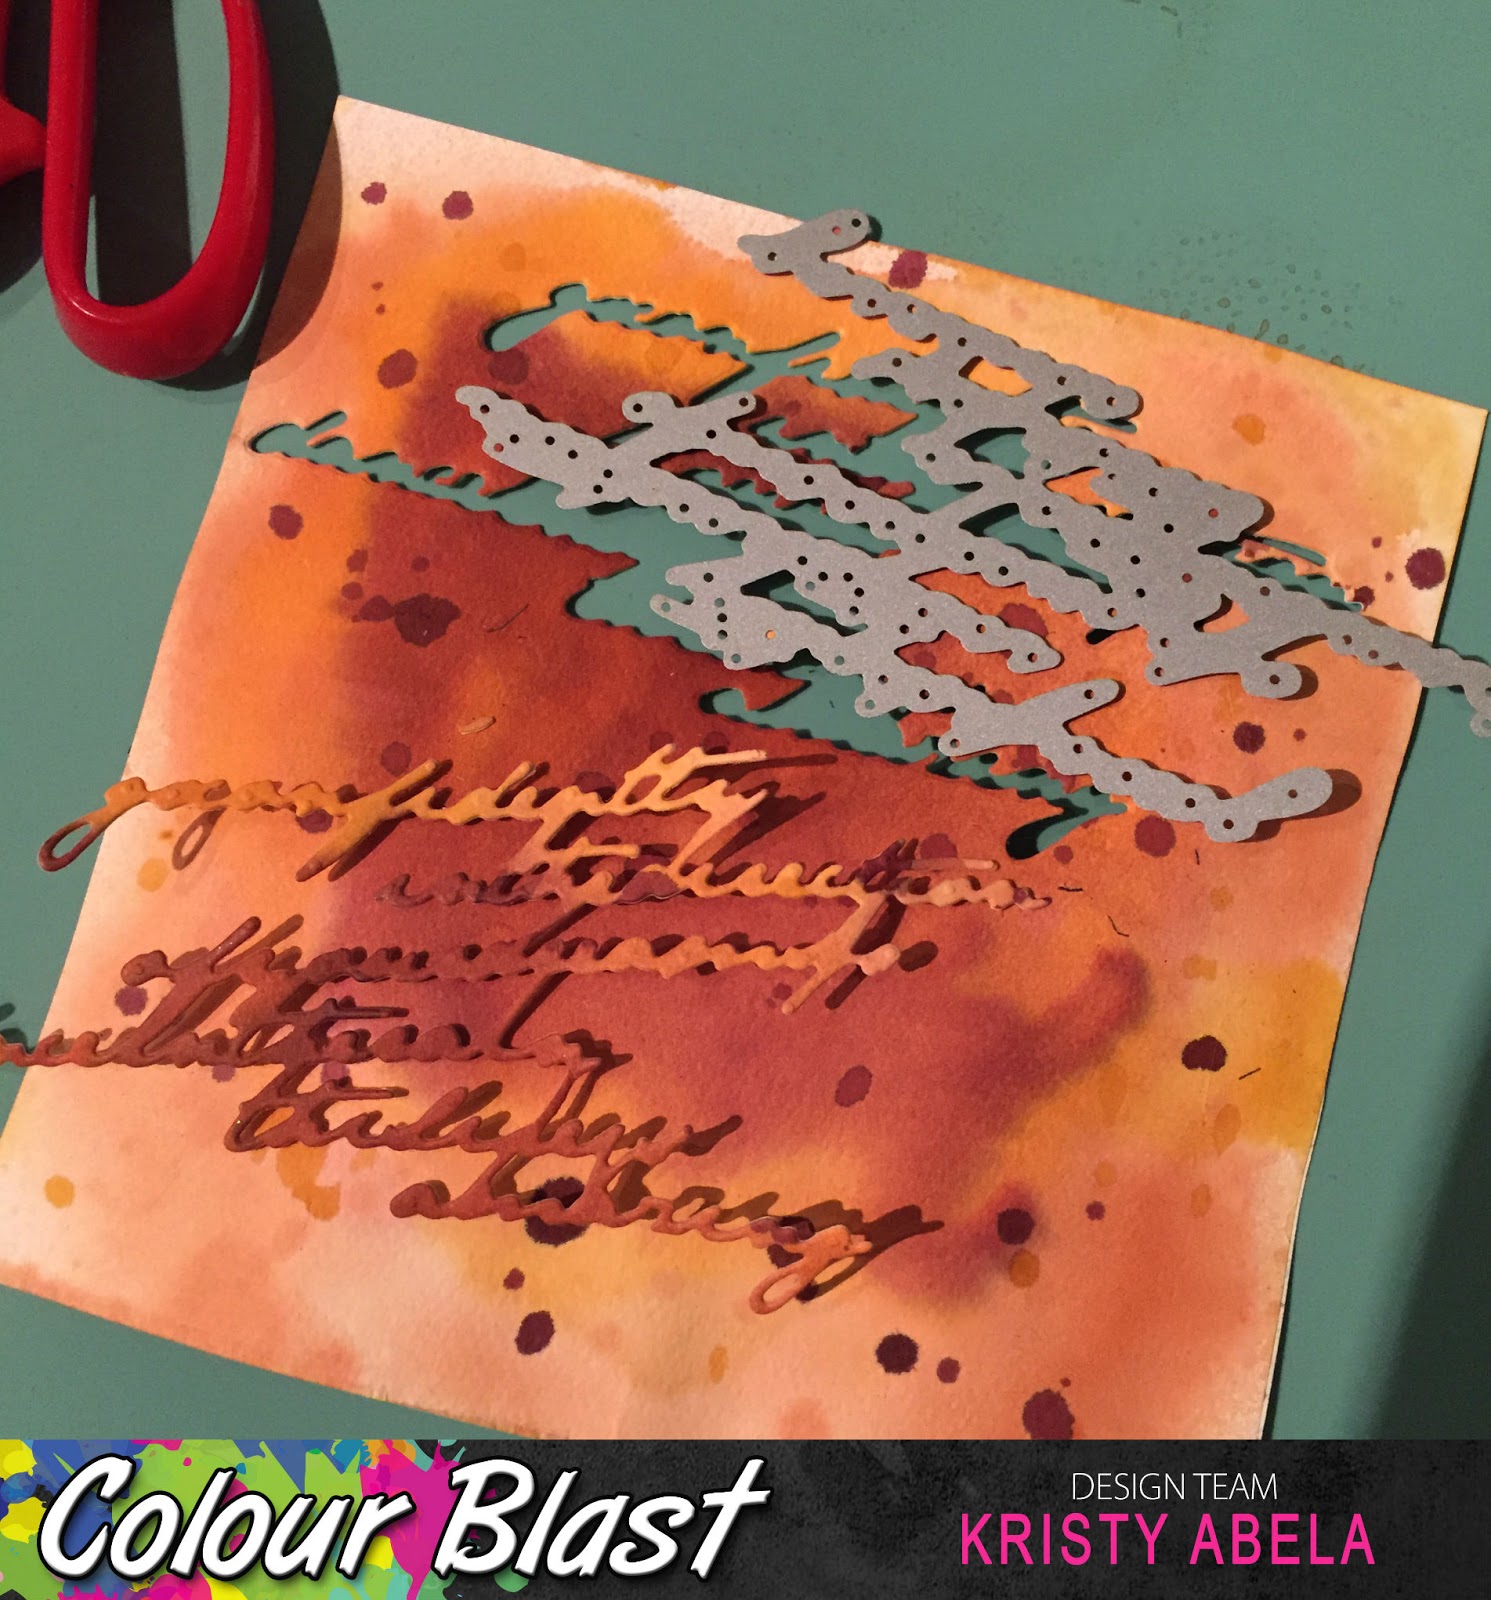
 To finish off my page I created my own embellishment by colouring some watercolour paper with the same Colour Artist Inks I used for the background. 

I used the same techniques to create the clocks. I stamped the image onto cardstock I had coloured and fussy cut. 

 I used Colour Blast Heavy Gesso Black to colour some chipboard and the Colour Mica Powder in Olive to add sparkle. I love this colour when used on black as the shimmer pigment becomes the colour base.  


Lastly I also Colour Blast Black Heavy Gesso to prime my title and applied Colour Embossing powder in Sunshine.. Love the way the Embossing powder is golden on black gesso.


Hope you got some inspiration from here today!
Thanks for looking

Abela Artistry

Saturday, 14 January 2017

Frame within a Frame by Danielle Vertigan

I wanted to create a frame within a frame.
Something that could be displayed with a focus on the colour
and texture,
I liked the idea of keeping it unstructured and bringing the background
of my photo to the foreground.


The Heavy Gesso is exactly that!!!
Heavy and Thick!
Its coverage is amazing.
I adhered my chipboard frame to my cardstock and painted a 
layer of gesso on using the paintbrush.


Once dried using Stazon I added a layer with the textured script stamp, keeping it to the frame and some random points around the edges.


Using a Gel Medium I applied it liberally to my frame as a glue.
This held my tissue paper to the layout. 
Being sure to press it in firmly and encourage the wrinkles.


You can see how the tissue adds more texture.
I've also kept it central to the layout so my edges are clear.
Now comes the fun of adding colour with Colour Shimmer Dust.
I've chosen to work with
For this next step you will also need a Water Spray, Paint Brush and Spatula.


First using the water spray. 
Liberally Spray your chosen start point.
You will want to see the water pool (the gel medium creates a seal)
Using the spatula sprinkle a small amount of powder onto the wet area.


I love how Lush changes colour.
I've pushed the colour in using a paint brush. This also helps spread the colour.


Continue to spray water allowing you to move the colour as you please by 
tilting and tapping the page.


I continued this same technique around my frame blending the colours.
I sprinkle Sunflower into a few areas and spritzed with water to finish.

\

Now to get creative with Colour Paste.
From the pictures below you can see the colours added randomly and sparingly.
Its up to you how much you build them up.


Once all the colours are added and dried.
I rubbed the bling over the frame.
This was to help accentuate the frame so it Isn't lost in the  colour.


Using a black gel pen outline sections of the frame.
This will help add detail.
I also used it to frame my page.
A white gel pen was used to create a fine line around the photo edge.
The pics below will help you see more detail and colour.


The finished result is something I'm really happy with.


Thanks for stopping by......
Enjoy the sun and share a little summer flair
Danielle


Saturday, 18 June 2016

Hello Sunshine by Danielle Vertigan

I was inspired by the idea of using different
implements in my application of the Colour Paste.
Choosing a selection of colours I began using the following techniques in layers
Smears with a palette knife
 
Once dried I layered my circles again using finger painting.
Next I found an old card and dipped the edges pressing them onto the page.
Using this technique I created crossed lines and went with wait was visually pleasing whilst maintaining balance.
With the lid from my spritzer I again used the same idea as the card creating layered circles.

The final circle dots where scattered on using the end of a pen.
My wood was stamped with midnight black and using the Stormy Weather embossing powder set with my heat tool.

Using freehand with a skewer I created highlights using the Snow White Paste

The results is quite striking when mixed with the black and white photo.
Its your turn to look around the house and see what you can use as an applicator?

Enjoy the Fun......


Sunday, 15 May 2016

You are Beautiful - Layout by Elisa Ablett

Hi Crafty friends, 

Happy Sunday!! Its my turn up on the blog today with a more feminine layout, I thought i'd show you a technique where you can use Colour Blast Pastes and Shimmer Sprays with all those Cutting Dies that I'm sure most of you have in your stash. If you don't have cutting dies I have used this technique with punches as well.


 Click here to visit the Colour Blast Australia Shop to view all the amazing Colour Blast Pastes and Shimmer Sprays


In this Layout I used - Bling Paste and Spray, Just Blue Paste and Spray, Tangareen Dream Paste and Spray and Deep Water Paste and Spray.


First Step - To make your own patterned paper, grab a large piece of thick smooth cardboard (I used a piece from the side of a pizza box) load your chosen Colour Blast Pastes in a line using a paint brush then scrape down a sheet of 12x12 white smooth cardstock until the whole page is covered as per the photo below.


Step 2 - Grab your chosen stencil, I used a grid stencil and spray lightly with Tangareen Dream Spray, also using a paint brush drop some splatters on the page. Also Spray and splatter Just Blue Shimmer Spray onto the page as per the below photo.


Step 3 - Using Just Blue Colour Blast Paste spread with a palette knife over a word or script stencil and add some Deep Water Shimmer Spray using a paint brush and water spray bottle creating drips and splatters.


Step 4 - Spread Tangareen Dream and Bling Pastes using a palette knife or a bit more cardboard over old music sheet paper, you could also use old book paper.


Step 5 - While you are waiting for your layout and background paper to dry, emboss your chosen chipboard (I used messy circles and flourish chipboard pieces) with Just Blue embossing powder, I leave it at one coat as i wanted a more rougher finish so I could add some Deep Water and Bling Shimmer Spray with a paint brush over the top. As per the photo below... you will notice I added a close up of the finished flourish piece in the corner. You can really see the splatters of the Shimmer Spray.


Step 6 - You can see in the above photo that I chose a few of my Cutting Dies, one a floral one with leaf spray, one to cut my title out, there is also a small flourish die as well.... Cut out multiple flowers and leaves out of the music paper and your handmade background paper.


Step 7 - Cut a small piece of coloured hessian which I scored from the bargain bin at Spotlight, I teased the edges to fray them, I also grabbed a few threads and glued them down in a looped pattern as you can see from the below photo.


Final Step - I added a piece of orange paper as a backing to my layout, this is optional ...Glue everything down, tease the edges up on the flowers and Spray Bling Colour Blast Shimmer Spray all over the flowers and around the photo (cover your photo first) to add a little more Shimmer and shine!!

Some close ups below!


Well that's it for me today, I hope that you have enjoyed the tutorial and that I have inspired you to drag out some of those Cutting Dies. You could also use the dragging the Paste across your page technique with Embossing folders as well or punches...

Thank you for joining me today, make sure you leave some love....

Elisa xx