Showing posts with label Olive. Show all posts

Tuesday, 11 September 2018

Highlight by Kristy Abela

This one was actually my first Project using the products from Colour Blast. I received my kit from Tenisha and dived straight into using the Colour Artist Inks... I put it into "Save for later" as that month Ros and Michelle also did amazing layouts using the same colours. First world problems.. I know right!!


My turn now to showcase my sunset.. I snapped this pic on my phone when I got out of my car from my driveway last summer and I love it. It truly shows what the sunsets in Western Sydney are like.. Hotter than hell in summer and spectacular reward at the end of the day!
Have a look at some close ups and I will run through how I achieved the effect at the end. 


I started by pooling Colour Artist Inks onto my page. I started with the lightest colours first, BarleyCider and Rust. Then building up to Sunburnt and Bordeaux. I didn't prime my page. I used a semi gloss cardstock so it wasn't particularly porous as I found that the colours were more vibrant without gesso. I did this in several layers drying some areas with a heat tool to seal in the colours and left other areas wet too add more colour to blend. 


 Once dry I used Colour Artist Ink in Soot to splatter my page. 


I wasn't really satisfied with the soot on its own - too dark as I was hoping to use black embellishments to replicate the silhouette in the photo. I added some Colour Mica Powder in Olive to Gel Medium and watered it down just a touch to add some golden splatters to the background also.


 To finish off the background I added some Colour Paste in Tangerine and used a marbled stamp to add some definition to the background. I had a contrast of shimmery oranges and golds with some flat blacks.. 


 To finish off my page I created my own embellishment by colouring some watercolour paper with the same Colour Artist Inks I used for the background. 

I used the same techniques to create the clocks. I stamped the image onto cardstock I had coloured and fussy cut. 

 I used Colour Blast Heavy Gesso Black to colour some chipboard and the Colour Mica Powder in Olive to add sparkle. I love this colour when used on black as the shimmer pigment becomes the colour base.  


Lastly I also Colour Blast Black Heavy Gesso to prime my title and applied Colour Embossing powder in Sunshine.. Love the way the Embossing powder is golden on black gesso.


Hope you got some inspiration from here today!
Thanks for looking

Abela Artistry

Tuesday, 14 August 2018

'Broken Bones' by Kristy Abela

 Helloooo...Wow first post for Colour Blast today!! I envy the work of so many that have worked on the team and am super flattered to be able to add my name to those ranks. 

I have been scrapping for so long now that I have actually run out of pictures... Yep you know that you have problems when you have no back log of projects... So with the freedom I have now I get to really play with my products. This page is a tribute to my favourite song.. As well as a showcase my fave products...
Yep all Colour Blast.


 I am an earthy girl at heart and the Colour Artist Inks are so versatile for various colour pallets. I started with my go to products.. Wood grain and Script. I put my Heavy White Gesso to work.. to seal the page, as an adhesive, as a top coat and a highlight with my fingers to rub it into the edges of the paper to blend in the edges. 


 I wanted to create some hand made leaf embellishments for my page.  I coloured some watercolour cardstock in two layers. My first layer I dripped some Colour Artist ink in Cider, Rust and Walnut. I added some water and spread it with my brush to fill the page. I sprinkled some Olive Colour Mica Powder across the page for sparkle. 
 Once dried I added a second layer of Colour Artist Ink in Grass and Soot... Ok, maybe a little bit more Olive Colour Mica Powder too..
 I covered the whole sheet in a layer of crackle paste..
 Boom!! 

 I used Ranger as I have found that it is the best when drying with a heat tool. Often the instructions are to leave it overnight.. Too impatient for that! 
 I ran it through the die cutter... It was thicker in some parts and I ended up trimming through the thicker bits with scissors. It was worth it. Check out the texture and shimmer in those leaves. They remind me of Eucalyptus..

Now for the background... I used a Kaisercraft stamp (Marble) to create some variation in the background. I added some drops of Colour Artist Ink Soot to the page and with my wet wipe I began to age the background. I repeated the process with Colour Artist Ink Walnut.

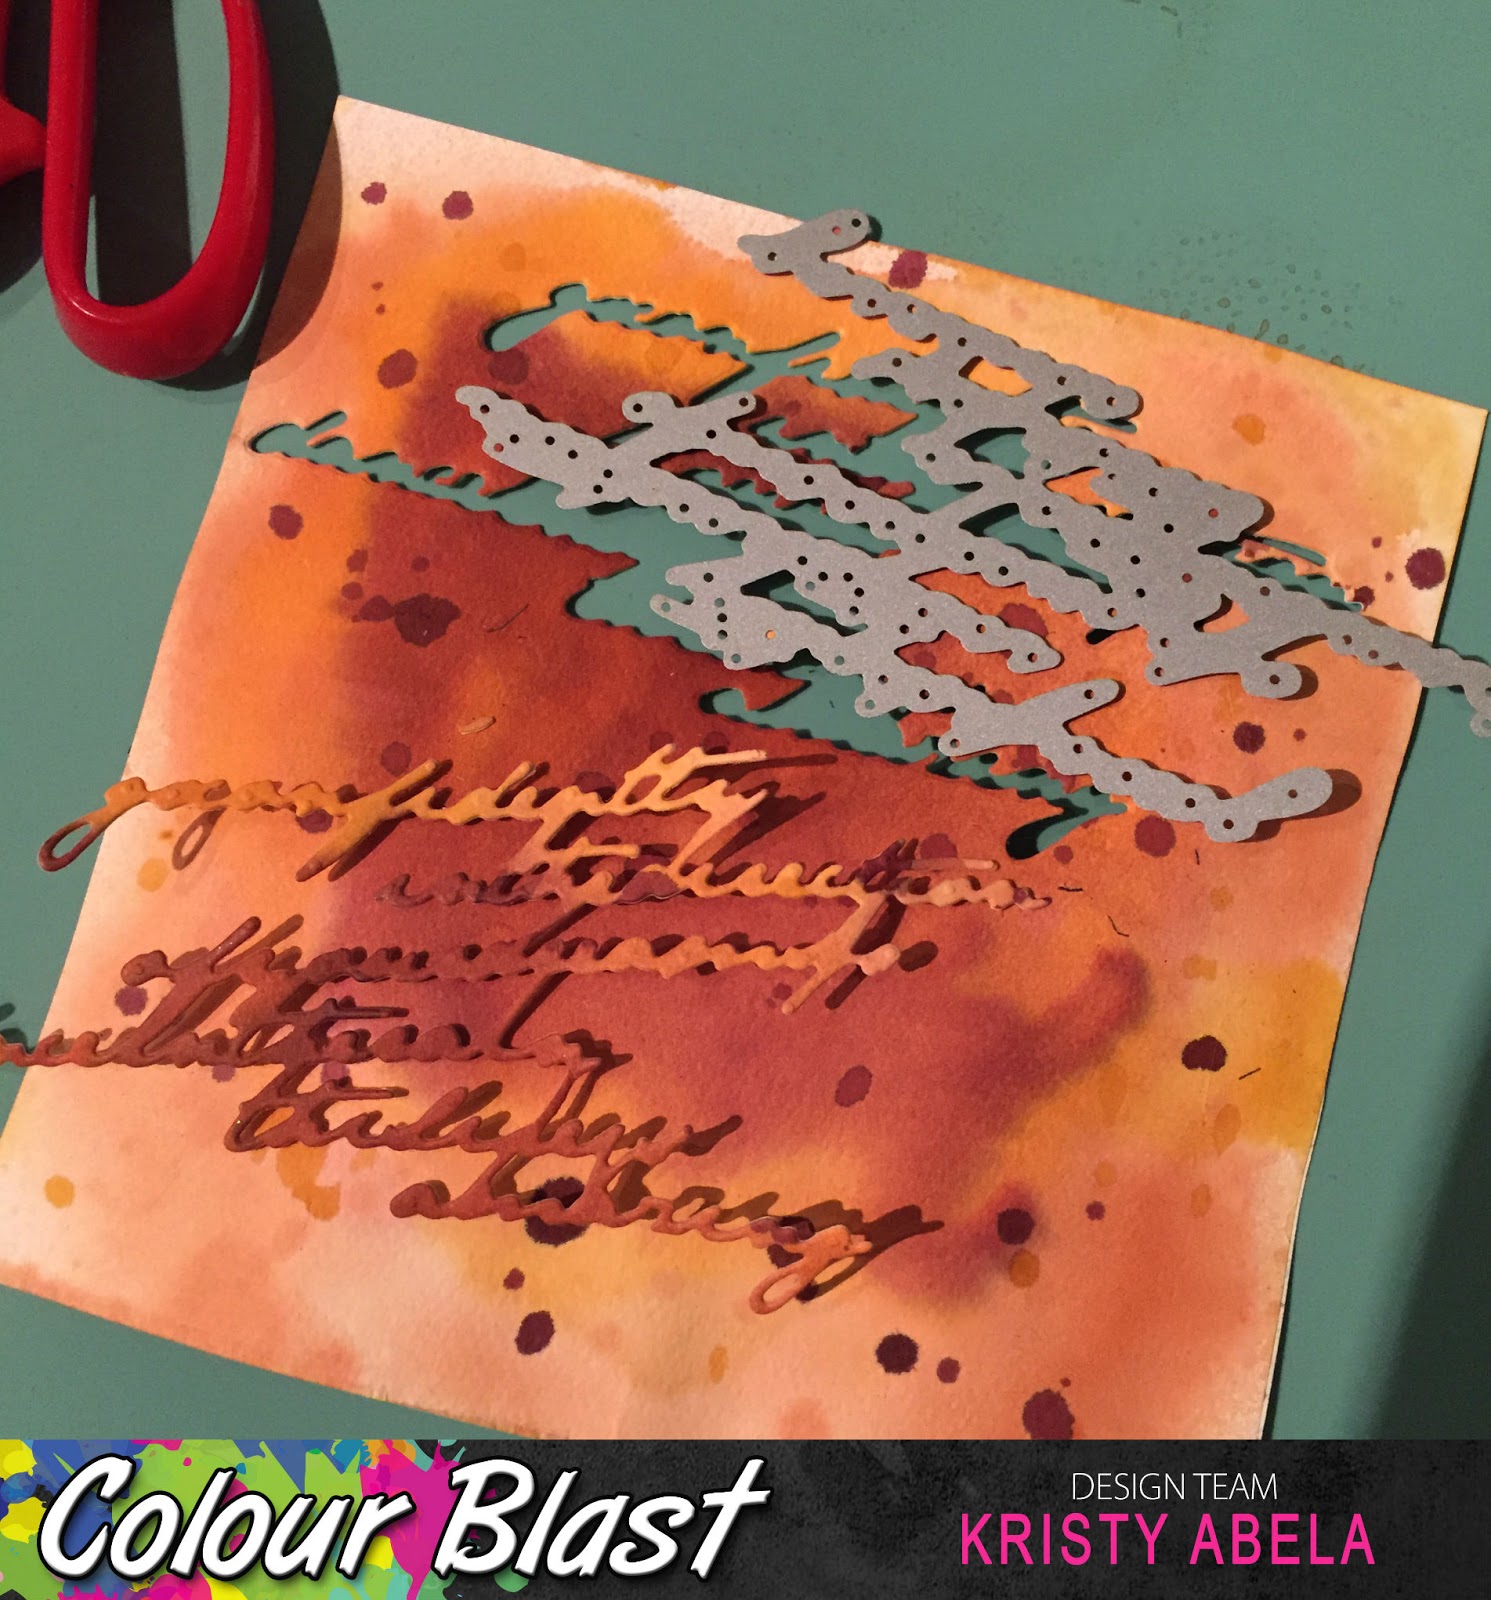
   I collected my Embellishments together to cluster. I coloured a plain non-textured piece of cardstock with Colour Artist Inks WalnutCider and Rust to run through the Cuttlebug to create the script. 

After this I dry brushed some Heavy White Gesso back over the page to bring out the texture that the paper piecing created to really give the effect of a weathered wall.
  My favourite part of this whole layout was playing with Michelle Grants' new stencil Large Owl. The wide lines have given me so much yummy texture. I used some home made modeling paste that I made up with my Heavy White Gesso and added some Colour Artist Ink Soot to make a charcoal colour. I rubbed a little bit of crayon onto the leaves... but wait there's more!! 


Can you see the shimmer? I used my Clear Shimmer Brush Marker and was SO impressed with the effect. I later did a comparison with "other" brands who offer similar products. Hands down Colour Blast have nailed this product!

Thanks for checking out my page! 

Looking forward to seeing you again soon!