Good morning how are you? Rikki here with another layout using the stunning Bee the Sunshine collection and I just love it, its one of those collections that makes creating with it so effortless.
And what is better than that?
What is your favourite, effortless collection?
You can even follow along with a process video and a step by step below to make a little shaker jar.

Dont forget to follow along with the process video.

To start the background off, use a combination of Tim Holtz Oxide - Saltwater Taffy, Wild Honey and Fossilized Amber, through the Bee Arty Lace Stencil.
Blend out the stencil with the same colours.
Add some details with the Geo Grunge stamp, dont mount the stamp on a block, this will allow it to roll and give you a random effect.
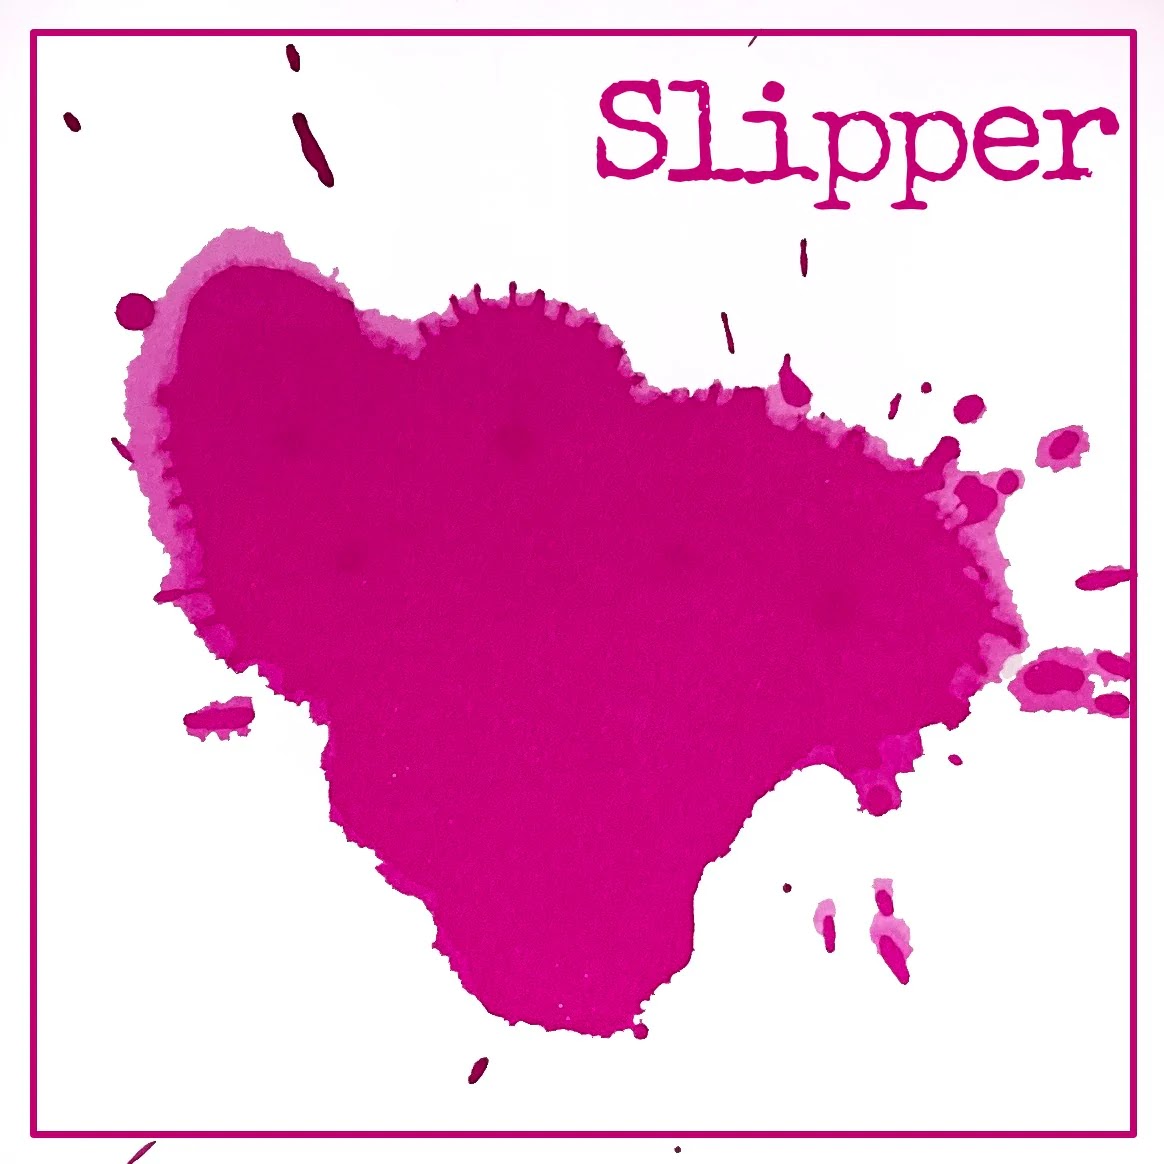
Now its about adding some water and move it around the background a bit, while its still wet add a couple of drops of the Colour Artist Dye Ink - Slipper.
Move that around and when your happy with where it has travelled, add the next colour Citrus.
The more you move it round the more you will end up with a third colour - a custom orange.

Now to make the shaker jar. Cut the center out of the jar from the Summer Days Black and white sheet. Leave yourself enough of an edge to add foam tape and keep it hidden.
Add with glue some transparency and trim to fit the shape of the jar.

So before you rip off the backing tape from the foam mount add your mix on top of the transparency sheet, even add a little fussy cut bee into it.
The mix below is a combination of different size glitters, micro beads and small art stones.
The combinations are endless.

Peel the backing off the foam tape and stick to a piece of pattern paper to seal all the glitter in the jar.


Colour Artist Dye Ink

Geo Grunge - Clear Stamp Set

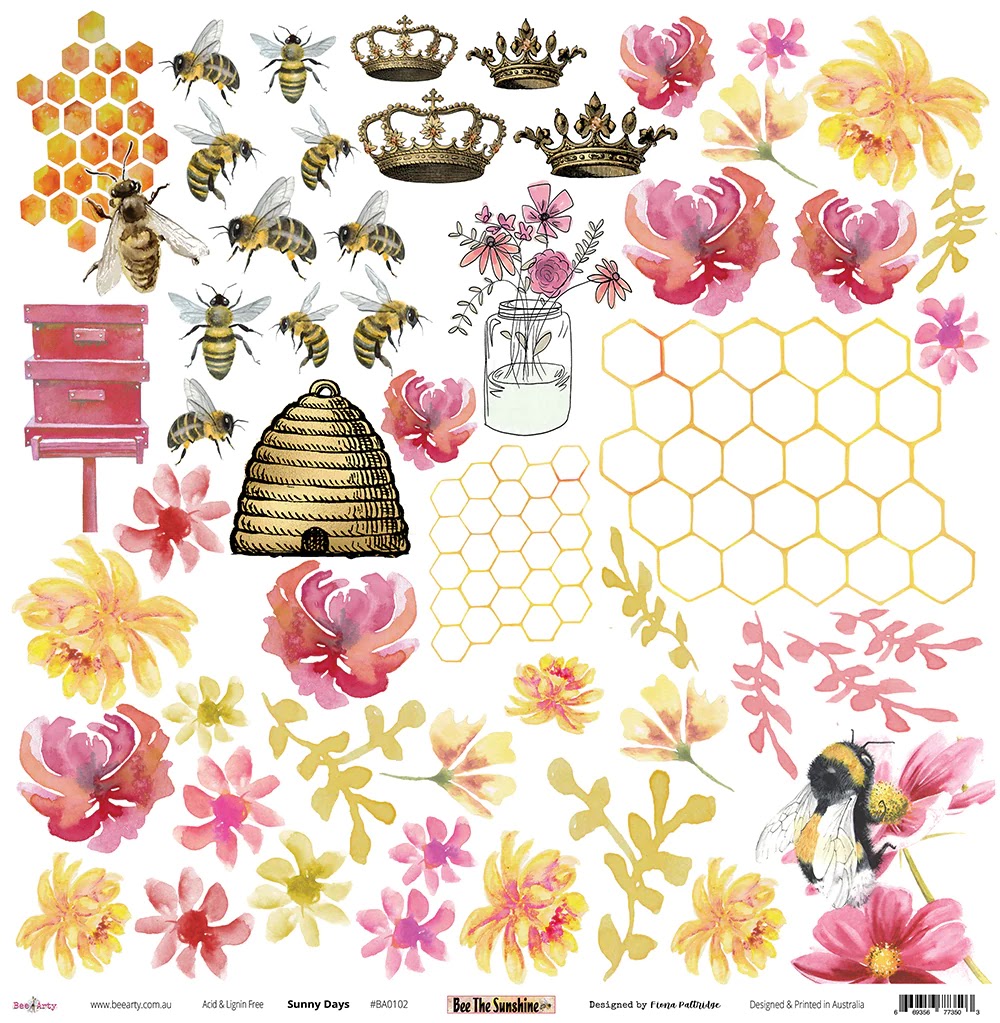

Bee The Sunshine - Paper Collection Pack


