Good morning how are you? Rikki here today to share with you part two of how to break down Moodboards and Sketches.
Now if you're a bit like me find Moodboards harder to work with than sketches.... its the colour combinations that sometimes I struggle to find the balance with. How much of what colour? Do I have to use all the colours? What Ratio should I do?
Good morning how are you? Rikki here with another layout using the stunning Bee the Sunshine collection and I just love it, its one of those collections that makes creating with it so effortless.
And what is better than that?
What is your favourite, effortless collection?
You can even follow along with a process video and a step by step below to make a little shaker jar.
Dont forget to follow along with the process video.
To start the background off, use a combination of Tim Holtz Oxide - Saltwater Taffy, Wild Honey and Fossilized Amber, through the Bee Arty Lace Stencil.
Blend out the stencil with the same colours.
Add some details with the Geo Grunge stamp, dont mount the stamp on a block, this will allow it to roll and give you a random effect.
Now its about adding some water and move it around the background a bit, while its still wet add a couple of drops of the Colour Artist Dye Ink - Slipper.
Move that around and when your happy with where it has travelled, add the next colour Citrus.
The more you move it round the more you will end up with a third colour - a custom orange.
Now to make the shaker jar. Cut the center out of the jar from the Summer Days Black and white sheet. Leave yourself enough of an edge to add foam tape and keep it hidden.
Add with glue some transparency and trim to fit the shape of the jar.
So before you rip off the backing tape from the foam mount add your mix on top of the transparency sheet, even add a little fussy cut bee into it.
The mix below is a combination of different size glitters, micro beads and small art stones.
The combinations are endless.
Peel the backing off the foam tape and stick to a piece of pattern paper to seal all the glitter in the jar.
Good evening how are you all? Rikki here on this fine Sunday to share with you my latest creation for Bee Arty and this is for this months current challenge either a moodboard or the sketch or like myself... why not combine the two?
Heres my take in the challenge, you still have plenty time to enter and win !!!
Want to see how it was created? Follow along with a process video.
To start off use a stencil like the Honeycomb Spray Stencil.... to build up the colour in the background I used Tim Holtz Oxide - Pickled Raspberry, Spiced Marmalade, Squeezed Lemonade, Kitsch Flamingo.
Stamp Find Your Way to the left hand side of the page with an archival ink.
Follow this up with stamping the right hand side with the Geo Grunge - the one with the Bee, set this aside for layer on.
Now its all about adding your pattern paper layers and to soften you can add some vellum as your last layer.
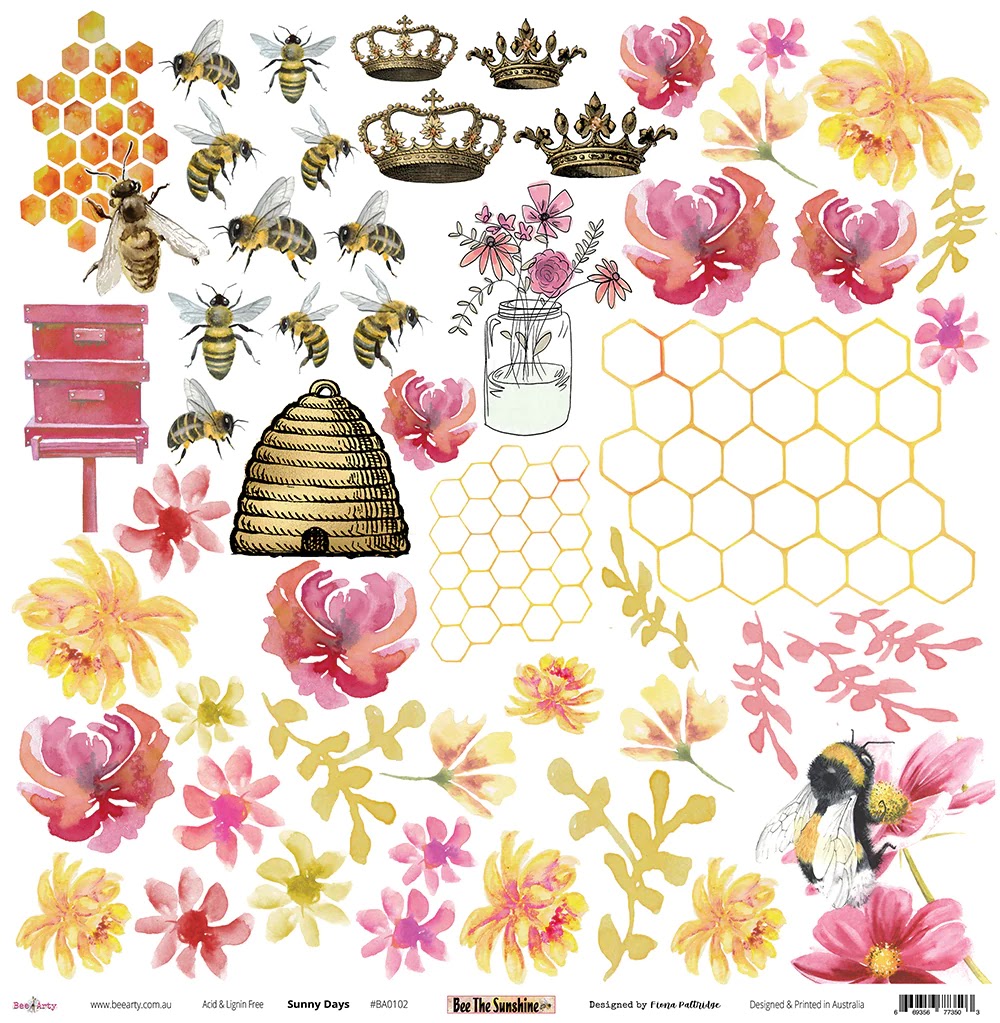
Add some fussy cut elements from Sunny Days 12x12 Paper.
Add photos and title.
Now with the Geo Grunge Stamp - stamp though out the background randomly, if you keep your stamp unmounting it will help with the random effect.
Now its time to get messy with Colour Artist Dye - Slipper, Citrus, and Spiced.
Flick over the background and dilute in places with water.
Dont forget to cover your photo.
To finish off use Shimmer Spray - Bling with a brush flick and let it run like honey.....
So why dont you join us in this challenge, just follow the link:
Good morning, how are you? Well if you from Australia no doubt the Easter Bunny has been and gone and left you some chocolatey goodness and hopefully your spending sometime with your nearest and dearest.
Thats the plan today for my fam bam, just chilling and spending the day relaxing maybe a little bit of fussy cutting thrown in there for good measure......
Today I have a layout using the stunning Moon Shadows Collection, and as a added bonus I have a little process video so you can follow along.
You can follow along with a process video:
The Pretty Posy stamp is back in use again, stamped on 200gsm cardstock with archival ink.
This will allow you to flood your work and not have any ink bleed out.
Once your flowers are dry, you can sculpted them into 3d flowers, curl them in your fingers, fold the petals and add some foam tape in the center and add a small one on the top. To give the center some more definition use the bottom side of a paint brush and give it a push, it will allow the petals to curl inwards more.
Now repeat the flooding effect with the Aussie leaves Die.
*** Handy tip: pre cut a heap of leaves in white and pop them into a bag that way your more likely to use them in your layouts more regularly, rather than pulling out your die cut machine every time you create.
Add silk flowers in with your paper flower clusters.
By flicking glue you will get a more splattered effect with your glitter, as you tap the excess off it will catch in other areas.