Today’s project is an A4 art journal page using a selection of papers, stamps and metal dies from the Embrace Change collection designed by Fiona Paltridge. As always this project could easily be altered to create a beautiful scrapbooking layout.
Embrace Change
Collection designed
by Fiona Paltridge
Perfect petals clear stamp set
Poetry 12x12 scrapbooking paper word sheet
White
Cardstock – 250gsm
Colourblast Shimmer dust – Lollipop, velvet, Lush, Fern, Tan
Versamark Stamp pad translucent
Colourblast Embossing powder – Stormy Weather
Web Metal Die designed by Tanya Froud
Black Archival Ink
Heat Tool
White Paint Pen

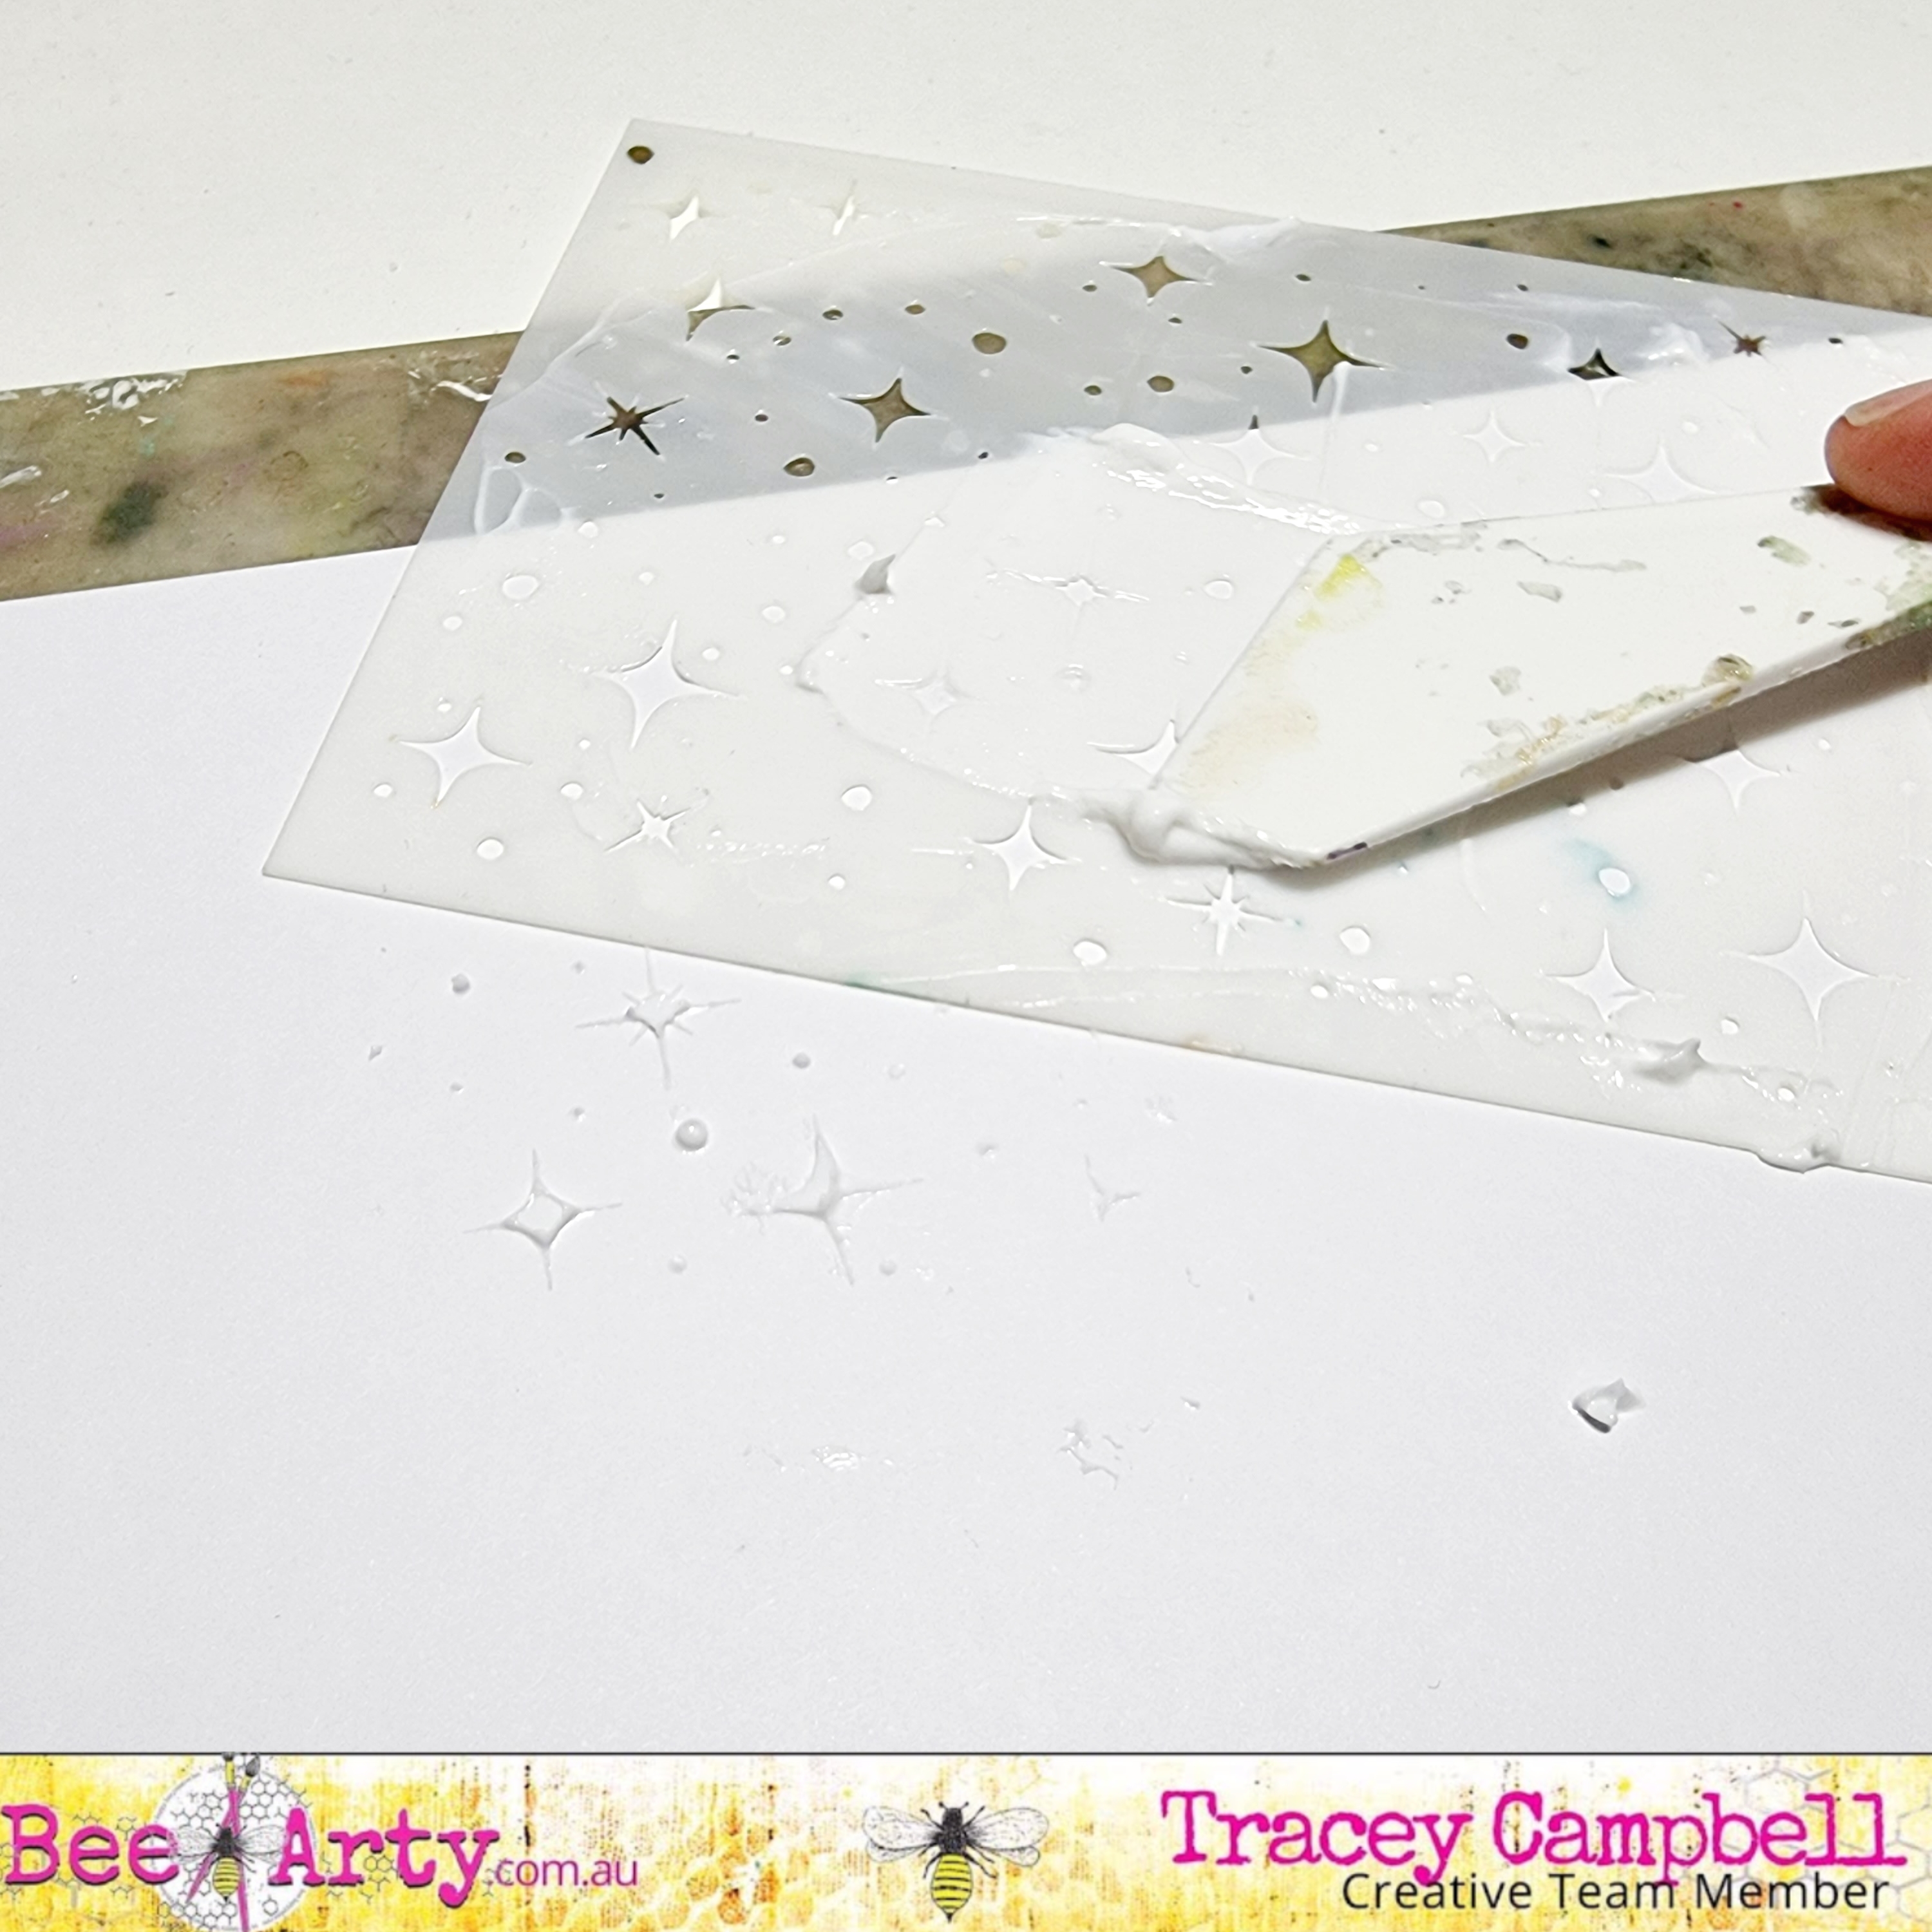
On
a sheet of White
Cardstock – 250gsm stamp the flowers with
versamark, sprinkle over with Colourblast
Embossing powder – Stormy Weather and heat seat the powder to cure.

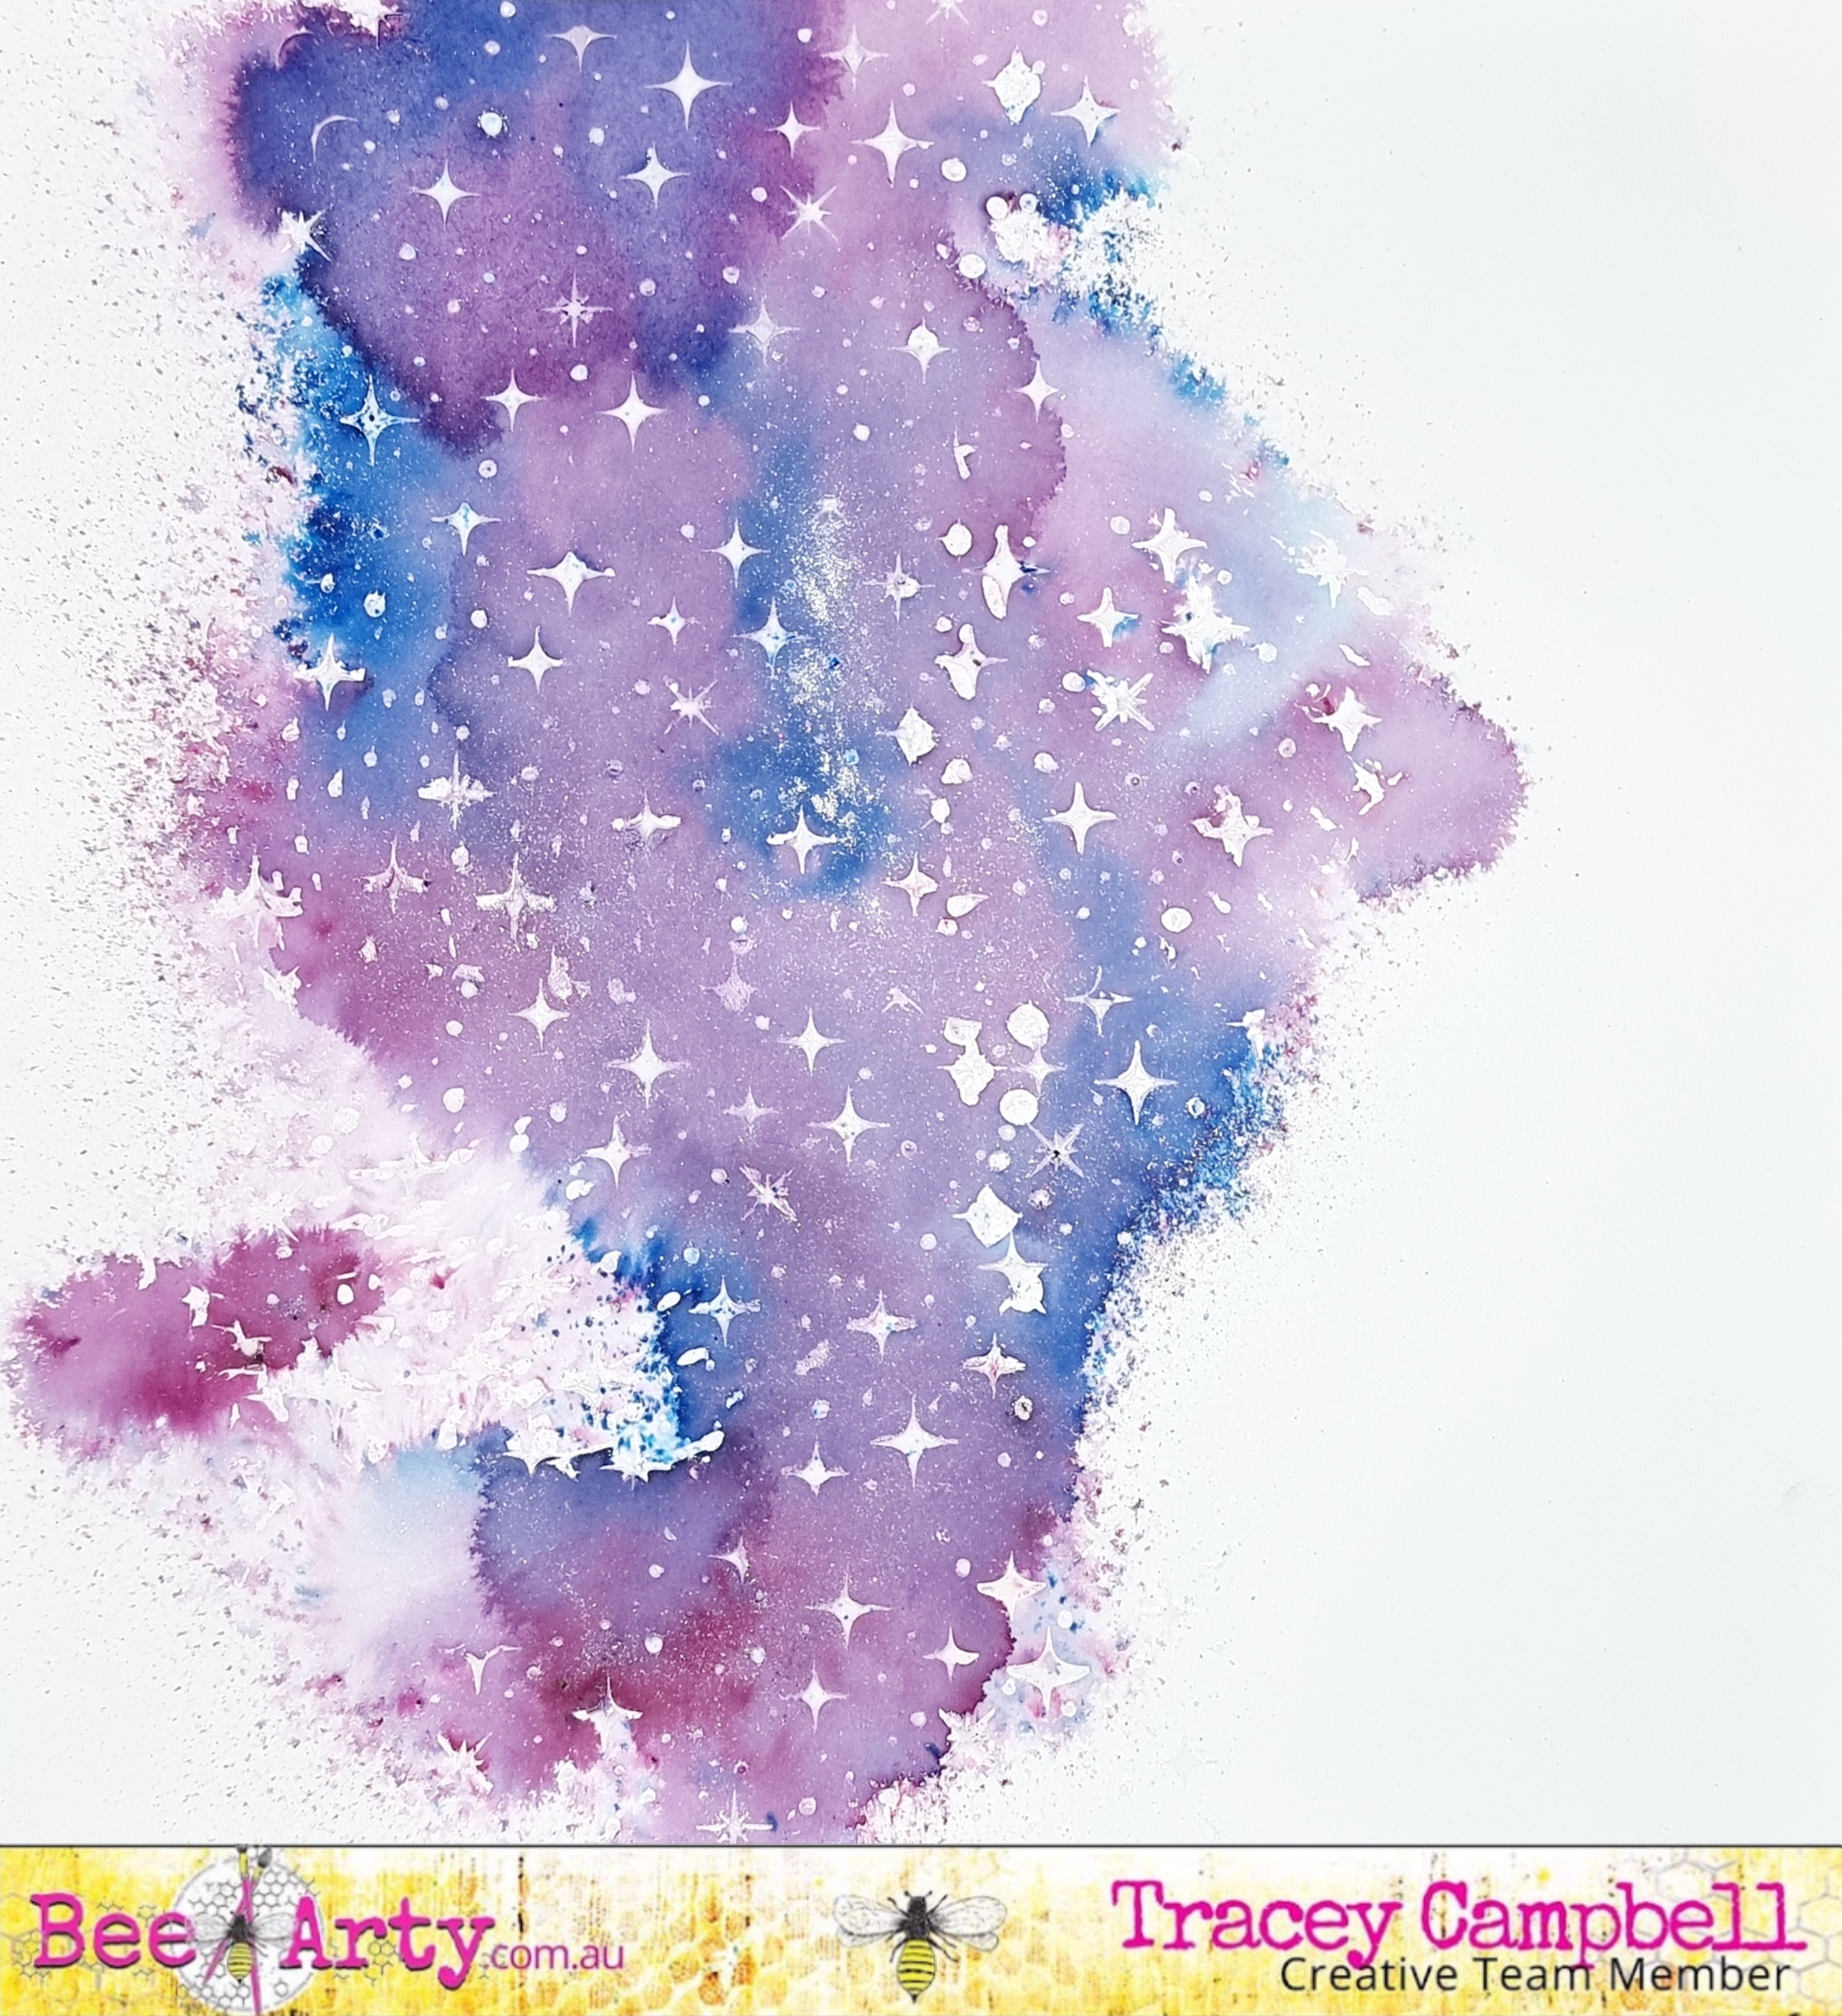
Prepare
the Colourblast Shimmer dust – Lollipop, velvet, Lush, Fern, Tan
by adding water to the powders.

On
another piece of White
Cardstock cover with the Lush, Fern and a
little Tan Colourblast
Shimmer dust, allow to dry.
On
half of the green cardstock stamp using black archival ink the leaves from the Perfect petals clear stamp set.
Run remaining half of coloured card through the die cut machine using the Autumn Leaves Metal Die.

¨ Colour
the embossed flower images using Colourblast
Shimmer dust velvet
and Lollipop. The leaves using Lush,
Fern and Tan.
¨ Fussy cut the flowers
and leaves when dry.
¨
Cut out one quadrant from the Spice 12x12
scrapbook paper, run through the die cut machine
¨ Run the Flowers metal die (both pieces) and White Cardstock through the die cut machine.

Cut the Gathering cardstock
down A4 size journal, use the remaining cut
edge reversed, adhered the distressed edge strip to the base cardstock. Add splatters to the page using dark brown
watery paint or tan Colourblast
Shimmer dust.

Tear the web metal
die into two pieces to be placed at the top and bottom area of the focus piece. Arrange the leaves, flowers around the other Flowers Metal Die cut-outs, adhere
to page when satisfied with layout.
Add some ‘ghost
stamping’ around the page with Archival black ink using the Say it clear stamp set
Celebrate everyday

Add highlights to the flowers and leaves using a white paint pen, very light touch.
Cut out the words
celebrate every moment from Poetry 12x12 scrapbooking paper word sheet, distress the
edges with black archival ink, adhere to the page.
Add distressed
border to page using the black archival ink and blending brush.
Hope you are
inspired to create this project and look forward to sharing with you again
soon.
Bye for now.

Linda Pearson

.JPG)
.JPG)
.JPG)