Showing posts with label Embrace Change collection. Show all posts

Sunday, 17 July 2022

Wonderful Days in the Woods by Tracey Campbell

Good morning lovely people, it is Tracey Campbell here today with my Creative Team share. I decided to give the Monthly Challenge a go as the colour palette is so pretty and the sketch is something a bit different than how I normal put my layouts together. 


If you would like to join in on the Bee Arty Monthly Collection you can find it in our Facebook Group here: Bee Arty Hive


To start my layout I kept the colours from the colour palette in the Challenge in mind when I sorted through my patterned papers, I didn't stick to just one Bee Art Collection, I went through all of the ones I have looking for the one that I thought would work, I was pleasantly surprised by how much I found. I added some stamps and metal dies to the ever increasing pile. 


Once happy with the papers and colours I was going to use I grabbed a pieces of white cardstock to use as my base, I drew light scribbled lines across the page using a lead pencil. I then used the straw from a bottle of Sunset Colour Spray and flicked small splatters of spray in the top right hand and two bottom corners of the white cardstock. I left to dry.


I wanted to add some bigger splatters to the white cardstock so I used a soft paint brush and dipped it into Grass Colour Artist Ink and let the droplets fall, roughly in the same areas as where I splattered the Sunset Colour Spray. Tip: The higher you lift your brush away from the paper where you want the splatters the bigger the splats will be. Let dry.
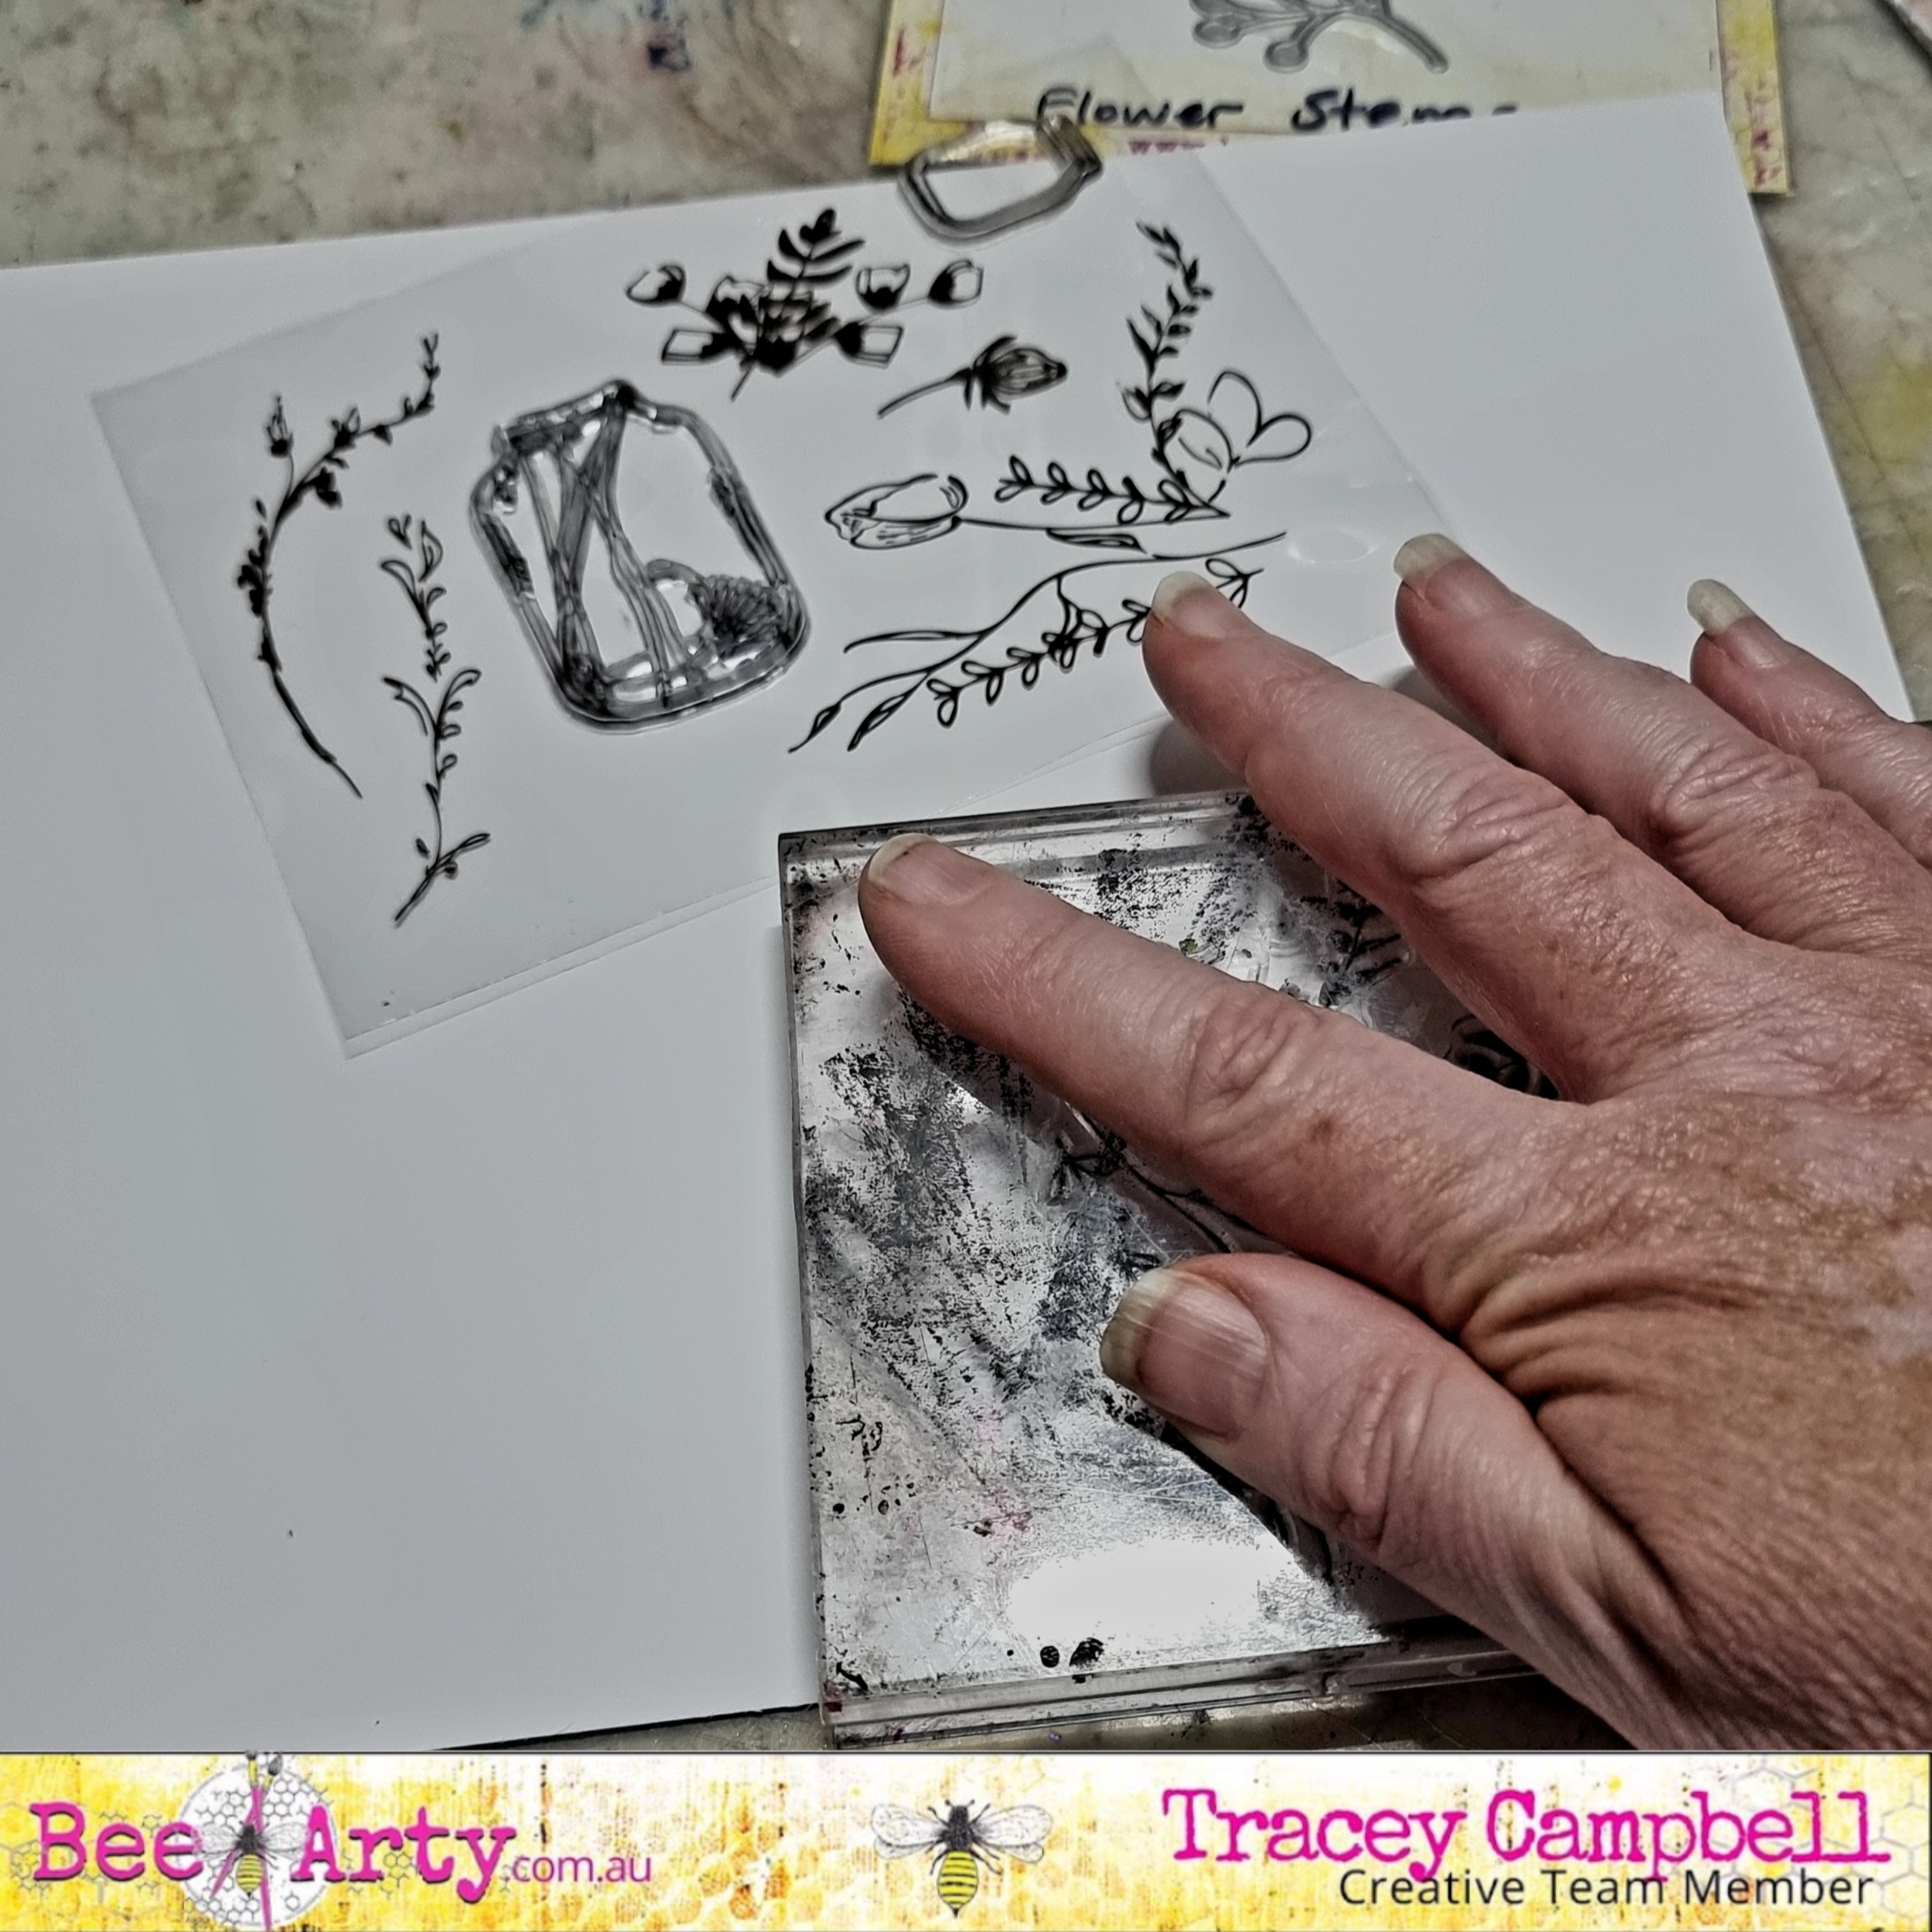

While the Colour Artist Ink was drying I used a water proof ink and the stamp sets Floral Arrangement and Celebrate Nature to put images onto some white cardstock, with the thought of using these as the floral images around the circle in the sketch.


I also stamped the jars from the Floral Arrangement Stamp Set onto some of the light blush colour on the B side of the Falling patterned paper in the Embrace Change Collection


When the ink is completely dry fussy cut the stamped images along with a word block for a title from the Natures Words cut apart sheet in the Whispering Woods Collection and some flowers from the Imagery patterned paper in the same collection.


Cut out a circle with a diameter of roughly 20 cm from the B side of Falling patterned paper in the Embrace Change Collection and use a distressing tool to distress the edges.


Cut out four strips from the B side of Fernery from the Whispering Woods Collection to created a wooden frame around a 8x9 cm portrait photo.


Cut the remaining patterned paper elements that are represented in the sketch from papers that match the colour palette. I have cut a tag from the Woodland Tags patterned paper in the Whispering Woods Collection and hand cut a bigger tag from the Olive Green square on the Spice Patterned Paper in the Embrace Change Collection, a rectangle 5x15 cm in a dusty dark pink colour from the Vampyre Rose Collection and a 10x14 cm rectangle with rounded corners from a light pink paper in the Entangled Patterned Paper in the Find Paradise Collection. Distress all the edges using a distressing tool.


Using a double sided sticky tape adhere all the elements to the page, arranging to represent the sketch. I used 3 Dimensional tape to adhere the framed photo and the tags on the right hand side to add some dimension to the layout. I ended up turning the photo and the tags on a slight lean as I thought it made them look a bit softer, given the whimsey subject in the photo, I thought a softer look was more suited.


Using some Colour Shimmer Cubes paint the stamped images, use a range of three different pinks on the flowers and an olive green for the leaves. 


If you don't have the Colour Shimmer Cubes then you can use normal water paints or like I have done for the olive green leaves mix some Colour Mica Powder in Olive Grove with some water to create  a shimmer paint. Once the water paints are dry arrange the fussy cut elements around the circle to replicate the inspiration from the sketch in the Monthly Challenge.


Here is my final layout, I really like how it turned out and think that I will use this sketch again for another layout a bit later on.

Thanks for popping in I hope that I have inspired you to give the Monthly Challenge a go and to try and mix am match your collections so that you can get a different look from the Bee Arty Collections, it really is amazing how they all work together.

Hugs
Tracey


Monday, 25 April 2022

Celebrate every moment by Linda Pearson


Today’s project is an A4 art journal page using a selection of papers, stamps and metal dies from the Embrace Change collection designed by Fiona Paltridge.  As always this project could easily be altered to create a beautiful scrapbooking layout. 

Embrace Change Collection designed by Fiona Paltridge

Flowers Metal Die

Perfect petals clear stamp set

String Leaves Metal Die

Autumn Leaves Metal Die

Say it clear stamp set

Spice 12x12 scrapbook paper

Poetry 12x12 scrapbooking paper word sheet

Gathering

White Cardstock – 250gsm

Colourblast Shimmer dust Lollipop, velvet, Lush, Fern, Tan

Versamark Stamp pad translucent

Colourblast Embossing powder – Stormy Weather

Web Metal Die designed by Tanya Froud

Black Archival Ink

Heat Tool

White Paint Pen


On a sheet of White Cardstock – 250gsm stamp the flowers with versamark, sprinkle over with Colourblast Embossing powder – Stormy Weather and heat seat the powder to cure.


Prepare the Colourblast Shimmer dust Lollipop, velvet, Lush, Fern, Tan

by adding water to the powders.


On another piece of White Cardstock cover with the Lush, Fern and a little Tan Colourblast Shimmer dust, allow to dry.

On half of the green cardstock stamp using black archival ink the leaves from the Perfect petals clear stamp set.

Run remaining half of  coloured card through the die cut machine using the Autumn Leaves Metal Die.


¨     Colour the embossed flower images using Colourblast Shimmer dust velvet and Lollipop.  The leaves using Lush, Fern and Tan.

¨     Fussy cut the flowers and leaves when dry.

¨     Cut out one quadrant from the Spice 12x12 scrapbook paper, run through the die cut machine

¨     Run the Flowers metal die (both pieces) and White Cardstock through the die cut machine.


Cut the Gathering cardstock down A4 size journal,  use the remaining cut edge reversed, adhered the distressed edge strip to the base cardstock.  Add splatters to the page using dark brown watery paint or tan Colourblast Shimmer dust.


Tear the web metal die into two pieces to be placed at the top and bottom area of the focus piece.  Arrange the leaves, flowers around the other Flowers Metal Die cut-outs, adhere to page when satisfied with layout.

Add some ‘ghost stamping’ around the page with Archival black ink using the Say it clear stamp set

 Celebrate everyday


Add highlights to the flowers and leaves using a white paint pen, very light touch.


  Cut out the words celebrate every moment from Poetry 12x12 scrapbooking paper word sheet, distress the edges with black archival ink, adhere to the page.

Add distressed border to page using the black archival ink and blending brush.


Hope you are inspired to create this project and look forward to sharing with you again soon.

Bye for now.


Linda Pearson

linda@yourcreativepalette.com.au

Sunday, 27 March 2022

Love My Girls by Tracey Campbell

 Hello Bee Arty people, it is Tracey Campbell here again with another creation to share. My layout this time is a bit different for me. I started this layout when I was away on a work trip, with limited room in my luggage around my uniforms so had to restrict myself to easy to carry items. I ended not taking anything for the title and decided to finishing off the layout at home where I could raid my Bee Arty supplies to create the perfect title. Which was a nice way to finish as I had access to my mixed media and completed it whist doing an online crop with a bunch of lovely ladies from all over the world. Anyhoo let me take your through my process on how I created:

Love My Girls

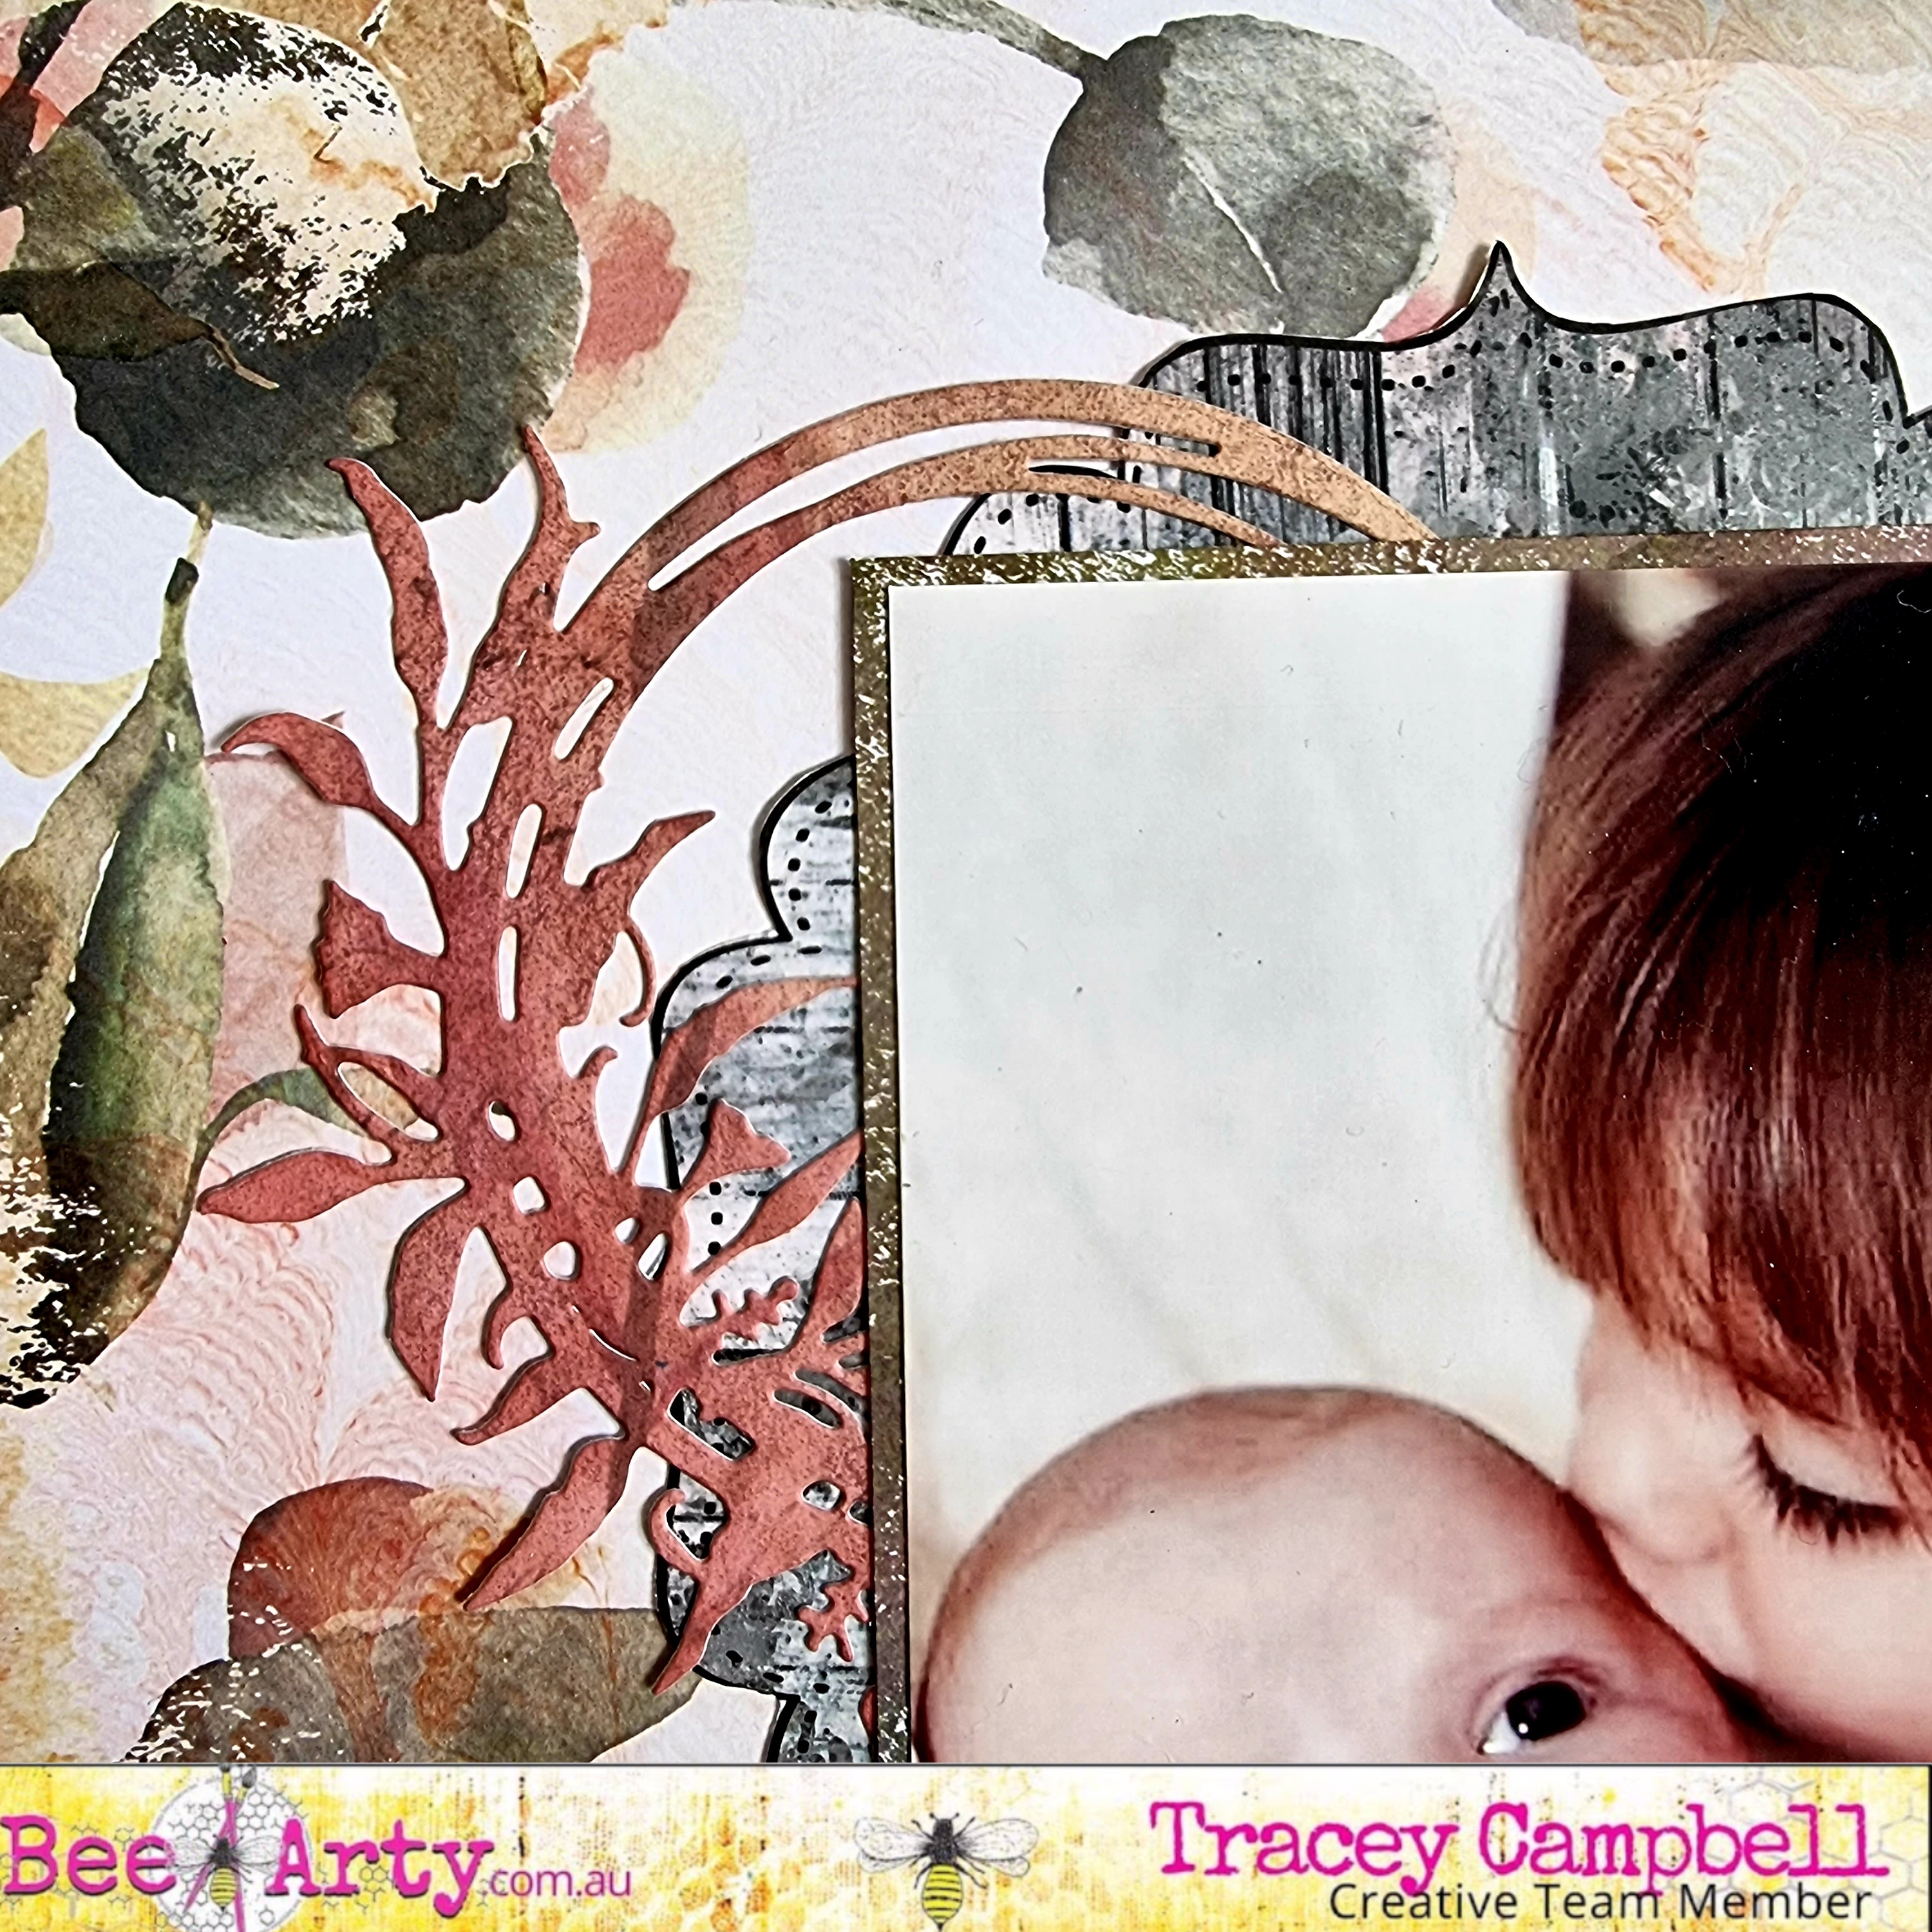
I love the Embrace Change collection so decided to use the Falling pattern paper as my background, the colours and foliage reminds me of the Australian bush. The paper has a lovely image on it but I must admit I had trouble trying to work out how to use it at first as I didn't want to hide too much of the image, I wanted to include it in the design, so I thought less is more. 

Working with limited space in my luggage I decided to pull a bit of a kit together for this layout and pre-cut some elements for my layout. I used the String Leaves metal die and two string wreaths and a few of the leave clusters from the maroon coloured paper in the Embrace Change collection. Next I fussy cut two of the  grey tags from the Elegant Tags patterned paper in the Spread Your Wings Collection and some of the grey leaves and butterflies from the cut-apart-sheet in the Embrace Change Collection.

Using some of B side of the Living patterned paper in the Embrace Change collection I matted a 6x4 portrait photo with a 3mm boarder. 

I adhered the matted photo to the centre of the Falling patterned paper and positioned all the elements around the photo. The string wreaths were tucked under the top left and bottom right corners first, I then cut one of the tags in half and positioned a piece under the op and left hand edge of the photos, making sure that the string leave was on top of the tag. You can see the positioning in the final layout. 

At the bottom right hand corner of the photo I adhered the second tag in the centre of the string wreath and popped a fussy cut butterfly at the top. Here I was creating a space for the title.


Using the fussy cut grey leaves and a die cut leaf cluster I overlapped them on both the left and right hand sides of the photo. On the left hand corner of the photo a adhered another fussy cut butterfly. This was as far as I got whilst away as I didn't plan well enough to remember to take something for a title. 


When home I used the Love My Tribe metal die and cut it out of some of the greenish paper from the Embrace Change collection. I then used a pair of fine scissors to trim off the word Tribe from the diecut. 


I wanted to add the word "Girls" to the end of my title so that it said "Love My Girls" but I didn't have the right coloured font, so I decided to see if I could alter some Thickers. I mixed a small amount of Peach Nectar Colour Mica Powder, a tiny drop of Walnut Colour Artist Ink and some Dimensional Magic together to create a bronze colour which I applied with an old bamboo skewer.  


I then adhered the title to the tag at the bottom righthand corner of the photo.


Such a quick and easy layout but as the Falling patterned paper is such a stunning design it makes the layout interesting with a lot to look at.


Thanks for stopping in and I look forward to sharing with you all again shortly. 
Hugs
Tracey


Sunday, 13 March 2022

Breathe by Tracey Campbell

 Hello Bee Arty Peeps, it is Tracey Campbell here today with another Creative Team creation to share. I decided to give the Bee Arty Creative Hive (Facebook Groups) Monthly Challenge a go. The cool fresh colours and beautiful sketch made me wish for crisp spring mornings in this dreary wet weather we are having. I am in New South Wales and we have had two weeks of rain, with for to come, there is flooding and mud slides happening around us. So retreating into my creative zone with this months challenge was a great way to escape. 

Here is the sketch and colour combo for the March Challenge, no you don't have to use both, but I have. You can find the challenge here: Bee Arty Creative Hive


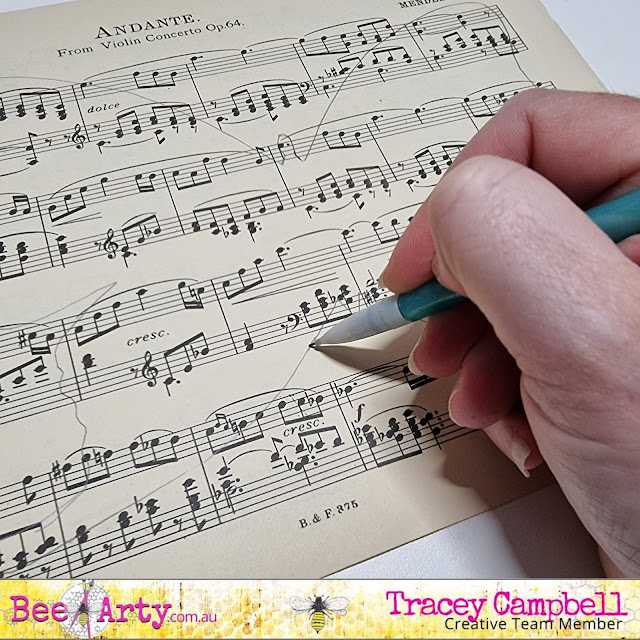
To start with I drew an outline of butterfly onto some sheet music.

Next I fussy cut the hand drawn butterfly and two butterflies from the Turning cut-a-part sheet in the Embrace Change collection


With a paint brush paint Tangareen Dream Colour Shimmer Spray in the centre of Steel Plate pattern paper from the Graffiti Grunge Collection. Graffiti Grunge is an older collection that is full of fun surprising papers that are great a starting place for messy backgrounds and perfect to represent the grey from the colour challenge for this creation.


Next I spread some Apple of My Eye Colour Paste through the Party Lights stencil. I repositioned the stencil so that the leaves ran off in three different directions, pointing towards the top left and top right corners and then bottom left hand corner. See the photo below to see the positioning. Once it was dry I repeated the stencilling process with Lemon Zing Colour Paste. Sorry I didn't take a photo with the Lemon Zing stencilling at this stage, but you can slightly see the two over lapping colours in the final layout, it is very subtle.


When the Colour Paste was dry I used the straw from the bottle of Stormy Weather Colour Shimmer Spray to splatter drops of the stray across the page.


To add the line boarder that is on the sketch I used a fine paint brush and some Stormy Weather Colour Shimmer Cube to paint the outline around the very edge of the base. Note: the Colour Shimmer Cubes are no longer available in the store as but you can substitute this part by using a thin paint brush and the Colour Shimmer Spray. If you choose to do this, don't shake up the bottle of the Shimmer Spray dip the brush in to get the thick sediment that settles on the bottom. It will give you a great amount of media to paint at the right consistency. If you do shake it up, then you will have to apply a few coats over the outline, letting to dry between each application. 


The photo below is how my base looked before adding the photo, title and embellishments.


Next while waiting for the Colour Shimmer Spray and Cube to dry I fussy cut a title and a few words. One of the great things of the Bee Arty Collections is that you can mix and match things from a few different collection. Here I have fussy cut from:
The word "Breathe" from the Breathe patterned paper in the Find Paradise Collection, the words "I Love You Even When You Do Dumb Stuff" from the Love Letter patterned paper in the Chit Chat Collection and the words "Happy Memories" from the Love patterned paper from the Love and Grace Collection.


Next I double matted my photo, I did a thin 2 mm mat with the blue side of the Journey patterned paper from the Aim High Collection and then a 7 mm mat with some of the lime green tones found in the Arty Farty Collection. 


I then adhered the music sheet butterfly in roughly the same position as on the sketch onto my base. Then stuck the matted photo down overlapping the butterfly. At this stage as I was embellishing with the fussy cut butterflies from the Embrace Change collection I decided that they were a bit dark and I wanted to add a pop of colour. So I pulled out some of my very ignored butterfly punches and punched out some from the blue and lime green paper that I used before to mat the photo. Tip: If you don't have butterfly punches you could always stamp the butterflies and emboss them to the colour you want. The Bee Arty Beautiful Butterflies Stamp/Die Set would be perfect for this and at only $10 (available at the time of this post) it is an absolute steal. 


I finished off the layout with some yellow and orange twine tied in bows and adhered the fussy cut words down.


Thanks for popping in and I hope I have inspired you to give the challenge a go and to pull out those collections you and an mix and match.

Hugs
Tracey