Hi Everyone,
Welcome to another Sunday blog post with me on behalf of Colour Blast Australia.
Something a little different today... a lot of repurposed or recycled items on this creation, see if you can spot them all.
Today i am sharing with you the start of a larger project that will hopefully hang on the walls of my craft room one day, I decided to make the first in a series of inspirational banner pieces made from a repurposed Prima Canvas mixed media album. Turn them on their side and 'whammo' you have a banner with handy punched holes for your ties. I have also repurposed the protective netting from around a Paw Paw fruit that we had purchased, i thought it might come in handy one day.
I have posted a photo tutorial for you below on how i created the first piece in my Inspiration Banner. At the end of the post I have listed all the products used in this banner.
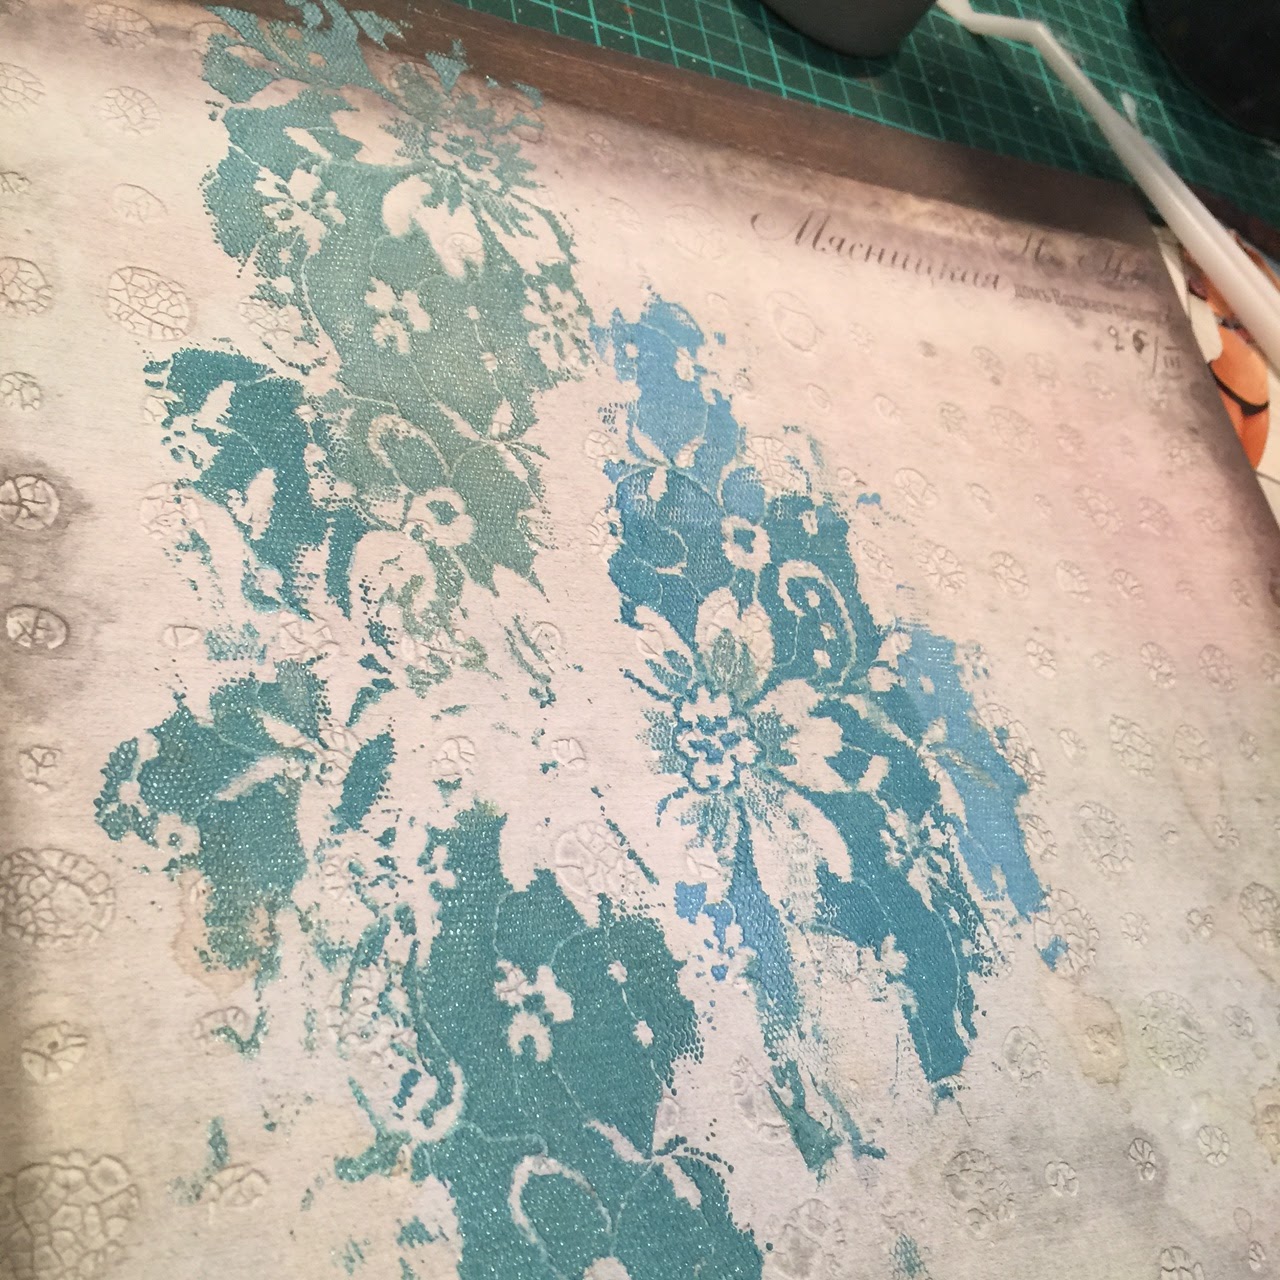
First Step - Using a palette knife spread Just Blue, Deep Water, Envy and Bling Colour Blast Pastes plus use your finger to smooth the colours together.
Step 2 - Using small hexagon chipboard pieces still attached together in a few pieces, emboss them in two or three layers starting with Just Blue, then Deep Water then Envy in rough layers so they all run together once you have heated the third time. Stick them to the Paste while it is still wet, you can glue it to the Paste as well. NOTE: Instead of using an embossing inkpad (which you can still use) I prefer when embossing over a large area to use a Ranger Embossing Dauber as pictured in one of the below photos. It gives a greater coverage, you can clean it in between layers and you can control the amount of liquid that comes out.
Step 3 - Once the Chipboard has been embossed and stuck down and the Paste is dry, i flicked droplets of Bling Shimmer Spray over the whole banner piece. Dry before going further.
Step 4 - Using a large sea themed stamp, i used a Scrap FX Seahorse, stamp and emboss using a Versamark inkpad or Ranger embossing dauber and a bit of each of the Just Blue, Deep Water, Bling and Envy Colour Blast Embossing Powders. Once it has cooled down i cleaned my stamp and stamped with black Versafine ink over the top to ensure the great details of the stamp were showing...the black ink settled nicely in the grooves of the stamped image.
Step 5 - I also added Bling Shimmer Spray over the top of my stamped image using my finger, careful that the Versafine ink had already dried thoroughly.
Step 6 - Using the netting from around a Paw Paw that i had bought from my local Woolworths a while ago, i broke it into a few pieces then using a stiff paint brush and my finger again i painted the netting with Just blue, Deep Water and Envy Pastes.
Step 7 - Time to emboss your embellishments using Just Blue, Deep Water, Bling and Envy Embossing Powders in rough layers!! I used chipboard and a turtle made out of toilet paper pulp. YES !! toilet paper pulp, water and a silicon mold. Emboss using the Ranger Liquid Dauber easy to cover all surfaces....
Step 8 - Stick down your netting, i used a Helmers Super Tac Glue. Then using the Emboss It Dabber or Clear Gel Medium add Beadazzles or Micro Beads to your creation inbetween the netting and down the bottom in some of the bare areas. Also add larger beads and sea themed charms like the star fish seen in the close up in the above photo.
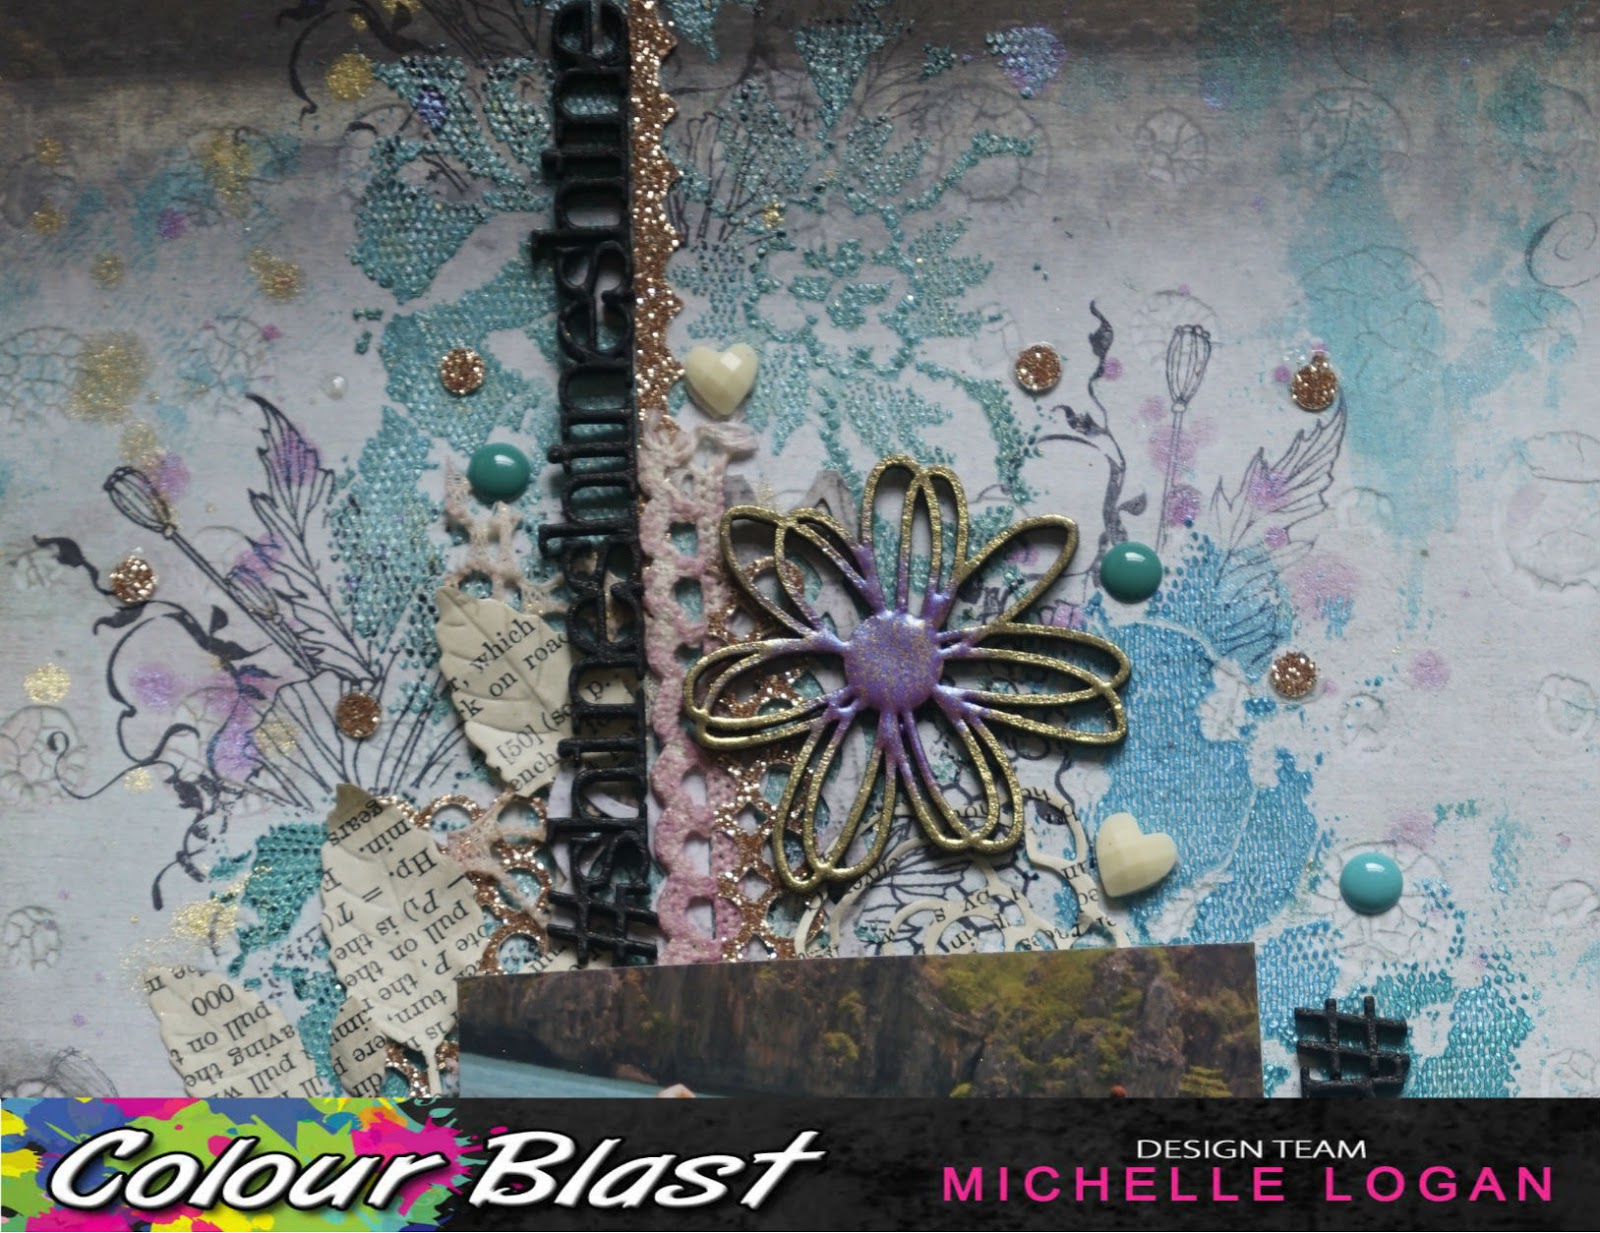
Step 9 - Some close ups!!! After sticking down your netting in two places, added your Beadazzles, beads, charms, the seahorse and your embellishments. Let the glue dry thoroughly and then you can add your Inspirational quote or saying, i layered mine on kraft paper and then inked around the edges. You could also put beadazzles or micro beads under your chosen saying to add more texture.
Add some ribbon or twine to hang your banner piece.
You could also add real shells as a different embellishment.
And finally some larger photos just so you can see the Shimmer and Shine of the Colour Blast in different lighting situations.
Products used in this project:
Colour Blast Pastes: Just Blue, Deep Water, Envy, Bling
Colour Blast Shimmer Sprays: Bling
Colour Blast Embossing Powders: Just Blue, Deep Water, Envy, Bling
Prima Canvas Album refills bought from a craft garage sale, Ribbon from an old shirt, Netting from a Paw Paw fruit, Beadazzles, Chipboard, Toilet Paper embellishment (turtle - i made him myself!!) , Beads from a second hand store, Scrap FX stamp, Versafine Ink, Ranger Emboss it Dabber.
If you managed to get to the Brisbane Papercraft Expo you will have had the chance to see me demonstrating how i make toilet paper embellishments using old silicon molds that you may have laying around in your stash. You never know if i get a few requests i may do a video and pop it on the Colour Blast Blog and other pages for you to see just how easy it is...
Well that's it for me today.
I hope you will stay tuned for my next instalment to the inspirational banner coming soon.....
Make sure you leave me some love ...
Elisa Ablett xx