Sunday 26 March 2023

Dont Cry - Rikki G

Good morning how are you? Rikki here today with my latest creation, this time based on this months challenge, and I have to say this was one of those ones which there was no plan and a one point I wasnt sure it would evolve into anything else.

Have you ever started a layout like that?


Enjoy and don't forget to upload your entries here:
https://www.facebook.com/media/set/?set=oa.737268101330316&type=3


To kick things off I need to make my paint colours, this time I want something shimmery, sparkly and to do that you need Colour Mica powder and Gum Arabic....

It doesnt matter if its is the powdered or liquid Gum Arabic but you do need it, its a binding agent for your mica, you will find if you do it with just water once dry it the micas will rub off, the Gum Arabic is like a glue keeping things in place. 

All shimmer based mists have this ingredient in them, to make sure your amazing colour just doenst rub off.


So the general rule of thumb is equal Gum Arabic to your mica powder and water - warm water works better when mixing your paint.


Now its time to get messy, and this process will take a while as I dont tend to use a heat gum to speed the process up as I find the shimmer from the powder comes up to the surface more and you dont see the under colours.

So I use this time a zen moment and work the paint around the page.


Now if your after more pigment in your mica paints you can add that using the Colour Artist Dye Ink like you can see in the orange section it was a little gold for my liking I wanted more of a orange tone, so I just added a couple of drops in my mica powder mix and it became a richer colour.


Once dry now the messing and arty bit happens, I used a light grey ink for the stamping, you could use black but I am after a ghosting effect rather than something heavy.


I havent mounted the larger Geo Grunge stamp for a reason I allows me when I am stamping to kind of roll it so I get little pockets of details rather than a big crisp image.


Now grab a Stabilo pencil or even a water colour pencil, this is the time to doddle over the top of details in the ghosted stamping.


You can add details in, more circles more crosses, add larger cirlces by tracing around different size circle objects.....

You can wet the pencil work to bleed it out or, just smug it with your finger.


Now you have your background, time to build the layout.....


Splash some Bling Shimmer spray and Black Artist Dye ink to tie your layers together, dont forget to cover your photo.


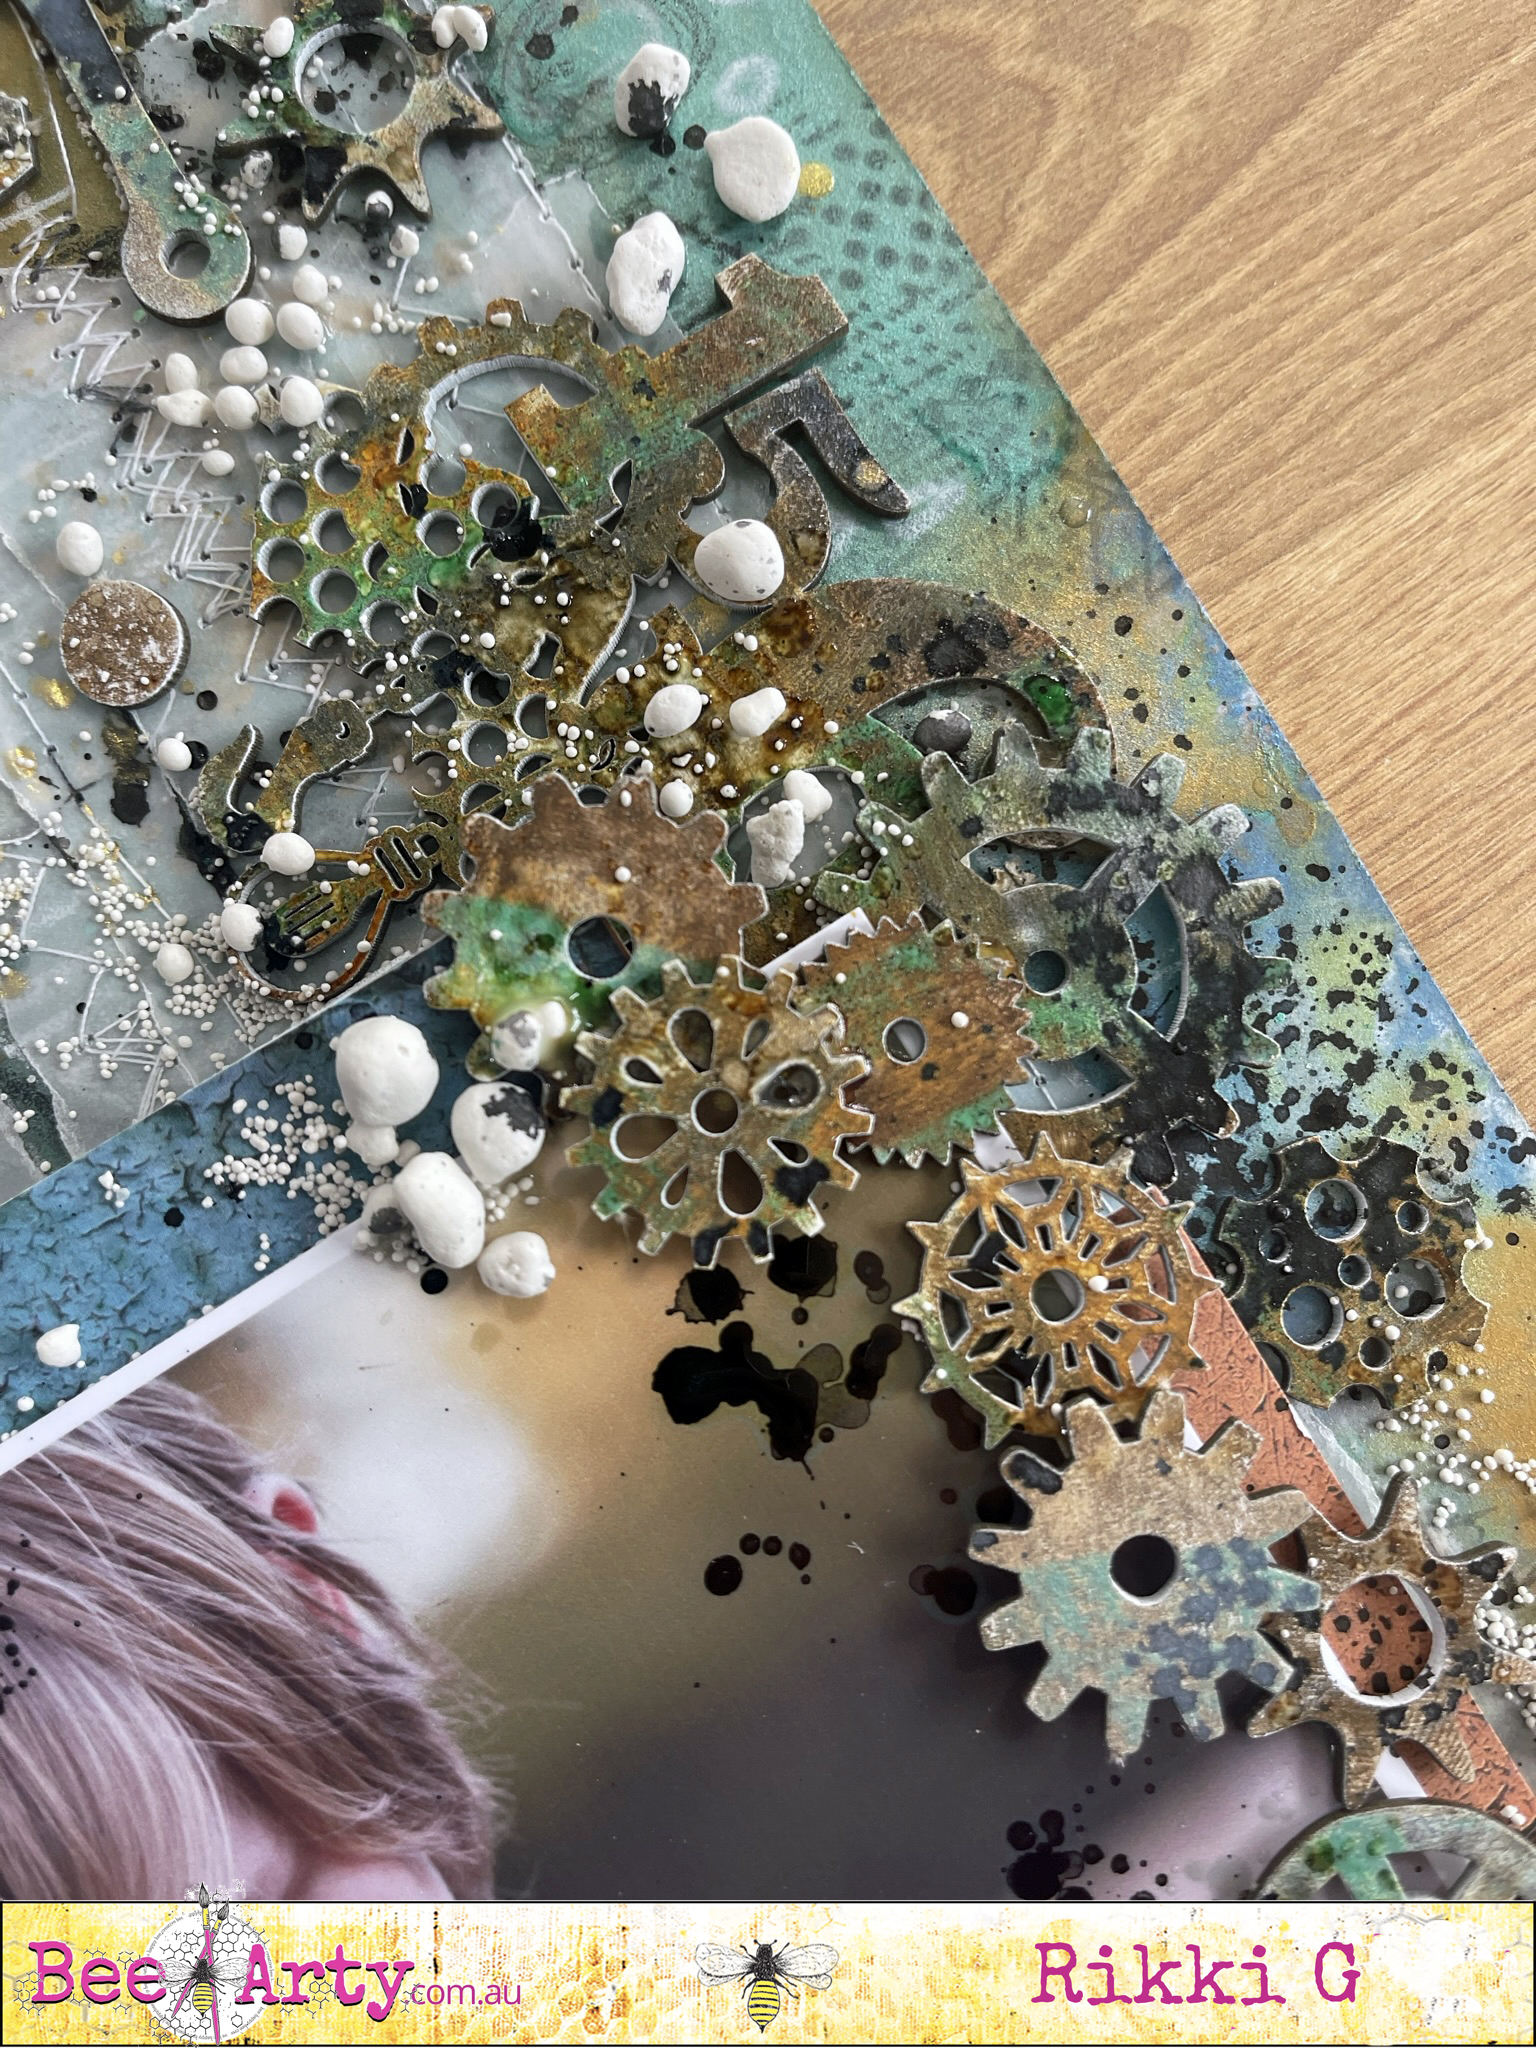
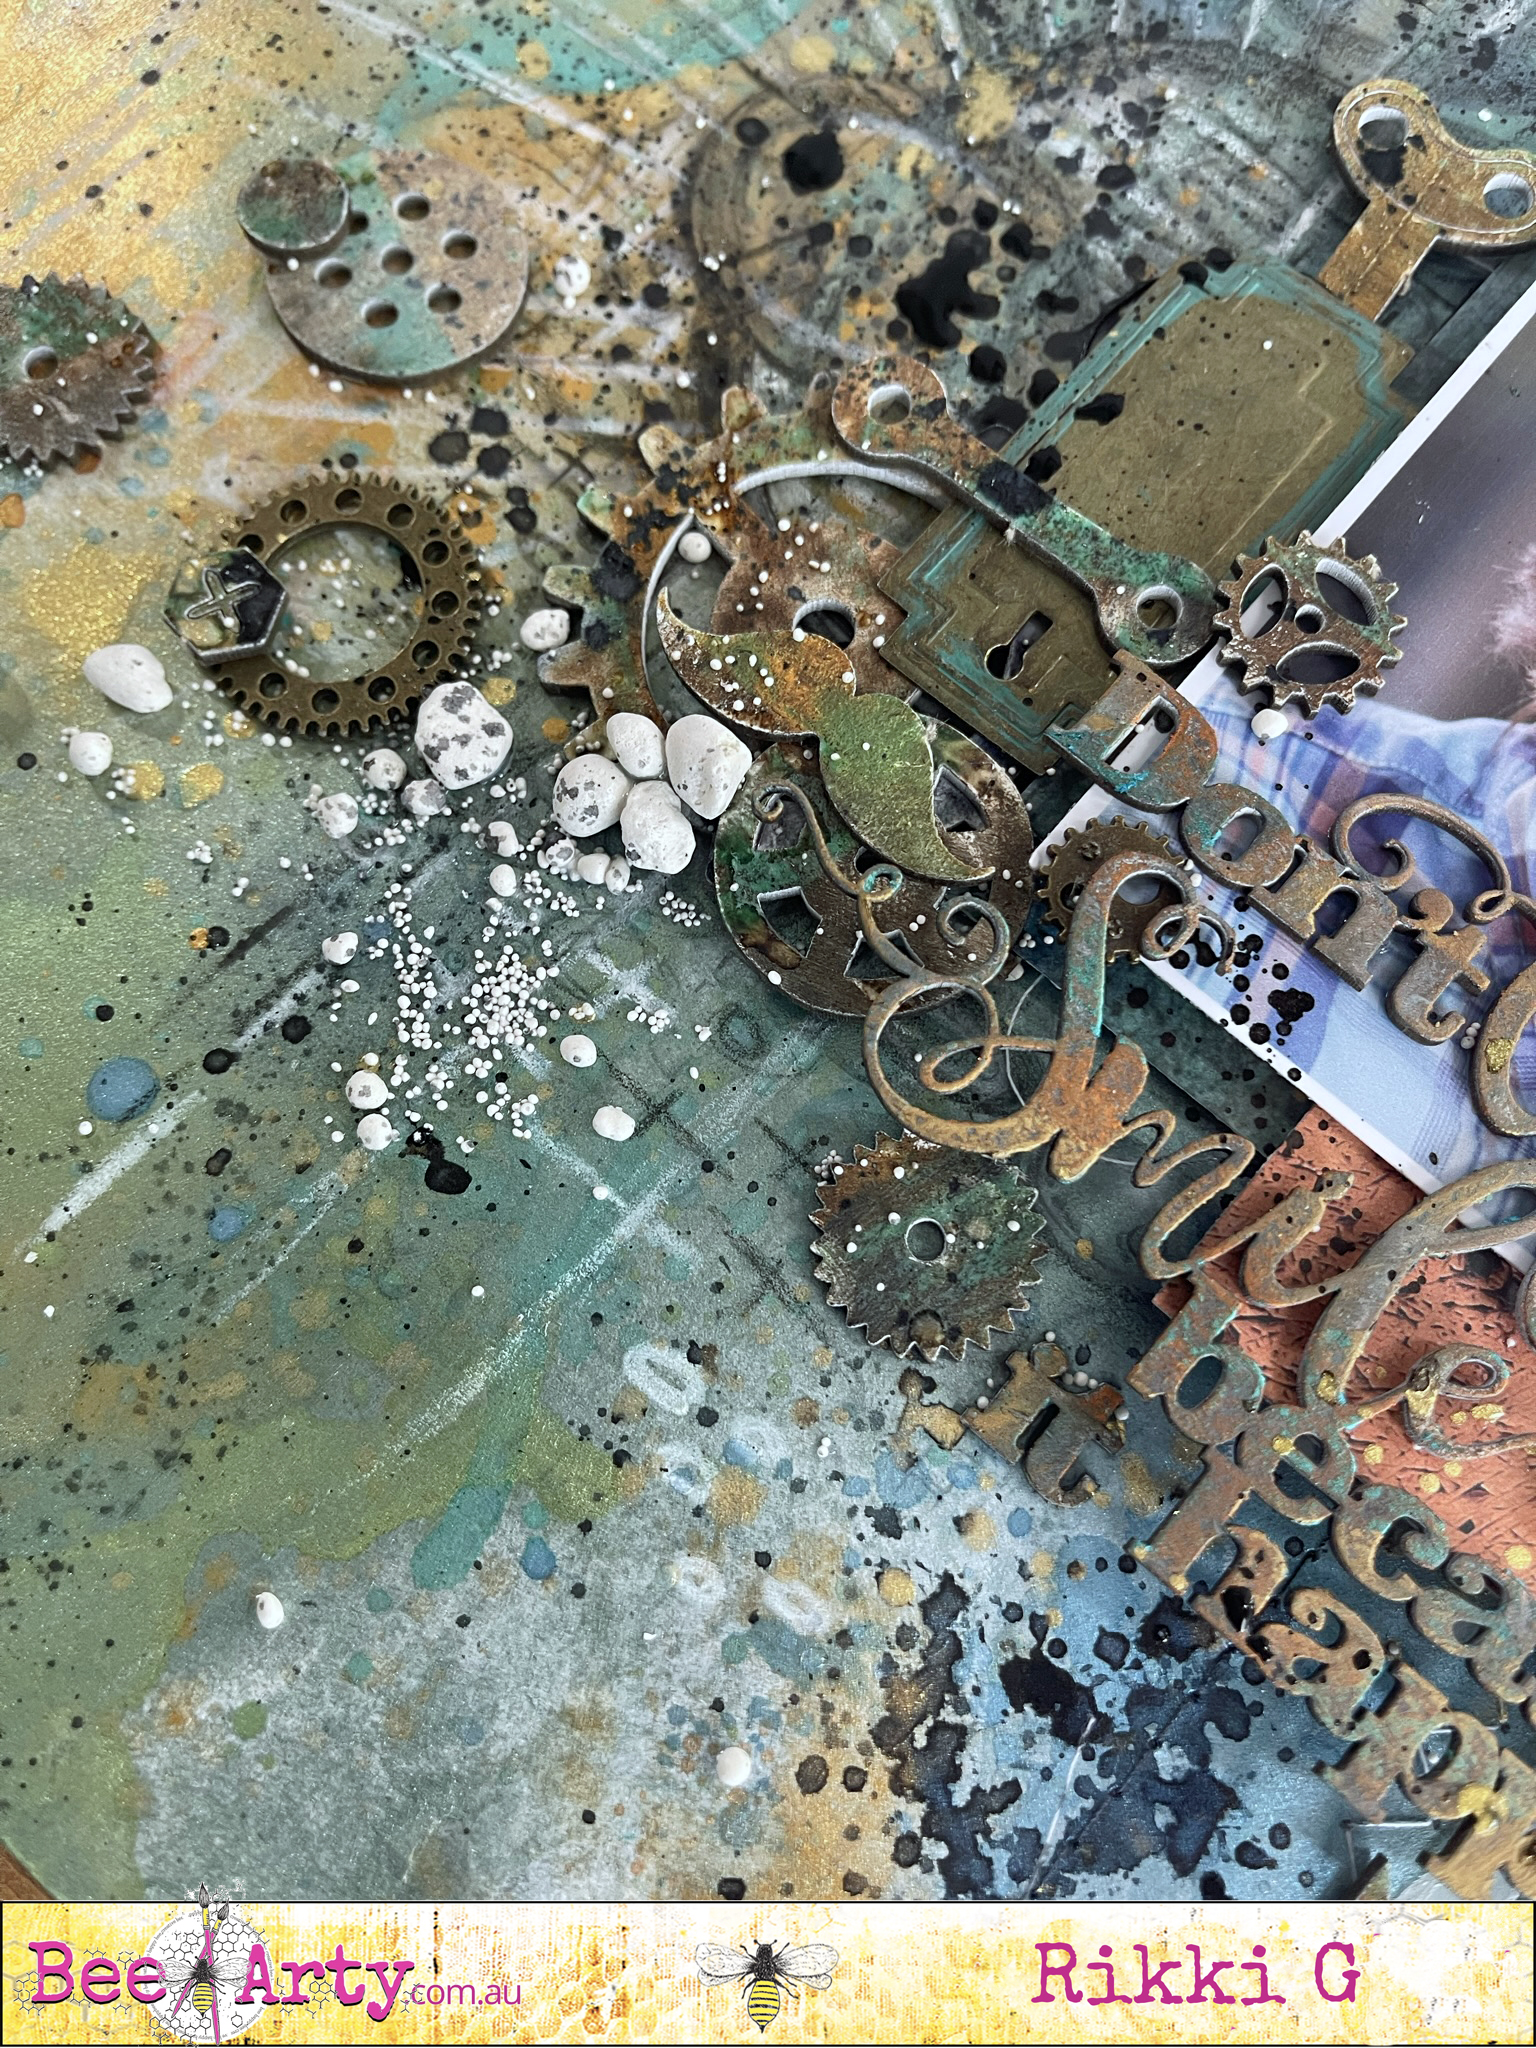
The rest of the layout is just chipboard, metal charms and art stones, I used Tim Holtz Oxides on the chipboard to make it look like rust and when you splatter with your Artist ink and Shimmer spray your get some amazing water bubble effects.


I hope this has inspired your to have a play and you still have time to enter our challenge....

Till next time have a creative day

Rikki G


Monday 20 March 2023

Memorydex Cards - with Karyn Schultz!

 Hi Bee Arty Lovelies!

It's Karyn here and today I have some Memorydex cards to share with you made using lots of fun new products from the new Raspberry Fizz Collection available from Bee Arty.  
 
 
I'm playing along with the colours in the March mood board and sketch challenge. We would love for you to join in with this challenge and be in the running to win a Bee Arty online voucher. You have until March 31st and you need to upload your challenge here (please follow challenge rules).   


Recently I've been inspired by all of the wonderful Memorydex cards I see on my Insta-feed, so of course I wanted to join in. I created my card base with 350gsm White Cardstock that I have cut down to 4" x 3 1/2". I use my corner rounder punch to round all of the corners. I used a Memorydex punch to add the 2 Memorydex holes along one side.
 
I love the Spring Flowers stamp set from the Raspberry Fizz Collection so I stamped 2 sizes of flowers on the card, using Black Archival ink, as well as on some post-it-notes (so I can do some masking). Fussy cut the 2 post-it-note images cutting on the outline (dont leave a gap around the edge).  

 
Place the post it note images exactly over the images on the card an add more stamping.
 
 
Remove the post-it-notes and voila, the leaves appear to be behind the flowers! 

 
 I then painted the flowers with Sunshine Mica powder mixed with water, the flower centers with Tangerine Dream Mica powder. The leaves are painted with Lush Colour Shimmer Dust and the remainder of the card is painted with a dilute wash of Emerald Mica powder. All colours inspired by the Moodboard. Lastly I added some words from the "Always" Black on White cut apart sheet.  
 
 
On the reverse of the card I kept a similar colour palatte. Firstly a dilute wash of Emerald Mica powder mixed with water. Next use the Whitewash stencil with Emerald Colour Paste. Add some stamping using Black Archival ink and the Recipe Script stamp from the Raspberry Fizz Collection
 
I coloured some white gauze with Sunshine Mica powder mixed with water. I used 250gsm White Cardstock and the Speckled Peony Metal die set to create 2 diecuts that I painted with Tangerine Dream Mica powder. I used Black Cardstock and the  Flower Stems die from the Bee The Sunshine Collection to create a diecut. Lastly I added some words from the "Always" Black on White cut apart sheet.
 
 
 I was loving creating the cards so I made another one - this time using patterned paper and left over fussycuts from the Raspberry Fizz Paper Collection Pack.


 And the reverse of this card.


Thanks so much for stopping by

Crafty Hugs xx


Tuesday 14 March 2023

Be Bold I Mixed Media Layout I Sunila Mahajan

 Hello Bee Arty Lovelies,

Sunila here and I'm back with mixed media inspiration for you all!

Today, I'm sharing a fun and vibrant layout. We all love scrapbooking and memory keeping. The Bee Arty Paper Collection come handy here. The patterned papers and coordinated elements work well for such projects.

Here's a look at the layout:


I have used the paper and added texture with a stencil, and stamping. A little colour using the micas and then for the layers I've fussy cut elements as well as used dies to cut elements. 


I was inspired by the current challenge on Bee Arty Creative Hive. I incorporated the colours and the sketch.