Showing posts with label dots to lines. Show all posts

Tuesday, 14 March 2023

Be Bold I Mixed Media Layout I Sunila Mahajan

 Hello Bee Arty Lovelies,

Sunila here and I'm back with mixed media inspiration for you all!

Today, I'm sharing a fun and vibrant layout. We all love scrapbooking and memory keeping. The Bee Arty Paper Collection come handy here. The patterned papers and coordinated elements work well for such projects.

Here's a look at the layout:


I have used the paper and added texture with a stencil, and stamping. A little colour using the micas and then for the layers I've fussy cut elements as well as used dies to cut elements. 


I was inspired by the current challenge on Bee Arty Creative Hive. I incorporated the colours and the sketch.

Saturday, 24 September 2022

Adventure Folio by Sunila Mahajan


Hello Bee Arty Lovelies,

Hope you're all doing well! Sunila here and today I'm sharing an inspiration with you'll.

I've created a quick folio with a mixed media style cover.  This comes handy especially to carry a handy art journal/journal when travelling. It holds papers/notepad, and stationery. 

Here's a look at it:


For a project like this, all you need is a nice pattern paper. With some quick easy folds and cuts, this is an easy DIY project. 

I've added texture paste using a stencils, stamped with ink and added a stamped focal images on the cover to make it all stand out and look interesting. 


Products used:

Pattern Paper- Grateful Heart Collection

BeeArty Colour Paste

Rhythm Stencil

Geo Grunge Stamp

Hydrangea Basket Stamp


Hugs,

Sunila

Saturday, 27 August 2022

Sunshine Altered Hoop by Sunila Mahajan

 Hello Bee Arty Lovelies,

Hope you're all doing well! Sunila here, and today I'm sharing a pictorial on altering an embroidery hoop. 

I enjoy  mixed media because it opens up plenty of opportunities to play with. Layers, elements, textures all come together beautifully in a single piece. The altered hoop makes for a great home decor piece as well as a gift for someone special.  

Here's a look at the hoop:


Let's begin creating it!


Step 1- I've chosen the Bee The Sunshine Collection for my Hoop. Fussy cut elements, pick out papers for the base and to die cut some elements. Paint the rim of the hoop with Bling Colour Paste. 


Step 2- Die cut elements for the hoop. The round frame makes for a great shaker element. Die cut it several times, adhere together for a thicker layer. Cut a circle on a transparent sheet and white cardstock to back it up for the shaker. I've used a piece from the collection with the quote to back my shaker. 


Step 3: On the base paper, stencil with colour pastes. 


Step 4: Add black stamping on the dried stenciled base.


Step 5- Adhere the hoop onto the base paper. Stamp on the rim of the hoop.


Step 6-  Glue the fussy cut elements, the die cut pieces and the focal shaker element to complete the composition. 


Hope you enjoyed this creation!

Hugs,

Sunila


Supplies used:

Bee The Sunshine Collection

Colour Paste- Bling, Rosewood

Stencil- Stardust

Stamp- Memories

Die- String Leaves


Saturday, 13 August 2022

Create to Inspire, an Art Journal Page by Sunila Mahajan

 Hello Bee Arty Lovelies,


Hope you are all doing well! I'm back on the blog today with my favourite, mixed media art journal page. I truly enjoy the freedom it gives me to create and in turn inspire you all. It also always gives me an opportunity to be inspired myself. 

On that note, here's a look at the page.


Rich, luscious colours, textures and elements! I love how vibrant this turned out! I played with the Artist Inks for the background. 


I've added texture paste with a stencil and then some black stamping to create depth and textures.


I've cut my focal Paintbrushes several times and glued them together to create that depth making them look 3 dimensional. I've added sisal underneath them, giving it texture and contrast from the background.


I stamped, coloured and fussy cut the butterflies to add them on to my page. I completed it with splatter and sequins. 


Such a fun vibrant page to create! I called this instant happiness!

Supplies used:


Have a great Day!
Hugs,
Sunila


Saturday, 16 July 2022

Sweet Life Card by Sunila

 Hello lovelies,

Sunila here, and I'm back with a fun project for you all!

Today I'm creating a birthday card using inks, mica powders and some stamps! This is a fun technique to use on layouts or journal pages as well!


I began by swatching inks and mica powders mixed with water. I simply dipped my brush in the colour and created a brush stroke swatch. I then cut around them to get these organic colourful pieces. 


I stamped a few cupcakes, adhered them on my colourful swatches and splattered colours and added sequins. This is made for a fun vibrant card!


Supplies used:

Colour Blast Mica Powders

Colour Blast Shimmer Dust Powders

Colour Blast Artist Dye Ink

Funtime Stamp

Have a lovely week ahead!

Hugs,

Sunila


Saturday, 2 July 2022

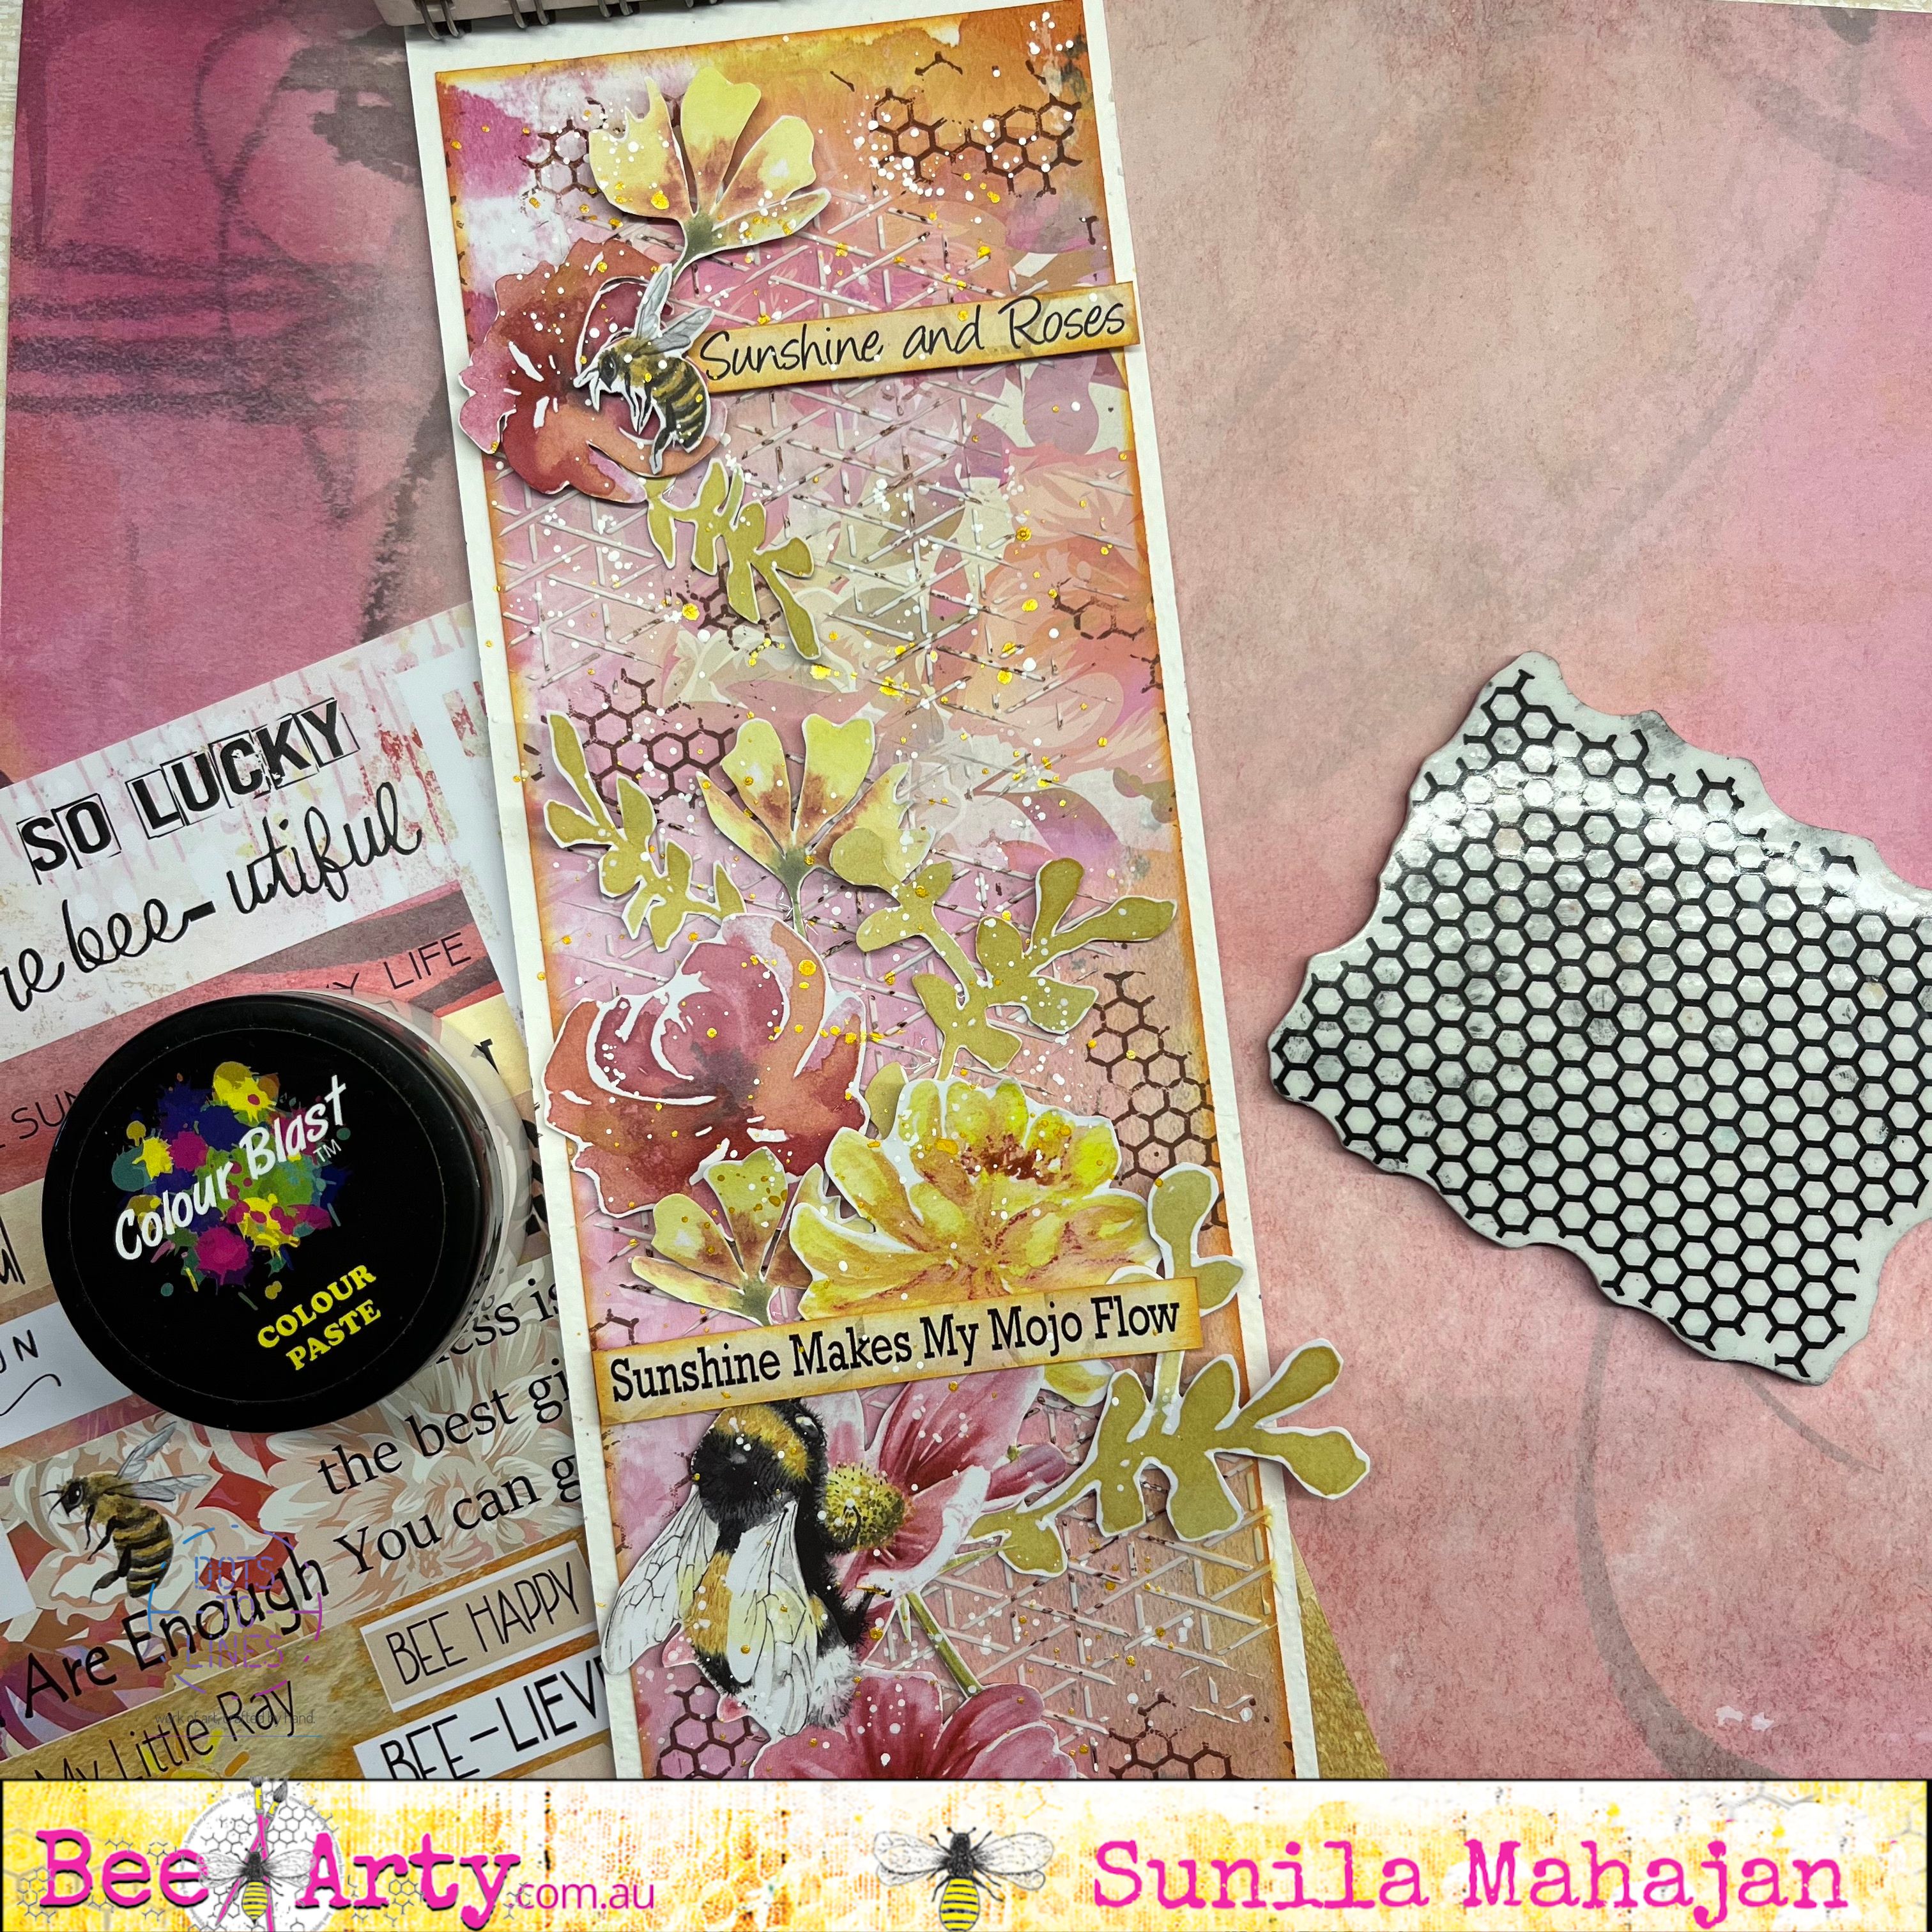
Sunshine and Roses Journal Page by Sunila

 Hello Bee Arty Lovelies,


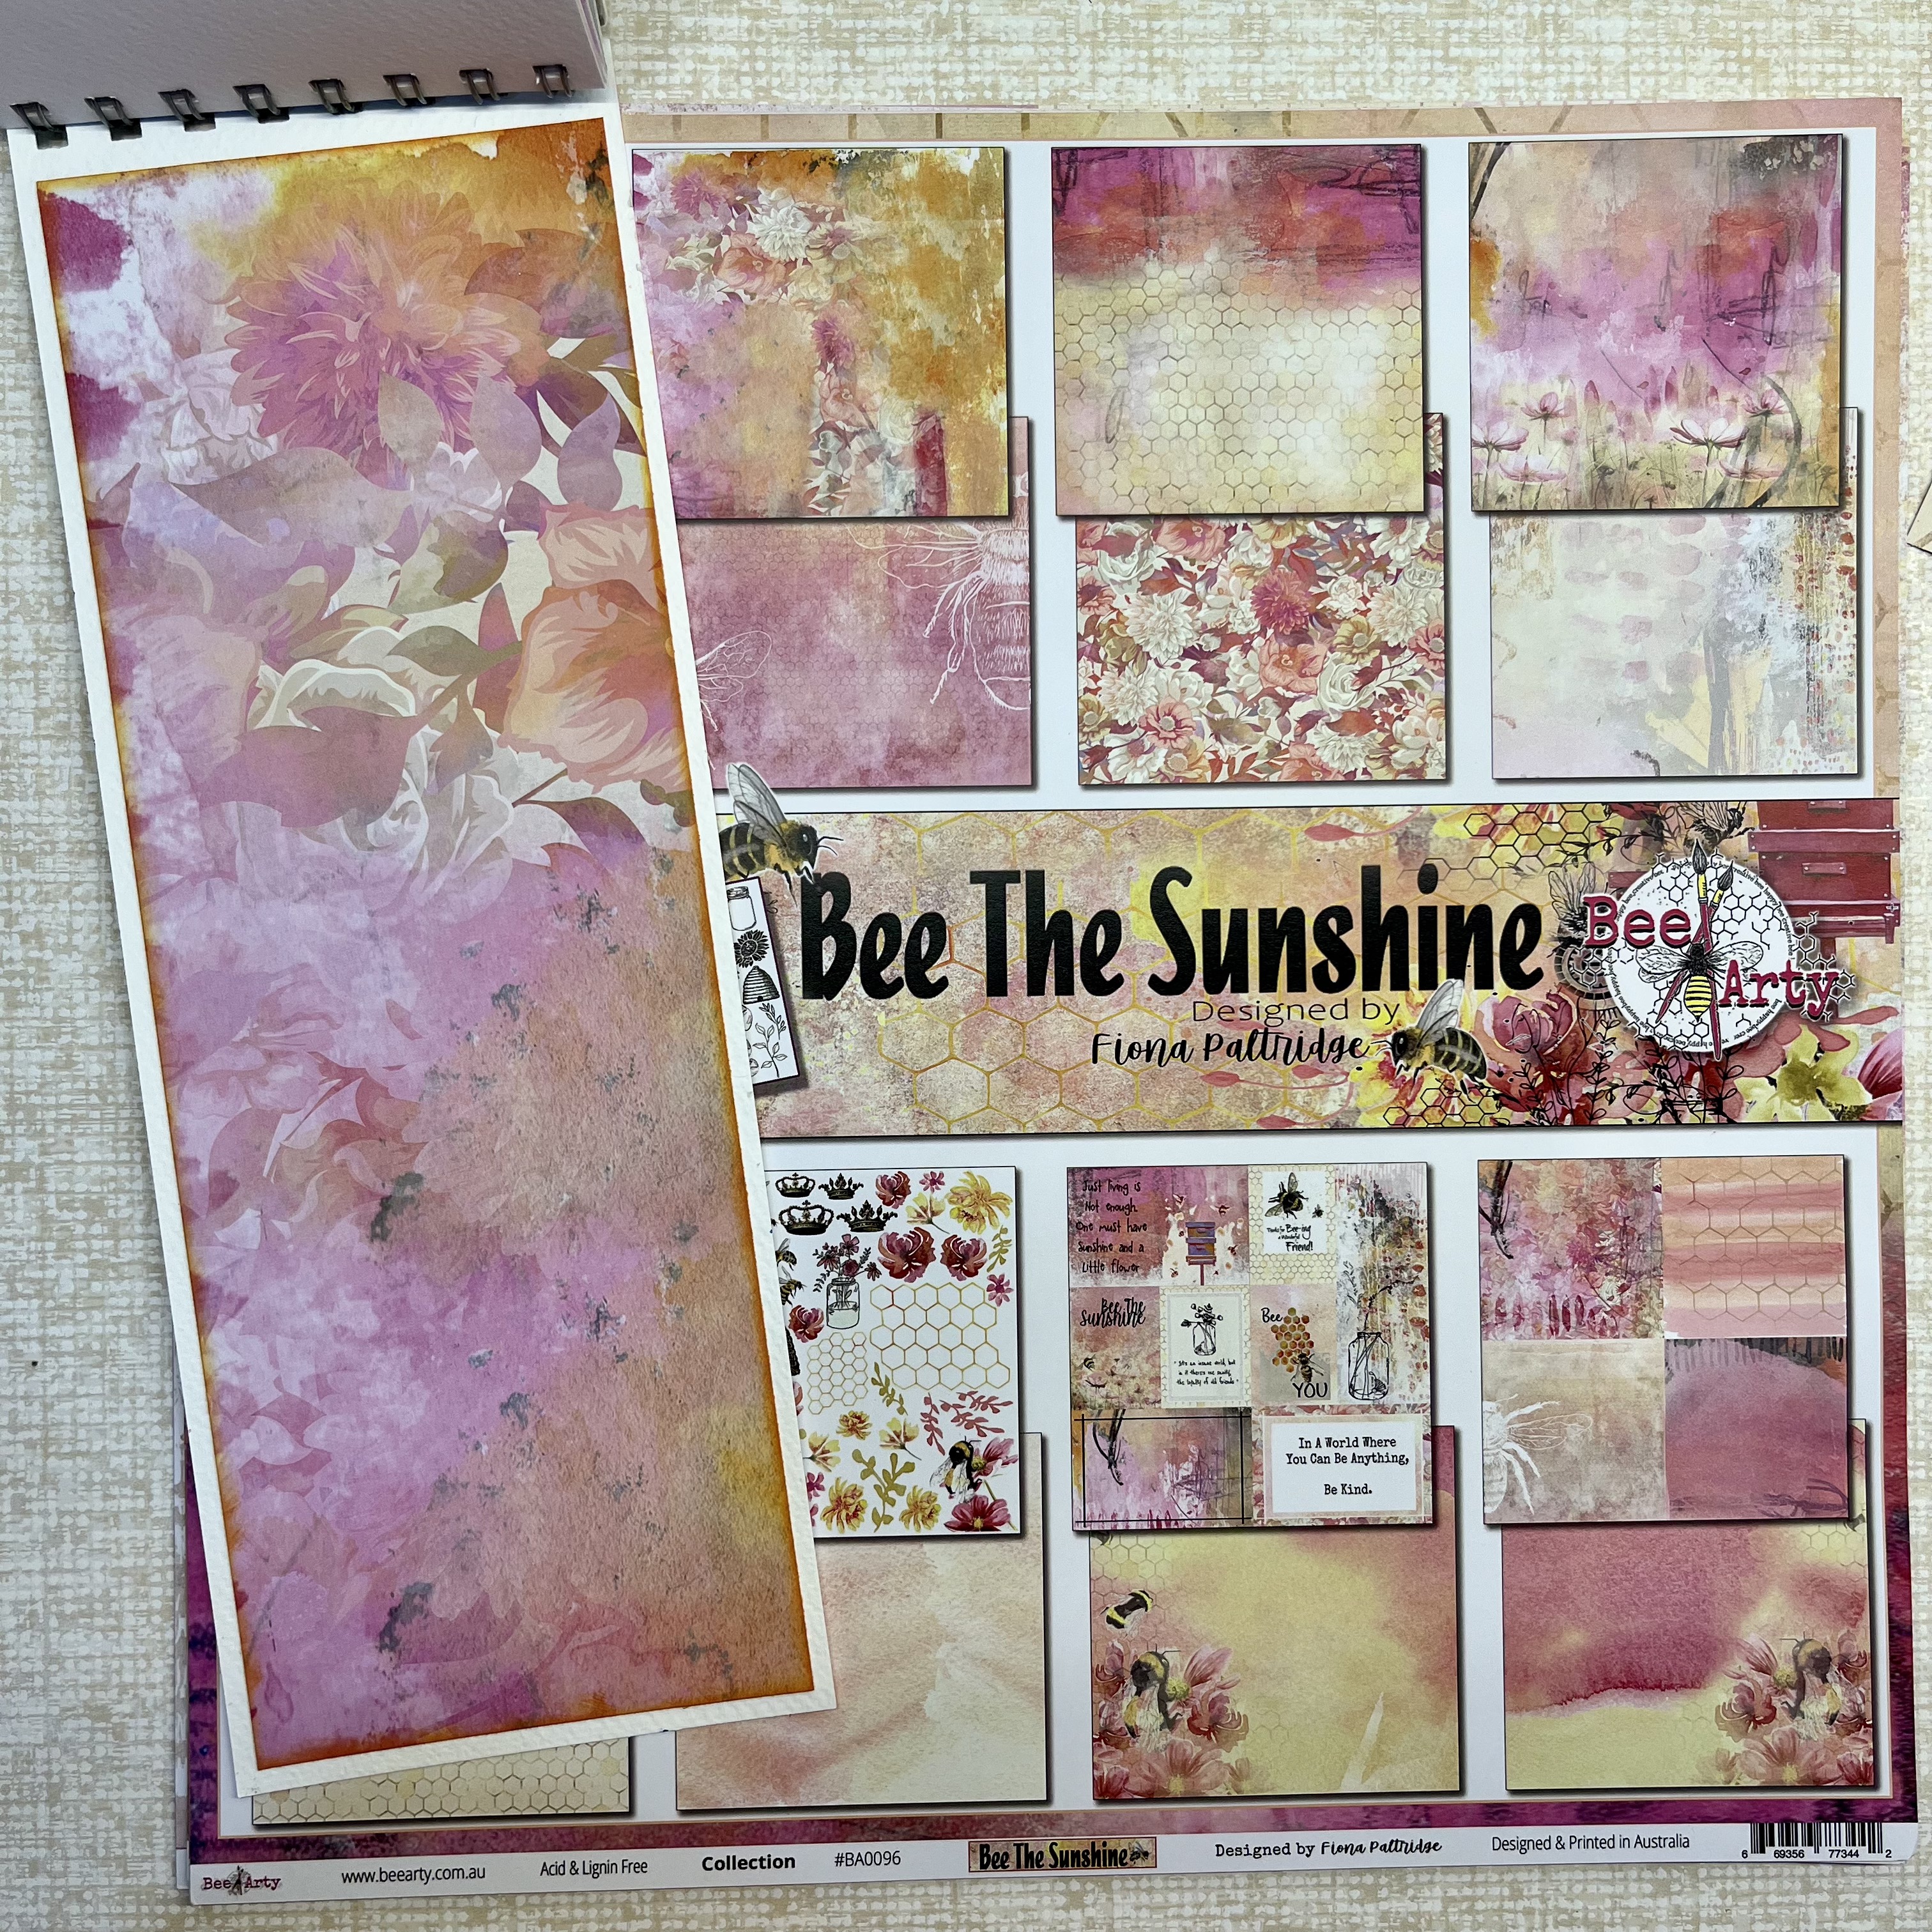
Today I'm back with a pictorial for you all! This time, I'm sharing a mixed media style journal page with simple easy steps using the Bee The Sunshine Collection. 

This collection is fun and vibrant, just what I enjoy when creating. So get your scissors out, and start fussy cutting all the lovely elements.

Here's a look at the page.


Step 1- Cut a piece of pattern paper from the collection depending on the size of your journal. I usually like to leave an 1/2 inch border on all sides. Distress the edges of the paper and adhere it down in the book. 


Step 2- Apply White Paste through a stencil randomly on the page.


Step 3- Add texture, with a background stamp and inks. Black inks and coloured inks that go with the existing colours, work well for this. I've used a shade of Brown. 


Step 4- Pick out all the fussy cut elements from the collection, and layer them on the page. Stick some flat down and some with foam tape, bringing in dimension,


Here's a look at some close-ups:


Supplies used:

Bee Arty Collection- Bee The Sunshine

Rhythm Stencil

Memories Rubber Stamp

Snow White Colour Paste


Hope you enjoyed this tutorial!

Hugs,

Sunila


Saturday, 18 June 2022

Masculine Wallet Card by Sunila Mahajan

 Hello Bee Arty Lovelies,


Sunila here, and I'm back with a fun pictorial for you'll. Today I'm using the Chit Chat collection for a paper crafting project. When it comes to making Masculine cards, it's a challenge for me. So today I thought of trying out a different idea, and I created a Wallet style card. This is a unique greeting card with space for a gift card/voucher/money. 

Here's a look at it:


Let's dive in, into the process of creating this.

Step 1:
Cut a piece of pattern paper at 10 3/4" x 3 1/2"


Step 2:
Score on the long side at 4 1/2", 4 3/4", 9 1/4" and 9 1/2". Rotate to left and score on the shorter side at 1 1/4" and 2 1/4" until the second score line. This is our base piece.


Step 3:
Cut another piece at 9 3/4" x 3". Score on the long side 1/4", 4 3/4", 5" and 9 1/2". On the short side score at 2 3/4". This is our first pocket piece.


Step 4:

Score and burnish the base piece and trim off the two shorter squares along the side as shown in the image below.


Step 5:
On the first pocket piece, cut the smaller square along the middle score lines, and the 2 corner squares. 


Step 6:
Time to glue the two pieces together. Place the pocket piece over the base. The middle score lines should align. Apply glue onto the side and bottom flaps and glue it to the base. This gives us a nice pocket for notes. 


Step 7: 
Cut three pieces for the inserts measuring- 2 1/4" x 4 3/8", 1 3/4" x 4 3/8" and 1 1/4" x 4 3/8"
Adhere tape along one long side and both shorter sides, stick them on top of each other to form the three pockets on the left inner side of the wallet.


Step 8:

Cut another piece measuring 2 3/4" x 4 3/8" . I then used a rectangle stitch die smaller than the piece to cut out a window. This creates a see through pocket for the inner right side of the wallet. Adhere tape on the bottom and the two sides and stick it on the wallet.
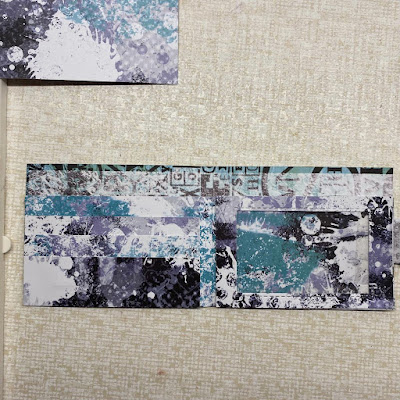

Step 9:

Fussy cut elements from the paper pack, and decorate the front. For the closure, you can use magnets, or velcro. I simply created a slit and inserted the flap in. Cut out elements and insert in the pockets, along with the gift card or a photo. 


I've used the Chit Chat Collection for this project. 

Hope you enjoyed this project!
Hugs,
Sunila