Showing posts with label Snow White. Show all posts

Saturday, 2 July 2022

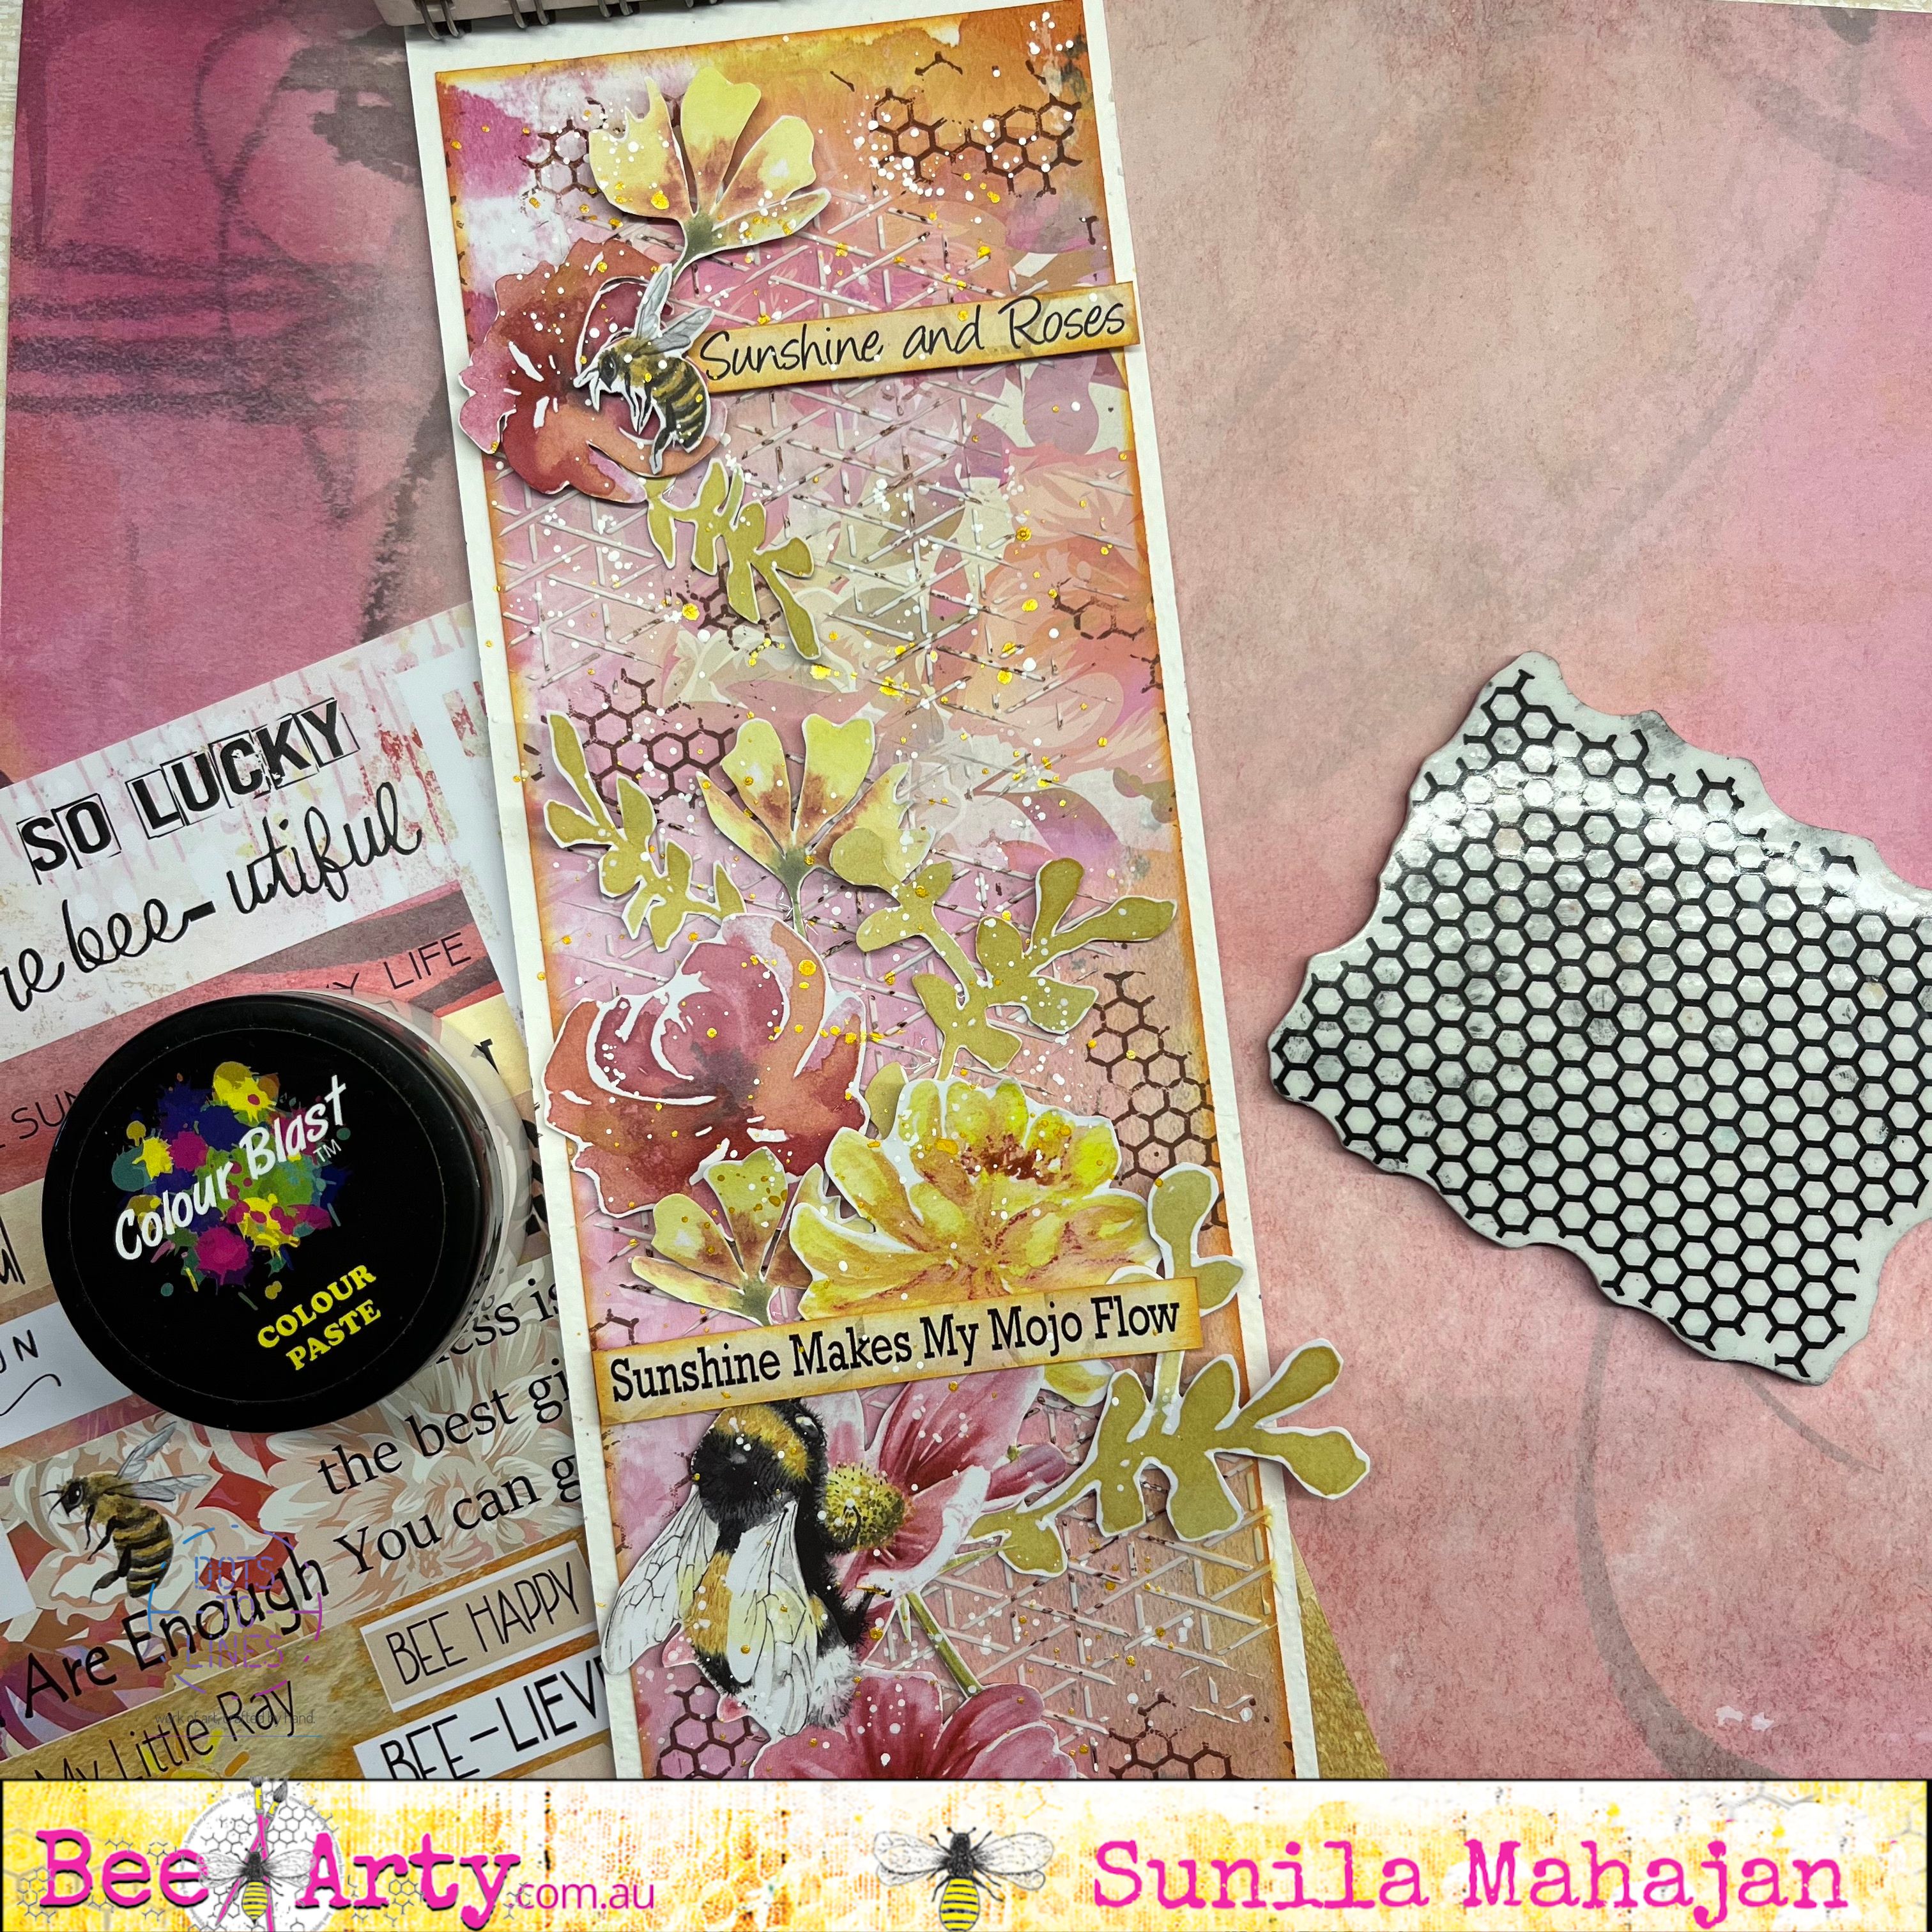
Sunshine and Roses Journal Page by Sunila

 Hello Bee Arty Lovelies,


Today I'm back with a pictorial for you all! This time, I'm sharing a mixed media style journal page with simple easy steps using the Bee The Sunshine Collection. 

This collection is fun and vibrant, just what I enjoy when creating. So get your scissors out, and start fussy cutting all the lovely elements.

Here's a look at the page.


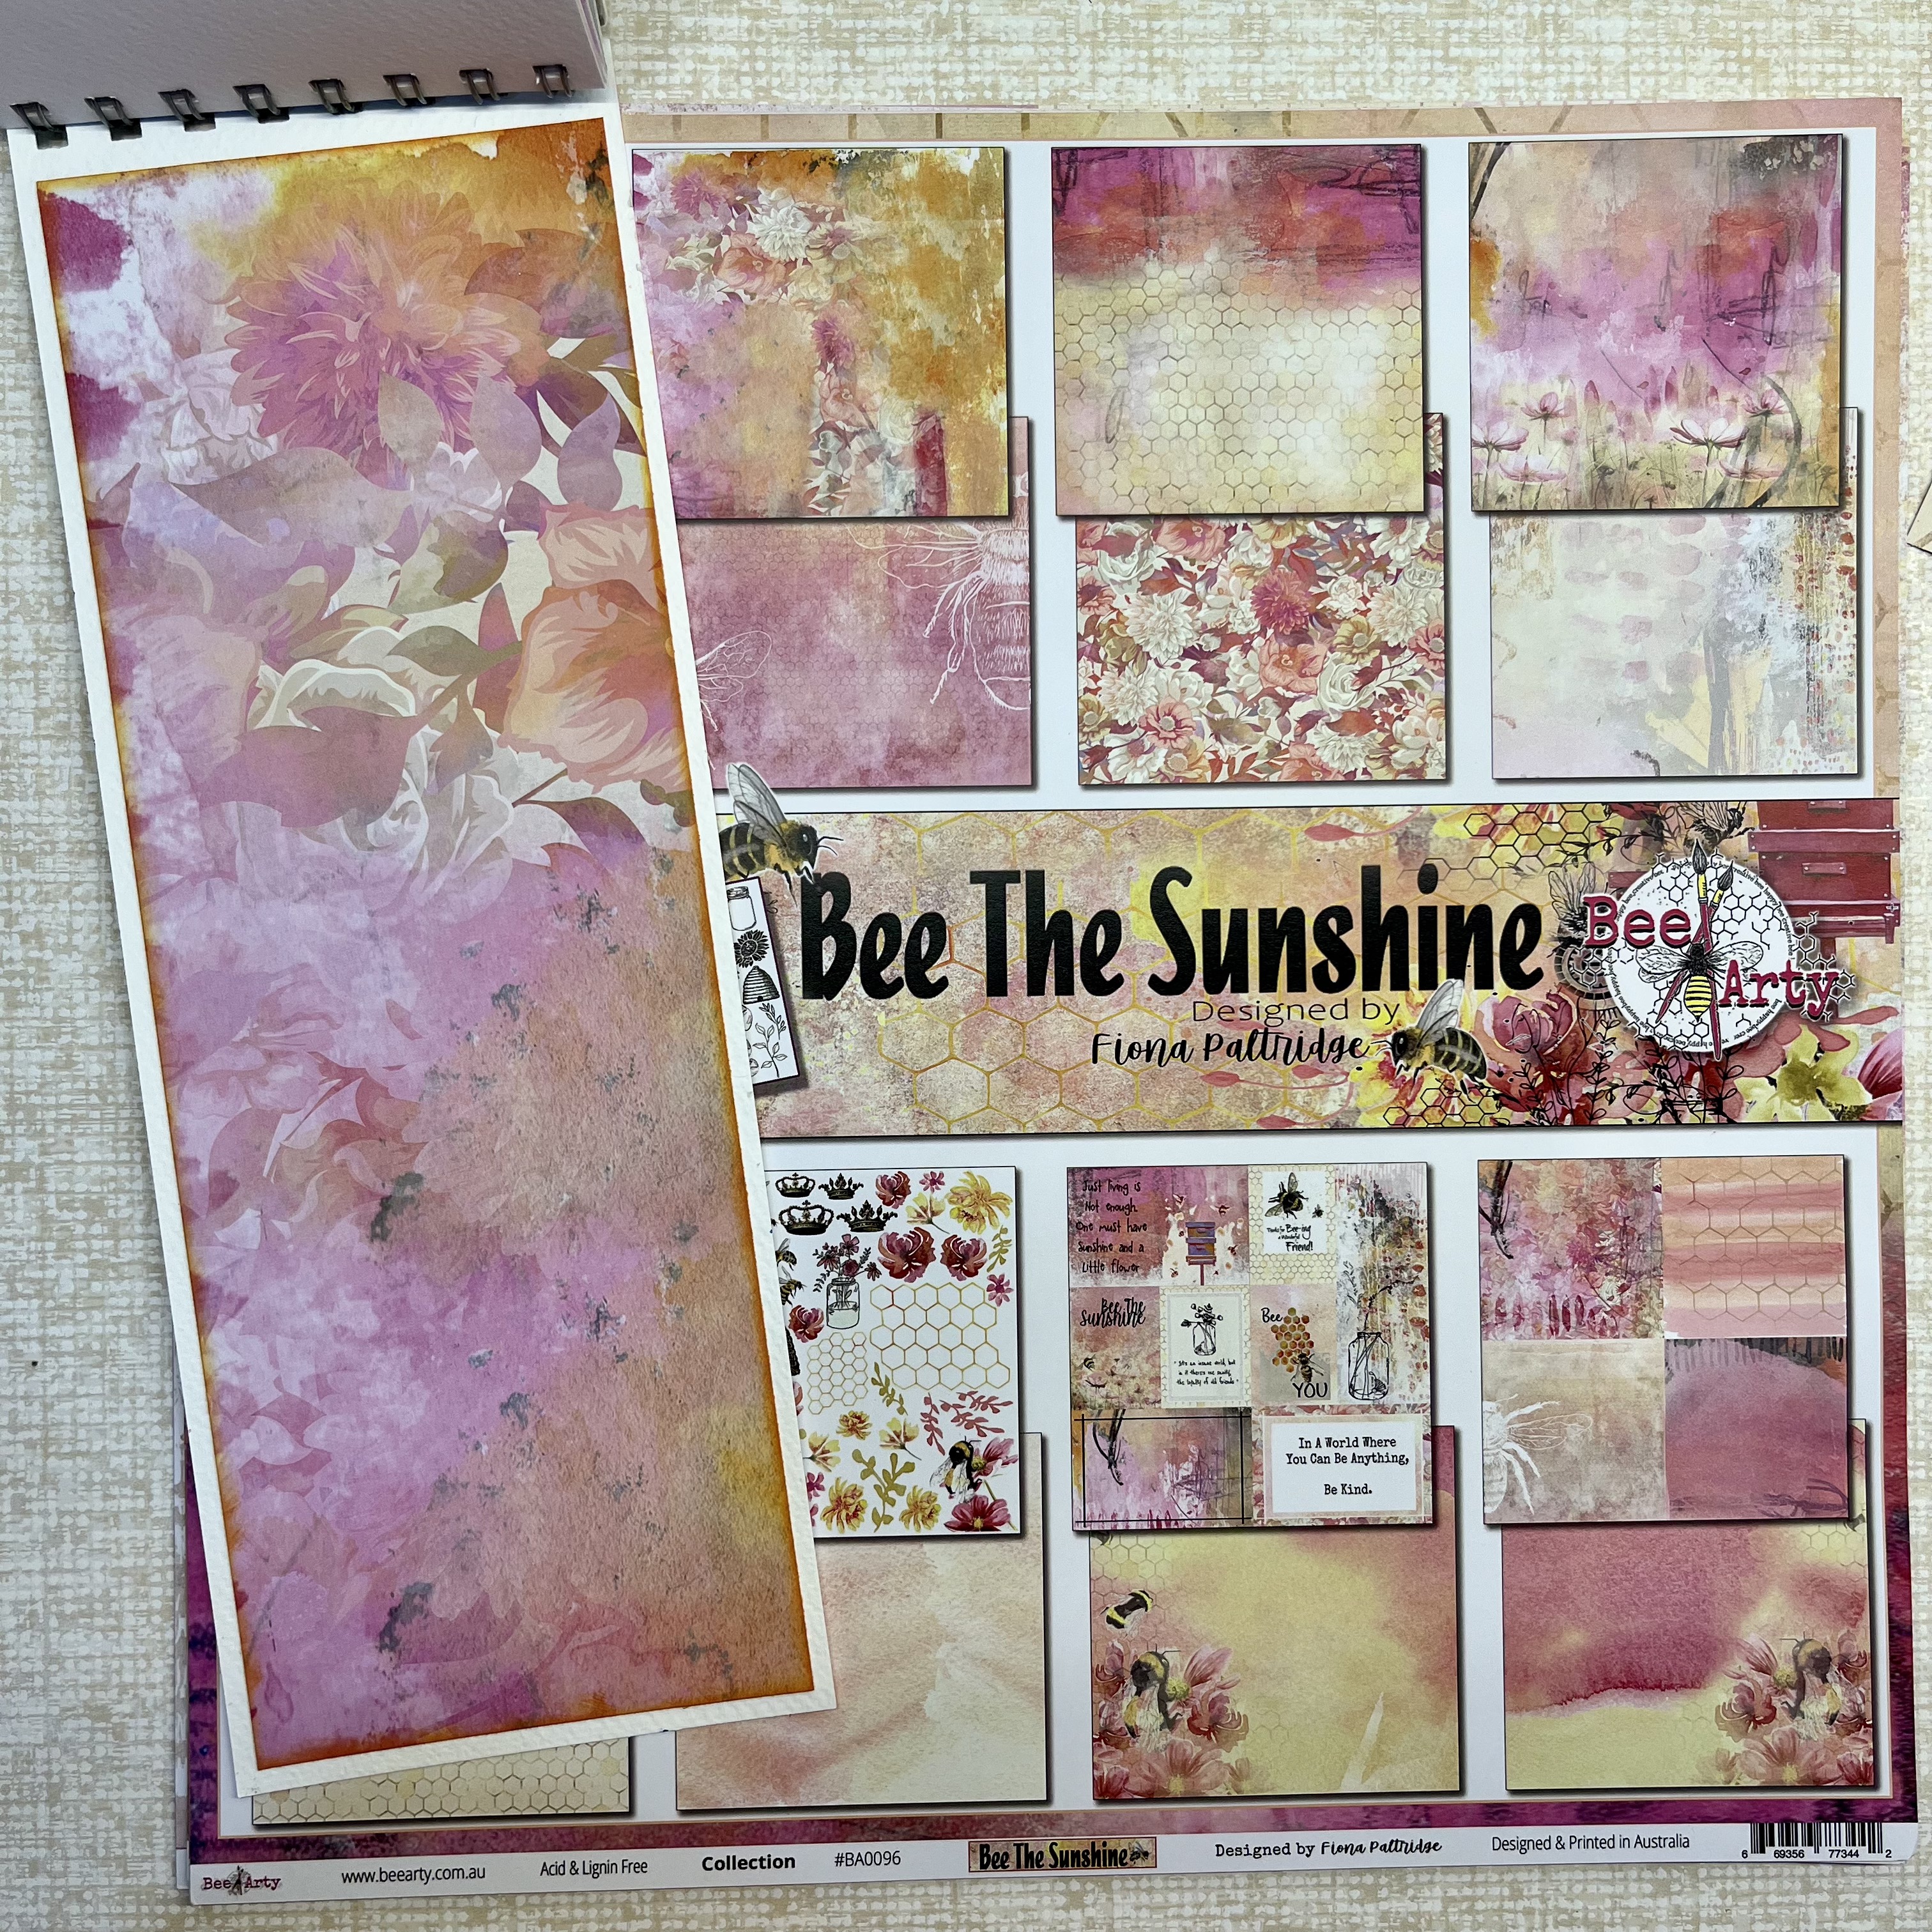
Step 1- Cut a piece of pattern paper from the collection depending on the size of your journal. I usually like to leave an 1/2 inch border on all sides. Distress the edges of the paper and adhere it down in the book. 

Step 2- Apply White Paste through a stencil randomly on the page.


Step 3- Add texture, with a background stamp and inks. Black inks and coloured inks that go with the existing colours, work well for this. I've used a shade of Brown. 


Step 4- Pick out all the fussy cut elements from the collection, and layer them on the page. Stick some flat down and some with foam tape, bringing in dimension,


Here's a look at some close-ups:


Supplies used:

Bee Arty Collection- Bee The Sunshine

Rhythm Stencil

Memories Rubber Stamp

Snow White Colour Paste


Hope you enjoyed this tutorial!

Hugs,

Sunila


Friday, 15 October 2021

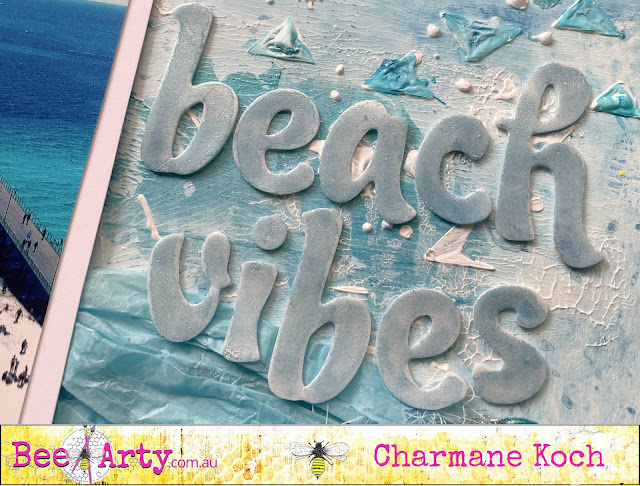
Beach Vibes by Charmane Koch

 Happy Friday Everyone!

Today it's a quick share from me - giving you some "Beach Vibes"


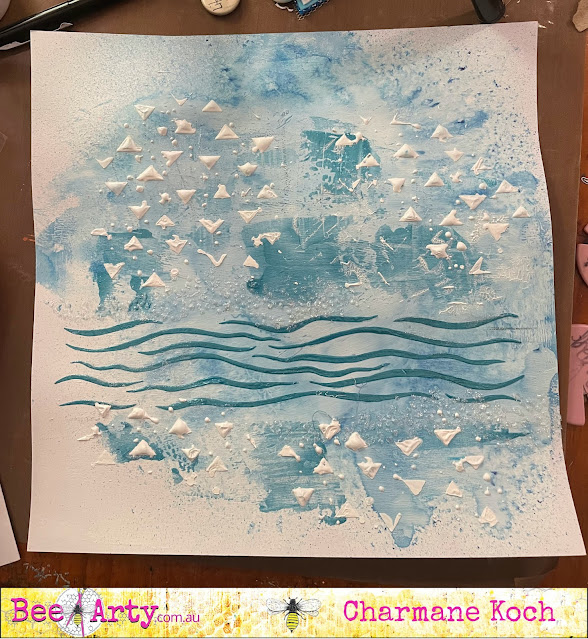
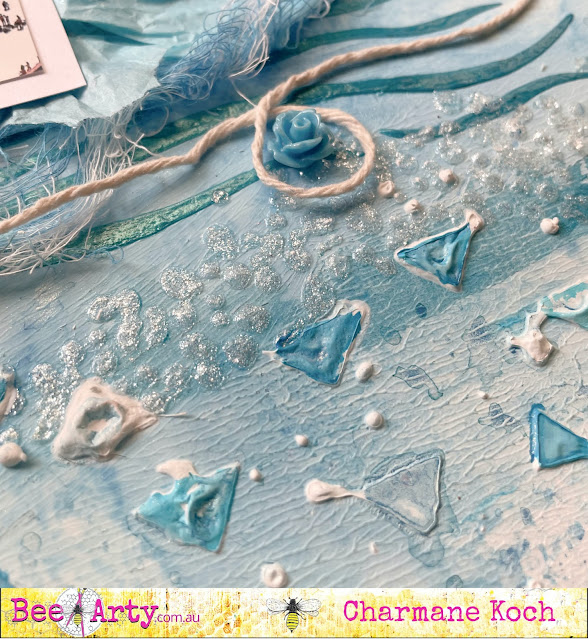
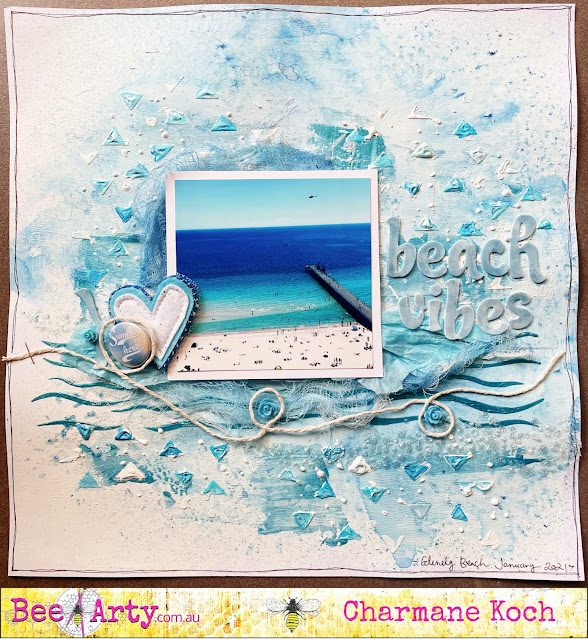
I started off with layering my White Cardstock with Gesso. I rolled it on with a brayer to give it the effect. I also sprayed with Polar Mica Powder and Water using this cool Mini Mister bottle using Modelling paste and stencils - Footprints stencil & the Triangle Spray Stencil. I used Snow White Colour Paste for the "bubbles" stencil & Deep Water for the "waves"


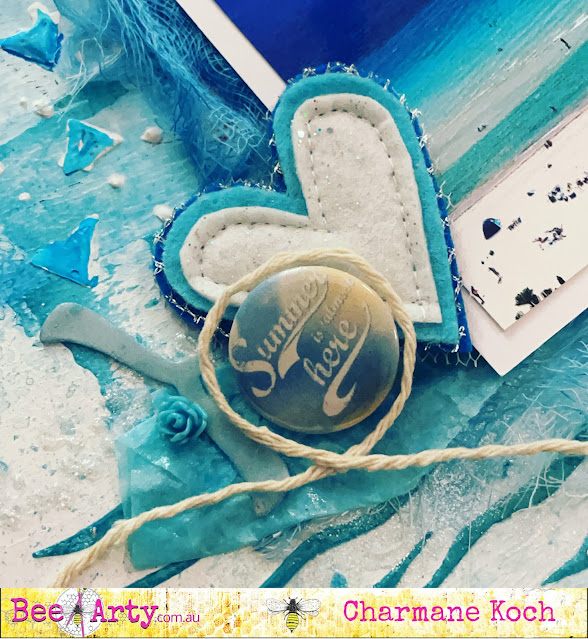
After playing a little bit and happy enough with the background I added the rest of the elements to my layout... and then I have coloured my little triangles and the title with Polar Mica Powder and Water... Here's a little video of me doing this and putting the layout together....


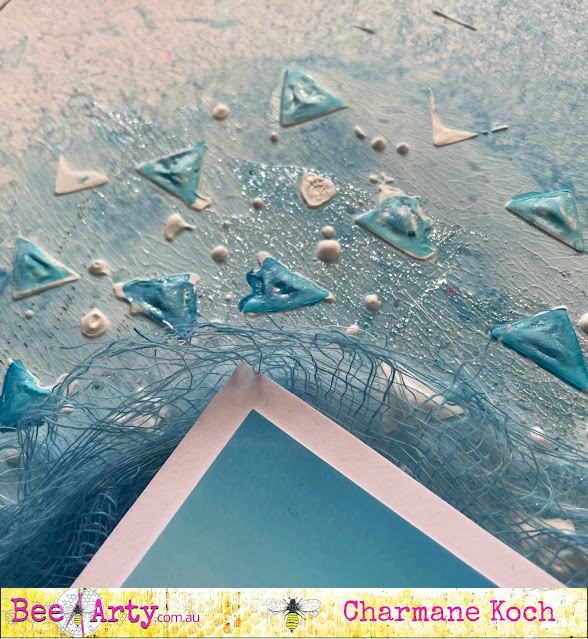
Here are some closeups...


Love that sparkle & shine!


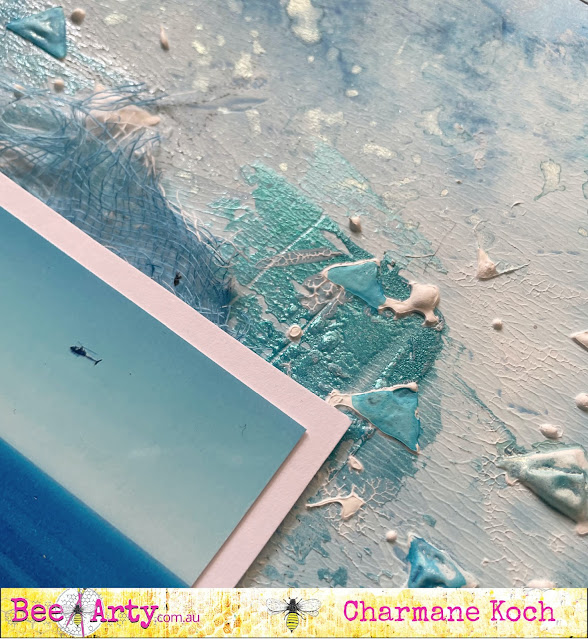
and more...


And the full layout finished...


and an extra closeup...


Thanks for popping by!


XO Charm

Wednesday, 7 November 2018

"My Girl" layout + process video by Sue Plumb


Hi everyone!
Sue Plumb here today to share my latest design team project with you. This mixed media scrapbook page was created using Colour Shimmer Sprays; Colour Paste; Colour Artist Inks and Colour Spray; and features a recent photo of my daughter I captured at the local park.


To create my page I started by applying both Blush and Tangerine Dream Colour Shimmer Sprays to my cardstock using a brush.


I then applied Snow White Colour Paste using a palette knife and a stencil, to add some subtle texture to the background. Once applied, I dried it off with a heat gun - it is at this point the paste comes to life, and the true colour and shimmer of the product is revealed.


With the base for my background complete, I then moved onto my papery layers. I used some scrap pieces of patterned paper from the Cocoa Vanilla Studio 'Life is Beautiful' collection, which I layered together to form a photo mat, then secured the stack with staples.


I then added the little stack to my page (again securing it with staples), before adding some frayed gauze and then my photo on top. 


The floral embellishments I used were designed by Wilna Furstenberg. I simply printed them out on some smooth white cardstock, then fussy cut them with scissors. I added the floral pieces using foam tape, and placed them so that they would frame the photo.


I then added the remainder of my embellishments - two sweet little acetate birds; as well as Cocoa Vanilla Studio resin flowers, flair button and enamel dots.


Next, it was time to add a little more colour to the page to help bring it all together. I used Citrus and Cider Colour Artist Inks to add some fine splatters using a small stiff brush.


I then repeated the process using Indigo Colour Spray before adding some small phrase stickers and my title (also a printable from Wilna Furstenberg).


If you would like to see exactly how this page came together, I have a process video available on the Colour Blast YouTube channel here:


Thanks so much for stopping by today so I could share this with you. Until next time, happy scrapping! 


Thursday, 17 May 2018

Bloom With Grace by Suzy Loudon

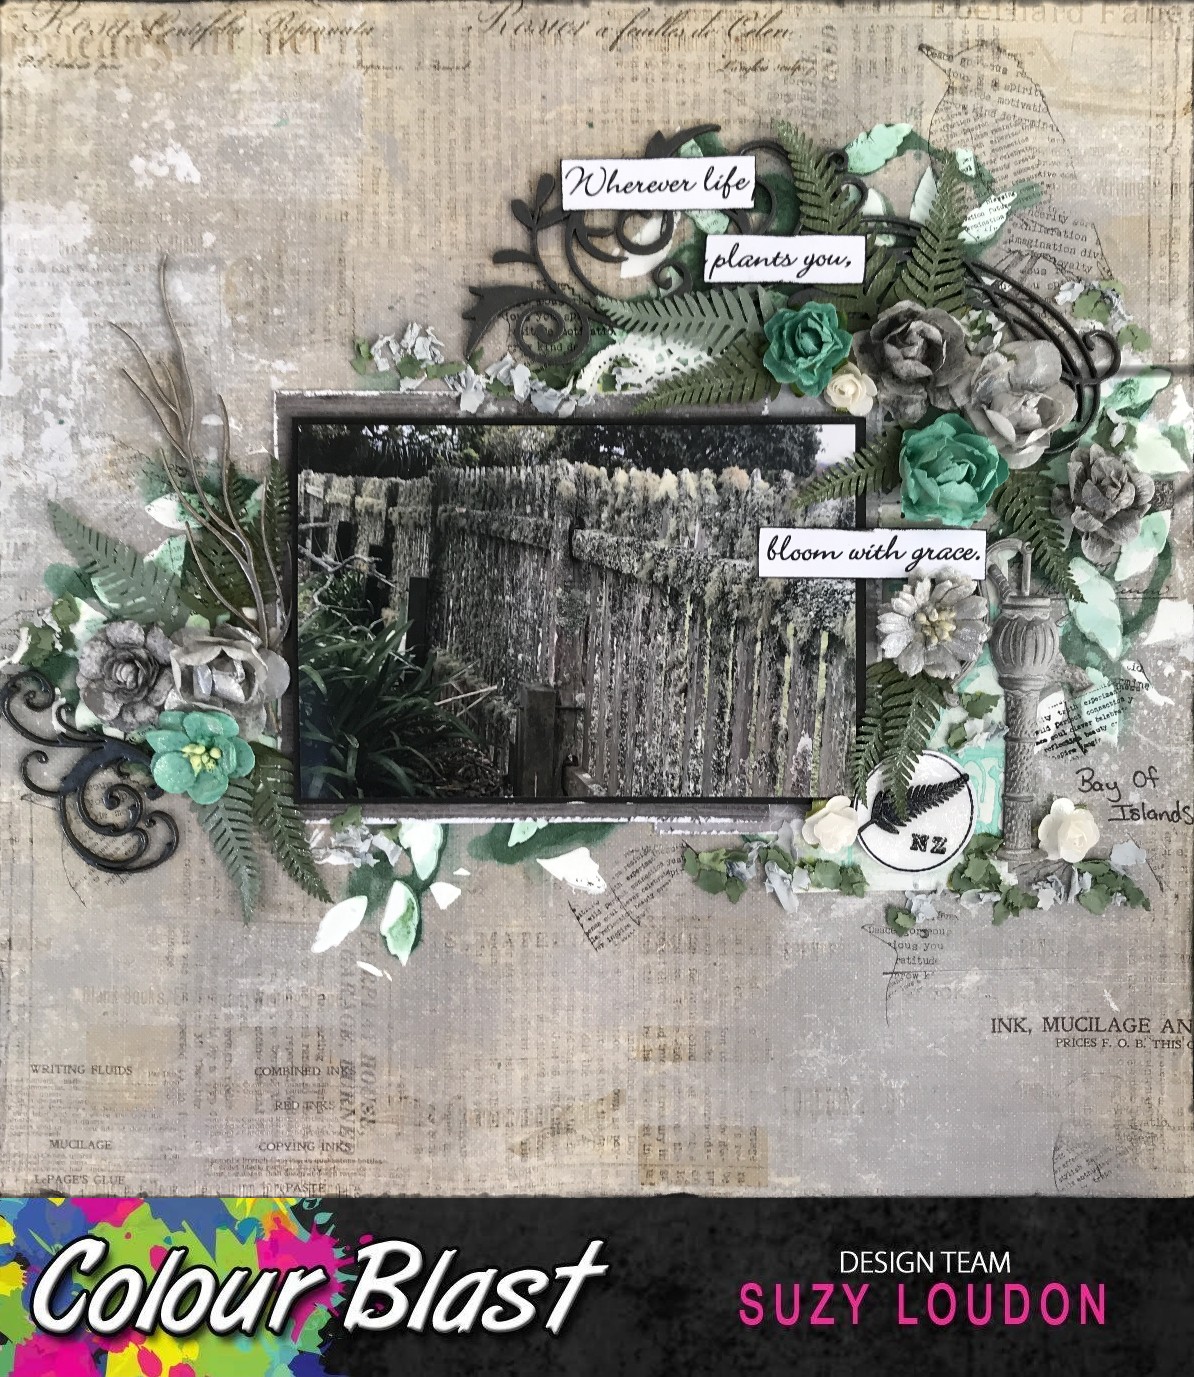
Hi everyone. Today I am sharing a layout I created using a photo of af old mossy fence I found during a tour around the Bay Of Islands, NZ last year. I found it behind a little church cemetery & was just devine.


Whilst I was thinking about creating this page I thought I could use some wondersoft. Not having any or any stores that I could get to I started thinking. Just the day before I had taken out some feathers I had done in a mould & remembered when I was cleaning it up, the fine bits I was pulling off would work perfectly...and so I made my own.
I mixed in some Grass Artist Ink into some No More Gaps. After mixing well I added a little more for a darker colour.


I couldn't get it quite dark enough so added some Soot Artist Ink. After mixing well I spread the mix out fairly thinly on the back of one of my silicone moulds.


I mixed up some more with with Soot to make a grey colour. After spreading it an the silicone mat I left it to dry for a day.


Once dry I peeled them off & tore it into tiny little bits.I thought it looked like moss quite well.


I used Envy Colour Paste through a stencil on a little tag. I then used some Heavy White Gesso on the edges. I used my finger to spread it on.


Using Dusty Charcoal Embossing Powder I gave my chipboard two coats.


I didn't want the mica that was left on the paper after tipping the Embossing Powder back into the container to go to waste. So I used my finger to rub it into a metal charm that was white.


I sprayed some white flowers with Steel Shimmer Spray.


Then lastly a few with Snow White Shimmer Spray


To finish off my embellishments I used Steel Shimmer Spray on some chipboard.


After assembling all my elements & sticking down I went over my fern leaves with the Clear Shimmer Brush Marker, giving them a lovely shimmer.


And with that I was done.
Here's a few close ups.


My homemade moss.


Thanks for looking,
xxx Suzy


Thursday, 3 May 2018

Friends by Suzy Loudon

Welcome back crafty friends. Today I have a layout to share. Brings back some wonderful fun memories...wish we could go back & do it again.


To begin my layout I tore around the edges of my paper then stuck it down onto pink cardstock.
I then spread some Blush  Colour Paste through a flower stencil & left to dry.


For my chipboard flourishes, I first painted them with Heavy White Gesso before embossing them with Snow White Colour Embossing Powder.


I sprayed Snow White Colour Shimmer Spray all over my page giving it a lovely sparkle. When using your shimmer Sprays don't forget to give them a really good shake to move all the gorgeous mica that has settled onto the bottom. This will also prevent the mica clogging up your spray.


I sprayed some white flowers with Blush Colour Shimmer Spray and Rose Petal Colour Shimmer Spray. I then gave them a light coat with Snow White Colour  Shimmer Spray.


My cheesecloth was sprayed with Envy Shimmer Spray. After spraying I rubbed it through the spray left on my craft mat to pick up all the shimmer.
I cut the cheesecloth up into random small pieces & stuck it in around my embellishment clusters.


I backed my photo onto some paper & clear acetate then arranged my clusters & stuck it all down.
I lightly gave my flowers a dry brush with Heavy White Gesso.


My chipboard letters were generously coated with a green ink pad. While still wet I quickly dipped the into Envy Colour Embossing Powder. After heat setting it while the embossing powder was still wet I re dipped into the powder for another coat.


After covering up my photo I lightly tapped some watered down White Gesso around.


Here are a few close ups.


Here you can really see the wonderful shimmer from the Snow White Shimmer Spray.


Thanks for looking. Have a wonderful day.
xxx Suzy