Sunday 29 March 2020

Love You by Tracy Jackson

Hello everyone! 

Today I'm sharing my very first post for Bee Arty.
Over the months I hope to share many more cards, tags and Art Journal pages


But for today I'm here to show you my "Love You" card.


I picked out Floral Delights 2 stamp set which is such a versatile set and a fussy cutters dream. Then, I wanted a background stamp so choose the Meridian stamp set.


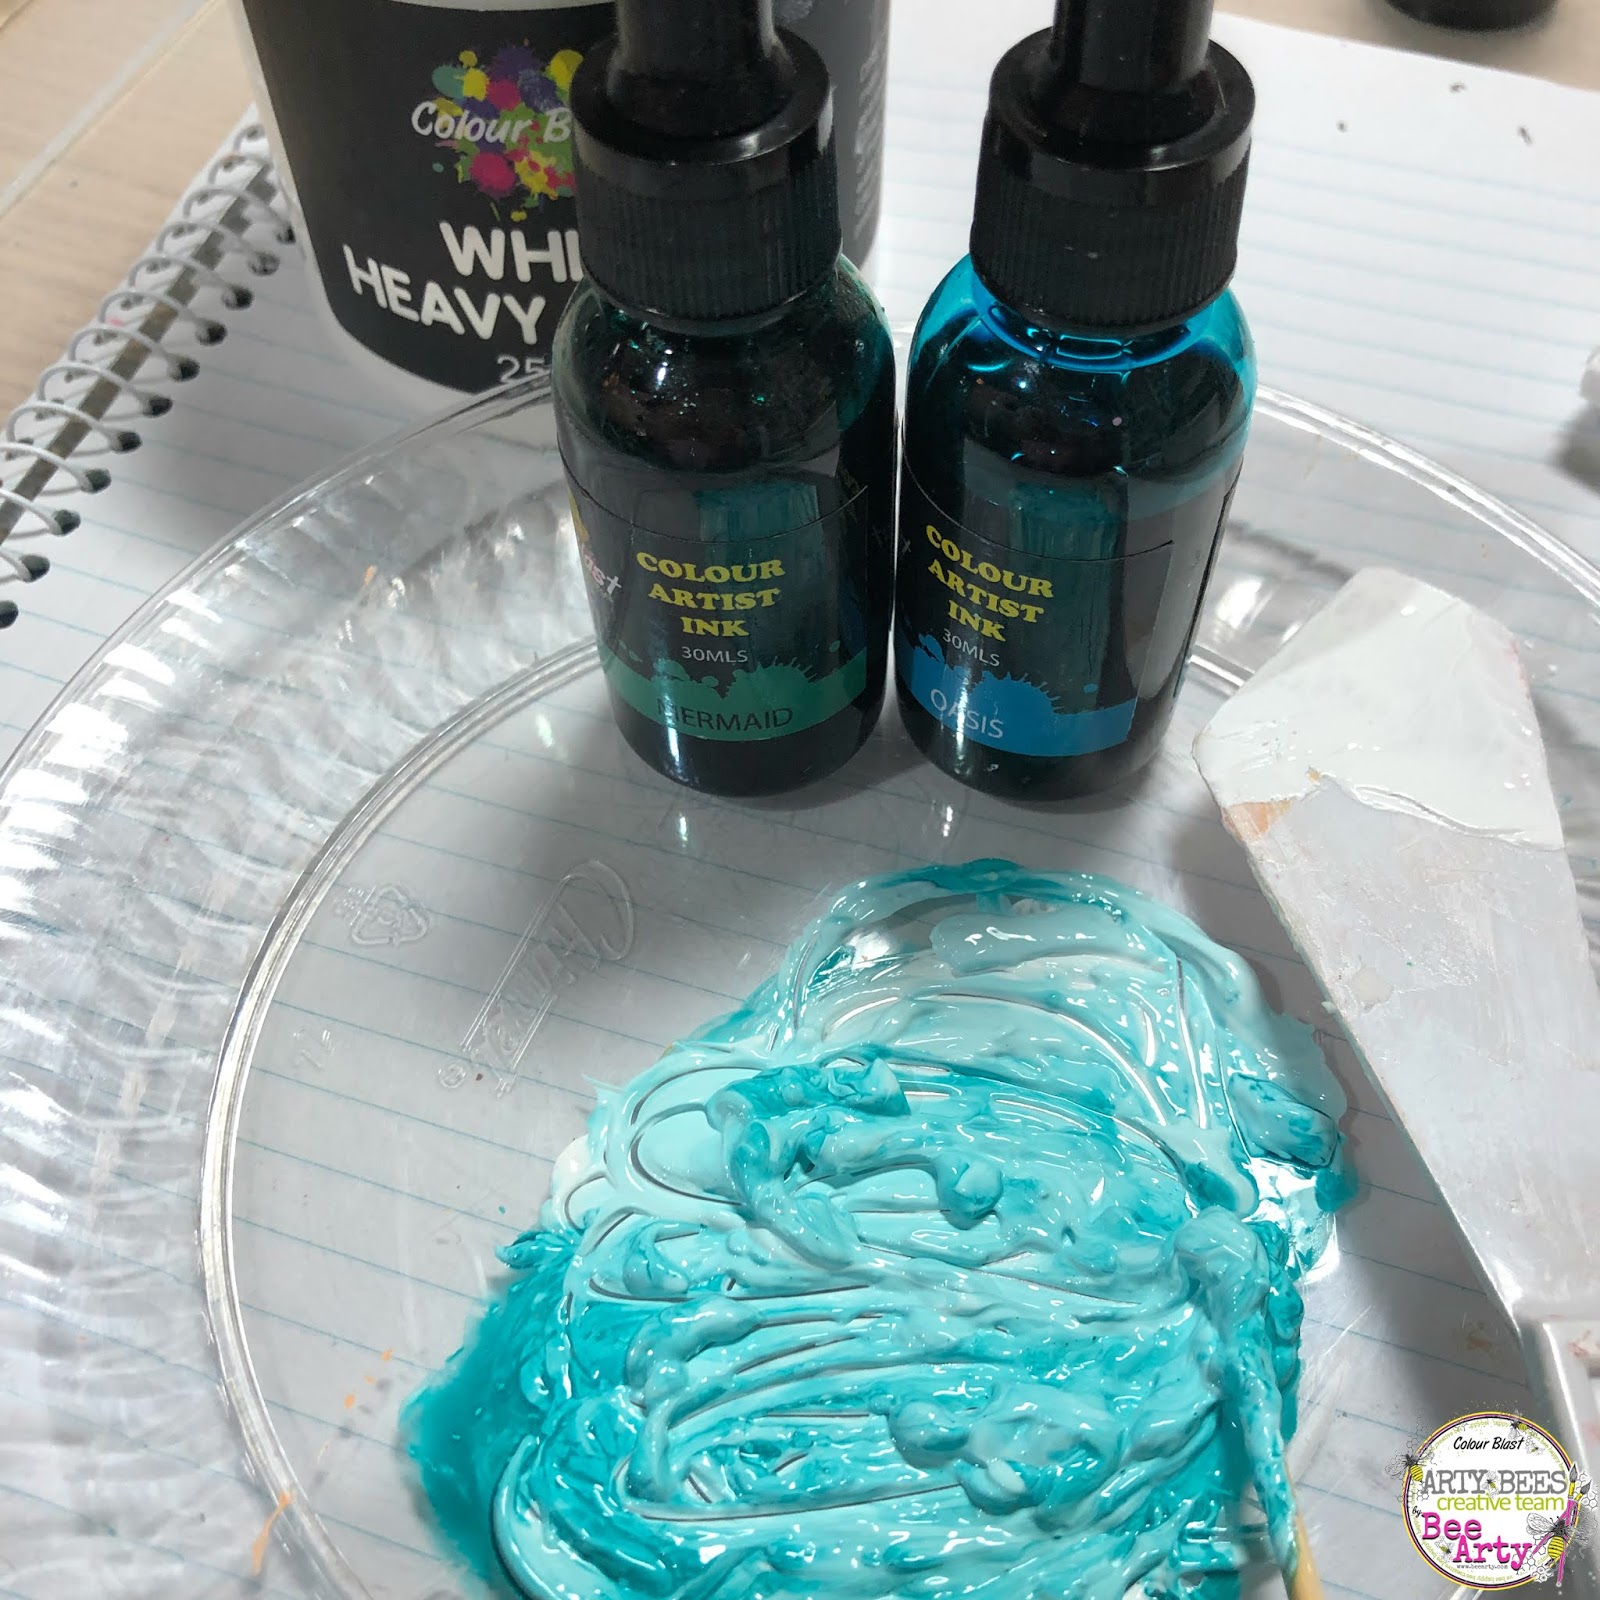
After stamping out 3 different size flowers with Stazon on watercolour paper I was time to pick out my Shimmer Dust colours. As I have never used these before I decided to do each size flower a different shade of blue and wanted to see how they reacted adding the Green Paris colour as a highlight.


While my flowers were drying I used a dry paint brush to tap dry Shimmer Dusts in Peacock, Colbalt and Paris onto some water colour paper. I then sprayed some water onto card and to activate colours and used heat gun to dry. 

Once I was happy I stamped a strip of circles from the Meridian stamp set and used Paris and Peacock shimmer dusts to darken some of the circles to make them stand out.

I also wet a little bit of Midnight shimmer dust so I could go around the edges of the card.


And finally after fussy cutting all the flowers, placing them on the card and cutting out the words "love You" from Mantras Untangle paper, I have a card!


My verdict on the Shimmer Dusts as a first time user.... Love them!
They blend lovely together and a lot goes a long way. I'm looking forward to using these on more projects.

Until next time, Happy Crafting!


Saturday 28 March 2020

Mothers Day - With Karyn Schultz!

Hi Bee Arty Lovelies!

It's Karyn here and today I have a scrapbook page to share with you made using lots of amazing products from Bee Arty!


I'm also joining in with the March creative challenge. We would love for you to join us with this challenge and be in the running to win a $30 online store voucher. 

I wanted to use some papers from the Follow your dreams collection so I started by selecting all the pink and yellow Bee Arty Colour Blast products I had and creating a colour swatch.


 From this swatch I decided to use the Colour Artist inks in Slipper and Citrus, the Midnight Colour Shimmer Dust , and Fire Engine Colour Paste.

 I start my backgrounds by Painting with plastic/watercolouring with the Colour Artist inks in Slipper and Citrus - make sure you dry between each colour. Then I added splatters of each ink colour and splatters of the Midnight Colour Shimmer Dust mixed with water.
 

Let this dry completely than add Fire Engine Colour Paste through the Devotion stencil in places across the page.


Here is my finished page. I chose a photo of my girls from last Mothers Day - with a fun snapchat filter.


 I've matted my photo on a white paper doilie and elements cut from the Shine paper from the Follow Your Dreams collection. At the bottom of my photo I've added a white paper die cut created using the Sweet Floral Metal Die.


 At the top right corner of my photo I've added an embellishment cluster using sequins, flowers, a metal embellishment and another white paper die cut created using the Sweet Floral Metal Die.


 At the top left of the page I've added an embellishment cluster using more sequins, flowers, paper strips cut from the Shine paper, another white paper die cut created using the Sweet Floral Metal Die, and a word chipboard embellishment that has been painted using Slipper Colour Artist ink.

 
 Along the bottom of the page I've added an embellishment cluster using more sequins, flowers, paper strips cut from the Shine paper, a metal embellishment and another word chipboard embellishment that has been painted using Slipper Colour Artist ink.


Thanks so much for stopping by

Crafty Hugs xx


Wednesday 25 March 2020

Life is a Work of Art, by Ros Aggett-Madley


My project today has been done on some card I cut to 8x6 inches.


I stamped the row of houses from the City Lights stamp set onto this.  I repeated this 3 times on a separate piece of card so that I could do some layering for a 3d look.


I've then coloured each piece with some water mixed in tiny amounts of Colour Shimmer Dust.  Mixing some to get different shades.
I've done this to my base piece and any piece I wanted to build up into layers.  


Foam tape has been used to layer the pieces.  The little yellow garage is 2 layers.  The trees are 2 and 3 layered.
The tall pink house is 3 layers and the other 2 are 2 layers.


Once these were all assembled I have added a wash of water and Colour Shimmer Dusts to the background.  
A quote has been added with matte gel from Scrap FX Creativity Phrases Rice Paper and a few birdies from the Lifes a Beach stamp set


Hope you've been inspired 💙


Saturday 21 March 2020

"Beauty" by Anta Enright


Welcome back Crafters.

For my post today I wanted to use one of the gorgeous rice papers in my personal stash, so I teamed it with some of my favourite colours from Colour Blast by Bee Arty. The final result ended up entirely different to what I what I was first imaging but I love the end result.


 To start I took my chosen size canvas which had already been prepped with Gesso and attached my rice paper lady along with wording from the paper to the canvas using a clear glue.

I decided straight off I wanted to use the Sienna Colour Paste and needed a colour to combine nicely with it.  One of my favourite colours from Colour Blast by Bee Arty is Deep Water but I didn't have any in my collection so thought I would mix up something similar from my Artist Inks.  I chose the colour of Mermaid and Oasis combining equal quantities with some Heavy White Gesso


I covered the majority of the canvas front (kept away from the lady and also went around the edges (sorry forgot to take a photo).  The colour wasn't as intense as I wanted so I just mixed up the same Artist Ink colours together. This time I applied the colour directly to my project, no gesso used this time.  I dabbed it all over the canvas and as the first layer dried I then added more, going gently over my image.


Once dry I took the Sienna Colour Paste and the A6 stencil Rose Reveal from the Love and Grace collection and applied the Colour Paste around the edges of the canvas. I also took some of the Colour Paste on the edge of one of my fingers and smudged it in between the stenciling.


More interest needed to be added to the background.  I added some stamping using the script stamp from the Memories Stamp set using a matching ink pad from my collection.  
Next I added more texture using the Scripted Stencil and a mix of Heavy White Gesso and some of the Mermaid Shimmer Dust in a few random places. I then used the same stencil with some of the Mermaid and Oasis Artist Ink to add more details to the background.


The last couple of details I created before adding my embellishments was the colouring of my metal with some of the Deep Water Embossing Powder.  I heated up the metal embellishment with a heat gun and then sprinkled the powder over it.  Shake off the excess then set with the heat gun.


And lastly, using a combination of Colour Sprays and Colour Shimmer Sprays colour up some cotton gauze to match the colours of the canvas. I used Colour Sprays in Lagoon and Coffee and Shimmer Spray in Sienna .
I added a few strands of colours pearls along the top and bottom of the canvas and also coloured up a chipboard title with a matching ink.
I glued metal at the waist of the girl and added some matching flowers, tucking in some of the coloured gauze underneath.  Finally I added flowers to her hair and added the gauze also.


Check out the couple of closeups of the canvas.


Thanks for stopping by.  I hope you get some craft therapy some time this week.

Take care for now.

Anita E


Friday 20 March 2020

Technique Time...by Tanya Froud

Hi Bees!
Today I have a technique for you. I wont say quick, because you need to let it dry overnight...patience!


 You will need
-Watercolor Card Stock
-Shimmer Dusts
-Cling Wrap
-Water spritz bottle
-Washi tape or masking tape

Simply tape your your card down to the table to keep it flat.
Next sprinkle a tiny bit of shimmer dusts in your chosen colors (remember mixing warm and cool colors can make muddy colors)
Spray with a good amount of water.
Take a piece of cling wrap larger than your card and lay/scrunch it to cover all your card.
Walk away and let dry naturally.


Once fully dry pull back and reveal your masterpiece.
These are great for Card fronts, art Journal pages or even on a scrapbook page.

Here is one that I drew on to create a night forest scene.


Well that is it from me, i would love to see if you try this idea!

Wednesday 18 March 2020

'You Rock' by Amy C

Hi Everyone! 

I am sharing this page today for Bee Arty to showcase some of the fantastic products in store. 

I set out to design a masculine page with a photo of my eldest, Josh, when he attained his Learner's Permit.


I started with the 'Graffiti Grunge' range of papers and a sheet of white cardstock. I added some layers of other media over the layered papers - adhered together.

I splattered 'Road Base' and 'Rainforest' Colour Spray over the white cardstock alongside my doodling around the border. I have also stamped in various places using the 'Life is Tough' clear stamp set.


Before I adhered my photo down I used a strip of corrugated paper from my stash. I love using the corrugated cardboard as it adds a delightful texture to the page.
I applied some of the 'Steel' Colour Blast Colour Paste over the top of some 'Black' Heavy Gesso.
After I heat-dried the gorgeous 'Steel' paste, I applied some if the Shimmer pen, in 'Pewter', as pictured.
The combo of the black, steel and pewter provided a rustic look that compliments the papers well.

Finally, for my title, I used a quote from the 'Graffiti Grunge' range. I love how this page came together. 

In these close-ups, you'll see some Bee Arty and Colour Blast products - here is a list of them - with links to them 'in-store':

'Graffiti Grunge' papers
'Road Base' and 'Rainforest' Colour Sprays
'Life is Tough' Clear Stamp Set
'Steel' Colour Paste
'Pewter' Simmer Pen


Well that's it from me today - thank you for stopping by. I hope this leaves you feeling inspired.
Happy crafting!
Amy