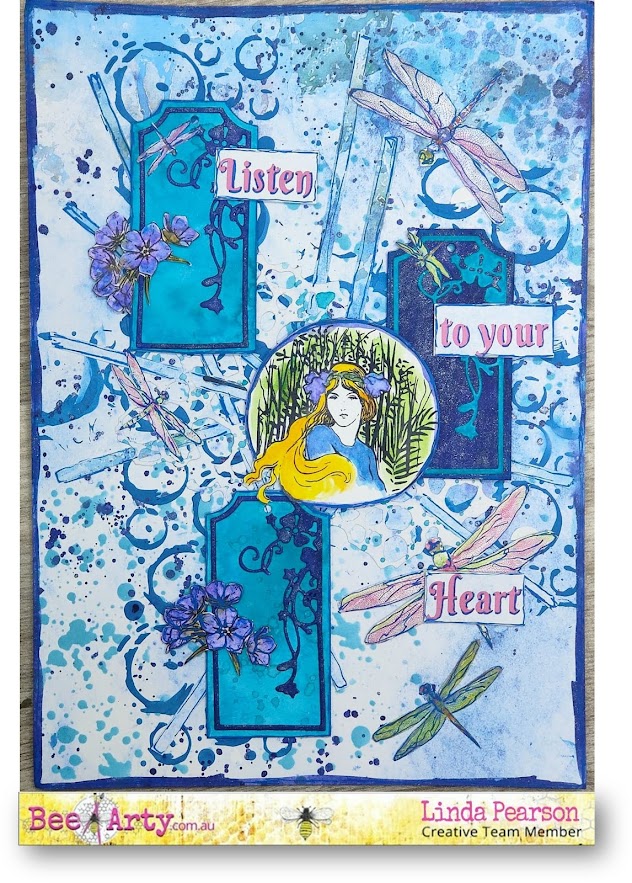
Today’s journal page
has been created using the Moonshadows Collection by Sue Smyth. This beautifully designed serene paper
collection will be available later this week.
To ensure you don’t
miss your chance to work with these beautiful papers and inspiring mixed media
tools, subscribe today to receive your kit … Bee Arty Kit Club
Moonshadows collection designed by
Smyth
Moonshine word cardstock (side B)
Dragonfly dance cardstock
Collection cut-out
sheet
Borderline A4 stencil
Moondust A5 stencil
Floral Tags metal die
Moonrock metal die
White
Cardstock – Bee Arty A4
Bee Arty Shimmer
dust
– peacock, cobalt, passion
Bee Arty Colour
Spray lagoon + drop of grass Colour
artist inks
Darice
6 well paint palette
Mini archival ink pad –
Garden Patina
Blending tool / foam
tip
Modelling paste
Mounting tape
Water colour paints
Paint pen – royal blue
Liquid adhesive
Cut
the Moonshine word sheet (side B) down to A4 size.


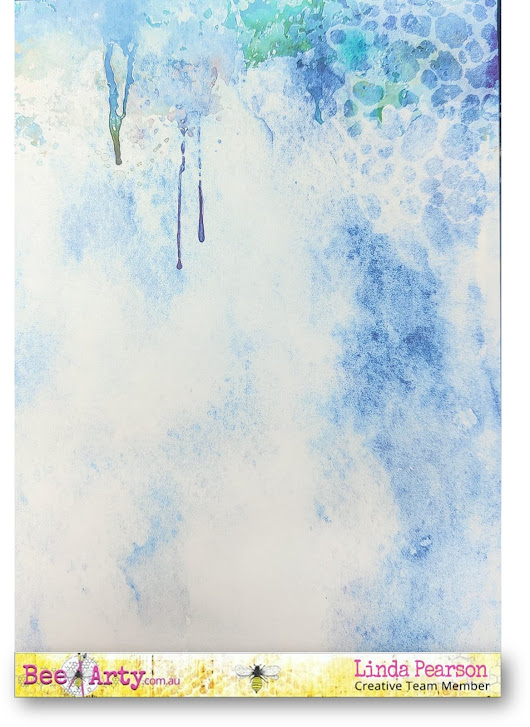
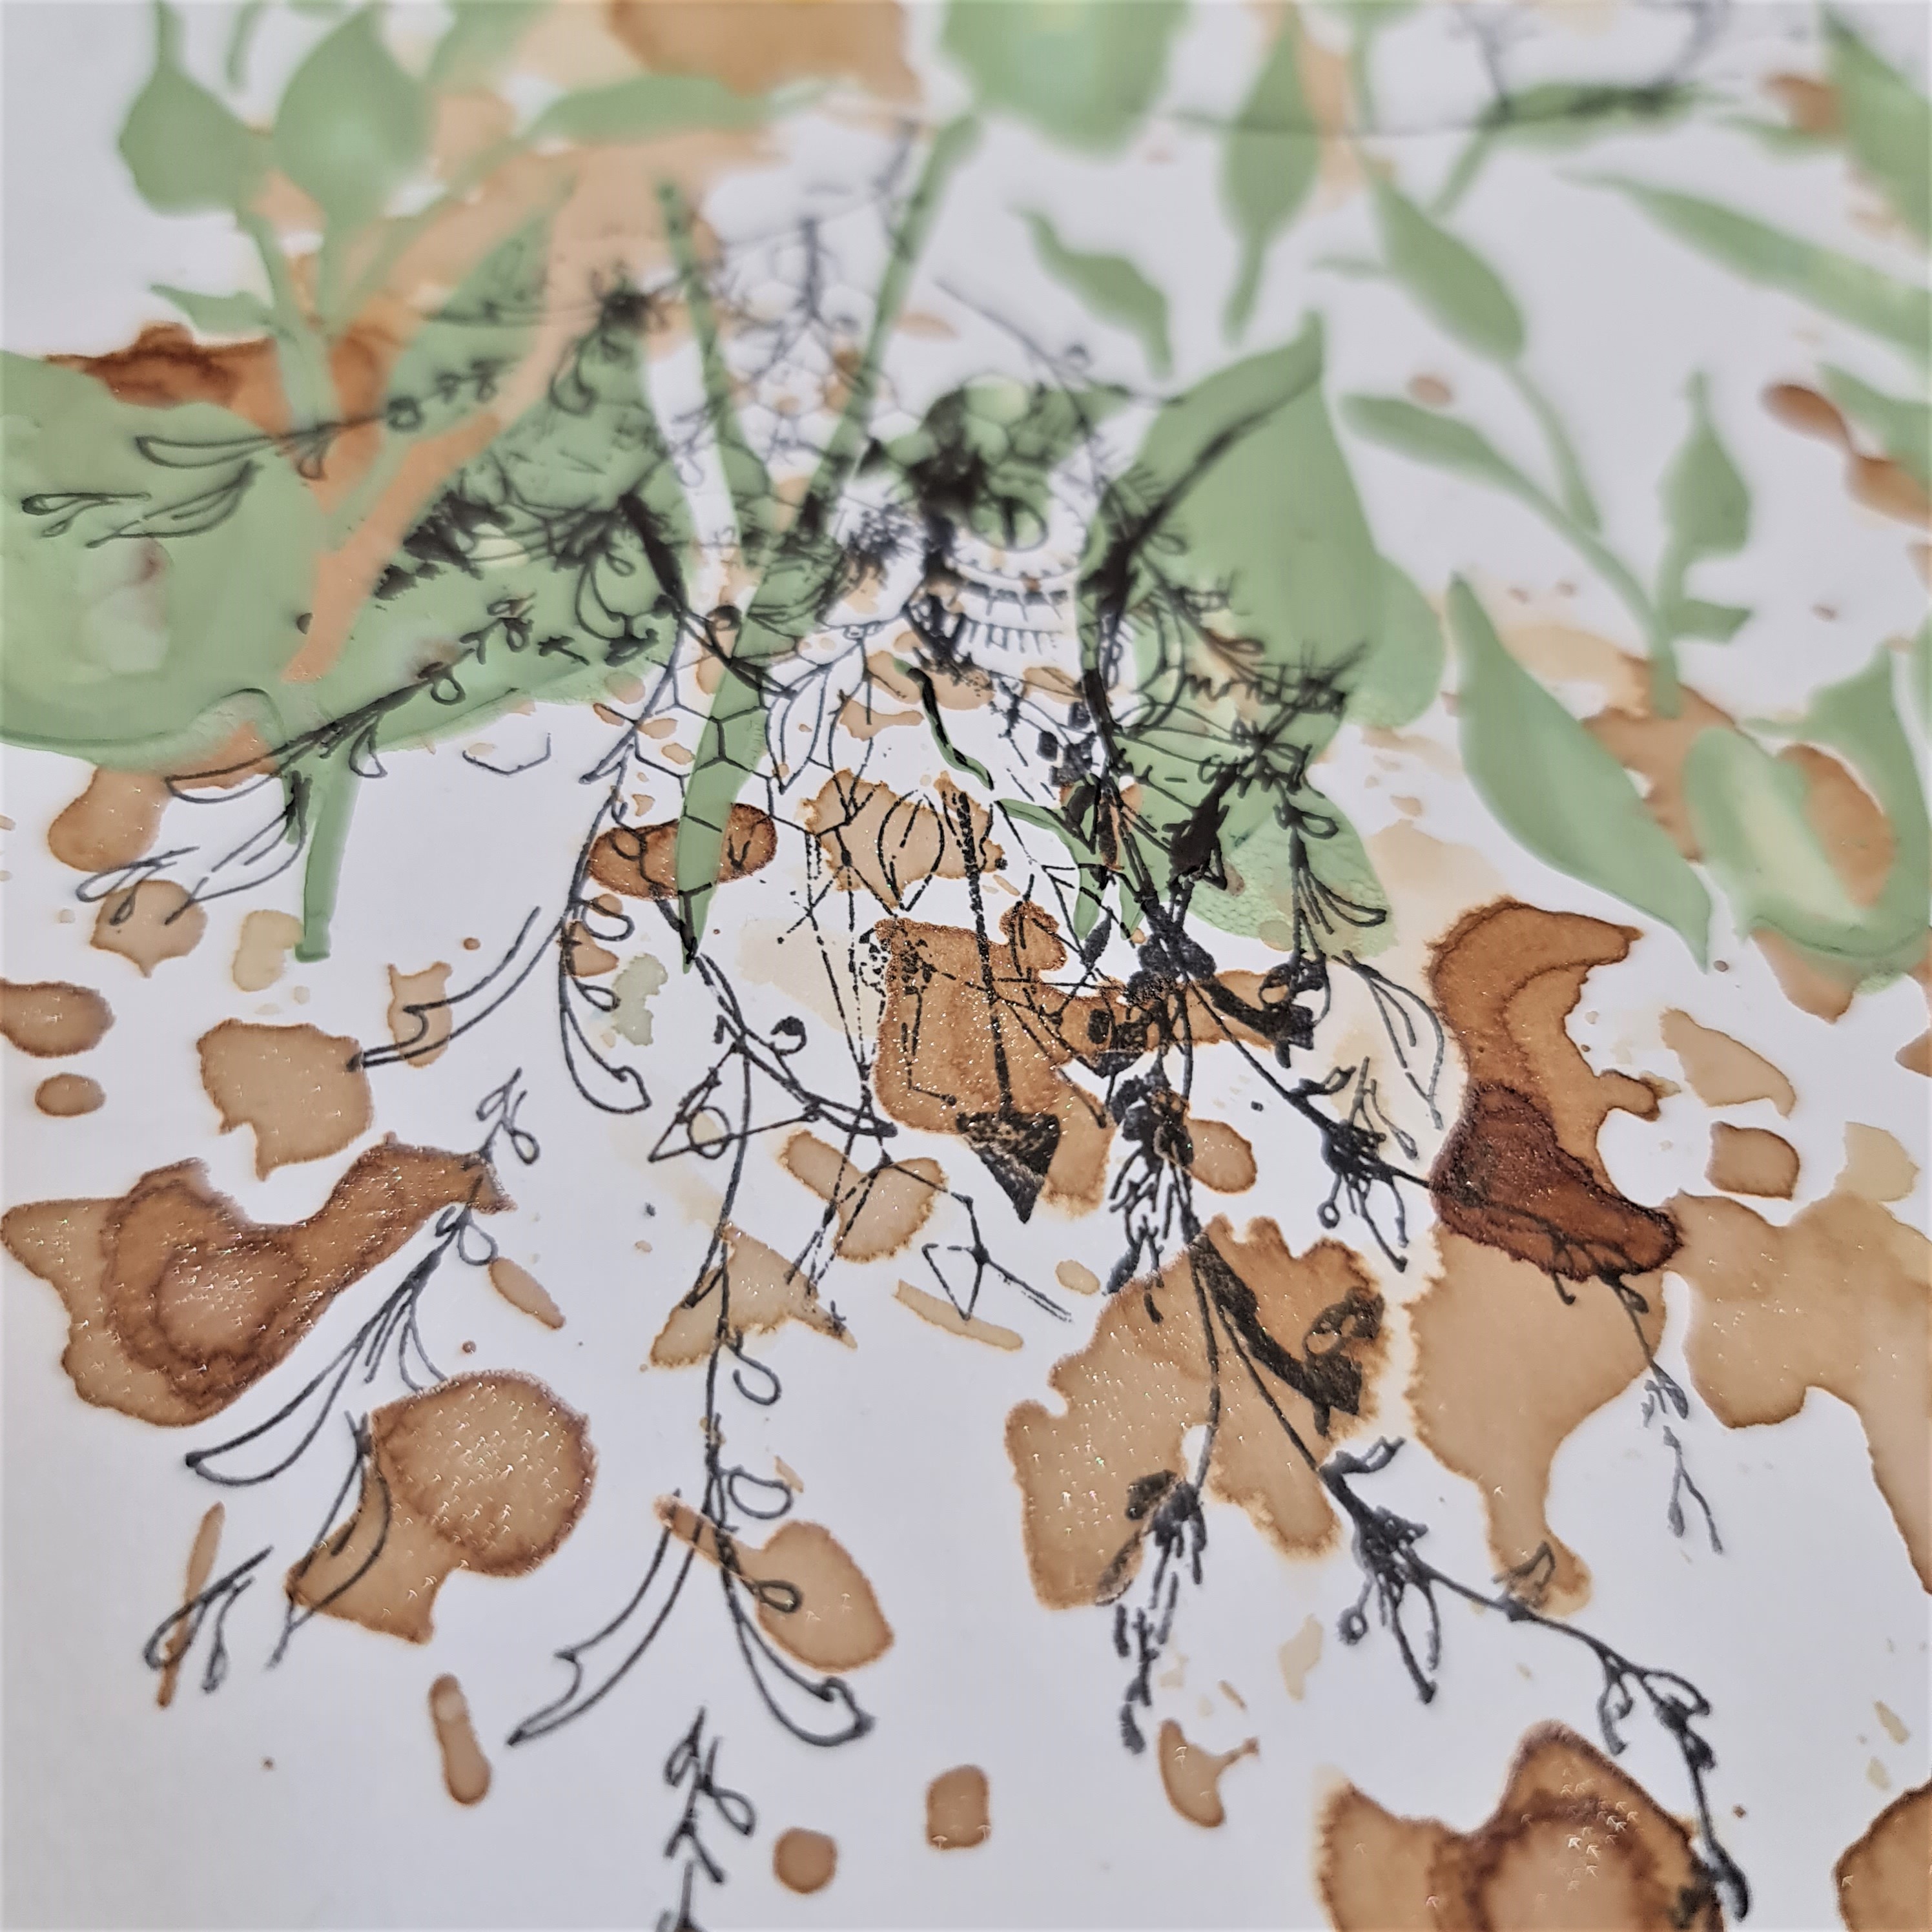
Rub
the Garden Patina (archival ink) through the Moondust A5 stencil using a
domed blending tool diagonally across the page (top right to bottom left)

Add a
few scoops of Bee
Arty Shimmer
dust cobalt into modelling paste, add a little white
paint to match the blue of the Moonshine cardstock.
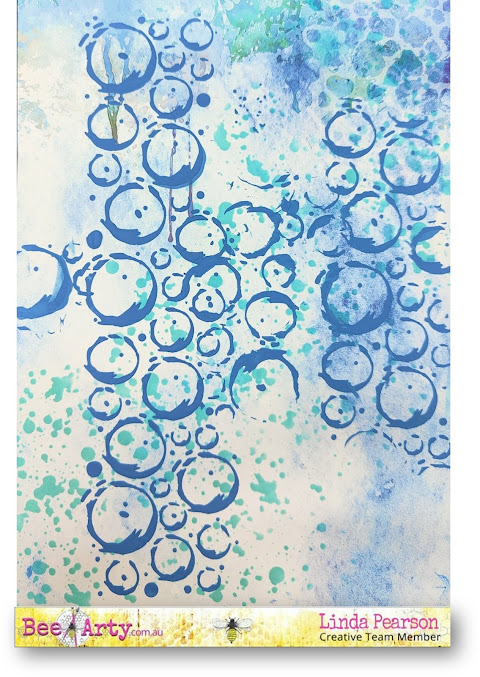
Apply
the blue modelling paste through the ‘circles’ section of the Borderline A4
stencil with a palette knife in a loose cross shape. Allow to dry.


Add a
couple of scoops of Bee
Arty Shimmer
dust – Passion and
one scoop of cobalt Shimmer
dust into a Darice
6 well paint palette add some
water and mix.
Splatter this mix mostly
over the textured stencil area and also paint around the border of the page.

Run
the Floral
Tags metal die through
a diecut machine onto a sheet of A4 White
Cardstock – Bee Arty to create 3
tags.
Also run the Moonrock metal die through onto a piece of
A4 White
Cardstock – Bee Arty. (no image).
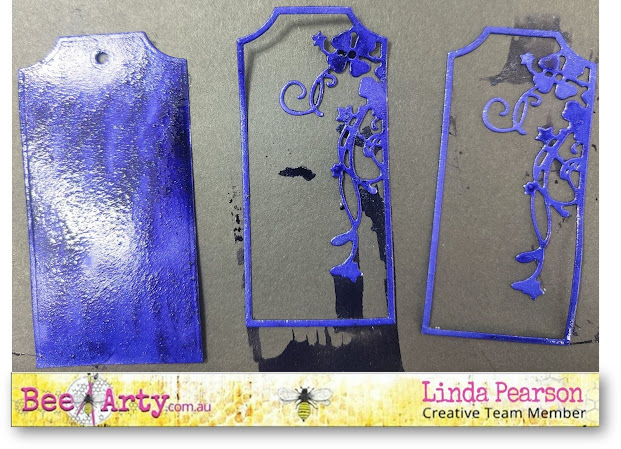
Colour
one of the backing tag pieces and two of the floral diecuts with passion/cobalt
Bee Arty
Shimmer
dust mix.
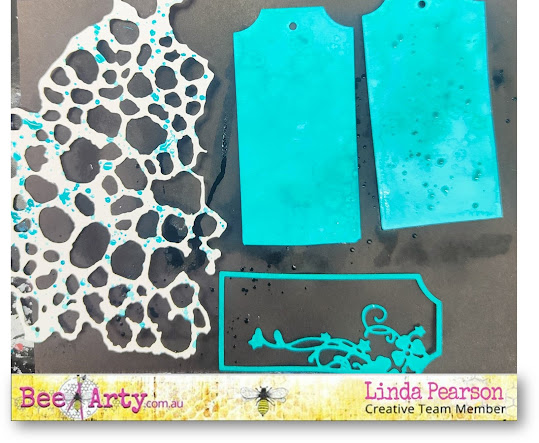
Colour the remaining pieces
with a watery mix of peacock Bee
Arty Shimmer
dust.
Add some splatters in same colour over the Moonrock
metal die.
Please note ... in hindsight I should have coloured the Moonrock metal die with the cobalt/passion mix so that it stands out on the page ... you may wish to do this instead.

Glue the 3 floral
pieces to the tag backings using opposite colours to create focal points.
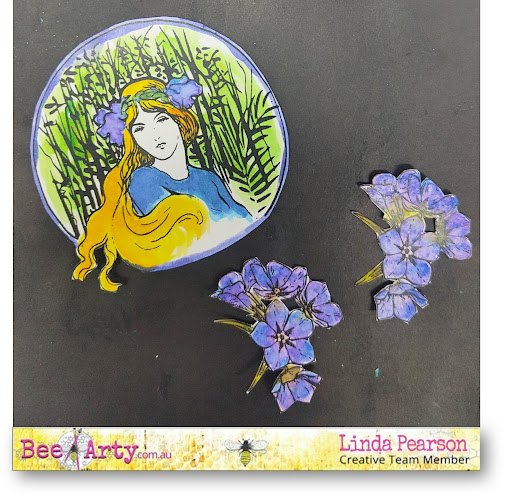
Fussy cut a few images
from the Collection cut-out sheet then colour in with water colour
paints.
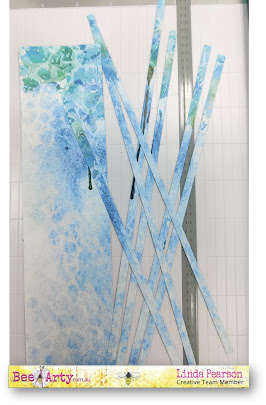

Cut some thin (7)
strips from the leftover piece of the Moonshine
word sheet (side B) with paper cutter.
Then loosely weave the strips randomly through the Moonrock
metal die cut out to resemble a starburst shape.
Trim to suit the background.

With a royal blue paint
pen edge along the strips of paper to visually lift them from the page a
little.

Fussy cut several
dragonflies from the Dragonfly dance cardstock and some wording from the
Moonshine word cardstock. Arrange
all the elements on the page then add mounting tape to the tags, goddess image
and wording then adhere to the page.
Add detailing with the
royal blue paint pen to all the elements (dragonflies, tags, wording) to
finish.
I certainly hope you
have found some inspiration with my journal page and have been enticed to order
this collection for yourself.
Until next time … happy
creating!!

Cheers from Linda
Pearson
YourCreativePaletteAU
(Facebook)


.jpg)


.jpg)
.jpg)
.jpg)


.jpg)