Showing posts with label Amanda Hartmann. Show all posts

Thursday, 2 February 2023

Tough as, by Amanda Hartmann

Hello Bee Arty fans!

My turn to share today... "Tough as"...

It features:
1. A mixed media background
2. Bee Arty die cuts
3. Embossing powders for the title letters
4. Coloured embellishments

Read on to see the links to the products and see some close ups...


1. Mixed media background:


White modeling paste through the A4 Linear stencil from the Chit Chat - Kit collection

I then used Colour Mica Powder in Deep Water and Apple of my Eye - mixed with water and smooshed, splattered and painted onto the background.


2. Bee Arty die cuts


I made and added some die cuts using Bee Arty Dies:
Keylock - Metal Die from the Rustic Blooms collection
Moon Rock - Metal Die from the MoonShadowns collection, and
Flower Stems - Metal Die from the Bee the Sunshine collection.


3. Embossing powders

Heat embossed my title chipboard letters with:
Apple of my Eye Embossing Powder
Teal sparkle from this Embossing Powder Bundle


4. Coloured muslin


I coloured the muslin to match the layout using Colour Artist Dye Ink in Citrus and Mermaid colours.


Saturday, 25 June 2022

Time to sparkle, by Amanda Hartmann

Hello Bee Arty fans!

My turn to share today!

You will see these things on my page:

* Products from the Fireworks collection
Colour Shimmer Dusts - Cobalt, Jacaranda and Lollipop
* Black splatters from Colour Artist Dye Ink {Soot}
* Resist technique using Leviathan Marking Crayon


And here is my page!


I started with some white cardstock and drew hugs and kisses (XOXO) with the Leviathan Marking Crayon. I then painted watered Colour Shimmer Dusts - Cobalt, Jacaranda and Lollipop over the XOXOs.

To the background I also added:

* Stamping - the star bursts and mini hearts from the Fireworks Uppercase - Clear Stamp Set, and

* Splatters - once the background was dry I added black splatters from Colour Artist Dye Ink {Soot} and splatters from Colour Shimmer Dust {Cobalt and Lollipop} 


Extras:
* Added some papers from the Firework collection, as well as fussy cutting some of the black and white elements from the Collection paper. I painted black and white cut outs with  Colour Shimmer Dust {Lollipop} 

* Die cut  Chit Chat - Metal Die Speech bubbles with white and black cardstock. Painted white pieces with Colour Shimmer Dust {Cobalt} 

* Painted a Charms Creations DIY banner with Colour Shimmer Dust {Cobalt} also and added stamped mini-hearts.


 Thanks for looking today!


Amanda


Saturday, 11 June 2022

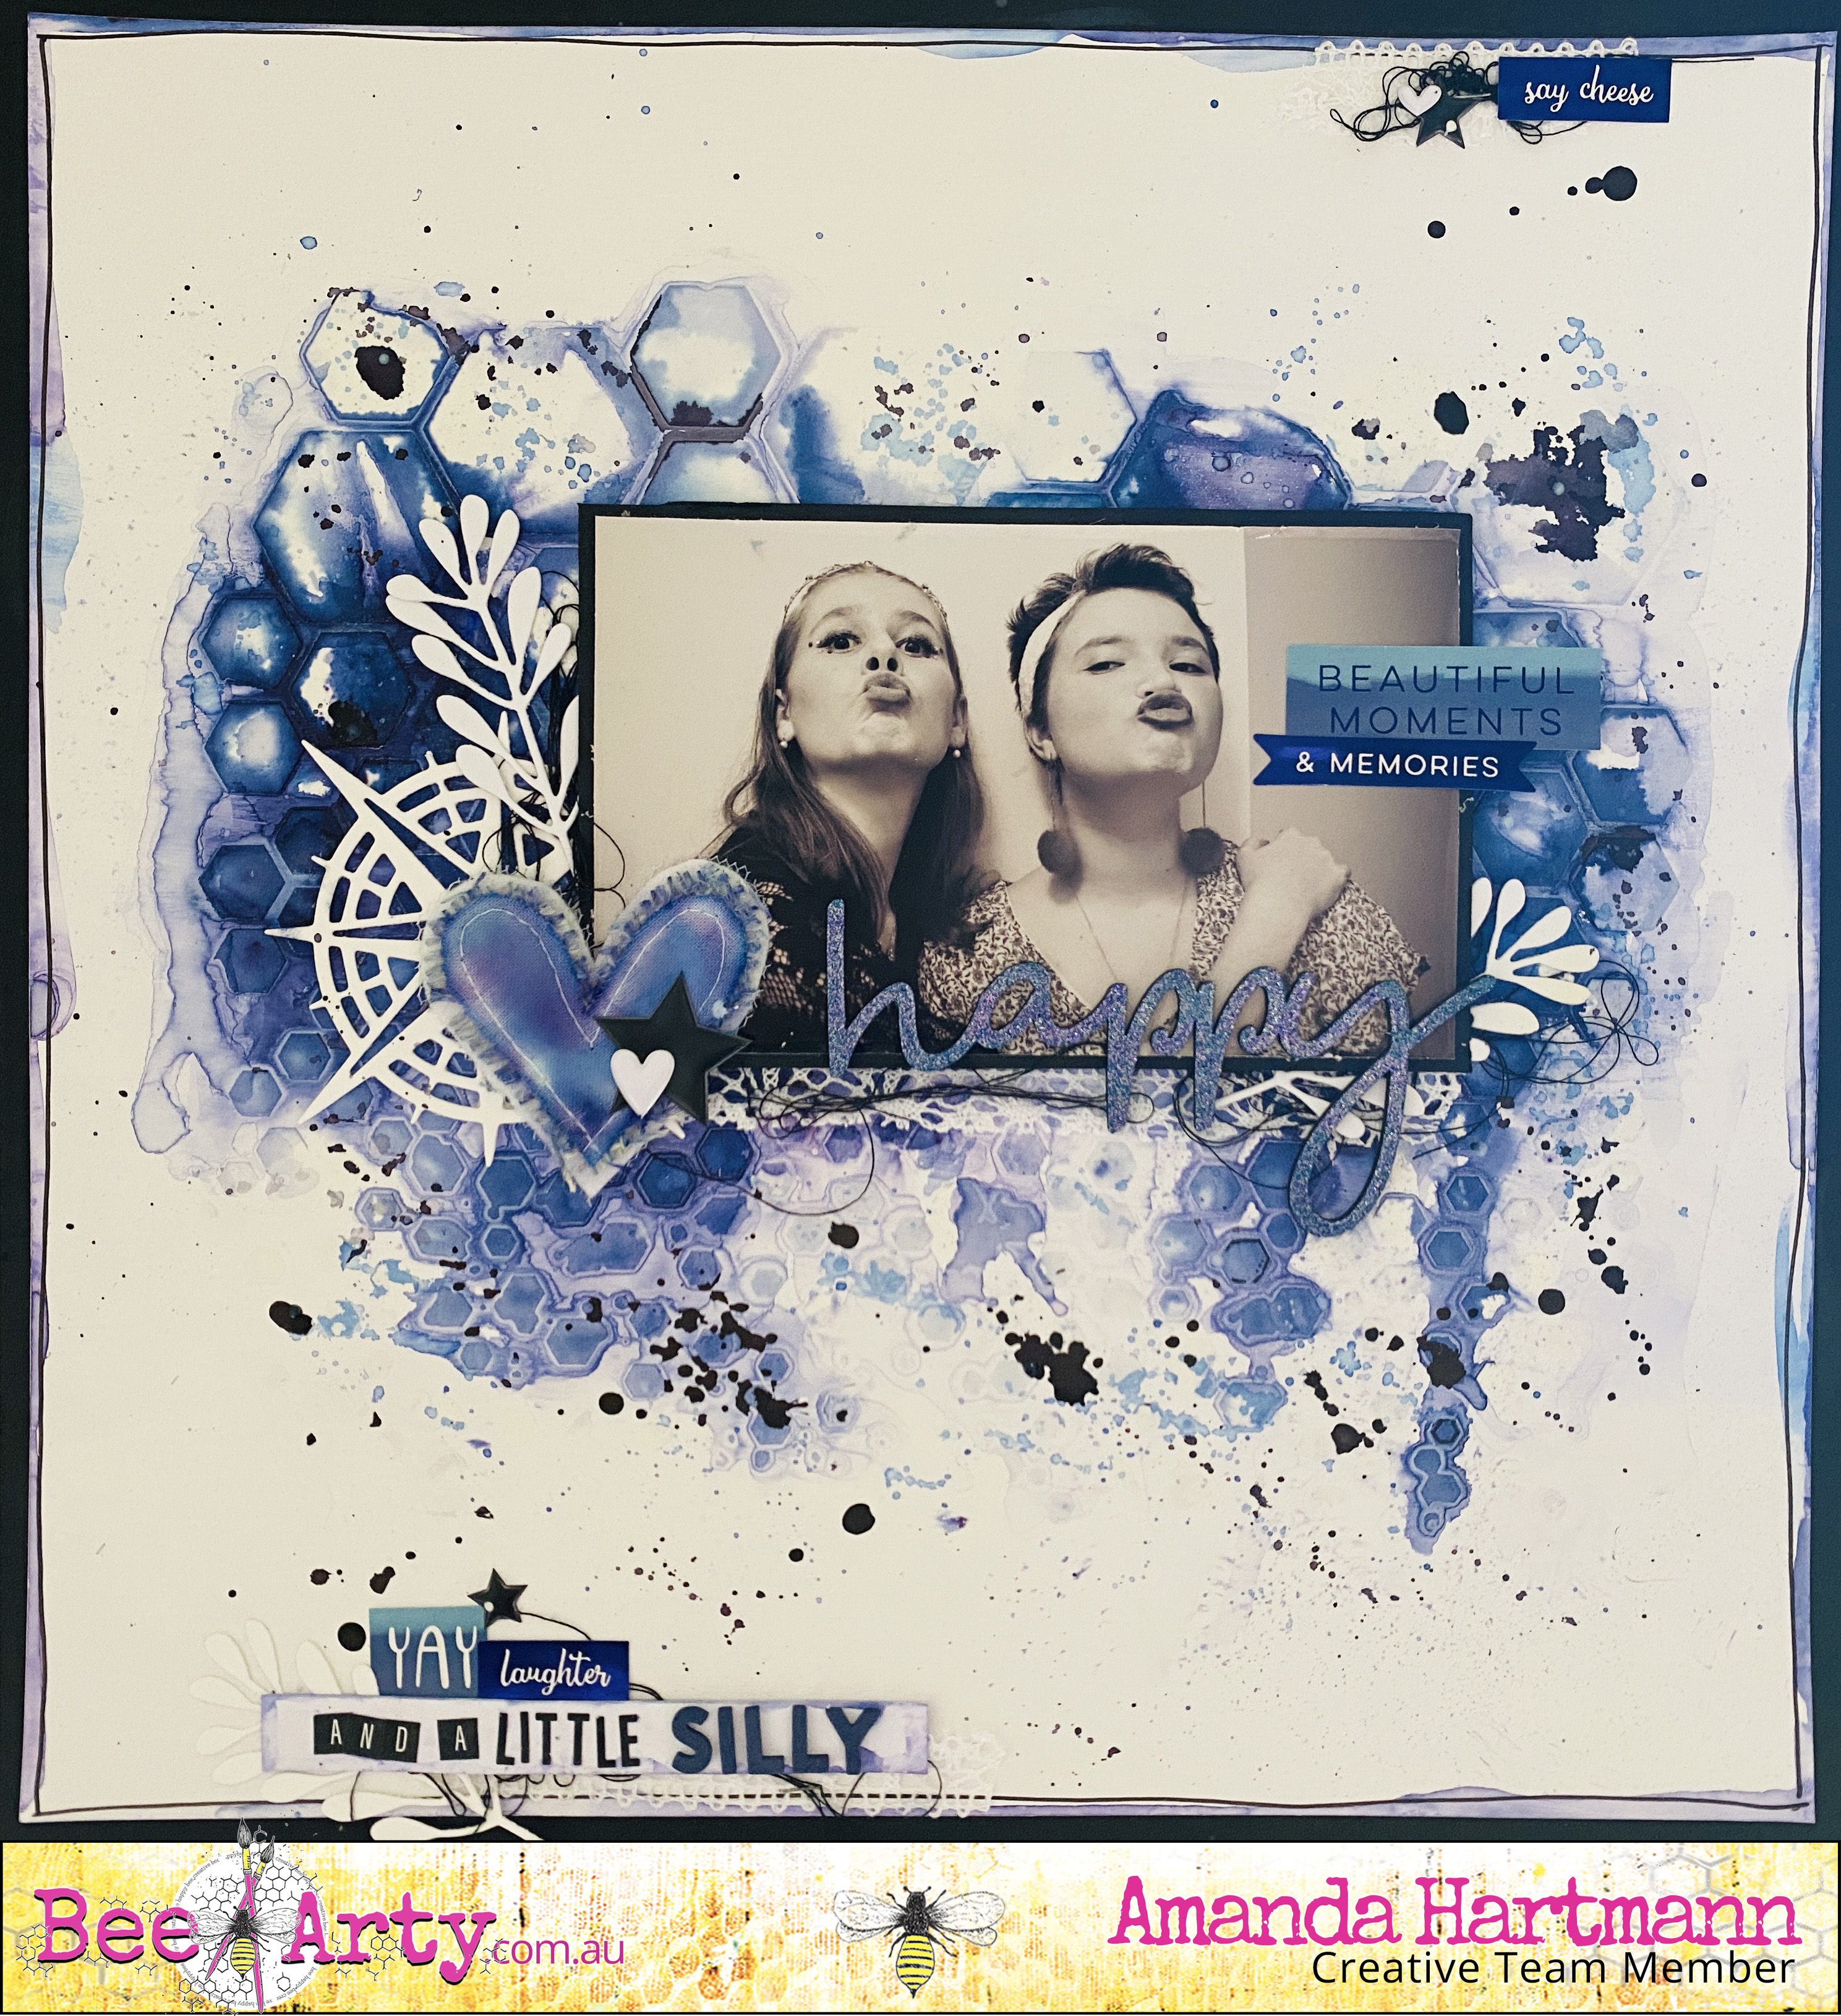
Happy, by Amanda Hartmann

Hello Bee Arty Fans,

Happy Saturday! Ready for some Shimmer Dust inspiration!?

Full step by step instructions are below so I hope you follow my steps to create some fun pages of your own!

I created this page during our recent Bee Arty retreat. I created the background with stenciling and Shimmer Dust. Then I layered die cuts, lace, thread, stickers, and a Charms Creations (also coloured with Shimmer Dust)

Products used:

* Heavy White Cardstock

* Black Cardstock

* White Gesso

* Colour Shimmer Dust - in NEW colour Jacaranda

* Colour Artist Inks in Soot.

* Bee Arty: Bee the Sunshine: Honeycomb Spray A5 Stencil

* Colour Blast: Compass Metal Die 

* Bee Arty: Embrace Change: Autumn Trio Metal Die

* Embossing Powder: Indigo Sparkle (embossed chipboard title)


Last night, I decided to recreate the page (with a different colour) so you could see the steps I took.

STEP BY STEP INSTRUCTIONS:


1. 

2. 

Tip: 

Tools to use:

3. 

4. 

Tip: 

5. 

6. 

7. 

8. 

9.

10.


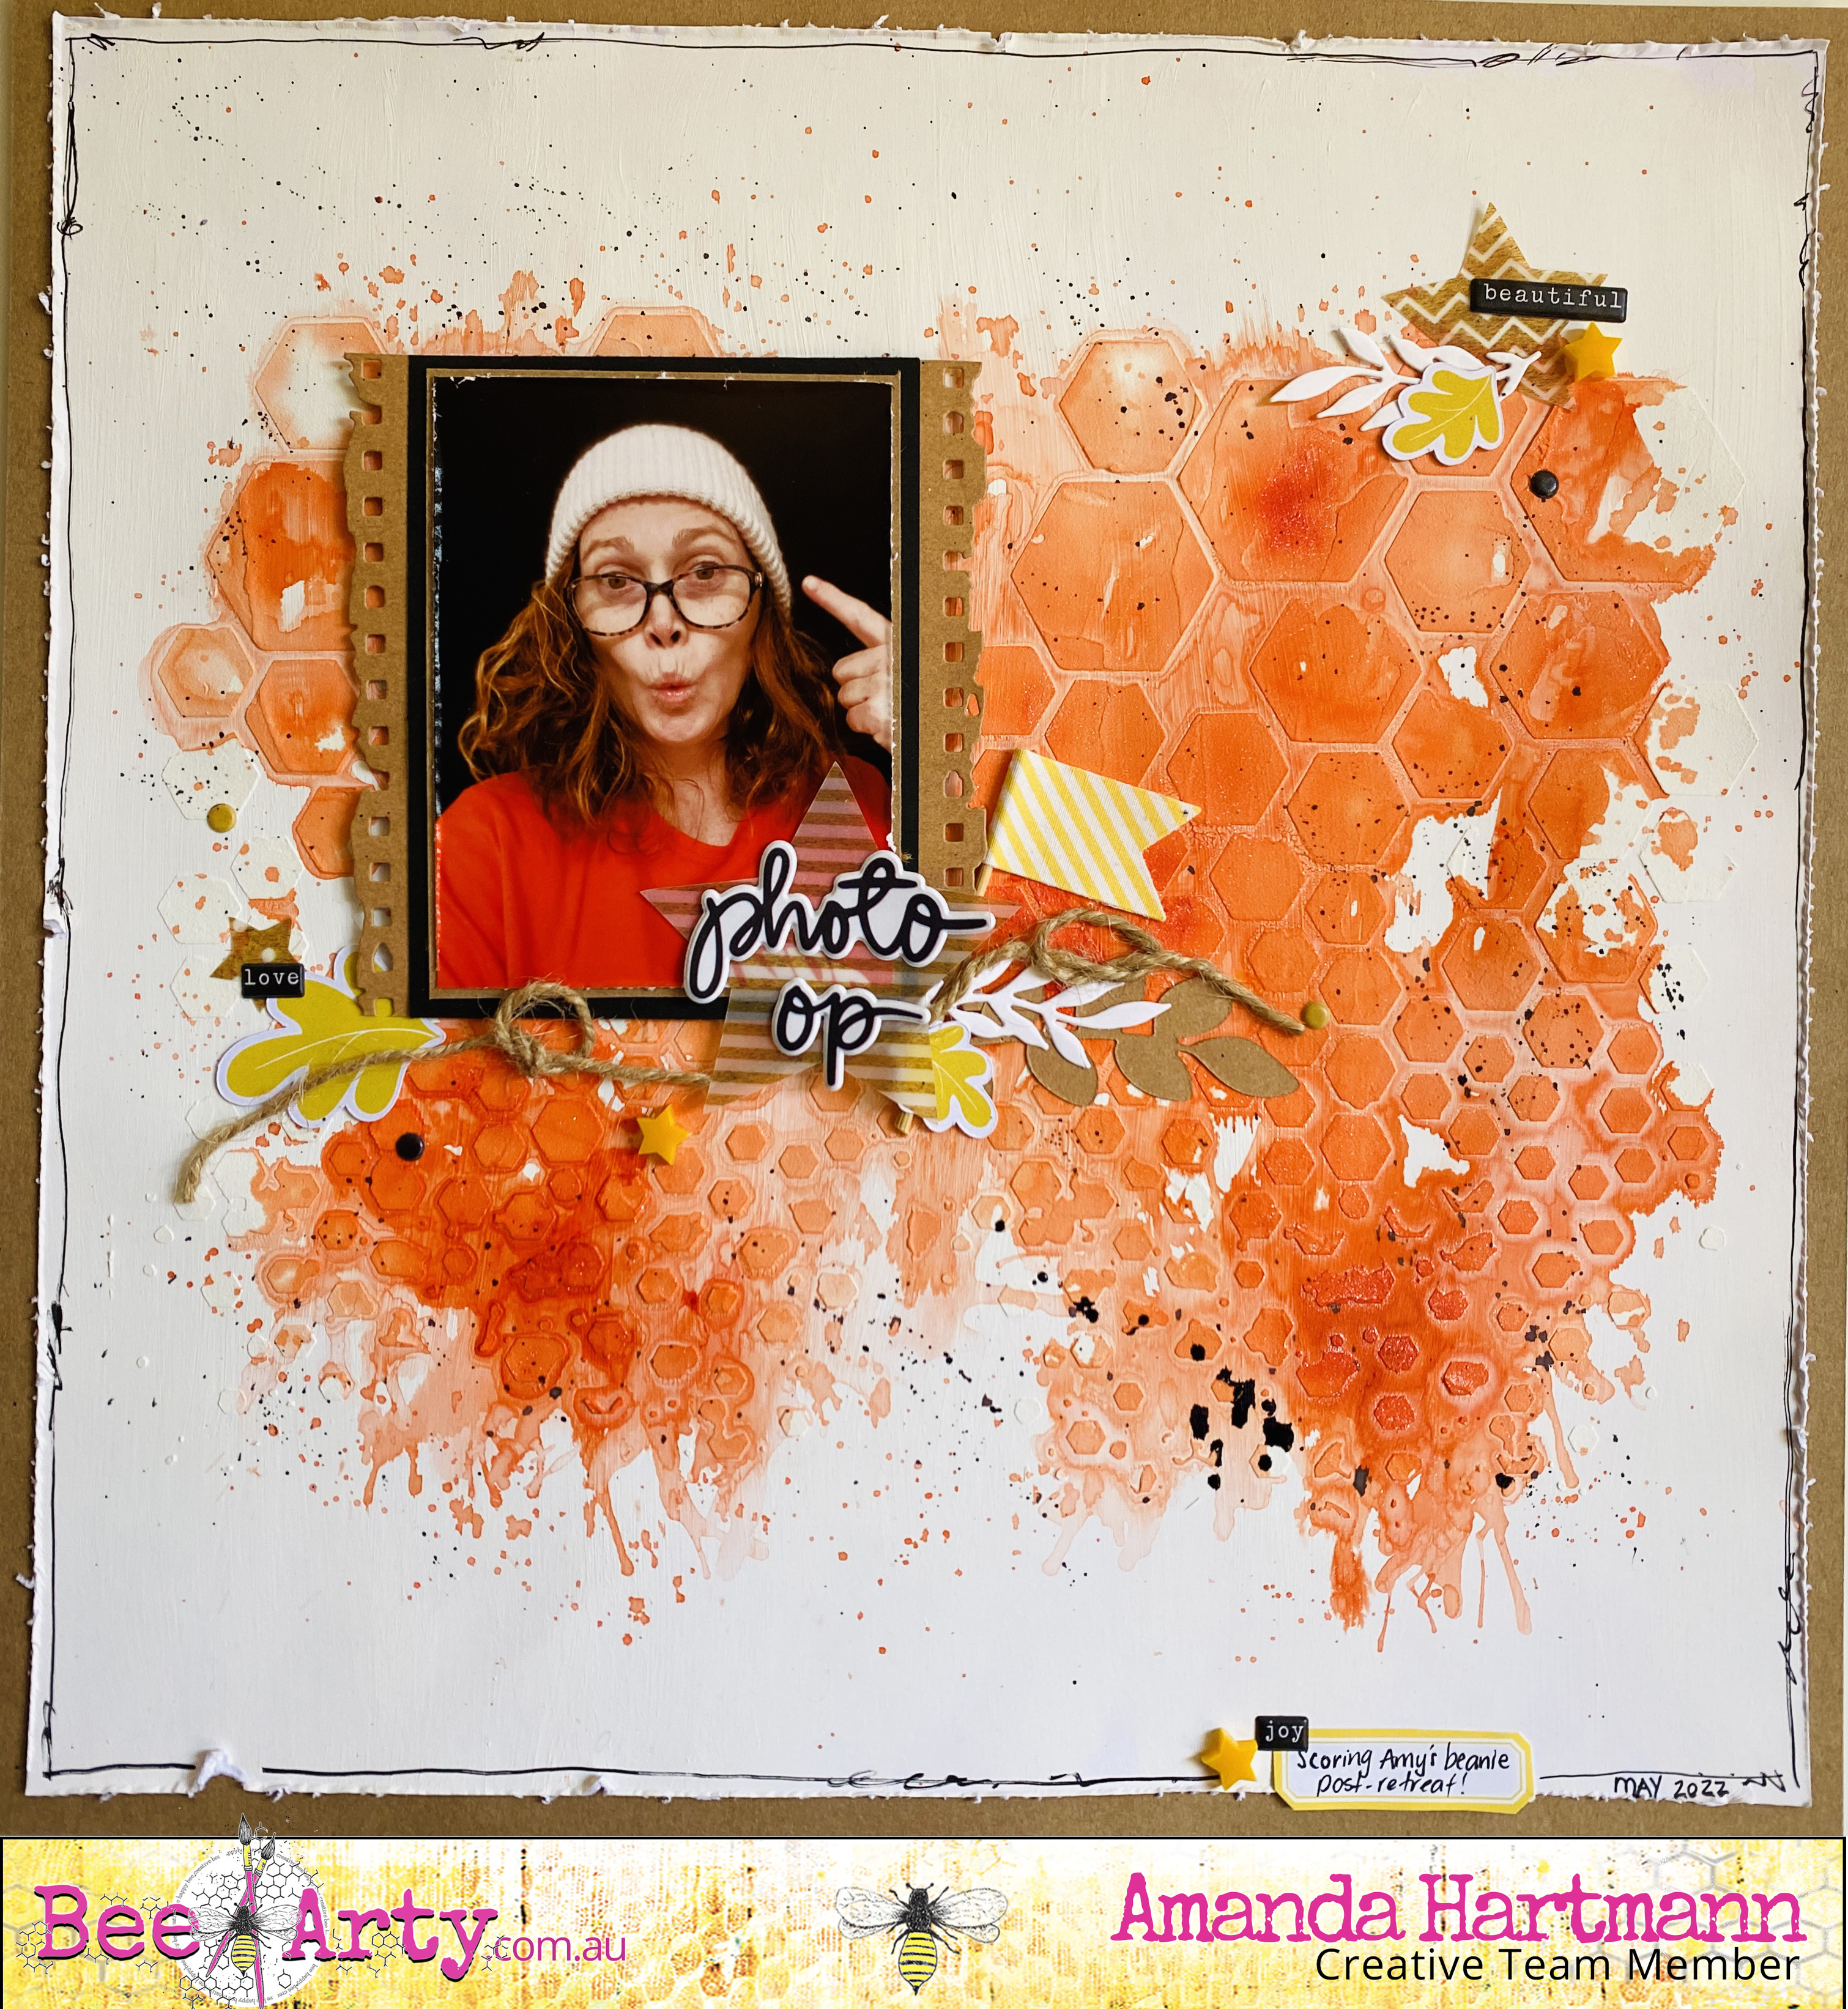
Second project: "Photo Op"!


Bringing in the orange of the Amber Shimmer Dust in this one!

Products used:

Heavy White Cardstock

Kraft Cardstock

White Gesso

Colour Shimmer Dust - in Amber

Colour Artist Inks in Soot.

* Bee Arty: Bee the Sunshine: Honeycomb Spray A5 Stencil

* Bee Arty: Destimation Anywhere: Grungy Filmstrip Metal Die


WHY to try this technique?

Gessoing the paper first is the key to this technique. It means your have time to play with and move the colour around the page before it soaks in and sets. You can layer extra colour, or extra water to get lighter and darker elements. You can experiment with adding complimentary colours. Moving and drying the colours lets you see all the complex colours and shimmer in the shimmer dusts. You will have such fun exploring and experimenting!


Thanks for looking today!

Amanda


Saturday, 2 April 2022

Happy times, by Amanda Hartmann

Dear Bee Arty fans!

Do you have favourite past collections that you still love? And you go back to them time and time again?

Today I use up more of my Grateful Heart collection. I love the blues, whites and apricots of this collection and particularly enjoy fussy cutting the amazing florals.

To create this page:


  • Started with:

Grateful Heart - Papers

  • Added detail with:

Sweet Flower - A6 Stencil

using: Colour Paste - Snow White

  • And finished with splatters:

Mica Powder - Singing the Blues

Colour Shimmer Dust - Navy


Here is the full page and some close ups! 


Thanks for looking today!

What is your favourite past collection?

Amanda


Saturday, 5 March 2022

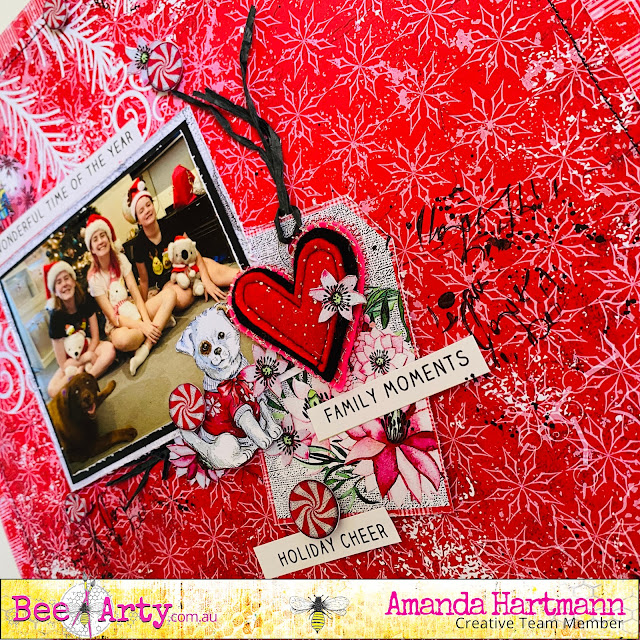
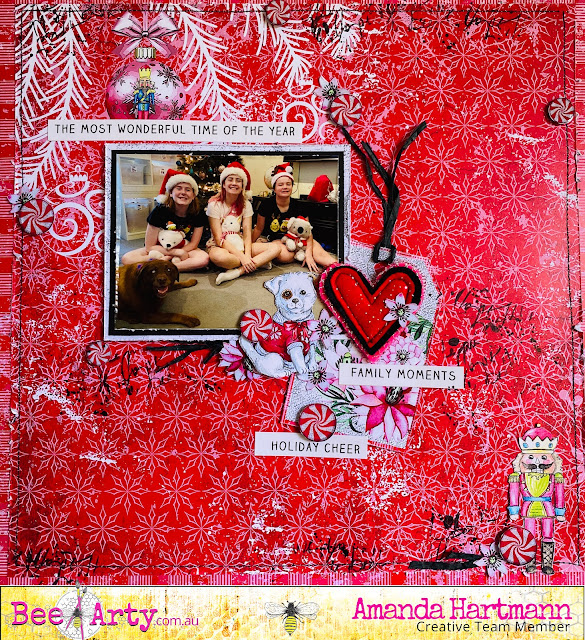
Family moments, by Amanda Hartmann

 Happy Saturday!


We are so lucky to have Bee Arty in our lives! Not only do we get full kits stacked with products every other month, we also can get mini collections. Recently I got the mini Christmas collection, Nutcracker Sweet, designed by Sue Smyth.

Find it in store:


And just like every Sue collection, it is ready for fussy cutting. Christmas themed and ready to go!

So what are you waiting for? Get out those Christmas photos and let this mini collection inspire you to create!


Here is the full page:


I combined the papers for the background - distressing the paper edges and adding some black machine stitching. I stacked layers of the papers behind the photo. 

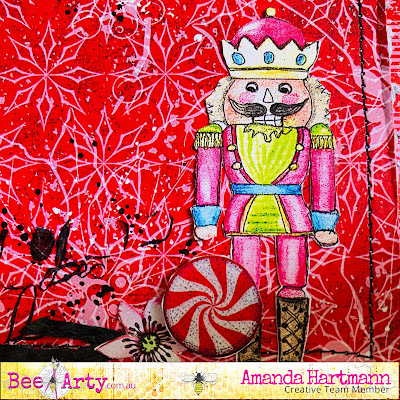
I fussy cut many of the paper elements, including a puppy, a nutcracker and lots of little circle candy dots.

These white and red candy dots were perfect to ink the edges of, and pop on some foam tape, and add around the layout.

Additional depth was added with some stamping and black splatters. I used:
* Bokeh stamp (from a past kit, currently out of stock)


Hello Mr Nutcracker!


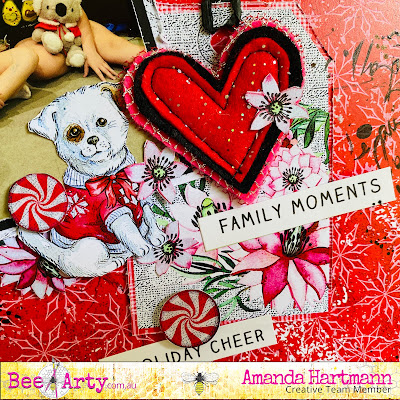
Cute tag combines well with fussy cut dog, dots and flowers!


Thanks for looking today!
Amanda


Saturday, 22 January 2022

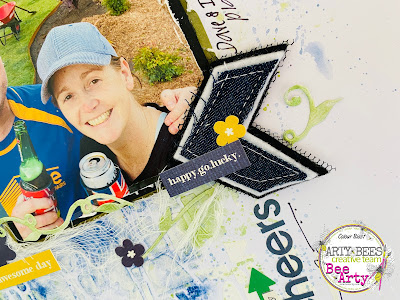
"Cheers", by Amanda Hartmann

 Hello again!

A quick an easy page today....

Here is what you need:

Stencil the brick pattern from the Pavement - A4 Stencil down the page using some light white modeling paste.

Add a few sprinkles of Mica Powder in Just Blue to some plastic packaging and spray with water. Smoosh the colour onto the page. You don't need much!

Next do the same with the green Apple of my Eye.

Use a brush to push colour where you want it and to add splatters.
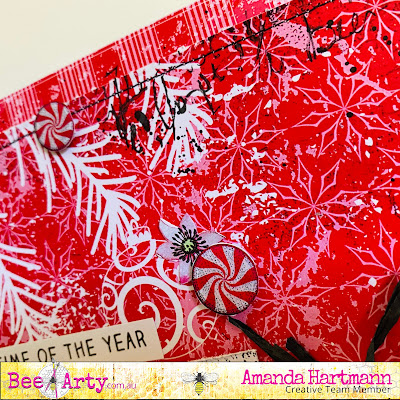
I finished with some doodling, stickers, muslin, a Charms Creation, and the title. I also diecut a vine with DeVine - Metal Die and painted it green with Apple of my Eye Mica Powder to add into the cluster under the photo.
EASY AS!


Thanks for looking,
Amanda


Saturday, 8 January 2022

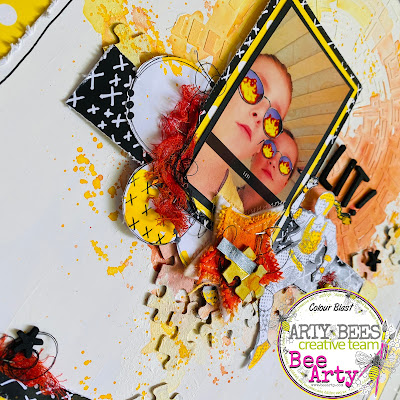
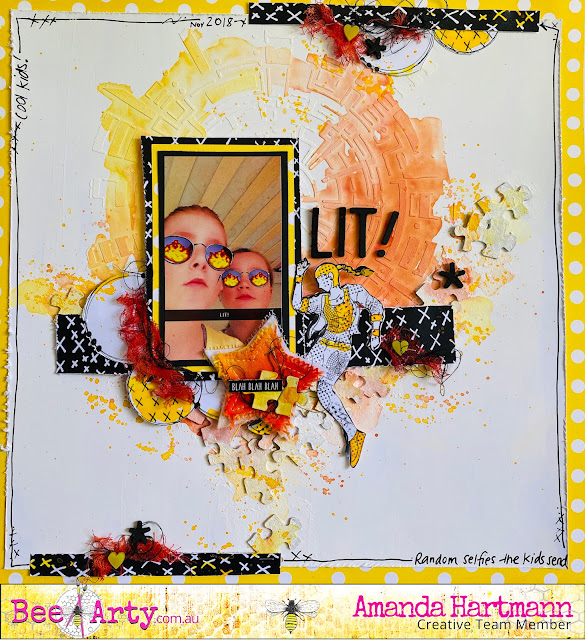
"Lit!" by Amanda Hartmann

 Hello Bee Arty fans!

Welcome to January 2022! Hopefully it will be totally "Lit!"


Today I am sharing a fun and quirky page - full of colour and technique!


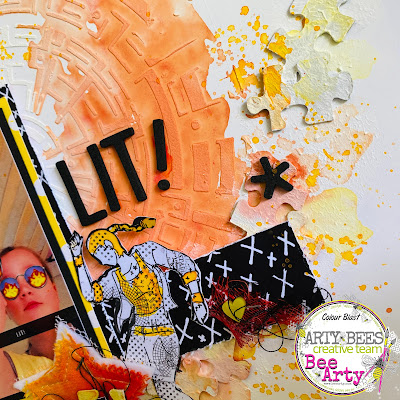
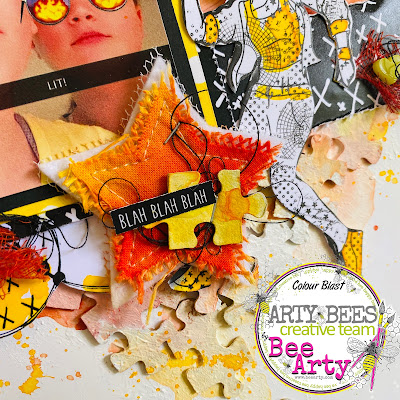
I created a mixed media background, and finished with some papers fussy cut from the  Electric Dreams - Mini Collection Paper Pack.

The background:
If you want to see how I created the background - with Gesso, stenciling, puzzle pieces and Colour Artist Inks - you can watch this video: https://www.facebook.com/amanda.hartmann1/videos/10160036158493066/
This was a Facebook live video and I ended up with a spare background - finally pulled it out, and finished a page! Please skip the first 5 or so minutes on the video where I am mucking about, and then see how I create this mixed media background.

Products used for the background:
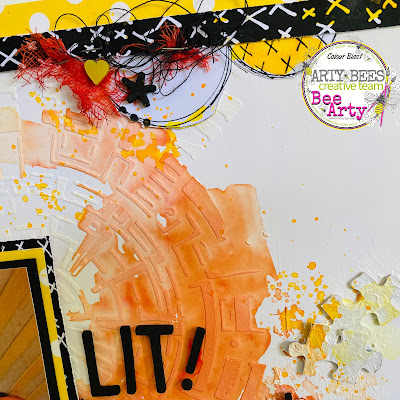
  • The stencil used is: Interwoven - A4 Stencil – Bee Arty - one of my favourite stencils of all time - I used modeling paste through the stencil
  • Heavy white Gesso - gesso'd background and more gesso over the puzzle pieces.
  • Added colour with Colour Artist Inks - I used Citrus, Cider and Spice. - used to colour puzzle pieces, stenciling, the Charm Creations star, to paint some fussy cut elements and to add splatters. Also used to colour the muslin.
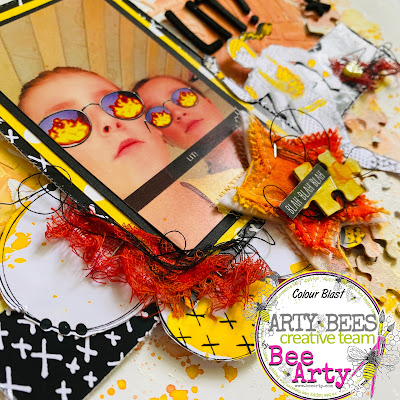
Here are some close ups to see the details!


Thanks for looking,
Amanda