Showing posts with label Colour Embossing Powder. Show all posts

Thursday, 2 February 2023

Tough as, by Amanda Hartmann

Hello Bee Arty fans!

My turn to share today... "Tough as"...

It features:
1. A mixed media background
2. Bee Arty die cuts
3. Embossing powders for the title letters
4. Coloured embellishments

Read on to see the links to the products and see some close ups...


1. Mixed media background:


White modeling paste through the A4 Linear stencil from the Chit Chat - Kit collection

I then used Colour Mica Powder in Deep Water and Apple of my Eye - mixed with water and smooshed, splattered and painted onto the background.


2. Bee Arty die cuts


I made and added some die cuts using Bee Arty Dies:
Keylock - Metal Die from the Rustic Blooms collection
Moon Rock - Metal Die from the MoonShadowns collection, and
Flower Stems - Metal Die from the Bee the Sunshine collection.


3. Embossing powders

Heat embossed my title chipboard letters with:
Apple of my Eye Embossing Powder
Teal sparkle from this Embossing Powder Bundle


4. Coloured muslin


I coloured the muslin to match the layout using Colour Artist Dye Ink in Citrus and Mermaid colours.


Saturday, 7 January 2023

2023 ATC Coins I Mixed Media I Sunila Mahajan

 Hello Bee Arty Lovelies,


Wishing you all a fantastic 2023! Sunila here and I'm back with a mixed media pictorial for you all!

Today I'm creating mixed media style ATC coins that I can share with my friends at the start of this year. 

Here's a look at them:


Let's dive into the process:

1. I started out by cutting three circles measuring 2.5" on white mixed media paper. I coloured these with Slipper Artist Ink.


2. I added colour paste through a stencil for contrast and texture.


3. I stamped a background stamp with black ink for more texture.


4. I stamped and heat embossed elements for layers. I then fussy cut these. 


5. I tested a few artist inks, and then die cut 2023 for the layering.


6. I added some die cut and fussy cut words to complete these. I mounted them on black card stock with a scallop border. 


Here's a closer look at them:


Hope you enjoyed this and are inspired to create your own ATCs. For more inspiration follow me on Instagram- www.instagram.com/sunilamahajan

Supplies used:


Sunday, 24 July 2022

Simply Perfect - With Karyn Schultz!

 Hi Bee Arty Lovelies!

It's Karyn here and today I have a scrapbook page to share with you made using lots of fabulous arty products from Bee Arty.  
 
 
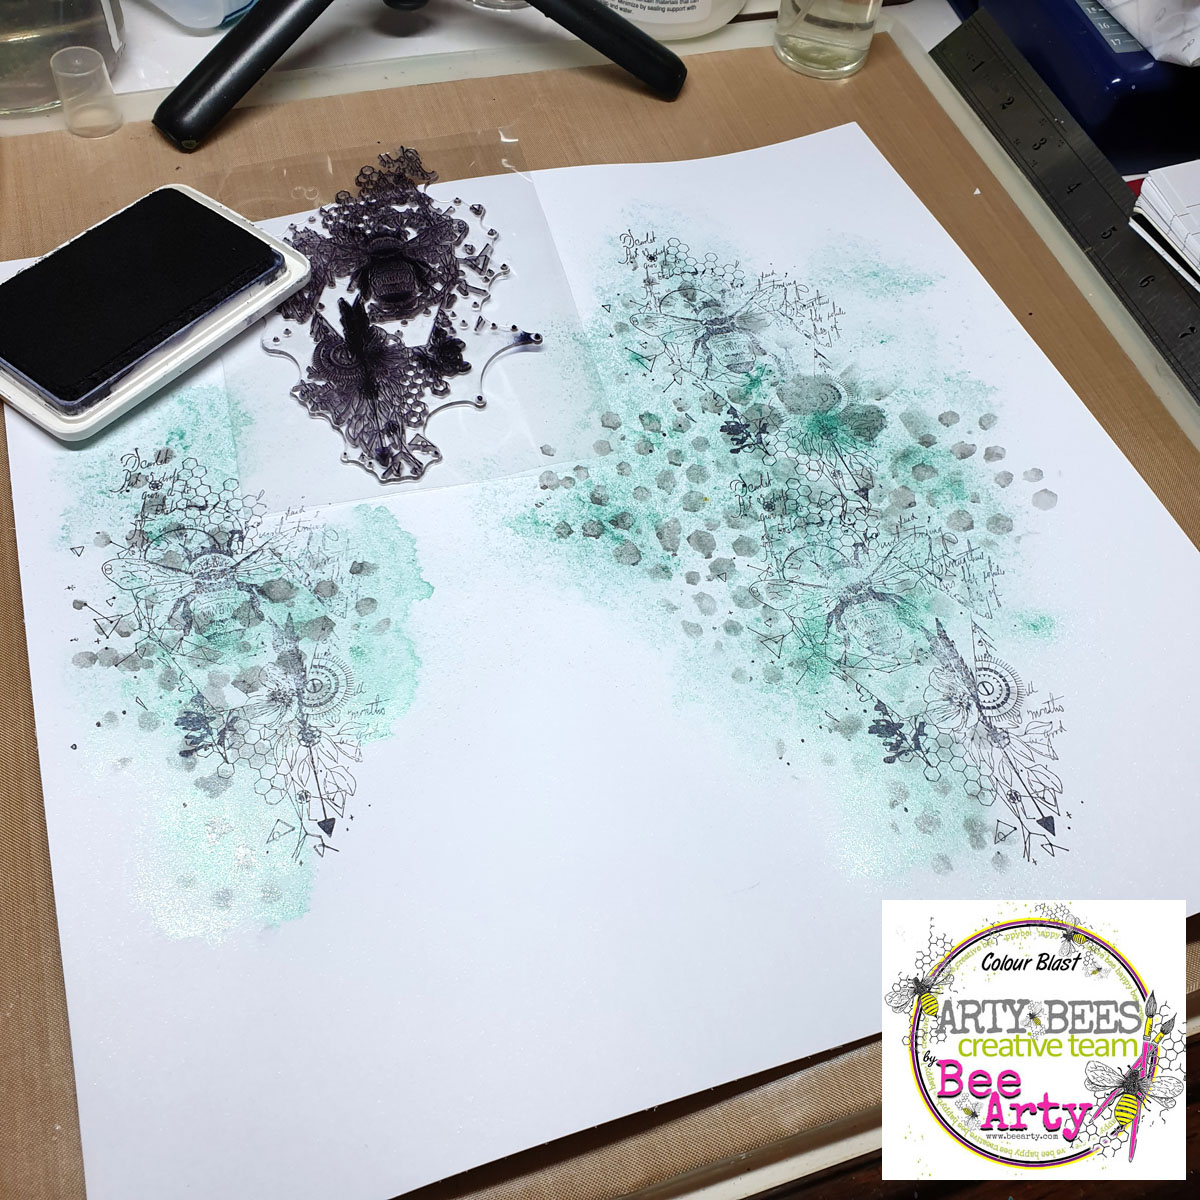
 I started with a sheet of 350gsm Heavy White Cardstock and spritzed it with water along the right and left of the page (where I wanted to add colour). Then I used a fan brush to add Cool Mint Mica powder. I  continued to spritz more water and add more colour until I had achieved the desired look. 
 
 
Next I added some stencilling using the Honeycomb Spray A5 stencil and Stormy Weather Mica powder (mixed with water and applied with a sponge). 

 
I added stamping using the Find Your Way stamp and Black Archival ink
 
 
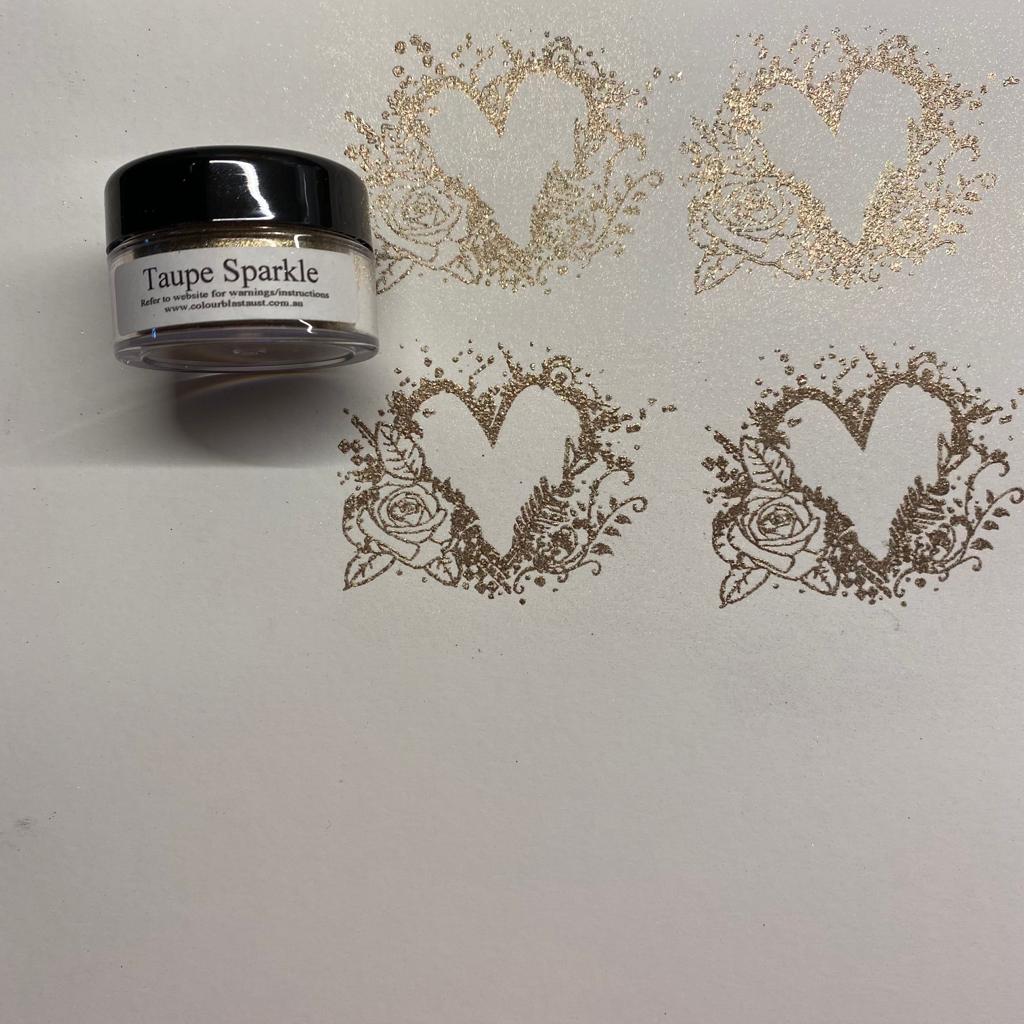
 I used a combination of Jet Black and Taupe Embossing powders from the Romance Embossing bundle. You could use any combination you prefer (or a single colour), but I love the rustic look of multiple colours.
 
 
Here is my completed page. 
 
 
 I added a photo mat from Chit Chat Alpha paper and black cardstock diecut created from the Compass metal die.
 
 
 The white cardstock diecuts are created using the Flower Stems metal die set.
 
 
Thanks so much for stopping by

Crafty Hugs xx


Tuesday, 22 March 2022

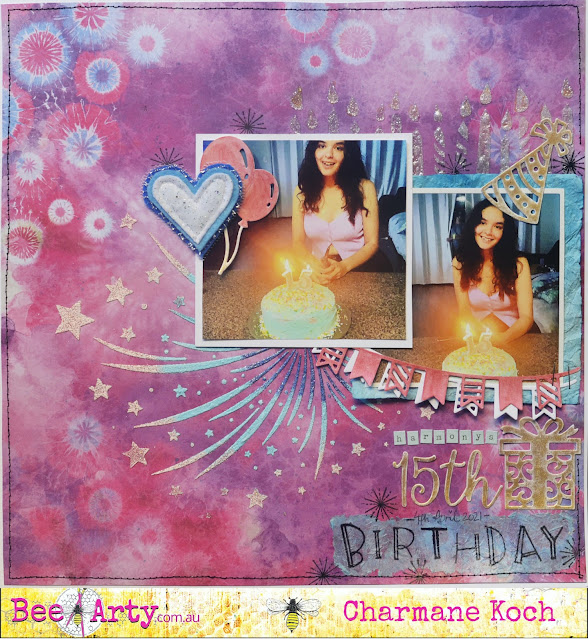
Harmony's 15th Birthday by Charmane Koch

 Happy Tuesday Everyone!

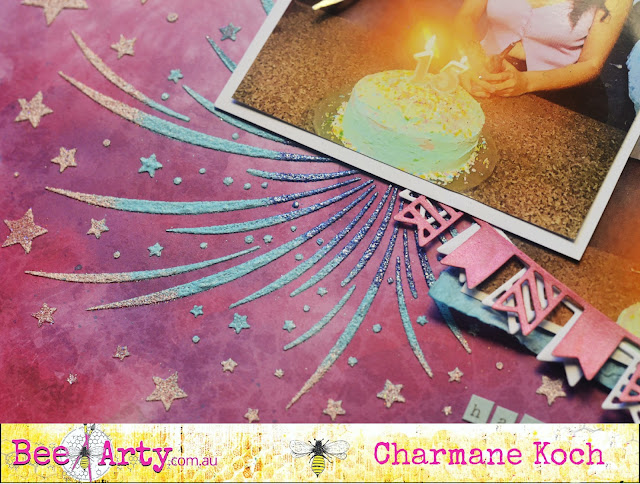
Today I wanted to share with you my layout I created using the Mixed Embossing Powder Technique & the fabulous NEW Fireworks Collection! How FUN & AWESOME is it!

You can see the video over on the Bee Arty Hive HERE!


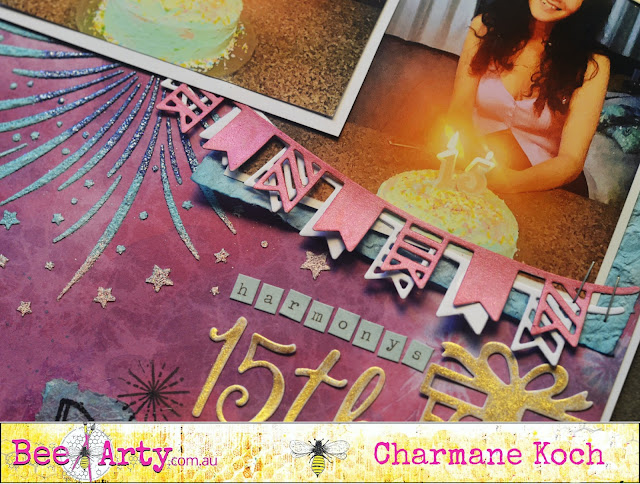
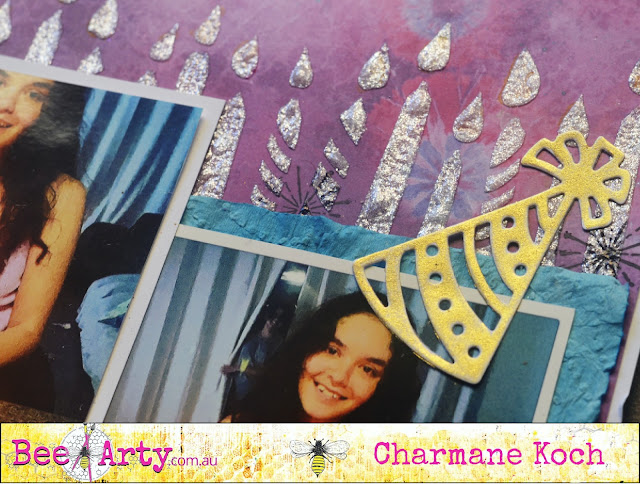
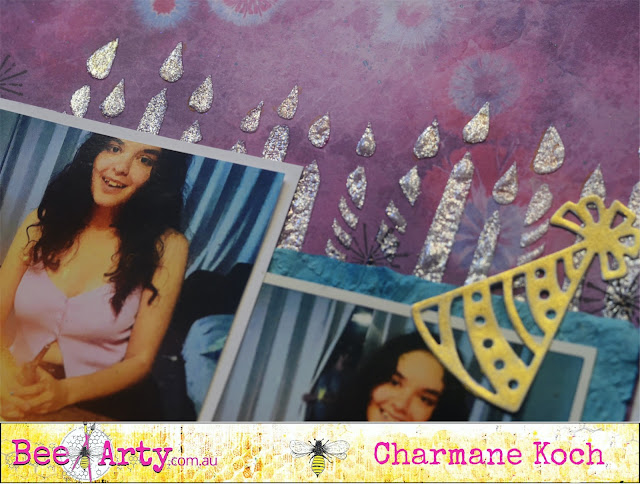
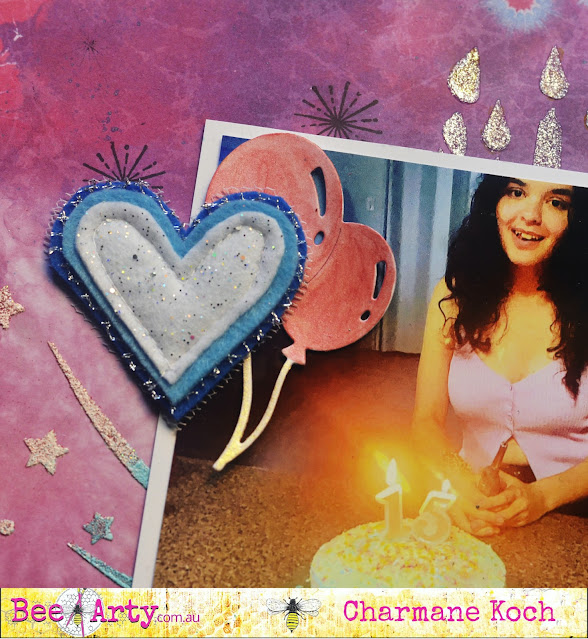
I used the cute Dies from the Party Metal Die & the Numbers Metal Die from the Fireworks Collection.  I used the 350gsm White Cardstock. I coloured using Mica Powder and Water - Bling for the present, party hat & the Numbers, and Lollipop for the banner.


I used Snow White Colour Paste to create the Candles Stencil background behind the photos...


How awesome did this background turn out? Used the Fireworks Stencil!


I have used the Uppercase Stamp to create my "Birthday" title & randomly stamped the little starburst pattern.


Time to play with your Fireworks collection & maybe even try some Embossing?

Thanks for popping by today!

Tuesday, 8 March 2022

"Party Girls" by Charmane Koch

Hey Guys!

Happy Tuesday! We will ignore all dramas of the world and focus on the fun, brand NEW Fireworks Collection!!!

Who's played with it yet? 

Today I wanted to share with you a layout I created with leftover mix of Embossing Powders...I did end up pouring way too much on that first layout!

To start my layout I have sprinkled Wine, Candy & Lollipop Shimmer Dusts over the top of a sprayed piece of White Cardstock. I have then sprayed a little more, then using a heat gun dried the page off...

I have then stencilled on the Candles over the top of that using White Gesso, then sprinkled the Embossing powder over the top. I have then dried it with a Heat Gun.


I did a little MINI VIDEO over in the Bee Arty Hive on how I did the Music Notes stamp from the Funtime Clear Stamp - using Versamark Clear Ink, then sprinkling over MORE of the Embossing Powder!

I also stamped "Party Girls" using the Uppercase Stamp Set & Embossing Powder too...


I cut out some of the presents & the cute banner from the Party Metal Die {so cute!} to add to my layout...


I decided it needed a colourful edge to my layout so I used the Sparkles paper, trimming the White Cardstock & distressing with a bit of machine stitching to finish it off!


I love how it all come together!
Have I inspired you to get messy??

You can find all of these awesome goodies in the Fireworks section!


Have a great day! Happy Creating!


XO Charm

Friday, 17 December 2021

"Mask On" by Charmane Koch

 Happy Friday Everyone! Hopefully it is anyway! I know I am glad it's Friday! I have 5 more days of work including this one, then it is HOLIDAY TIME! CAN>NOT>WAIT!

Today I thought I would share a layout I have been meaning to finish for ages! It went through a long process... firstly a while back I had a play with combining Colour Paste Snow White with Embossing Powder (I had excess of a mix of different Embossing powders I didn't want to throw out!} so I did a couple of backgrounds using Bee Arty Stencils... {check this blog post out!}

So I have had this background in my stash for quite a while. I used the Boxed In Stencil. I also have had the Covid papers to use for a while too, I knew I wanted to document Mask wearing, although had NO IDEA we would be wearing masks for so long! If you want to document Covid - there is an amazing Step by Step Mini Album you can create - FIND THE COVID MINI ALBUM HERE!

To colour my title, I have used a shimmer cube & a splash of water... here's a quick video... you could also use Shimmer Dust and water to create a similar effect!


I love the effect the Snow White Colour Paste and the Embossing Powder creates!

As you can see I have also added the Distance Stencil using the Envy Colour Paste. I did test out a few different Colour Paste colours to work out which one would match the best...

Loved the little Cut-Outs from the Covid Papers - 


And here is the final layout! Lots of journalling on this one!


Thanks again for popping in & I hope I have inspired you to experiment with Snow White Colour Paste & Embossing Powders! It truly does give an awesome effect! 

Merry Christmas & a Happy New Year to you all! 

XO Charm