Showing posts with label Uppercase stamp set. Show all posts

Sunday, 3 July 2022

2nd Birthday by Tracey Campbell

 Hello everyone, it is my turn on the blog today and I wanted to show you my latest 12x12 layout that I created using the Fireworks Collection. Have you seen it? It is such a delightful collection, full of fun exciting papers that burst with colours. Perfect for Birthdays, celebrations and special occasions.  

I've used it to create a fun layout for Bronte, my oldest daughters 2nd Birthday, a day we celebrated with family and friends with a little party for her.


The first step I did was to spread some clear gesso through the starts and circles on the Fireworks A4 Stencil  onto some white cardstock, I concentrated the images across the top of the page and then the bottom left and right hand corners. 


While the clear gesso was drying I fussy cut out some of the images from the Bunting patterned paper. I chose two pieces of cake, four balloons, two party hats and a bow. I also cut out two word blocks from the Colourful patterned paper.


Once the clear gesso was dry I lightly sprinkled some Lollipop Colour Shimmer Dust over the 12x12 white cardstock


Next I activated the Lollipop Colour Shimmer Dust with some water. 


This is what the Colour Shimmer Dust looked like after it was dry.


While the Colour Shimmer Dust was drying I cut five 20x8 cm rectangles from the following patterned papers; Bonfire x 2, Magical, Big Hugs and Sparkles. I then placed a strip of double sided sticky tape across the top of the rectangle and used fringing scissors to cut along the length of the rectangle, up to the tape. If you don't have fringing scissors you can do single cuts with normal scissors. I used both the A and B side of the Bonfire patterned paper, so that I had both a yellow and orange length of fringed paper.


Take of the double sided tape and layer the fringed paper over the top of each other in the centre of the Shimmer Dusted white cardstock. I started with yellow, then orange, the purple in the middle with green and finally blue on top. 


Use the same coloured patterned papers and double matt two 9x7cm photos. 


Adhere a 6x6 inch photo in the centre of the fringed paper and position the two smaller photos to either side. Adhere with strong double sided tape of some clear drying glue as it can be difficult to get the photos to stick to the fringed paper securely.


Using the Numbers Metal Die and the Uppercase Stamp Set make the title for the page. I used the "2nd" from the Numbers Metal Die set and cut it out from the Bonfire patterned paper. I then used a waterproof black ink and the Uppercase Stamp Set to stamp the word "Birthday".


When the black ink was dry I made some water colour paint with a small amount of Lollipop Colour Shimmer Dust and painted the thicker parts of the letters from the Uppercase Stamp Set. When they were dry I fussy cut them out.


Last I put the layout together by using 3 dimensional tape to stick the fussy cut elements out around the photos, I added some string to the balloons to make it seem like they are flying through the air and I rant the title under the centre photo.


I hope that I have inspired you to take a look at the Fireworks Collection, it truly is a beautiful collection with so mush versatility.

Hugs
Tracey


Sunday, 20 March 2022

Ponies - With Karyn Schultz!

 Hi Bee Arty Lovelies!

It's Karyn here and today I have a scrapbook page to share with you made using lots of fabulous arty products from Bee Arty
 
 
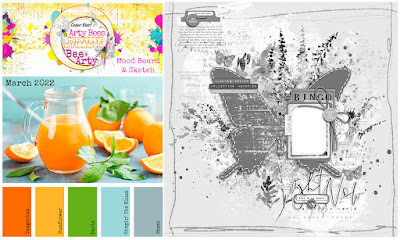
I'm playing along with the March mood-sketch challenge. We would love for you to join in with this challenge and be in the running to win a Bee Arty online voucher. You have until March 30th and you need to upload your challenge here (please follow challenge rules). 

 
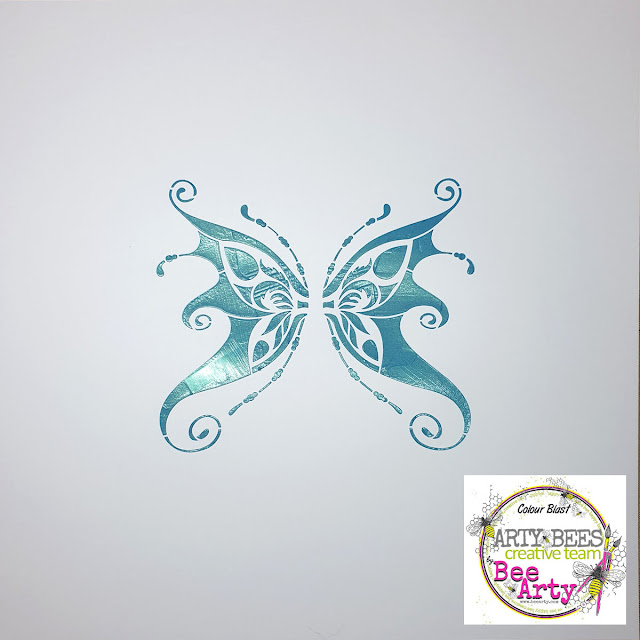
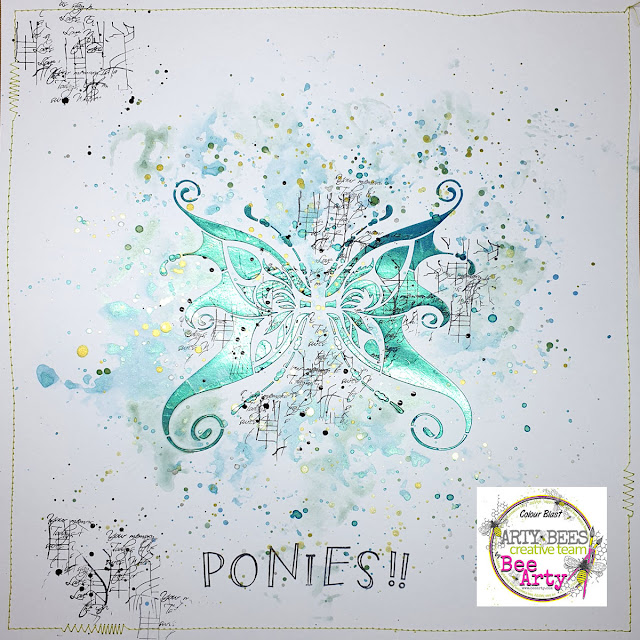
I was initially inspired by the butterfly in the sketch so I took a sheet of 350gsm Heavy White Cardstock and used the Fairy Wings A5 stencil (from the Whispering Woods collection) and some Deep Water  Colour Paste.

 
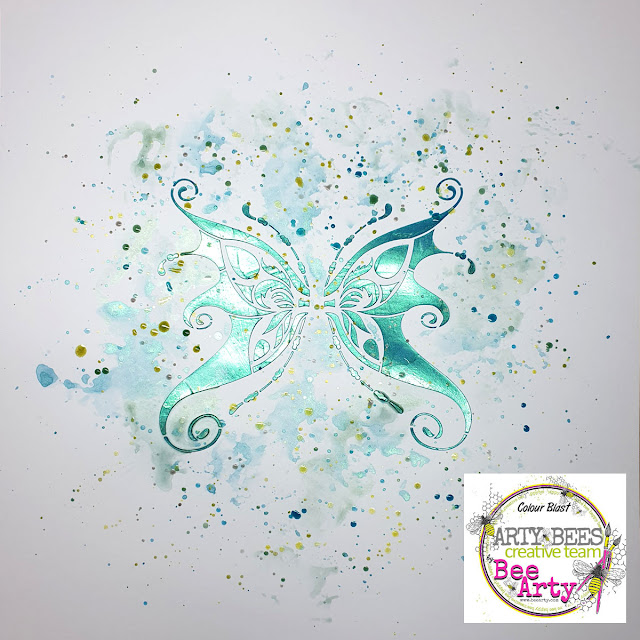
I used a painting with plastic technique to add Deep Water and Jungle Mica powders.

 
Then I added splatters of Deep Water, Jungle, Lemon Zing, Steel, Polar and Olive Grove Mica powders. The colours were inspired by the moodboard and the pattern was inspired by the sketch.


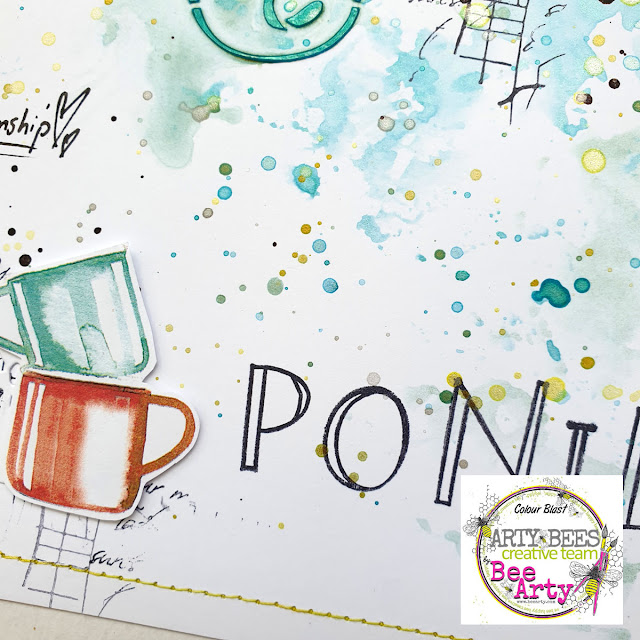
I added stamping using the Mapped stamp from the Road Trip collection, and the Memories (script) stamp and Black Archival ink. I created a title using the Uppercase stamp set from the Fireworks collection. I also added splatters of Midnight Shimmer Dust. Then I used my sewing machine to add stitching around the edge of the page.
 
 
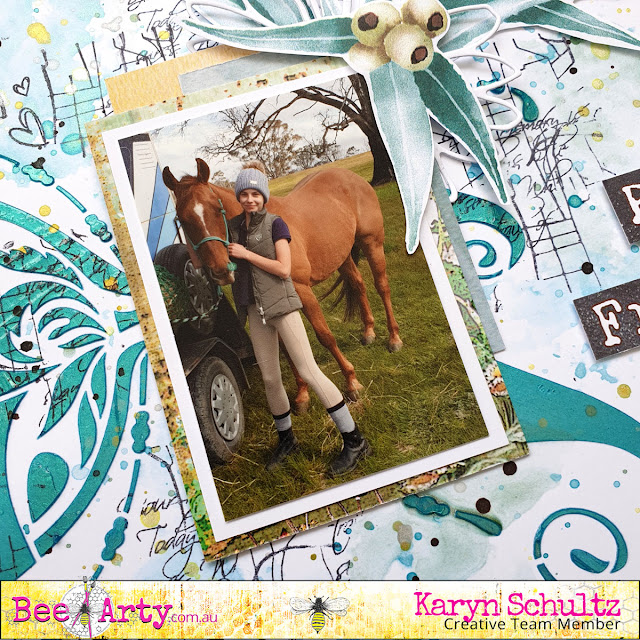
Here is my completed page. 

 
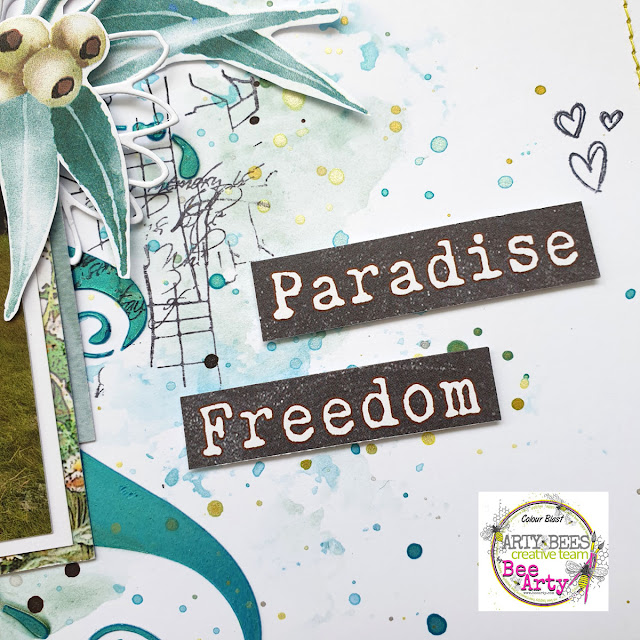
I've matted my photo on layers of paper offcuts from the the Road Trip collection. The leaves and cups are fussy cut from the Road Trip Collection Cover paper. The words are cut from the Vacay paper, also from the Road Trip Collection. I've added a flower diecut from the Calendula metal die set (Bohemian Bliss collection).


Lastly I've added journalling using a fine black Life of Colour paint pen.


Thanks so much for stopping by

Crafty Hugs xx


Tuesday, 8 March 2022

"Party Girls" by Charmane Koch

Hey Guys!

Happy Tuesday! We will ignore all dramas of the world and focus on the fun, brand NEW Fireworks Collection!!!

Who's played with it yet? 

Today I wanted to share with you a layout I created with leftover mix of Embossing Powders...I did end up pouring way too much on that first layout!

To start my layout I have sprinkled Wine, Candy & Lollipop Shimmer Dusts over the top of a sprayed piece of White Cardstock. I have then sprayed a little more, then using a heat gun dried the page off...

I have then stencilled on the Candles over the top of that using White Gesso, then sprinkled the Embossing powder over the top. I have then dried it with a Heat Gun.


I did a little MINI VIDEO over in the Bee Arty Hive on how I did the Music Notes stamp from the Funtime Clear Stamp - using Versamark Clear Ink, then sprinkling over MORE of the Embossing Powder!

I also stamped "Party Girls" using the Uppercase Stamp Set & Embossing Powder too...


I cut out some of the presents & the cute banner from the Party Metal Die {so cute!} to add to my layout...


I decided it needed a colourful edge to my layout so I used the Sparkles paper, trimming the White Cardstock & distressing with a bit of machine stitching to finish it off!


I love how it all come together!
Have I inspired you to get messy??

You can find all of these awesome goodies in the Fireworks section!


Have a great day! Happy Creating!


XO Charm

Sunday, 6 March 2022

Roses and Iris's - With Karyn Schultz!

 Hi Bee Arty Lovelies!

It's Karyn here and today I have a scrapbook page to share with you made using products from the new Fireworks collection from Bee Arty
 
   
I was inspired by the colours of the February mood-sketch challenge. 
 
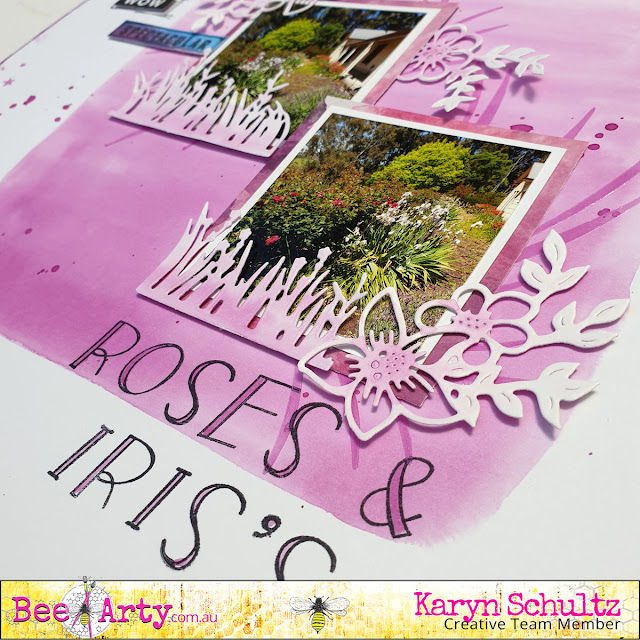
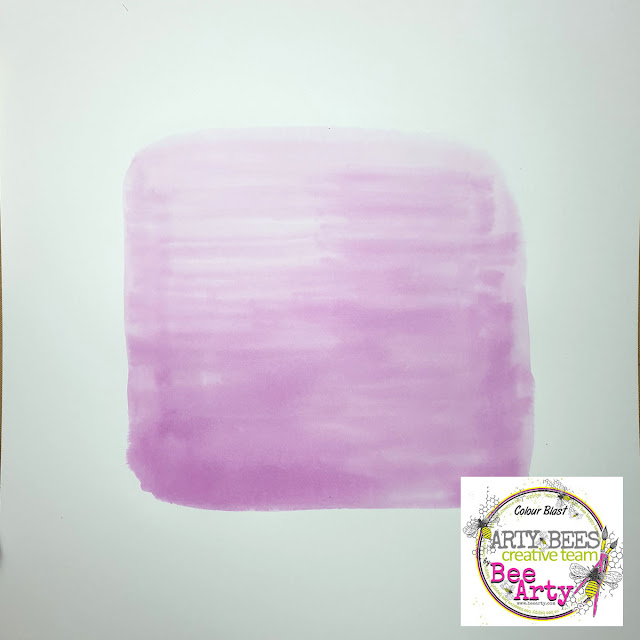
I created a background on 350gsm Heavy White Cardstock by painting an 18cmx18cm square using Grape Colour Spray mixed with water in a paint palate and a large flat brush. I've created an ombre effect being darker at the bottom and lighter at the top. 
 

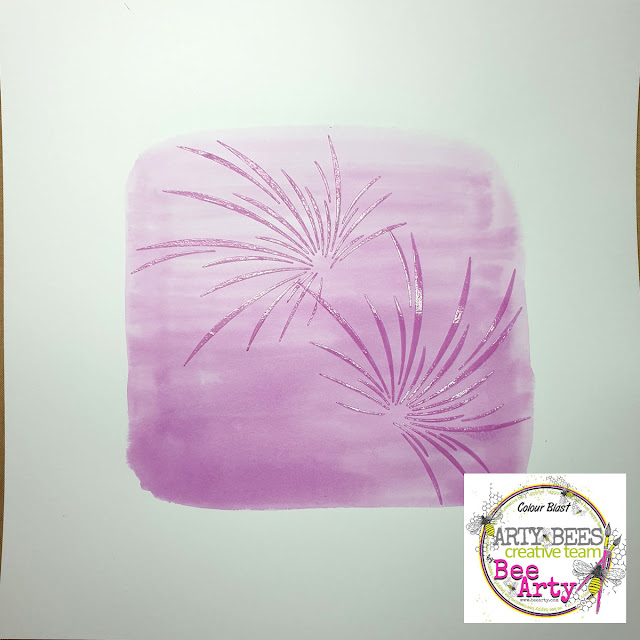
I mixed 4-6 drops of Grape Colour Spray with 1-2 tablespoons of heavy gloss gel then used a palate knife to apply through the Fireworks stencil from the Fireworks collection.  
 

I applied more of the Grape / gloss gel through the star section of the Fireworks stencil in the top right and bottom left sides of the page.   

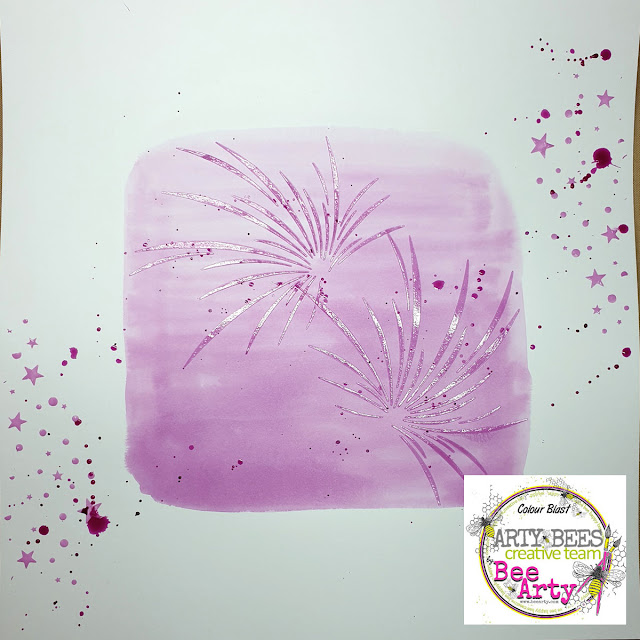
Once dry I added splatters of Grape Colour Spray.
 
 
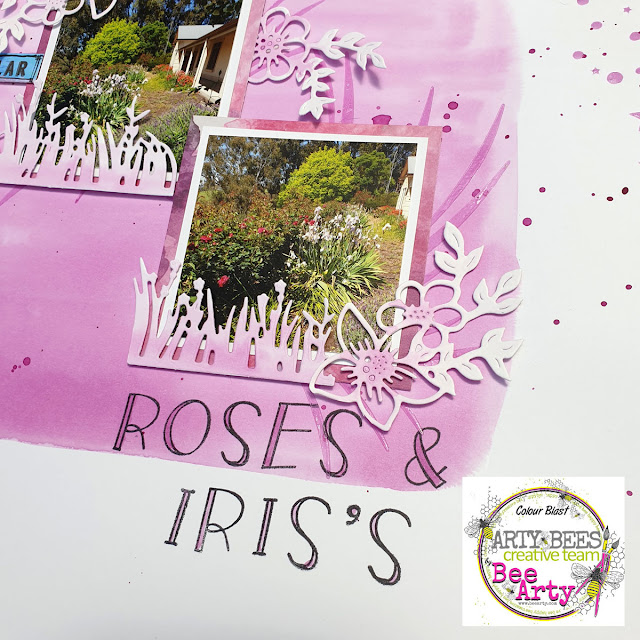
 Here is my completed page.
 
 
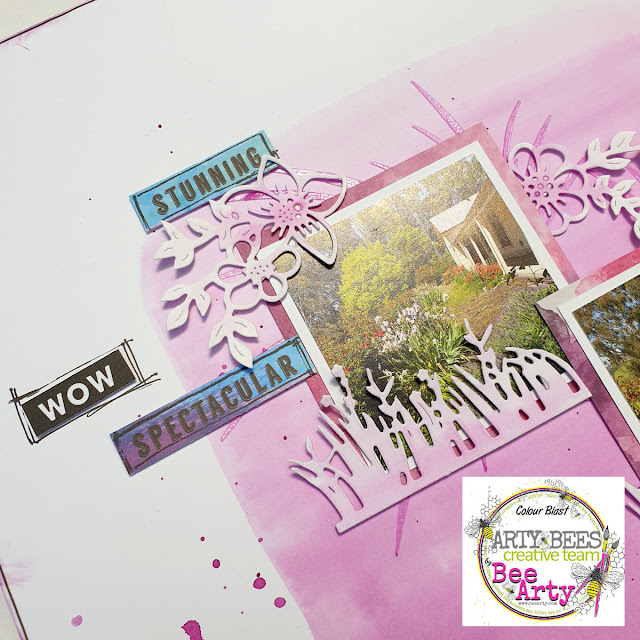
 My photos are 7cmx7cm including a white border. I've matted these with 8cmx8cm Sparkles paper from the Fireworks collection then adhered to the page. I've used diecuts from the grass die from the Forest Favourites metal die set and the Sweet Floral metal die. All die cuts are created using 250gsm white cardstock and are painted using the Grape Colour Spray.
 
 
I've used words cut from the Colourful paper from the Fireworks collection and alpha stamps from the Uppercase stamp set. Lastly I've outlined my page using a fine black Life of Colour paint pen.


Thanks so much for stopping by

Crafty Hugs xx