Showing posts with label sweet floral metal die. Show all posts

Tuesday, 5 April 2022

Obsession by Charmane Koch

 Happy Tuesday! Today I wanted to share with you a layout I created using stencilling with Black Gesso and gorgeous stamps to create a background...

I wanted to create a "girly" type of background to emphasise my daughter love of getting piercings... so I started off by lightly rubbing through Black Gesso using the "My Lady" stencil - but only using the flowers & leaves...


I have then used the really awesome "Zen" stamp - It's just totally gorgeous and it will be one that I will use forever! It's so cool! And I think it really goes well with a teenager type layout or even would be awesome as a card too...


I've then used a couple of different dies - Sweet Floral & Flower Power  - that I have tucked under the photo matte to create more interest and a 3D effect....

I used Sienna Mica Powder to colour the Sweet Floral Die & also Muslin - quite a watered down version, so not to be too intense, and I think it gives a nice colouring.

I machine stitched around the photo matte & added a Charms Creations to finish it off, and journalling of course.

The paper I used was from the Destination Anywhere Collection.

What I've used:


And here is the full layout!


Thanks for popping in to check it out!


XO Charmane

Sunday, 6 March 2022

Roses and Iris's - With Karyn Schultz!

 Hi Bee Arty Lovelies!

It's Karyn here and today I have a scrapbook page to share with you made using products from the new Fireworks collection from Bee Arty. 
 
   
I was inspired by the colours of the February mood-sketch challenge. 
 
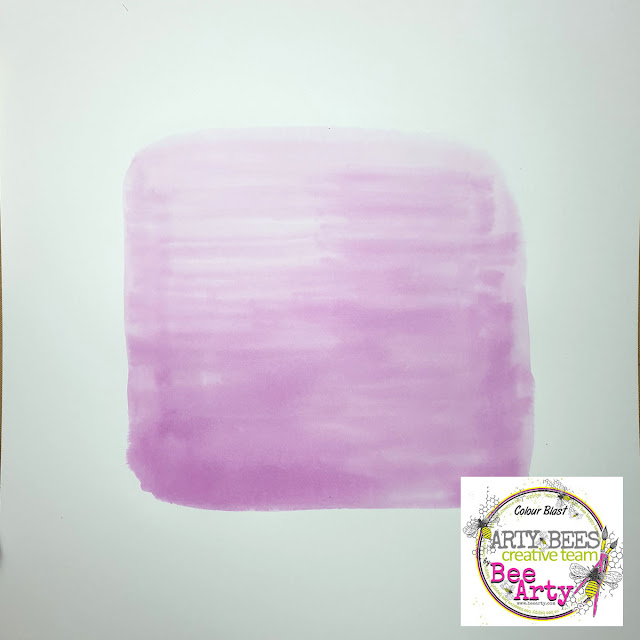
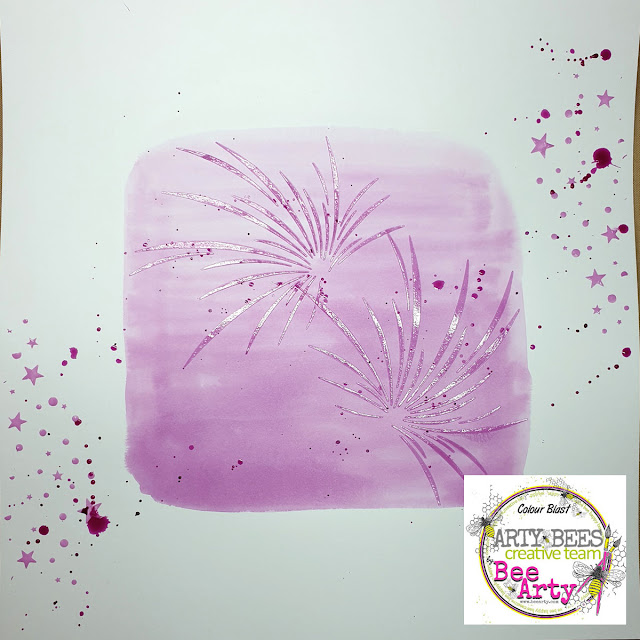
I created a background on 350gsm Heavy White Cardstock by painting an 18cmx18cm square using Grape Colour Spray mixed with water in a paint palate and a large flat brush. I've created an ombre effect being darker at the bottom and lighter at the top. 
 

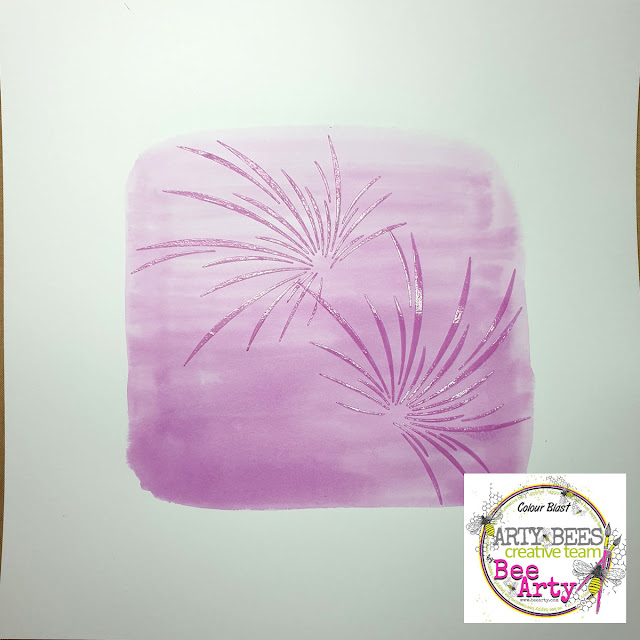
I mixed 4-6 drops of Grape Colour Spray with 1-2 tablespoons of heavy gloss gel then used a palate knife to apply through the Fireworks stencil from the Fireworks collection.  
 

I applied more of the Grape / gloss gel through the star section of the Fireworks stencil in the top right and bottom left sides of the page.   

Once dry I added splatters of Grape Colour Spray.
 
 
 Here is my completed page.
 
 
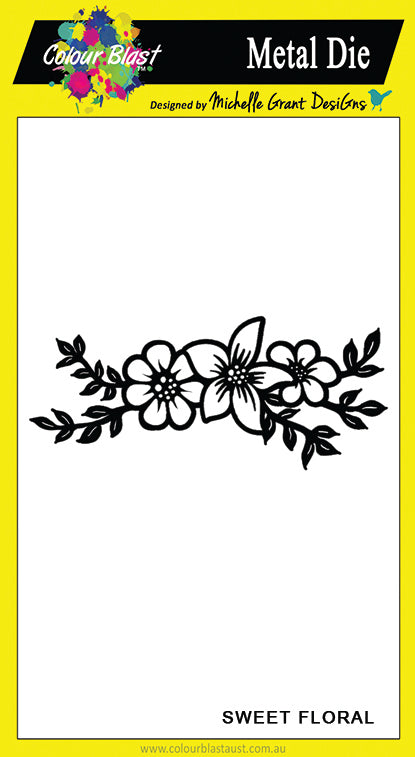
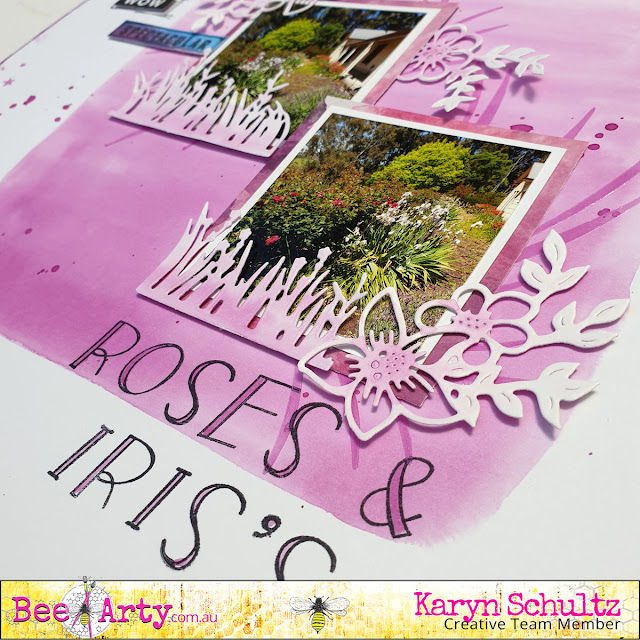
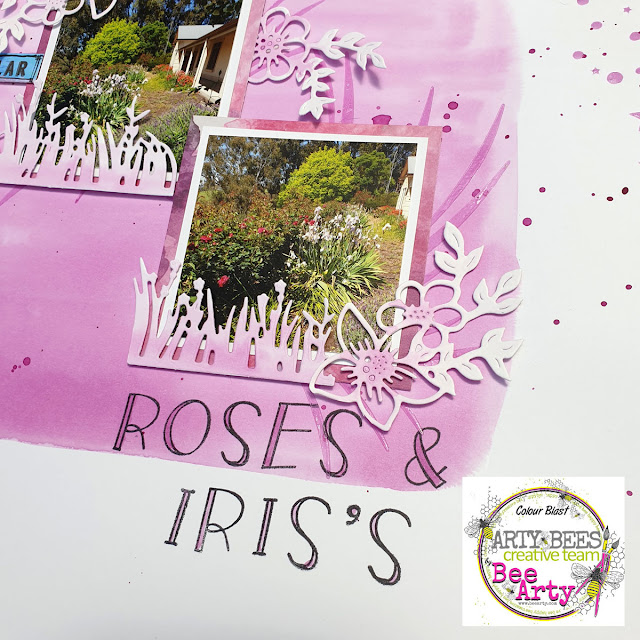
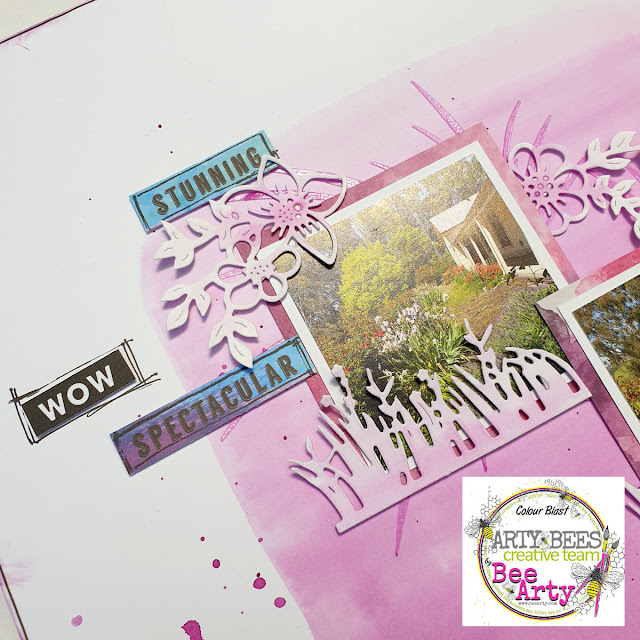
 My photos are 7cmx7cm including a white border. I've matted these with 8cmx8cm Sparkles paper from the Fireworks collection then adhered to the page. I've used diecuts from the grass die from the Forest Favourites metal die set and the Sweet Floral metal die. All die cuts are created using 250gsm white cardstock and are painted using the Grape Colour Spray.
 
 
I've used words cut from the Colourful paper from the Fireworks collection and alpha stamps from the Uppercase stamp set. Lastly I've outlined my page using a fine black Life of Colour paint pen.


Thanks so much for stopping by

Crafty Hugs xx


Friday, 11 June 2021

Family is Life by Charmane Koch

 Happy Friday Everyone! Today I want to share with you another layout I created at the Bee Arty Retreat using a mix of different Bee Arty products from different collections...

I started off using a Spread Your Wings paper as my base, and using modelling paste I have used the NEW Destination Anywhere Pavement A4 Stencil to create texture to my background. Once dried with a heat gun, I have used Leather Mica Powder mixed in water to colour the "brickwork" of the stencil.


I also coloured the scalloped heart Chipboard using the same Leather Mica Powder.

I also coloured the String Wreath Metal Die {cut from 350gsm White Cardstock} and the "family" chipboard word using Olive Sparkle Embossing Powder {found in the Sweet Stuff Embossing Bundle} 

 The Sweet Floral Metal Die I coloured with Olive Grove Mica Powder for the leaves & Punch Mica Powder for the flowers.


I matted my photos using the back of the Grateful Heart Word Sheet, and then distressed the edges.

I added some kitchen string from top left to bottoms right, paper roses and a Charms Creations Hessian Heart to finish the page off. 


I think the colours really work well together in this layout, and tying different floral elements together made this page work!

I hope that you are inspired and like the outcome as much as I do!


Thanks for popping by...


XO Charm

Saturday, 17 April 2021

Hello Handsome by Tracey Campbell

Hello lovely people, Tracey Campbell popping in today to share my latest Colour Blast by Bee Arty Creative Team project. It is Autumn here in Australia but I am feeling the need for some floral inspiration. My oldest Niece just had her first baby, a beautiful bouncing baby boy. So with a lovely smiling baby photo and some flowers I got to work. Who says you can't use flowers on a boys layout?? 

With flowers on my mind I started by going through my Colour Blast by Bee Arty supplies looking for anything with flowers on. Here is my pile I found:

Paper: A full 12x12 sheet of  Grateful Heart Faith, Fussy cut flowers from Grateful Heart Love, and Aim High Adventure. I used the Sweet Floral Metal Die to cut out flowers in various blues and purples from the Trendsetter collection.

I decided to use the "B" side of the Grateful Heart Faith paper, the white washed wood panels. It is such a wonderful image for the background of layouts on it's own or even better with with a splash of colour. To add colour I used three different colours of the Colour Shimmer Sprays: Envy, Singin the Blues and Punch.  I took my time with this process making sure that each colour was dry before applying the next one. I did not want the colour to combine. I sprayed a bit of the colour at the top left hand side of the 12x12 paper and at the bottom right hand corner, enough for it to pool. I then tilted my paper towards me to allow the pooled spray to run down the page. I repeated the process with the two remain colours. 

In the photo below you can see the position of where I sprayed. I created these areas as I will build up my photo and embellishment clusters here.


My next step was to cut out 7 more of the sweet floral diecuts using some white cardstock as I wanted  to add some flat flowers to the wood background. I positioned them so that there were 2 side by side over the bottom right sprayed colour and the remain 5 in a sort of circle ring shape in the larger sprayed area on the left. I used a sticky white glue to secure them to the page.
I then created floral clusters with the fussy cut flowers and the blue and purple diecut sweet florals over the top. 


Using some vellum I matted the landscaped 4x6 photo. By using the vellum it creates a soft matting, perfect for baby photos, it also allows the images/decorations under it to show through with an opaque look.
Finish off with more fussy cut flowers adhering with some three dimensional tape to give height. I adhered them across the photo and around the edges. 

Next I fussy cut a banner from the Aim High Adventure paper and painted them with blues and purples from the Inspired Collection Watercolour Pan set and the Colour Shimmer Cubes. I cut the banner into 3 pieces and tucked them into the flower clusters. See the finished layout for the final positioning.  


Next I cut out word sentiments for the title and subtitle. "Hello Handsome" from the Treadsetter Sparkle paper and "Made with Love" from the Grateful Heart Blessed paper. 


To finish off I grabbed some old paper flowers from my stash and tucked them behind the fussy cut flowers and diecuts to add layers to the clusters and then a bit of journalling.


I must admit, I love how it has turned out, soft and florally but not too feminine. What do you think? 


I hope I have inspired you to try using flowers on a boys layout? Go thorough your scraps and see what you have, just because the all don't belong to the one collect doesn't meant that they won't work together. 

See you next time.
Hugs
Tracey


Monday, 1 March 2021

Moodboard Art Journalling - With Karyn Schultz!

 Hi Bee Arty Lovelies!

It's Karyn here and today I have an art journal page to share with you made using lots of fun products available from Bee Arty.    

   
I'm playing along with the March creative challenge which is a fabulous moodboard this month. We would love for you to join in with this challenge and be in the running to win a Bee Arty store voucher. You have until March 31 and you need to upload your challenge to the appropriate album in the facebook group.  
 

I'm using a cotton watercolour page in my DWM art journal. I start by applying Colour Mica Powder in Polar, Royalty and Rose Petal to my page using a painting with plastic technique. You can either mix the mica powders with water in a paint palate or I have mixed the mica with gum arabic and created my own pan paint set.
  
  
 Next I've added some stencilling using the Scripted stencil (from the Love and Grace collection) and Just Blue Colour Paste. This Colour paste was starting to go a bit thick so I carefully mixed some Isopropyl alcohol with it to thin it down - just add a few drops at a time and mix until blended and the consistency you like.
 
  
 Then I added some stamping using the "All Class" stamp set from the Trendsetter collection.
 
  
I created my own floral embellishments by stamping flowers from the Floral Delights II stamp set onto white cardstock. 
 
  
I then painted the flowers using the Colour Mica Powder in Polar, Royalty and Rose Petal to coordinate with the moodboard. Next I fussy cut the flowers to use on my page.
 
 
 Here is my finished page. I used a picture I found on Pinterest to add to the focal point.


I've added some diecuts using the String leaves metal dies and sweet floral metal die and white cardstock.


 You can see that I strategically placed the background stamping in the areas I intended to embellish.

 
I used a palate knife to add some Snow White Colour Paste to the center of each flower for sparkle.
 

Thanks so much for stopping by

Crafty Hugs xx