Tuesday 26 July 2022

Life & Love by Charmane Koch

 Happy Tuesday! Hoping everyone is getting through this freezing winter ok? I do not like it AT ALL!

School holidays is over and it's back to reality of kid drop off/school lunches too! Aggh!

Anyways, let's not think of it and check out this fun layout I created using the Bee The Sunshine range!


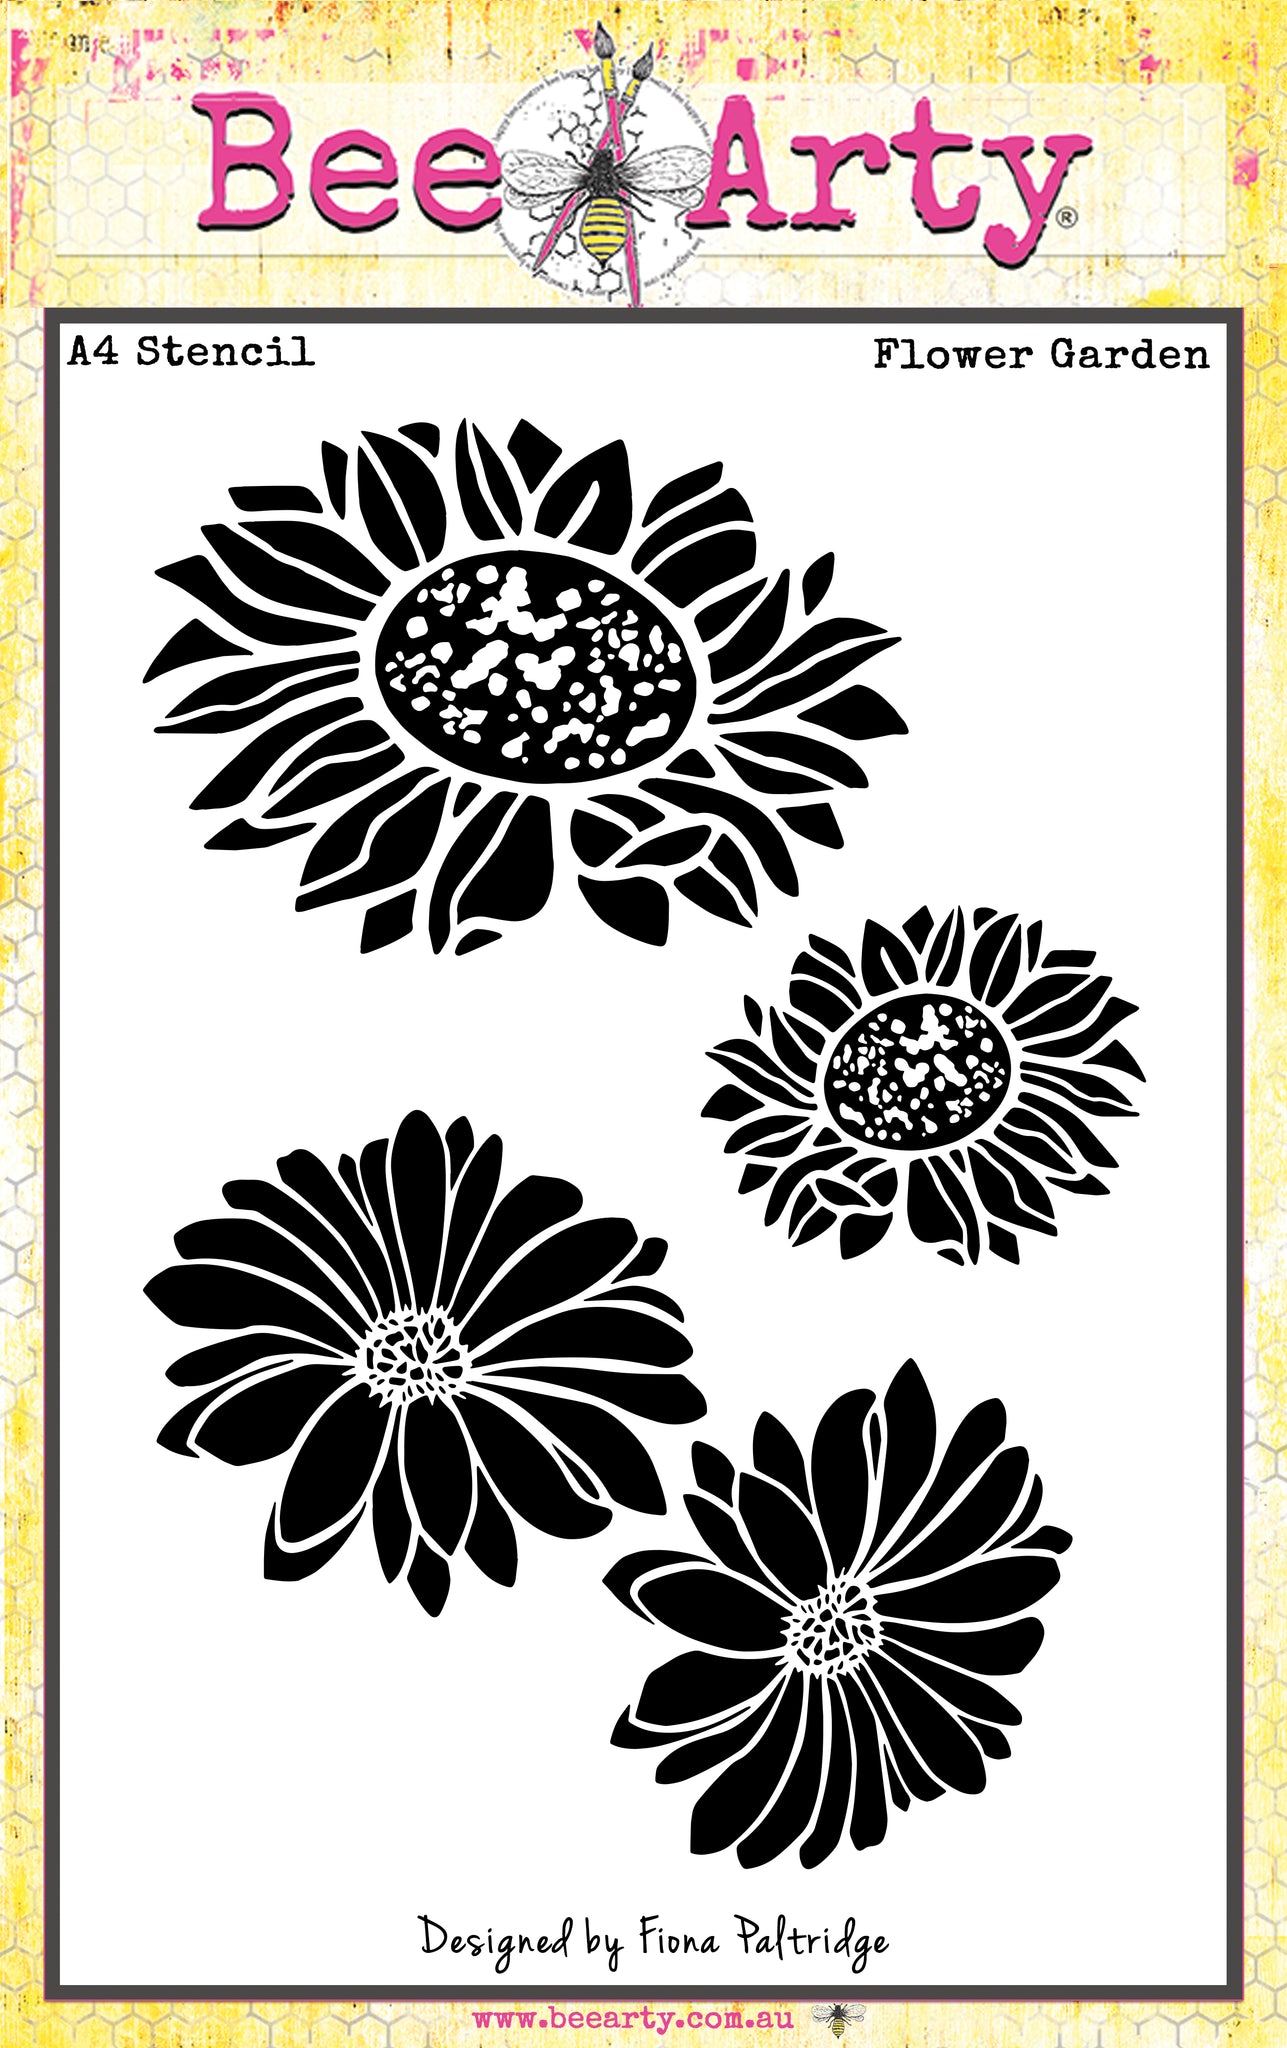
I started off by stencilling the gorgeous Sunflowers from the Flower Garden Stencil using White Modelling Paste, and drying with a heat gun.

I have then used just 2 Shimmer Dust colours - Sunflower & Tan to colour... {video coming soon!}


I cut out some bees using the gorgeous Gold Lines Mirrorboard and the Wingspan Die. I also cut a few different Vines from the Devine Die - using Mirrorboard & kraft Cardstock.

I coloured the chipboard bees using Bling Mica Powder - I did a few coats to give it a more golden look.


I just love how the Golden bees turned out!


I had the perfect Charms to match - a bee on it of course!

I added the little gold bees from the Wingspan Die to one of the title letters and on one of the photos.

I matted the photos using Kraft Cardstock to match the colours of the layout. I also backed the layout using the Kraft Cardstock too, but have trimmed down the White Cardstock and distressed the edges. I have then machine stitched around the edges.


And here is the full layout!

You can also see the I have stamped the word Celebrate - dipping in the Tan Shimmer Dust {practising on another scrap paper first!} and then rest amped for a fading out effect. This stamp is from the Celebrate Banner stamp.


Here are the Stamps, Stencils & Dies I used!


Thanks for popping by today and I hope you are inspired to get your Sunflowers and Bees out for a play!

Happy Creating!


XO Charm

Sunday 24 July 2022

Simply Perfect - With Karyn Schultz!

 Hi Bee Arty Lovelies!

It's Karyn here and today I have a scrapbook page to share with you made using lots of fabulous arty products from Bee Arty.  
 
 
 I started with a sheet of 350gsm Heavy White Cardstock and spritzed it with water along the right and left of the page (where I wanted to add colour). Then I used a fan brush to add Cool Mint Mica powder. I  continued to spritz more water and add more colour until I had achieved the desired look. 
 
 
Next I added some stencilling using the Honeycomb Spray A5 stencil and Stormy Weather Mica powder (mixed with water and applied with a sponge). 

 
I added stamping using the Find Your Way stamp and Black Archival ink
 
 
 I used a combination of Jet Black and Taupe Embossing powders from the Romance Embossing bundle. You could use any combination you prefer (or a single colour), but I love the rustic look of multiple colours.
 
 
Here is my completed page. 
 
 
 I added a photo mat from Chit Chat Alpha paper and black cardstock diecut created from the Compass metal die.
 
 
 The white cardstock diecuts are created using the Flower Stems metal die set.
 
 
Thanks so much for stopping by

Crafty Hugs xx


Monday 18 July 2022

Love your decisions by Linda Pearson


Moonshadows paper collection pack – cut-out sheet

Lunar garland 12x12 scrapbooking paper - B side

Moonburst 12x12 scrapbooking paper - B side

Favourite 12x12 scrapbooking paper  - B side

Celebrate banner clear stamp set

Moon Rock metal die

White Cardstock – Bee Arty

Borderline A4 stencil

Shimmer dust – Paris

Colour artist inks  -  Oasis

Versamark Stamp pad translucent

Embossing powder – Snow white

Gesso – White Bee Arty heavy primer 250ml

Sheet of printed book paper A4 size

Distress oxide sapphire and blending brush

Double sided tape

Liquid adhesive

Silicone sponge


Fussy cut the ‘goddess’ shape and large wings from the Moonshadows paper collection pack – cut-out sheet.  Colour these shapes with water colours of choice.  Once dry highlight shapes with fine black pen.  Adhere the wings to the ‘goddess’ shape.  Add foam tape to the back of the winged shape.


Run the Moon Rock metal die through a die-cut machine onto a sheet White Cardstock – Bee Arty.  Coat the die cut card with white Gesso.  Allow to dry.

 In a small palette add a small quantity of Shimmer dust – Paris and Colour artist inks  -  Oasis mixed with water. Coat the die cut shape with the mixes to create a two-toned effect.  Dry off.  Apply second coat if necessary.


Pencil draw an oval shape onto the Moonburst 12x12 scrapbooking paper.  Carefully tear the oval centre from the sheet.  Note: cut 3 oval shapes onto a scrap piece of paper in concentrate format (see diagram below).


  Favourite – bottom layer (leave this paper as is)

Smallest oval cut from - Moonburst 12x12 scrapbooking paper – middle layer

Smaller oval shape from - printed book paper - top middle layer

Largest oval cut - Lunar garland 12x12 scrapbooking paper – top layer


Trim the Moonburst 12x12 scrapbooking paper approximately 2cm each side. Adhere to background layer with double sided tape.

Add distress oxide sapphire with a blending tool around the torn edge of book paper. 

Place the book paper over the Moonburst sheet, glue or tape together.


Before adding top layers, apply the star stamp from the Celebrate banner clear stamp set using Versamark Stamp pad translucent then heat set with the snow white Embossing powder. 


 Add the top sheet Lunar garland, adhere around the outside edge with double sided tape.  Leave the inside oval area to allow elements to be added.


Cut the Moon Rock metal die into two pieces.  Place either side just under the top layer, refer to the image.


Apply sections of the Borderline A4 stencil to the top paper, tapping some white Gesso through the stencil with a silicone sponge.  Dry off.

Outline the stencilled area with a fine coordinating paint or gel pen.

Remove the backing tape from the ‘goddess’ shape and place over the coloured die cut shape and overlapping the top sheet.

Add fine line border around the edge of the top page and oval loosely with paint pen.

Add a sentiment to the page.


Thank you for stopping by and look forward to creating with you next time. 


Bye for now from Linda.


linda@yourcreativepalette.com.au

Sunday 17 July 2022

Wonderful Days in the Woods by Tracey Campbell

Good morning lovely people, it is Tracey Campbell here today with my Creative Team share. I decided to give the Monthly Challenge a go as the colour palette is so pretty and the sketch is something a bit different than how I normal put my layouts together. 


If you would like to join in on the Bee Arty Monthly Collection you can find it in our Facebook Group here: Bee Arty Hive


To start my layout I kept the colours from the colour palette in the Challenge in mind when I sorted through my patterned papers, I didn't stick to just one Bee Art Collection, I went through all of the ones I have looking for the one that I thought would work, I was pleasantly surprised by how much I found. I added some stamps and metal dies to the ever increasing pile. 


Once happy with the papers and colours I was going to use I grabbed a pieces of white cardstock to use as my base, I drew light scribbled lines across the page using a lead pencil. I then used the straw from a bottle of Sunset Colour Spray and flicked small splatters of spray in the top right hand and two bottom corners of the white cardstock. I left to dry.


I wanted to add some bigger splatters to the white cardstock so I used a soft paint brush and dipped it into Grass Colour Artist Ink and let the droplets fall, roughly in the same areas as where I splattered the Sunset Colour Spray. Tip: The higher you lift your brush away from the paper where you want the splatters the bigger the splats will be. Let dry.


While the Colour Artist Ink was drying I used a water proof ink and the stamp sets Floral Arrangement and Celebrate Nature to put images onto some white cardstock, with the thought of using these as the floral images around the circle in the sketch.


I also stamped the jars from the Floral Arrangement Stamp Set onto some of the light blush colour on the B side of the Falling patterned paper in the Embrace Change Collection


When the ink is completely dry fussy cut the stamped images along with a word block for a title from the Natures Words cut apart sheet in the Whispering Woods Collection and some flowers from the Imagery patterned paper in the same collection.


Cut out a circle with a diameter of roughly 20 cm from the B side of Falling patterned paper in the Embrace Change Collection and use a distressing tool to distress the edges.


Cut out four strips from the B side of Fernery from the Whispering Woods Collection to created a wooden frame around a 8x9 cm portrait photo.


Cut the remaining patterned paper elements that are represented in the sketch from papers that match the colour palette. I have cut a tag from the Woodland Tags patterned paper in the Whispering Woods Collection and hand cut a bigger tag from the Olive Green square on the Spice Patterned Paper in the Embrace Change Collection, a rectangle 5x15 cm in a dusty dark pink colour from the Vampyre Rose Collection and a 10x14 cm rectangle with rounded corners from a light pink paper in the Entangled Patterned Paper in the Find Paradise Collection. Distress all the edges using a distressing tool.


Using a double sided sticky tape adhere all the elements to the page, arranging to represent the sketch. I used 3 Dimensional tape to adhere the framed photo and the tags on the right hand side to add some dimension to the layout. I ended up turning the photo and the tags on a slight lean as I thought it made them look a bit softer, given the whimsey subject in the photo, I thought a softer look was more suited.


Using some Colour Shimmer Cubes paint the stamped images, use a range of three different pinks on the flowers and an olive green for the leaves. 


If you don't have the Colour Shimmer Cubes then you can use normal water paints or like I have done for the olive green leaves mix some Colour Mica Powder in Olive Grove with some water to create  a shimmer paint. Once the water paints are dry arrange the fussy cut elements around the circle to replicate the inspiration from the sketch in the Monthly Challenge.


Here is my final layout, I really like how it turned out and think that I will use this sketch again for another layout a bit later on.

Thanks for popping in I hope that I have inspired you to give the Monthly Challenge a go and to try and mix am match your collections so that you can get a different look from the Bee Arty Collections, it really is amazing how they all work together.

Hugs
Tracey


Saturday 16 July 2022

Sweet Life Card by Sunila

 Hello lovelies,

Sunila here, and I'm back with a fun project for you all!

Today I'm creating a birthday card using inks, mica powders and some stamps! This is a fun technique to use on layouts or journal pages as well!


I began by swatching inks and mica powders mixed with water. I simply dipped my brush in the colour and created a brush stroke swatch. I then cut around them to get these organic colourful pieces. 


I stamped a few cupcakes, adhered them on my colourful swatches and splattered colours and added sequins. This is made for a fun vibrant card!


Supplies used:

Colour Blast Mica Powders

Colour Blast Shimmer Dust Powders

Colour Blast Artist Dye Ink

Funtime Stamp

Have a lovely week ahead!

Hugs,

Sunila