
Moonshadows
paper collection pack – cut-out sheet
Lunar
garland 12x12 scrapbooking paper - B side
Moonburst
12x12 scrapbooking paper - B side
Favourite
12x12 scrapbooking paper - B side
Celebrate
banner clear stamp set
Shimmer
dust – Paris
Colour
artist inks - Oasis
Versamark
Stamp pad translucent
Embossing
powder – Snow white
Gesso – White Bee Arty heavy primer
250ml
Sheet of printed book paper A4 size
Distress oxide sapphire and blending brush
Double sided tape
Liquid adhesive
Silicone sponge
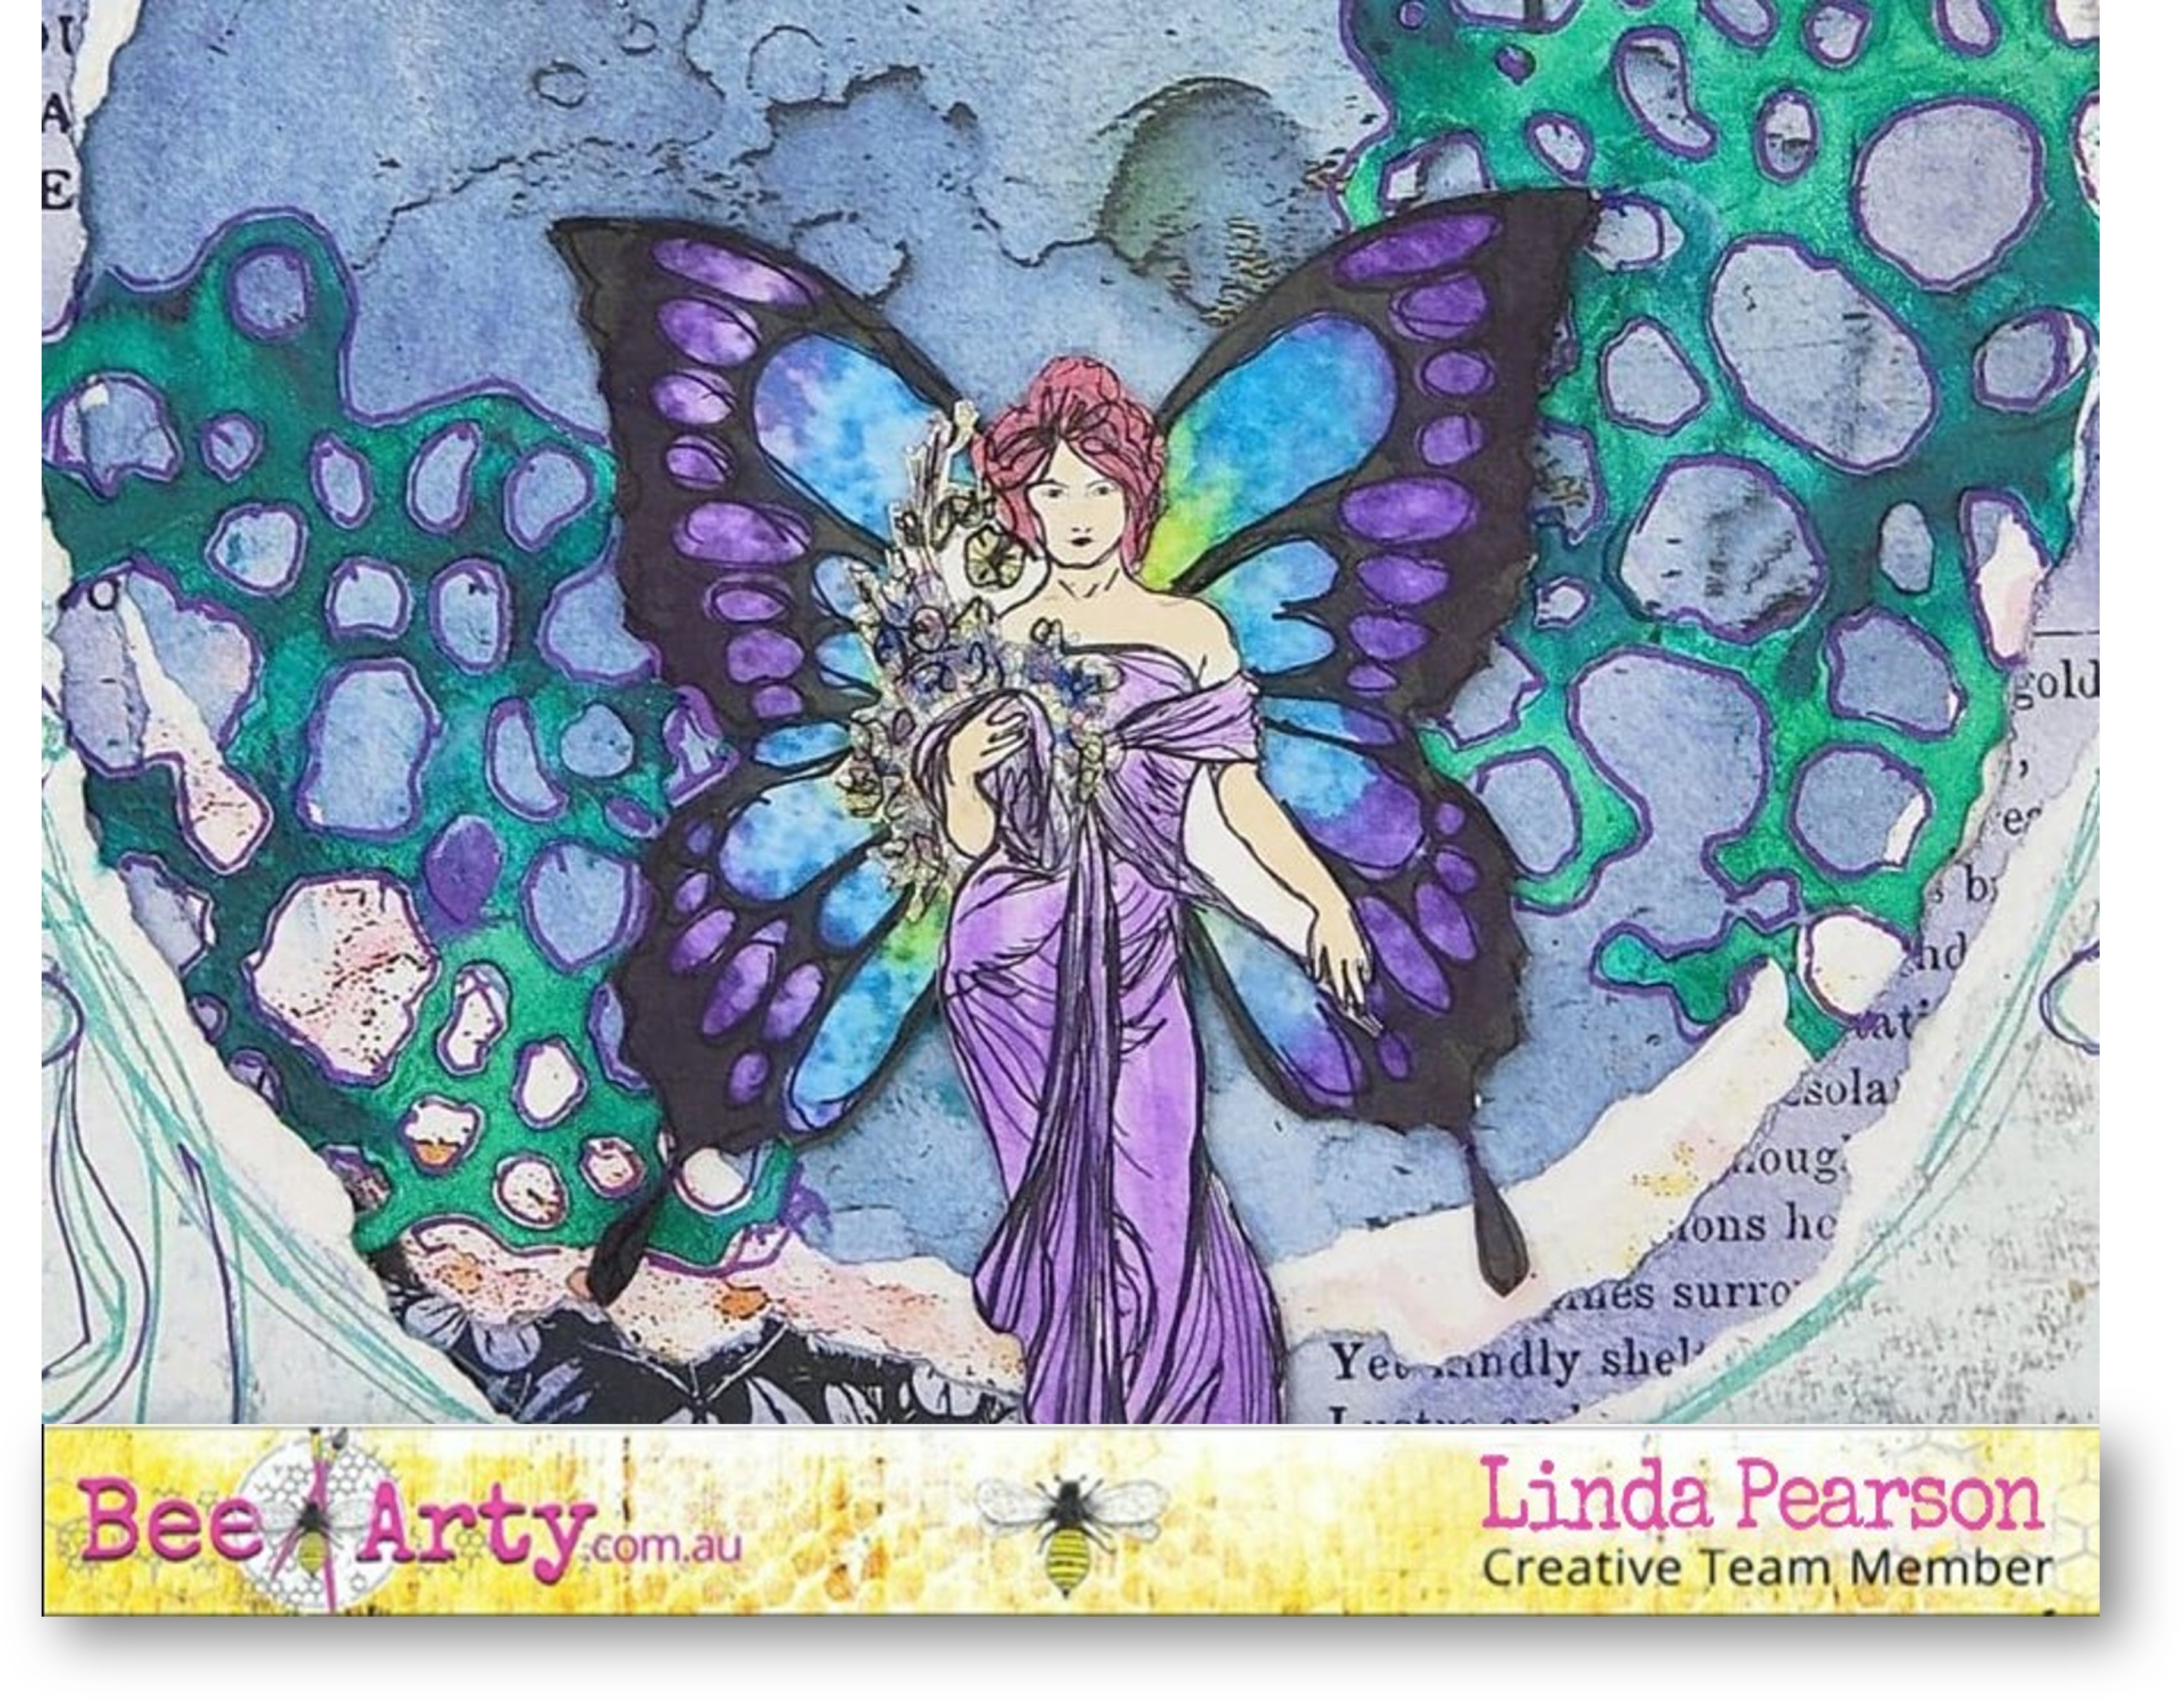
Fussy cut the ‘goddess’ shape and large wings from the Moonshadows
paper collection pack – cut-out sheet.
Colour these shapes with water colours of choice. Once dry highlight shapes with fine black
pen. Adhere the wings to the ‘goddess’
shape. Add foam tape to the back of the winged
shape.

Run the Moon Rock metal die
through a die-cut machine onto a sheet White
Cardstock – Bee Arty. Coat the die cut card with white Gesso.
Allow to dry.
In a small palette add a small quantity of Shimmer
dust – Paris and Colour
artist inks - Oasis mixed with water. Coat the die cut
shape with the mixes to create a two-toned effect. Dry off.
Apply second coat if necessary.


Pencil draw an oval
shape onto the Moonburst
12x12 scrapbooking paper. Carefully
tear the oval centre from the sheet.
Note: cut 3 oval shapes onto a scrap piece of paper in concentrate
format (see diagram below).

Smallest oval cut from - Moonburst
12x12 scrapbooking paper – middle layer
Smaller oval shape from - printed
book paper - top middle layer
Largest oval cut - Lunar
garland 12x12 scrapbooking paper – top layer

Trim
the Moonburst
12x12 scrapbooking paper approximately 2cm each side. Adhere to background
layer with double sided tape.
Add distress oxide sapphire
with a blending tool around the torn edge of book paper.
Place the book paper
over the Moonburst sheet, glue or tape together.

Before adding top
layers, apply the star stamp from the Celebrate
banner clear stamp set using Versamark
Stamp pad translucent then heat set
with the snow white Embossing
powder.


Cut
the Moon Rock metal die
into two pieces. Place either side just
under the top layer, refer to the image.
Outline the
stencilled area with a fine coordinating paint or gel pen.
Remove the backing tape
from the ‘goddess’ shape and place over the coloured die cut shape and
overlapping the top sheet.
Add fine line border
around the edge of the top page and oval loosely with paint pen.
Add a sentiment to the
page.
Thank you for stopping
by and look forward to creating with you next time.
Bye for now from Linda.

No comments:
Post a Comment