Showing posts with label Colour Mica Powder. Show all posts

Thursday, 2 February 2023

Tough as, by Amanda Hartmann

Hello Bee Arty fans!

My turn to share today... "Tough as"...

It features:
1. A mixed media background
2. Bee Arty die cuts
3. Embossing powders for the title letters
4. Coloured embellishments

Read on to see the links to the products and see some close ups...


1. Mixed media background:


White modeling paste through the A4 Linear stencil from the Chit Chat - Kit collection

I then used Colour Mica Powder in Deep Water and Apple of my Eye - mixed with water and smooshed, splattered and painted onto the background.


2. Bee Arty die cuts


I made and added some die cuts using Bee Arty Dies:
Keylock - Metal Die from the Rustic Blooms collection
Moon Rock - Metal Die from the MoonShadowns collection, and
Flower Stems - Metal Die from the Bee the Sunshine collection.


3. Embossing powders

Heat embossed my title chipboard letters with:
Apple of my Eye Embossing Powder
Teal sparkle from this Embossing Powder Bundle


4. Coloured muslin


I coloured the muslin to match the layout using Colour Artist Dye Ink in Citrus and Mermaid colours.


Monday, 24 October 2022

Reality Changes by Linda Pearson

For my project today I was very excited to create using the brand new Saltwater paper collection by Amy Evans.


I went a little crazy with a variety of Embossing powders and Mica powders to create some awesome mixes to highlight the elements included.  As always this journal page could easily be adapted to include a photo image for a scrapbook layout.

Saltwater paper collection by Amy Evans

Ocean Floor 12x12 paper

Something Fishy 12x12 cut-outs paper

Under the sea A6 stencil

Aquatic Life clear stamp set

School of Fish A4 stencil

Waves metal die

White Cardstock – Bee Arty A4

Embossing powderblue, teals, green, pinks, purples, yellow,

Mica powderblue, teals, green, pinks, purples, yellow,

Shimmer dust -  blue, teals, green, pinks, purples, yellow,


Ocean Floor 12x12 paper

Something Fishy 12x12 cut-outs paper

Cut out several elements from the cut-out page e.g. 2 corals bunches, gold seahorse, 3 fishes (asst sizes) or as desired.


Ocean Floor 12x12 paper pounce Versamark clear embossing ink through the School of Fish A4 stencil, then sprinkle a mix of blue/green Embossing powder powders add some Mica powder – shimmery colours and glitter if desired, over the clear ink, then heat set the powder to activate.


A and B  Under the sea A6 stencil Add the octopus to the top of the paper with texture paste then, add the seahorse to the page also with texture paste , allow to dry thoroughly.


C  Add the School of Fish A4 stencil to the background of the Ocean Floor 12x12 paper then sprinkle a mix of blue/green Embossing powder powders add some Mica powder – shimmery colours and glitter if desired, over the clear ink, then heat set the powder to activate.


D Waves metal die – In this instance I used the waves dies as seaweed, coloured with blue/greens Embossing powders mixed with coordinating mica powders to add some shimmer to the elements.

Aquatic Life clear stamp set – stamp the shell, starfish and sponge stamps (twice) onto a piece White Cardstock – Bee Arty A4, with versamark clear embossing ink, then sprinkle with cream Embossing powder , heat set to activate powder.


Colour the textured seahorse with blue/teal Shimmer dust powders.  Once dry arrange the cut out and stamped elements as desired with shells and sponges covering the bottom of the page.  Adhere with liquid adhesive and mounting tape as desired to add depth to the elements.


Cut around some of the coral reef (printed on page) to allow some of the coloured shells etc can be tucked in behind for providing depth to composition.  Wrap the tail of the yellow seahorse around the cut coral piece.


Distress the border of the page using black archival ink, accentuate the distressing to the bottom area to add shadows to the reef.


Add the sentiment to the page using mounting tape, distress the edges.  Adhere 2 fish cut-outs to the card edges.


I hope you are inspired to create this or similar project using this gorgeous collection.  Look forward to creating for you again soon.  Bye for now from Linda.


linda@yourcreativepalette.com.au

Inspired Art Journalling AU (Facebook)

Sunday, 24 July 2022

Simply Perfect - With Karyn Schultz!

 Hi Bee Arty Lovelies!

It's Karyn here and today I have a scrapbook page to share with you made using lots of fabulous arty products from Bee Arty.  
 
 
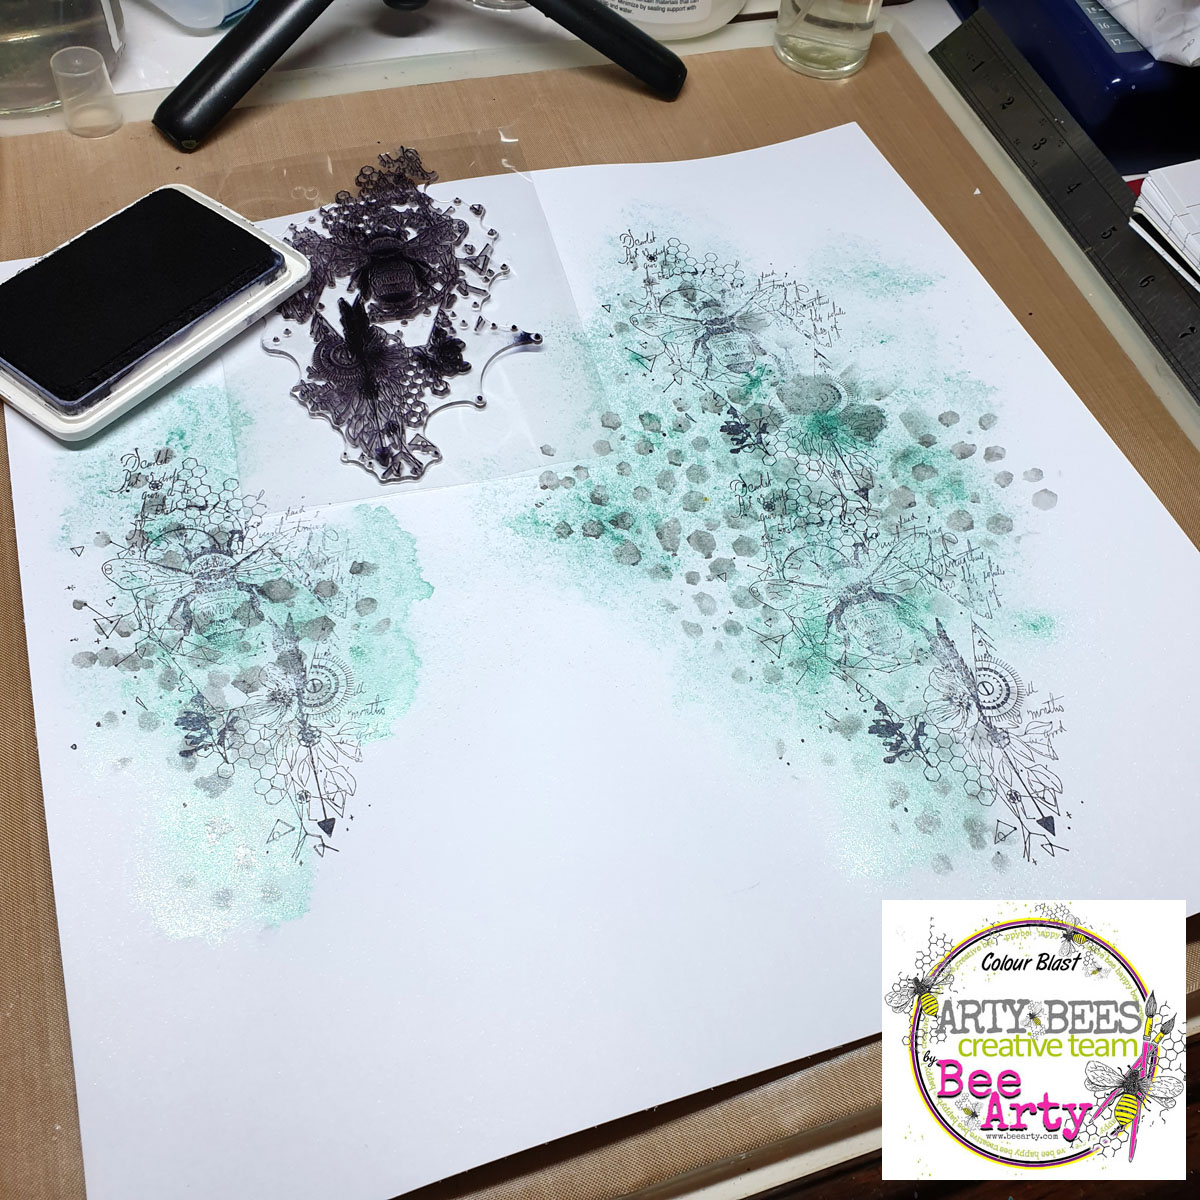
 I started with a sheet of 350gsm Heavy White Cardstock and spritzed it with water along the right and left of the page (where I wanted to add colour). Then I used a fan brush to add Cool Mint Mica powder. I  continued to spritz more water and add more colour until I had achieved the desired look. 
 
 
Next I added some stencilling using the Honeycomb Spray A5 stencil and Stormy Weather Mica powder (mixed with water and applied with a sponge). 

 
I added stamping using the Find Your Way stamp and Black Archival ink
 
 
 I used a combination of Jet Black and Taupe Embossing powders from the Romance Embossing bundle. You could use any combination you prefer (or a single colour), but I love the rustic look of multiple colours.
 
 
Here is my completed page. 
 
 
 I added a photo mat from Chit Chat Alpha paper and black cardstock diecut created from the Compass metal die.
 
 
 The white cardstock diecuts are created using the Flower Stems metal die set.
 
 
Thanks so much for stopping by

Crafty Hugs xx


Saturday, 2 April 2022

Happy times, by Amanda Hartmann

Dear Bee Arty fans!

Do you have favourite past collections that you still love? And you go back to them time and time again?

Today I use up more of my Grateful Heart collection. I love the blues, whites and apricots of this collection and particularly enjoy fussy cutting the amazing florals.

To create this page:


  • Started with:

Grateful Heart - Papers

  • Added detail with:

Sweet Flower - A6 Stencil

using: Colour Paste - Snow White

  • And finished with splatters:

Mica Powder - Singing the Blues

Colour Shimmer Dust - Navy


Here is the full page and some close ups! 


Thanks for looking today!

What is your favourite past collection?

Amanda


Sunday, 9 January 2022

Escape The Ordinary - With Karyn Schultz!

 Hi Bee Arty Lovelies!

It's Karyn here and today I have an art journal page to share with you made using lots of cool products from Bee Arty.
 

  I'm using a cotton rag watercolour page in my DWM art journal. I start by painting Steel and Stormy Weather Mica Powders across the page. 

 
I used the Free Hand Stencil and applied Navy Colour Shimmer Dust mixed with water using a sponge. Then I used the Directions Stencil with Sienna Colour Paste to add some stencilling across the page.  


I then added stamping using the Mapped stamp and the Making Tracks stamp set from the Road Trip collection, and black Archival ink.  


Here is my completed page.

 
The image is from the Tick paper from the Time Flies collection.  I've embellished with fussy cuts from the Time Flies collection pack. The title is cut from the Curious paper. I've added a white cardstock Compass die cut, and a book paper Grungy Filmstrip die-cut. I've outlined my page using a fine black Life of Colour paint pen.


Thanks so much for stopping by

Crafty Hugs xx


Thursday, 16 December 2021

Cacti are bloomin created by Tracey Thorne

 If you haven't heard the new paper range Whispering Woods is ready for purchase and has been created by Sue Smyth. I've been lucky to get my hands on the range and there is a lot of variety in the papers with lots of scope for varying projects to be created. 


I have created 'Cacti are bloomin' to show the versatility of the papers and the cut outs in conjunction with the stamps. The Colour artist dye ink & Colour shimmer dust I have used complimented the 12x12 layout nicely.

I started with a base of 250gsm white cardstock and to this I have added Colour Artist Ink in Bordeaux and with a wet brush have mixed a little water to it. I have then used the kiss technique whereby I have picked up ink from a base and kissed the paper leaving a little of the colour on my white cardstock. I have added a little more colour & shimmer to the page by mixing up some of the Colour Shimmer Dust in Lollipop with water and then used the same technique to apply this to the page.

I cut the centre section out of a sheet of Whispering Woods 12x12 Forest Floor and placed this to one side for later use when backing the photos. I have then cut down the white cardstock quarter of an inch off all sides. I have then used a soft yellow ink to blend the edges of the page before adhering the printed cardstock border to the white page.

With the remainder of the Forest floor printed paper I created a photo mat.  I have cut them 2mm wider than my photograph. Before adhering to the photo mat I have inked the edges of my photo in black. I have chosen the little flower border stamp in the Whispering Woods Leafy Borders stamp set to create a border around the outer edge of the page. I have worked out placement of photos and added some texture to the page by using Texture paste and the Whispering Woods Sweet Flower stencil - this adds a lovely soft look to the page whilst still adding texture.


I have layered up one of  the photos using cardboard so it has height over the other photo which helps with depth on the page and adds a visual interest. Using the 12x12 Whispering Woods Woodland tags paper I have cut 2 tags and placed them under my photos. I have also cut out two of the magnolias and 3 butterflies from the Whispering Woods extra's sheet - similarly you could use the 12x12 Imagery printed paper. These were placed at opposite corners and the butterflies were scattered on the page. I have also cut out the mushroom elves and used them on the bottom right of the photo. I have accentuated the base by adding a little black water colour pencil for shading.


I have stamped out the corner flower stamp spray from the Whispering Woods Celebrate Nature stamp set. I did this using Archival black ink on tissue. This was then applied to the page using matte medium. I have then coloured the leaves of the tissue stamped images using Colour Mica powder in Envy. I added a little water to this prior to applying with a small paint brush.   A few final touches were a little black thread under the photo and adding the titles with a few of the fonts I have in my scrap supplies.


This is the final product. The Whispering Woods range has a lot of offer and is extremely versatile with the stamps and papers working so well together in a range of applications. I love how the papers tell a story on the page.


Have a fabulous week of creation

If you like this layout you can pop on over to the Facebook page and check out my mini movie of putting this together.

Tracey