Showing posts with label Tracey Campbell. Show all posts

Sunday, 11 September 2022

Happy Little Moments By Tracey Campbell

 Hello Bee Arty friends. 

Today I have a layout to share with you that has stamping, stencilling and the magic of Shimmer Dust.... what more could you want?

I started off by blocking out around the Dusk stencil with some plastic and placing it roughly in the centre of some heavy white cardstock.

I then spraying three different shades of  purple Shimmer Spray; Rose Petal, Royalty and Indigo through the stencil onto white cardstock. 

I then moved the stencil to the left, lining up the print and strayed again.

The photo above is how the sprayed stencilling turned out. 

Next I sprinkled two colours of Shimmer Dust; Velvet and Duke, across the bottom of the cardstock,

I then activated it with water.


As the Duke Shimmer Dusk was move bolder than colour than the Velvet I decided to sprinkle a bit more Velvet on and sprayed more water to make the coloured area bigger.


On the bottom of the cardstock I used the excess Shimmer Dust fluid that had run off the page and my finger to spread it over the bottom edge.


Here is how the base turned out, I love how vivid and bright the Shimmer Dust is compared to the muted Shimmer Sprays.


Once dry I used some waterproof black ink and stamped various images; Kind Heart, Heartfelt, and Meridian, around the bottom edge and half way up the left and right edges of the cardstock.
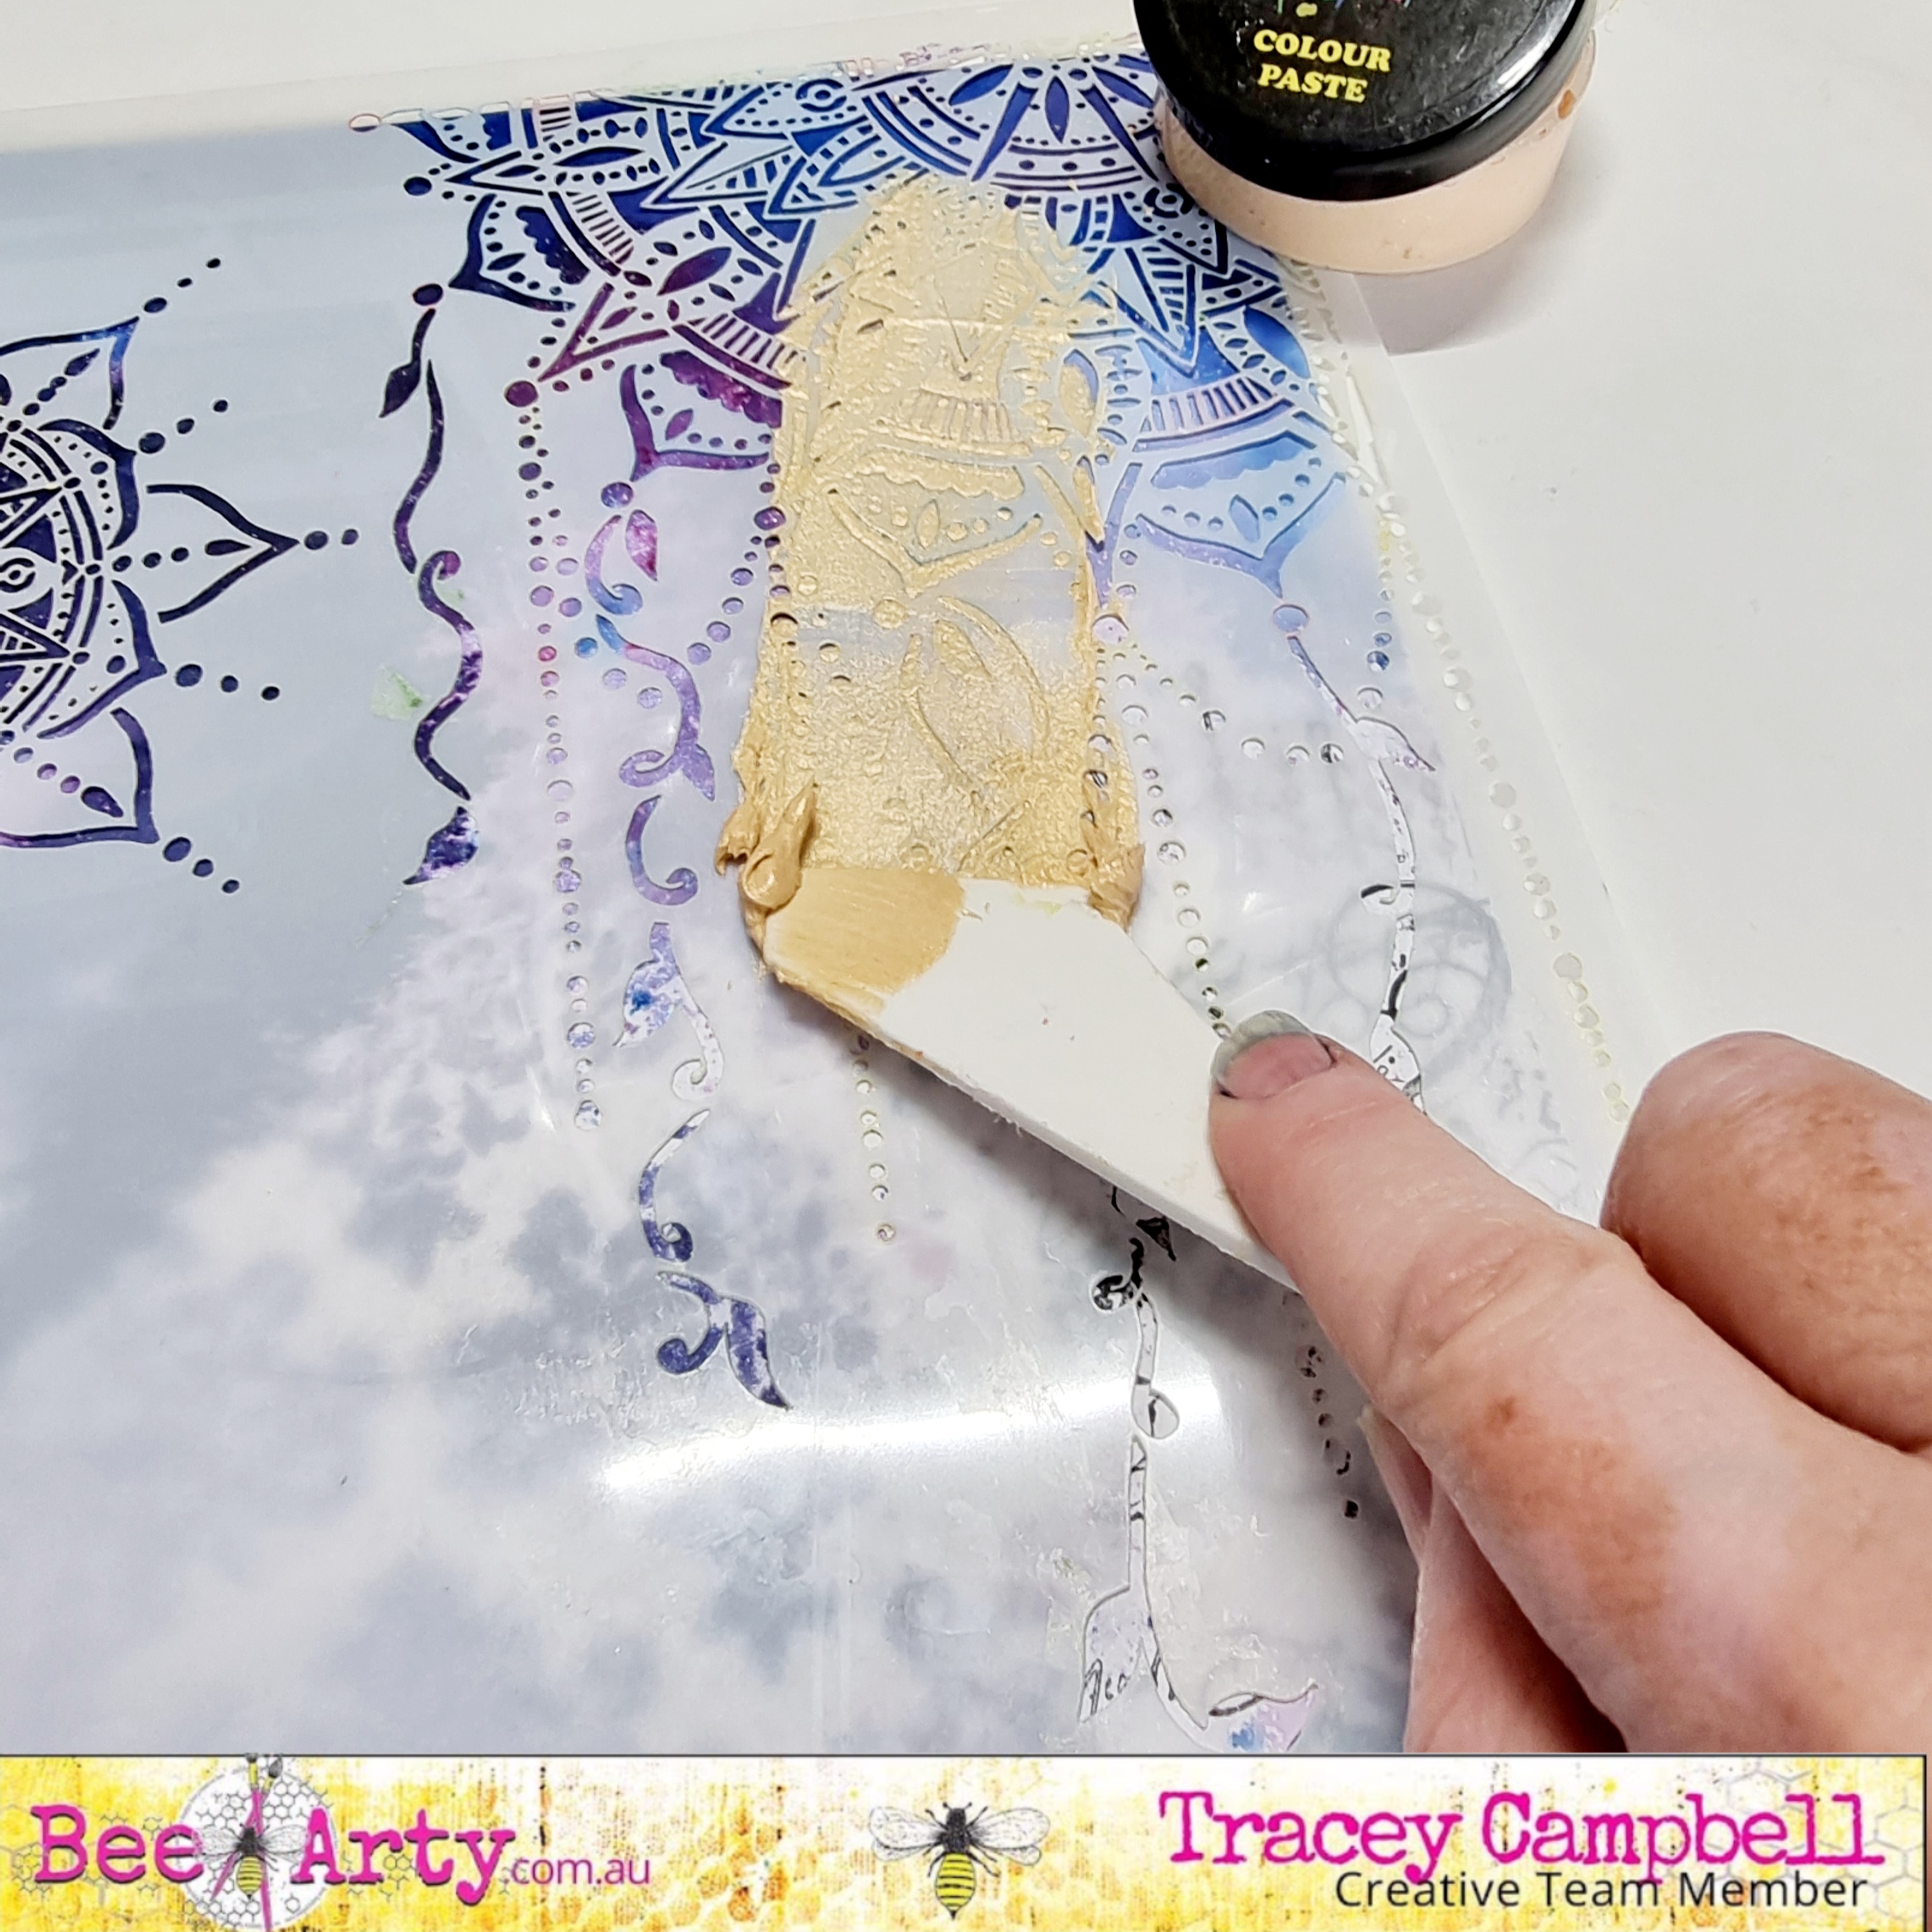

I then use Bling Colour Paste through the Mandala stencil.


Here is how the base turned out.


Next I backed a 6x4 photo with some vellum paper and gold foil cardstock and adhered it to the centre of the base.


Next fussy cut some flowers from the Tea Time in Wonderland Collection


Adhere the flowers around the photo, using some tacky glue in the centre and some 3 dimensional tape around the edges. Use a pen to press the centre of the flower down to the stick it to the cardstock. Use you finder to turn the flower pedals up to give them some dimension. 


I used the end of a paint brush to add some Bling Colour Paste to the centre of the flowers to give them a touch of shimmer. 


Using some Black waterproof ink I stamped the title "Happy Little Moments" from the Happy Stamp Set to the bottom left hand corner of the photo. 


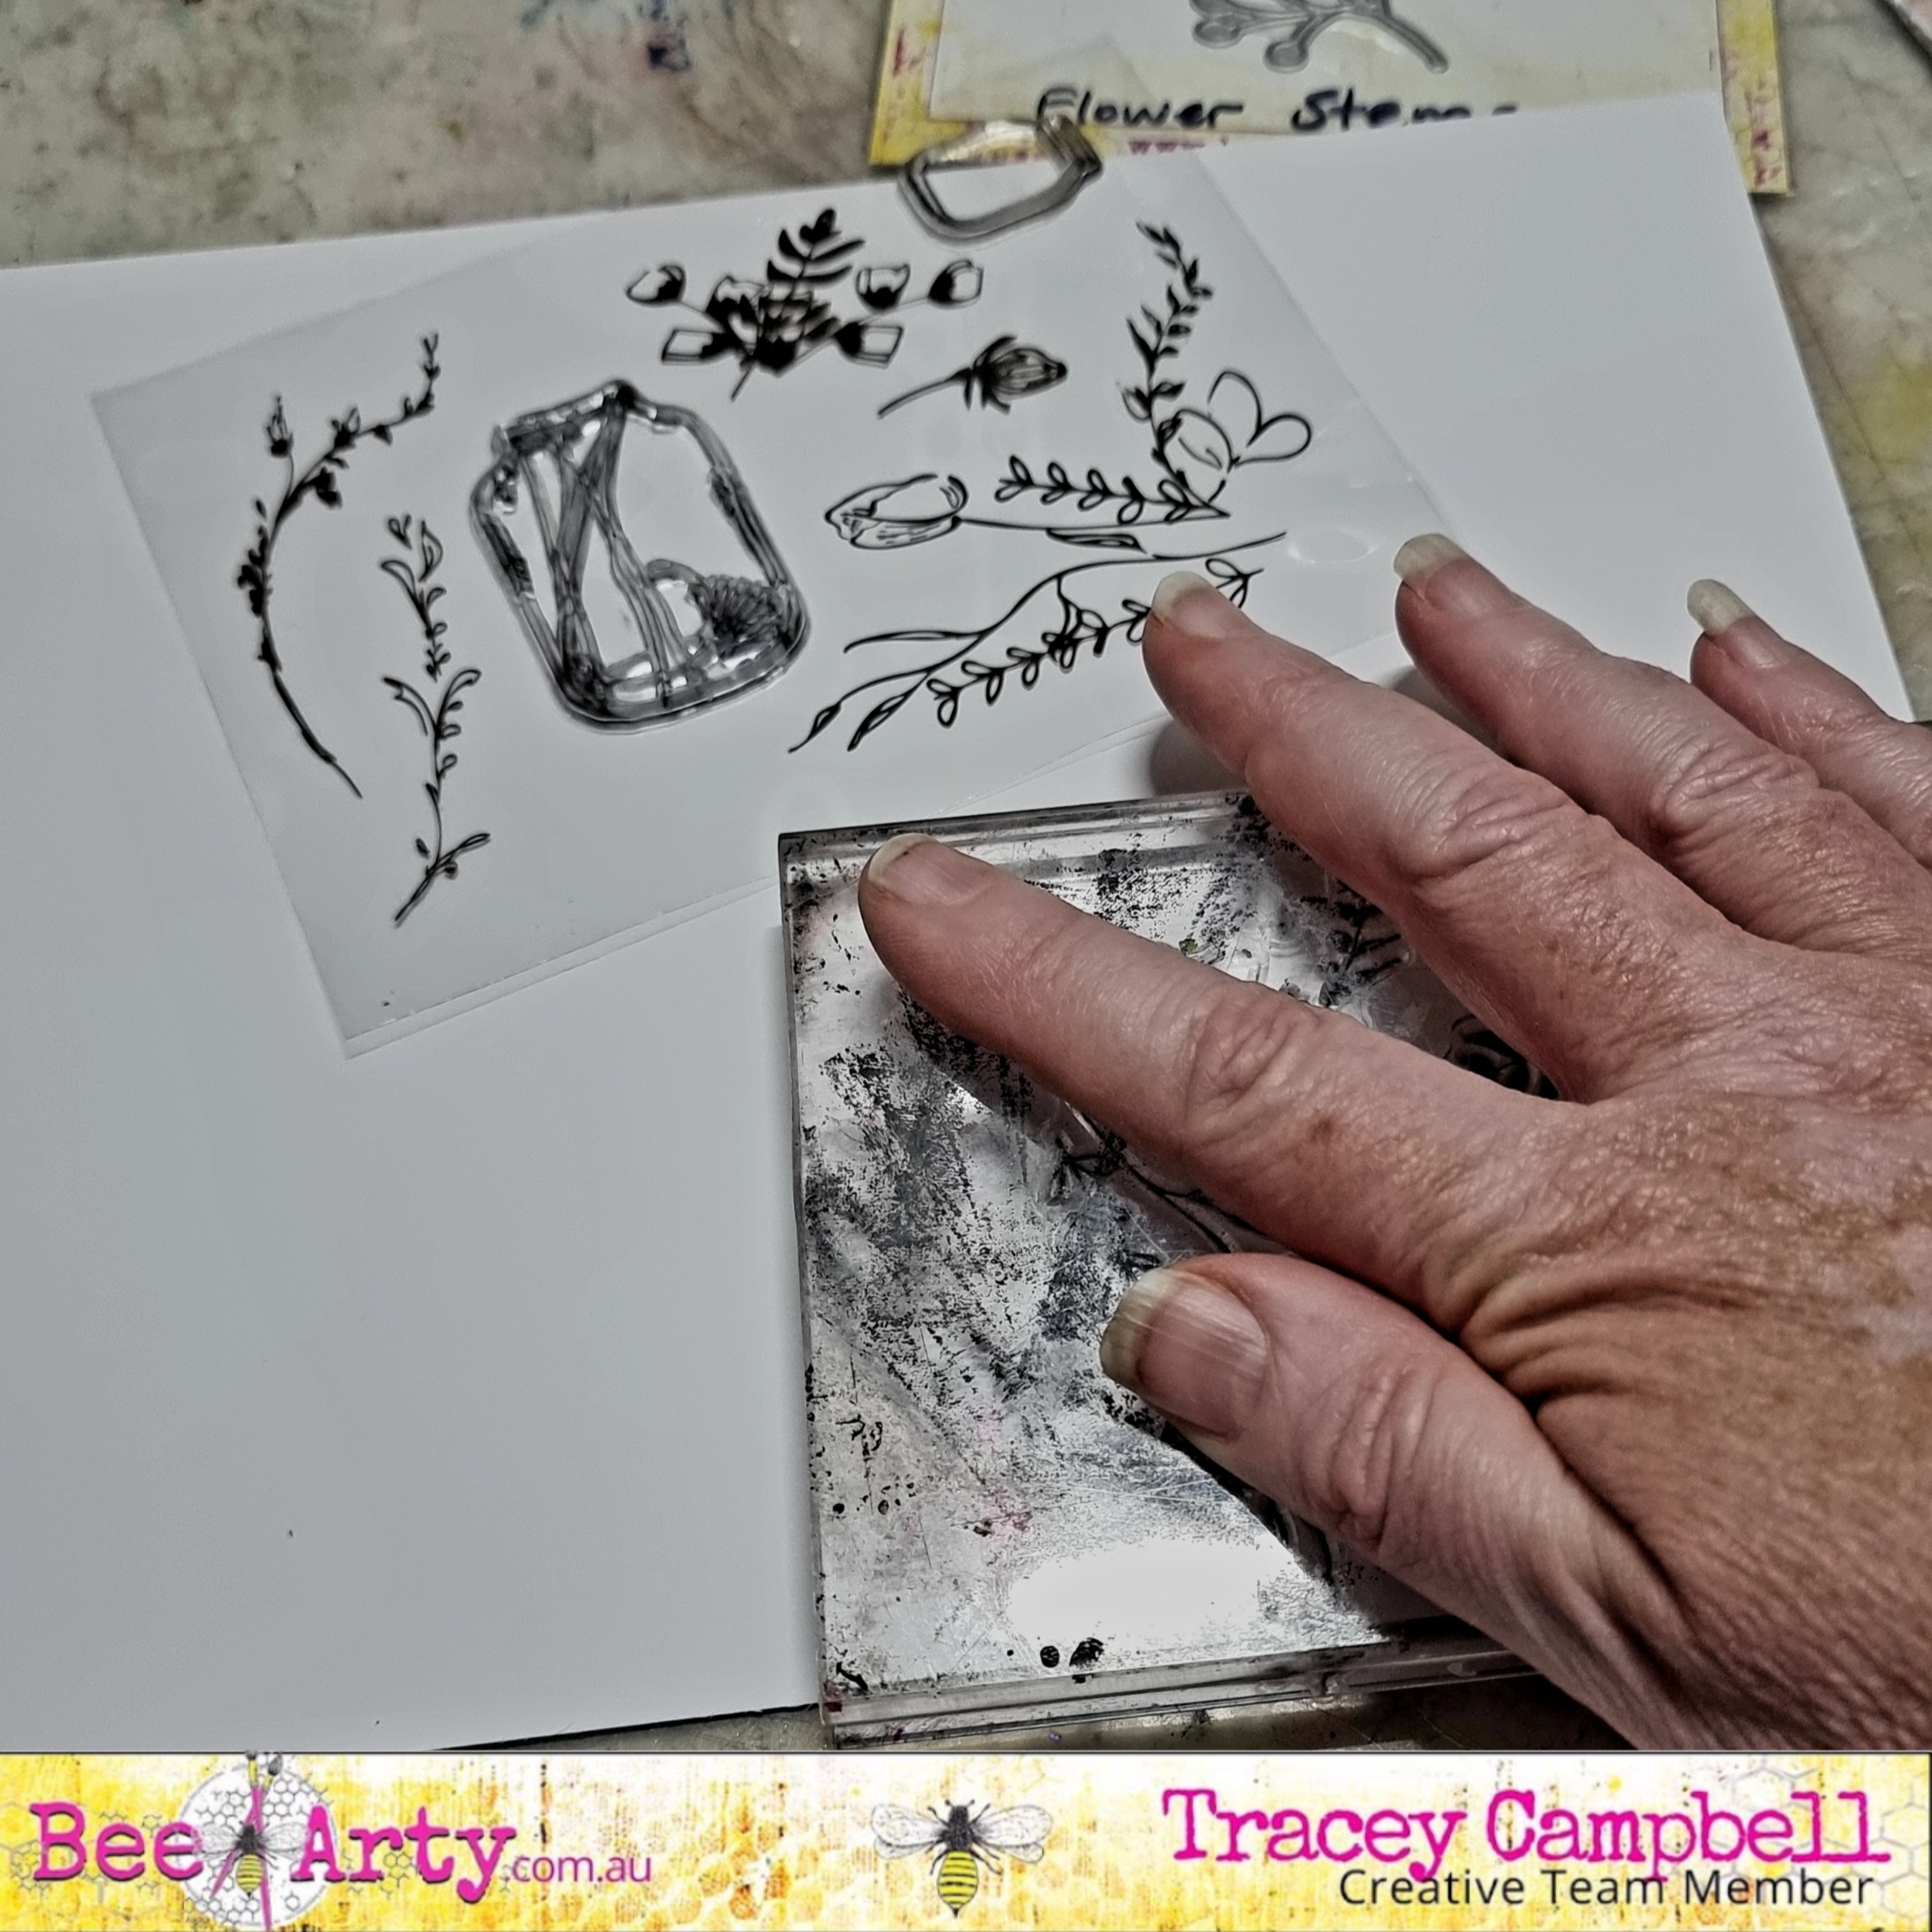
Wanting a bit more dimension in the flowers I used the Flower Stems metal dies and cut out four of each stem from the green coloured papers in the Embrace Change Collection


I then adhered the die cuts around the fussy cut flowers. 


Here is how the final layout turned out. I love creating my own back ground with a bit of stamping and stencilling with the magic of Shimmer Dust, you never really know how it will turn out but it always looks stunning.

Thanks for popping in.


Hugs
Tracey

Friday, 19 August 2022

Fireworks Waikiki Beach by Tracey Campbell

 Aloha my creative Bee Arty crew, it is Tracey Campbell here with my latest Creative Team project to share with you. I have recently been away on two weeks holiday with my family, we had a great time in Hawaii and one of the highlights were the Friday night Fireworks on Waikiki Beach. I managed to get a few photos which I jsut knew I had to team with the Bee Arty Fireworks collection.

Fireworks on Waikiki Beach


To start off my layout I cut three of the cards from the Showtime paper from the Fireworks Collection. As I was scrapping my fireworks photos I picked the two cards with the fireworks on them and used a craft knife to cut out the image where it overlapped with the white space. 


I then slipped the photos under the cut out firework so that it sits overlapping the photo. 


Cut two strips of patterned paper. The first strip needs to be12 inches by 1 cm in length from the Magical patterned paper.  The second strip should be 12 inches by 3 cms from the Bonfire patterned paper. Run the strips along the righthand side of a 12x12 sheet of white cardstock


Using the Fireworks stencil, three coloured inks that matches the patterned papers and a dauber, ink the image. 


This is how the stencilled image looks with the three colours daubed through it.


For the second image I used a baby wipe and spread the excess ink from the first image through the stencil onto the cardstock. 


This creates a dull faded image, as you can see in the photo above.


Next use the straw from a bottle of Sunshine Colour Shimmer Spray and flick some droplets over the stencilled fireworks.


This is how the background looks after the Colour Shimmer Spray is dry.


Next fussy cut the letters of the title from the Alphabet patterned paper, the word "Fireworks" from the Colourful patterned paper and the fireworks from the Bunting patterned paper.


Arrange the photos and fussy cut elements so that it reflects the final layout.

Using the cards as mats for photos is a quick and effective way to use them in your scrapbooking layouts. Mahalo for stopping by and I hope that I have given you a bit of inspiration.

Hugs 
Tracey


Sunday, 17 July 2022

Wonderful Days in the Woods by Tracey Campbell

Good morning lovely people, it is Tracey Campbell here today with my Creative Team share. I decided to give the Monthly Challenge a go as the colour palette is so pretty and the sketch is something a bit different than how I normal put my layouts together. 


If you would like to join in on the Bee Arty Monthly Collection you can find it in our Facebook Group here: Bee Arty Hive


To start my layout I kept the colours from the colour palette in the Challenge in mind when I sorted through my patterned papers, I didn't stick to just one Bee Art Collection, I went through all of the ones I have looking for the one that I thought would work, I was pleasantly surprised by how much I found. I added some stamps and metal dies to the ever increasing pile. 


Once happy with the papers and colours I was going to use I grabbed a pieces of white cardstock to use as my base, I drew light scribbled lines across the page using a lead pencil. I then used the straw from a bottle of Sunset Colour Spray and flicked small splatters of spray in the top right hand and two bottom corners of the white cardstock. I left to dry.


I wanted to add some bigger splatters to the white cardstock so I used a soft paint brush and dipped it into Grass Colour Artist Ink and let the droplets fall, roughly in the same areas as where I splattered the Sunset Colour Spray. Tip: The higher you lift your brush away from the paper where you want the splatters the bigger the splats will be. Let dry.


While the Colour Artist Ink was drying I used a water proof ink and the stamp sets Floral Arrangement and Celebrate Nature to put images onto some white cardstock, with the thought of using these as the floral images around the circle in the sketch.


I also stamped the jars from the Floral Arrangement Stamp Set onto some of the light blush colour on the B side of the Falling patterned paper in the Embrace Change Collection


When the ink is completely dry fussy cut the stamped images along with a word block for a title from the Natures Words cut apart sheet in the Whispering Woods Collection and some flowers from the Imagery patterned paper in the same collection.


Cut out a circle with a diameter of roughly 20 cm from the B side of Falling patterned paper in the Embrace Change Collection and use a distressing tool to distress the edges.


Cut out four strips from the B side of Fernery from the Whispering Woods Collection to created a wooden frame around a 8x9 cm portrait photo.


Cut the remaining patterned paper elements that are represented in the sketch from papers that match the colour palette. I have cut a tag from the Woodland Tags patterned paper in the Whispering Woods Collection and hand cut a bigger tag from the Olive Green square on the Spice Patterned Paper in the Embrace Change Collection, a rectangle 5x15 cm in a dusty dark pink colour from the Vampyre Rose Collection and a 10x14 cm rectangle with rounded corners from a light pink paper in the Entangled Patterned Paper in the Find Paradise Collection. Distress all the edges using a distressing tool.


Using a double sided sticky tape adhere all the elements to the page, arranging to represent the sketch. I used 3 Dimensional tape to adhere the framed photo and the tags on the right hand side to add some dimension to the layout. I ended up turning the photo and the tags on a slight lean as I thought it made them look a bit softer, given the whimsey subject in the photo, I thought a softer look was more suited.


Using some Colour Shimmer Cubes paint the stamped images, use a range of three different pinks on the flowers and an olive green for the leaves. 


If you don't have the Colour Shimmer Cubes then you can use normal water paints or like I have done for the olive green leaves mix some Colour Mica Powder in Olive Grove with some water to create  a shimmer paint. Once the water paints are dry arrange the fussy cut elements around the circle to replicate the inspiration from the sketch in the Monthly Challenge.


Here is my final layout, I really like how it turned out and think that I will use this sketch again for another layout a bit later on.

Thanks for popping in I hope that I have inspired you to give the Monthly Challenge a go and to try and mix am match your collections so that you can get a different look from the Bee Arty Collections, it really is amazing how they all work together.

Hugs
Tracey