Showing posts with label Colour Blast Heavy White Gesso. Show all posts

Saturday, 11 June 2022

Happy, by Amanda Hartmann

Hello Bee Arty Fans,

Happy Saturday! Ready for some Shimmer Dust inspiration!?

Full step by step instructions are below so I hope you follow my steps to create some fun pages of your own!
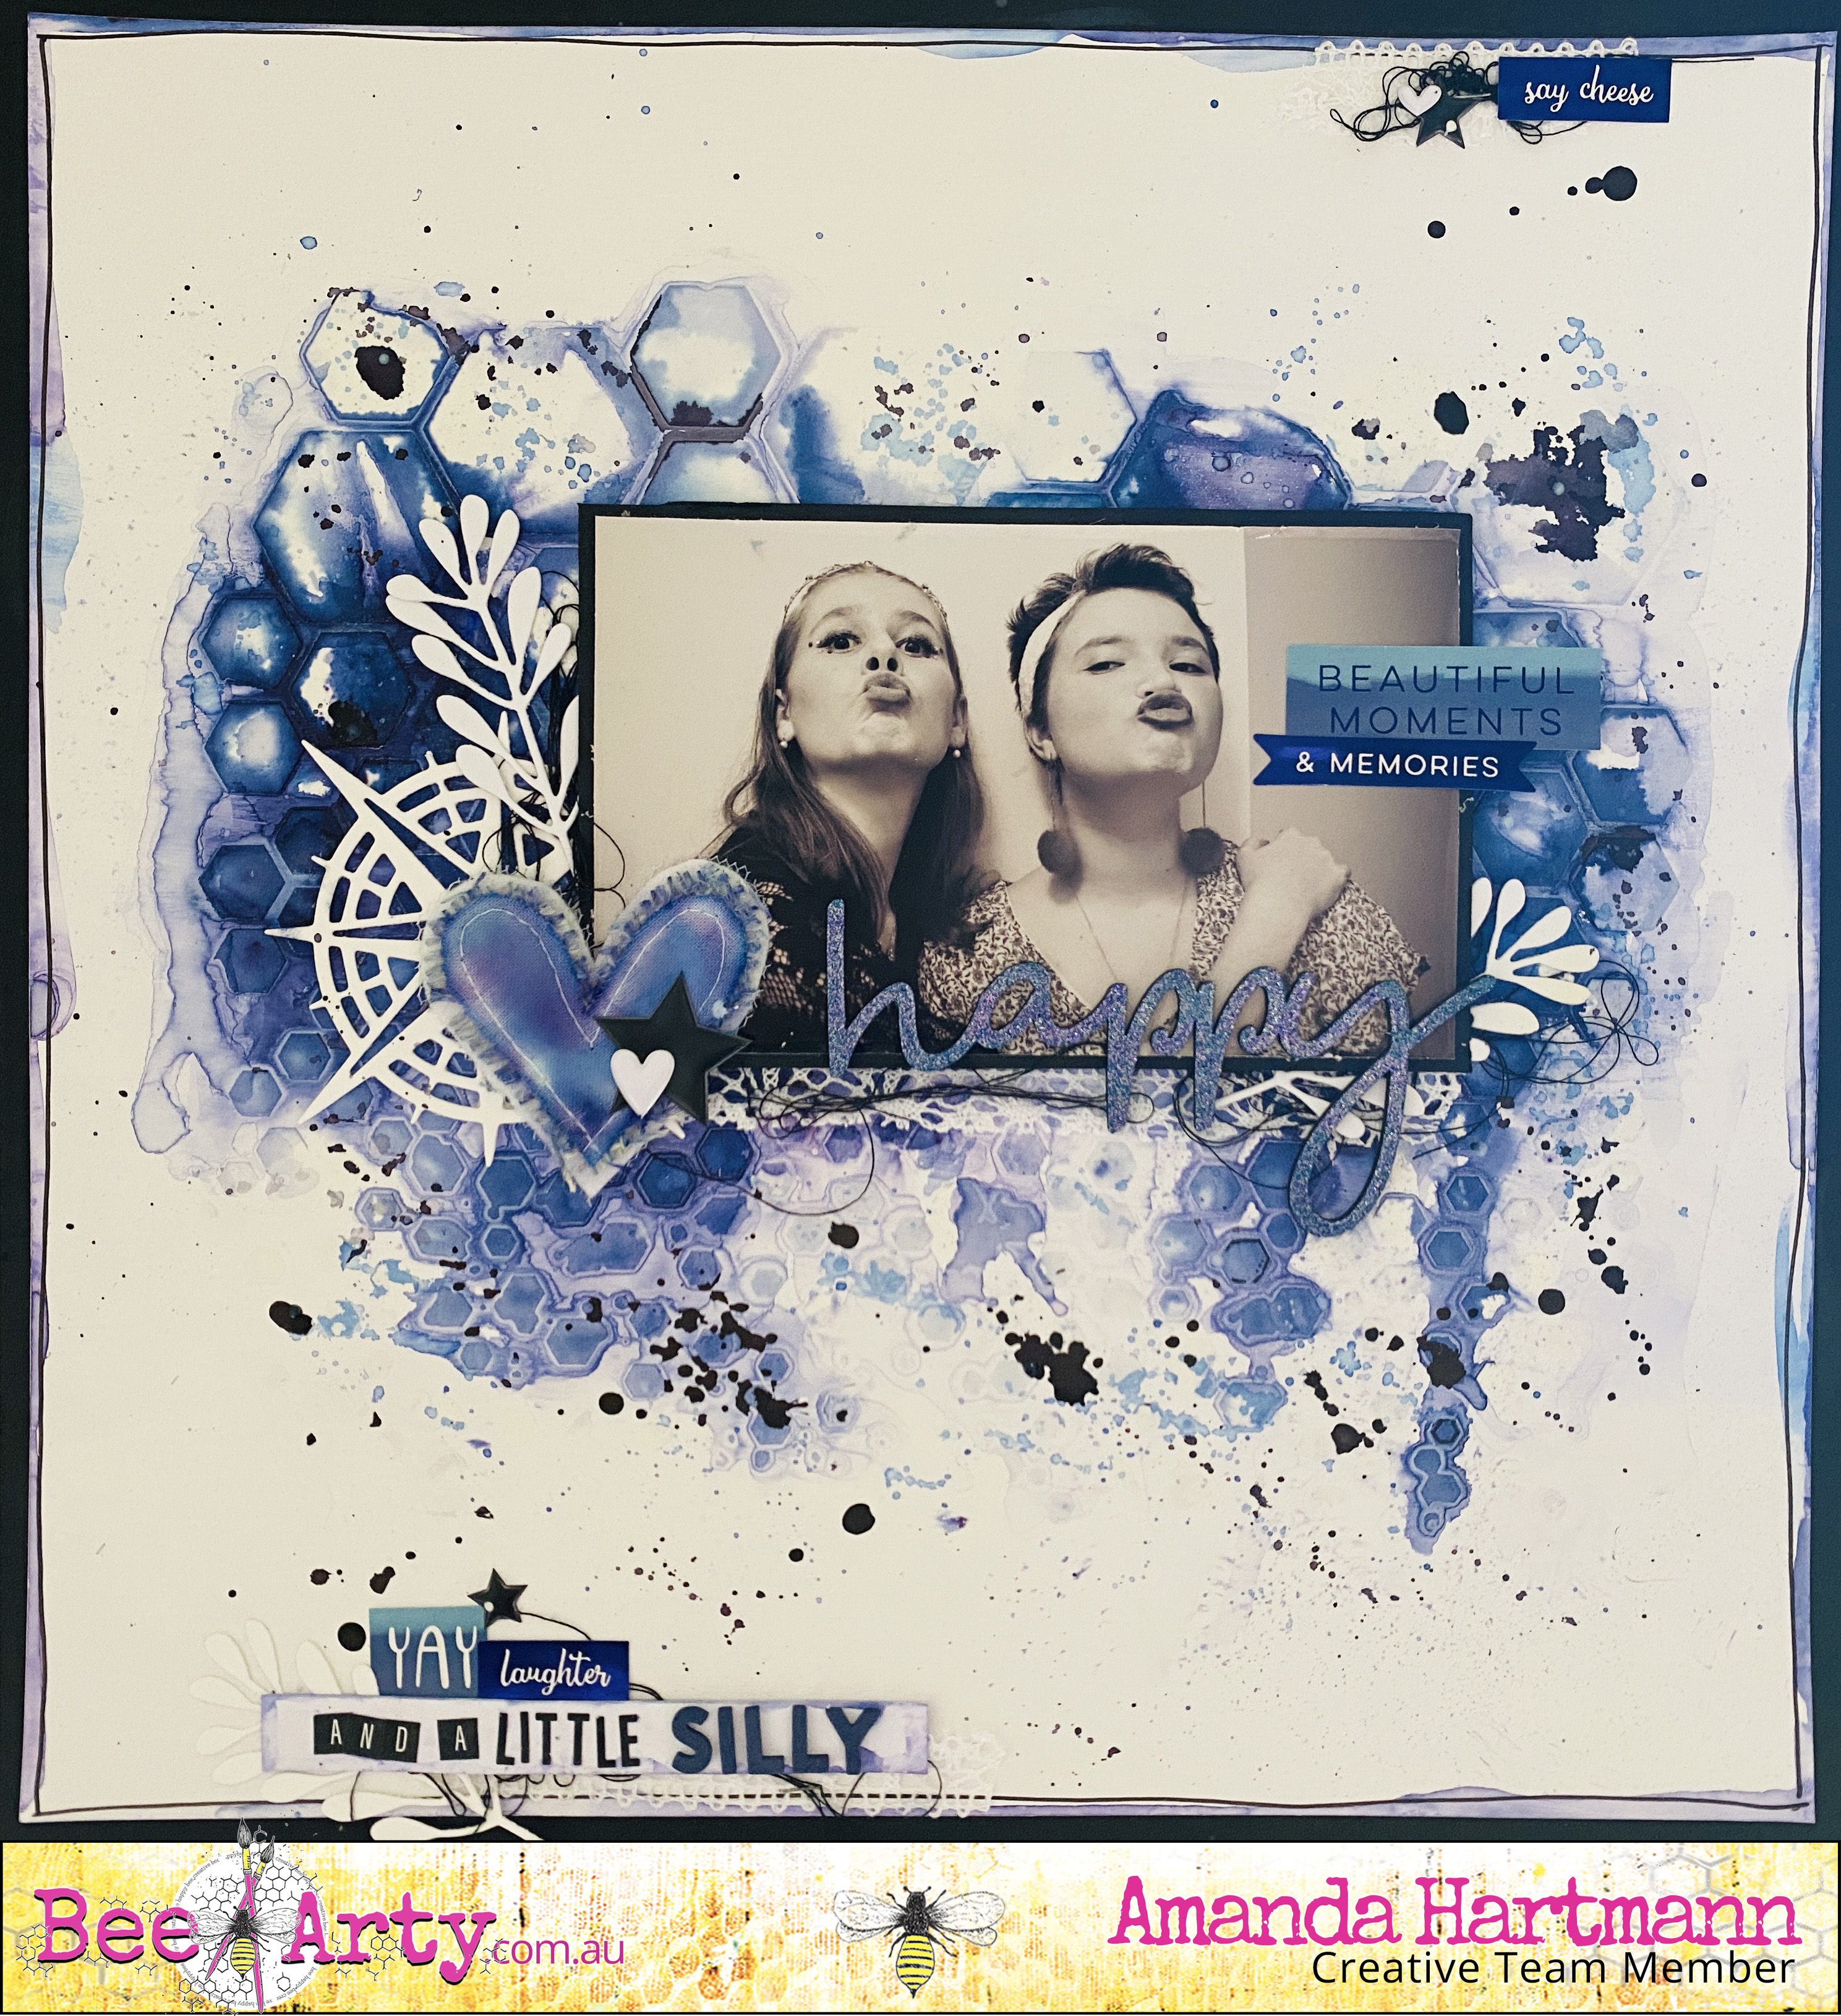
I created this page during our recent Bee Arty retreat. I created the background with stenciling and Shimmer Dust. Then I layered die cuts, lace, thread, stickers, and a Charms Creations (also coloured with Shimmer Dust)

Products used:

* Heavy White Cardstock

* Black Cardstock

* White Gesso

* Colour Shimmer Dust - in NEW colour Jacaranda

* Colour Artist Inks in Soot.

* Bee Arty: Bee the Sunshine: Honeycomb Spray A5 Stencil

* Colour Blast: Compass Metal Die 

* Bee Arty: Embrace Change: Autumn Trio Metal Die

* Embossing Powder: Indigo Sparkle (embossed chipboard title)


Last night, I decided to recreate the page (with a different colour) so you could see the steps I took.

STEP BY STEP INSTRUCTIONS:


1. 

2. 

Tip: 

Tools to use:

3. 

4. 

Tip: 

5. 

6. 

7. 

8. 

9.

10.


Second project: "Photo Op"!
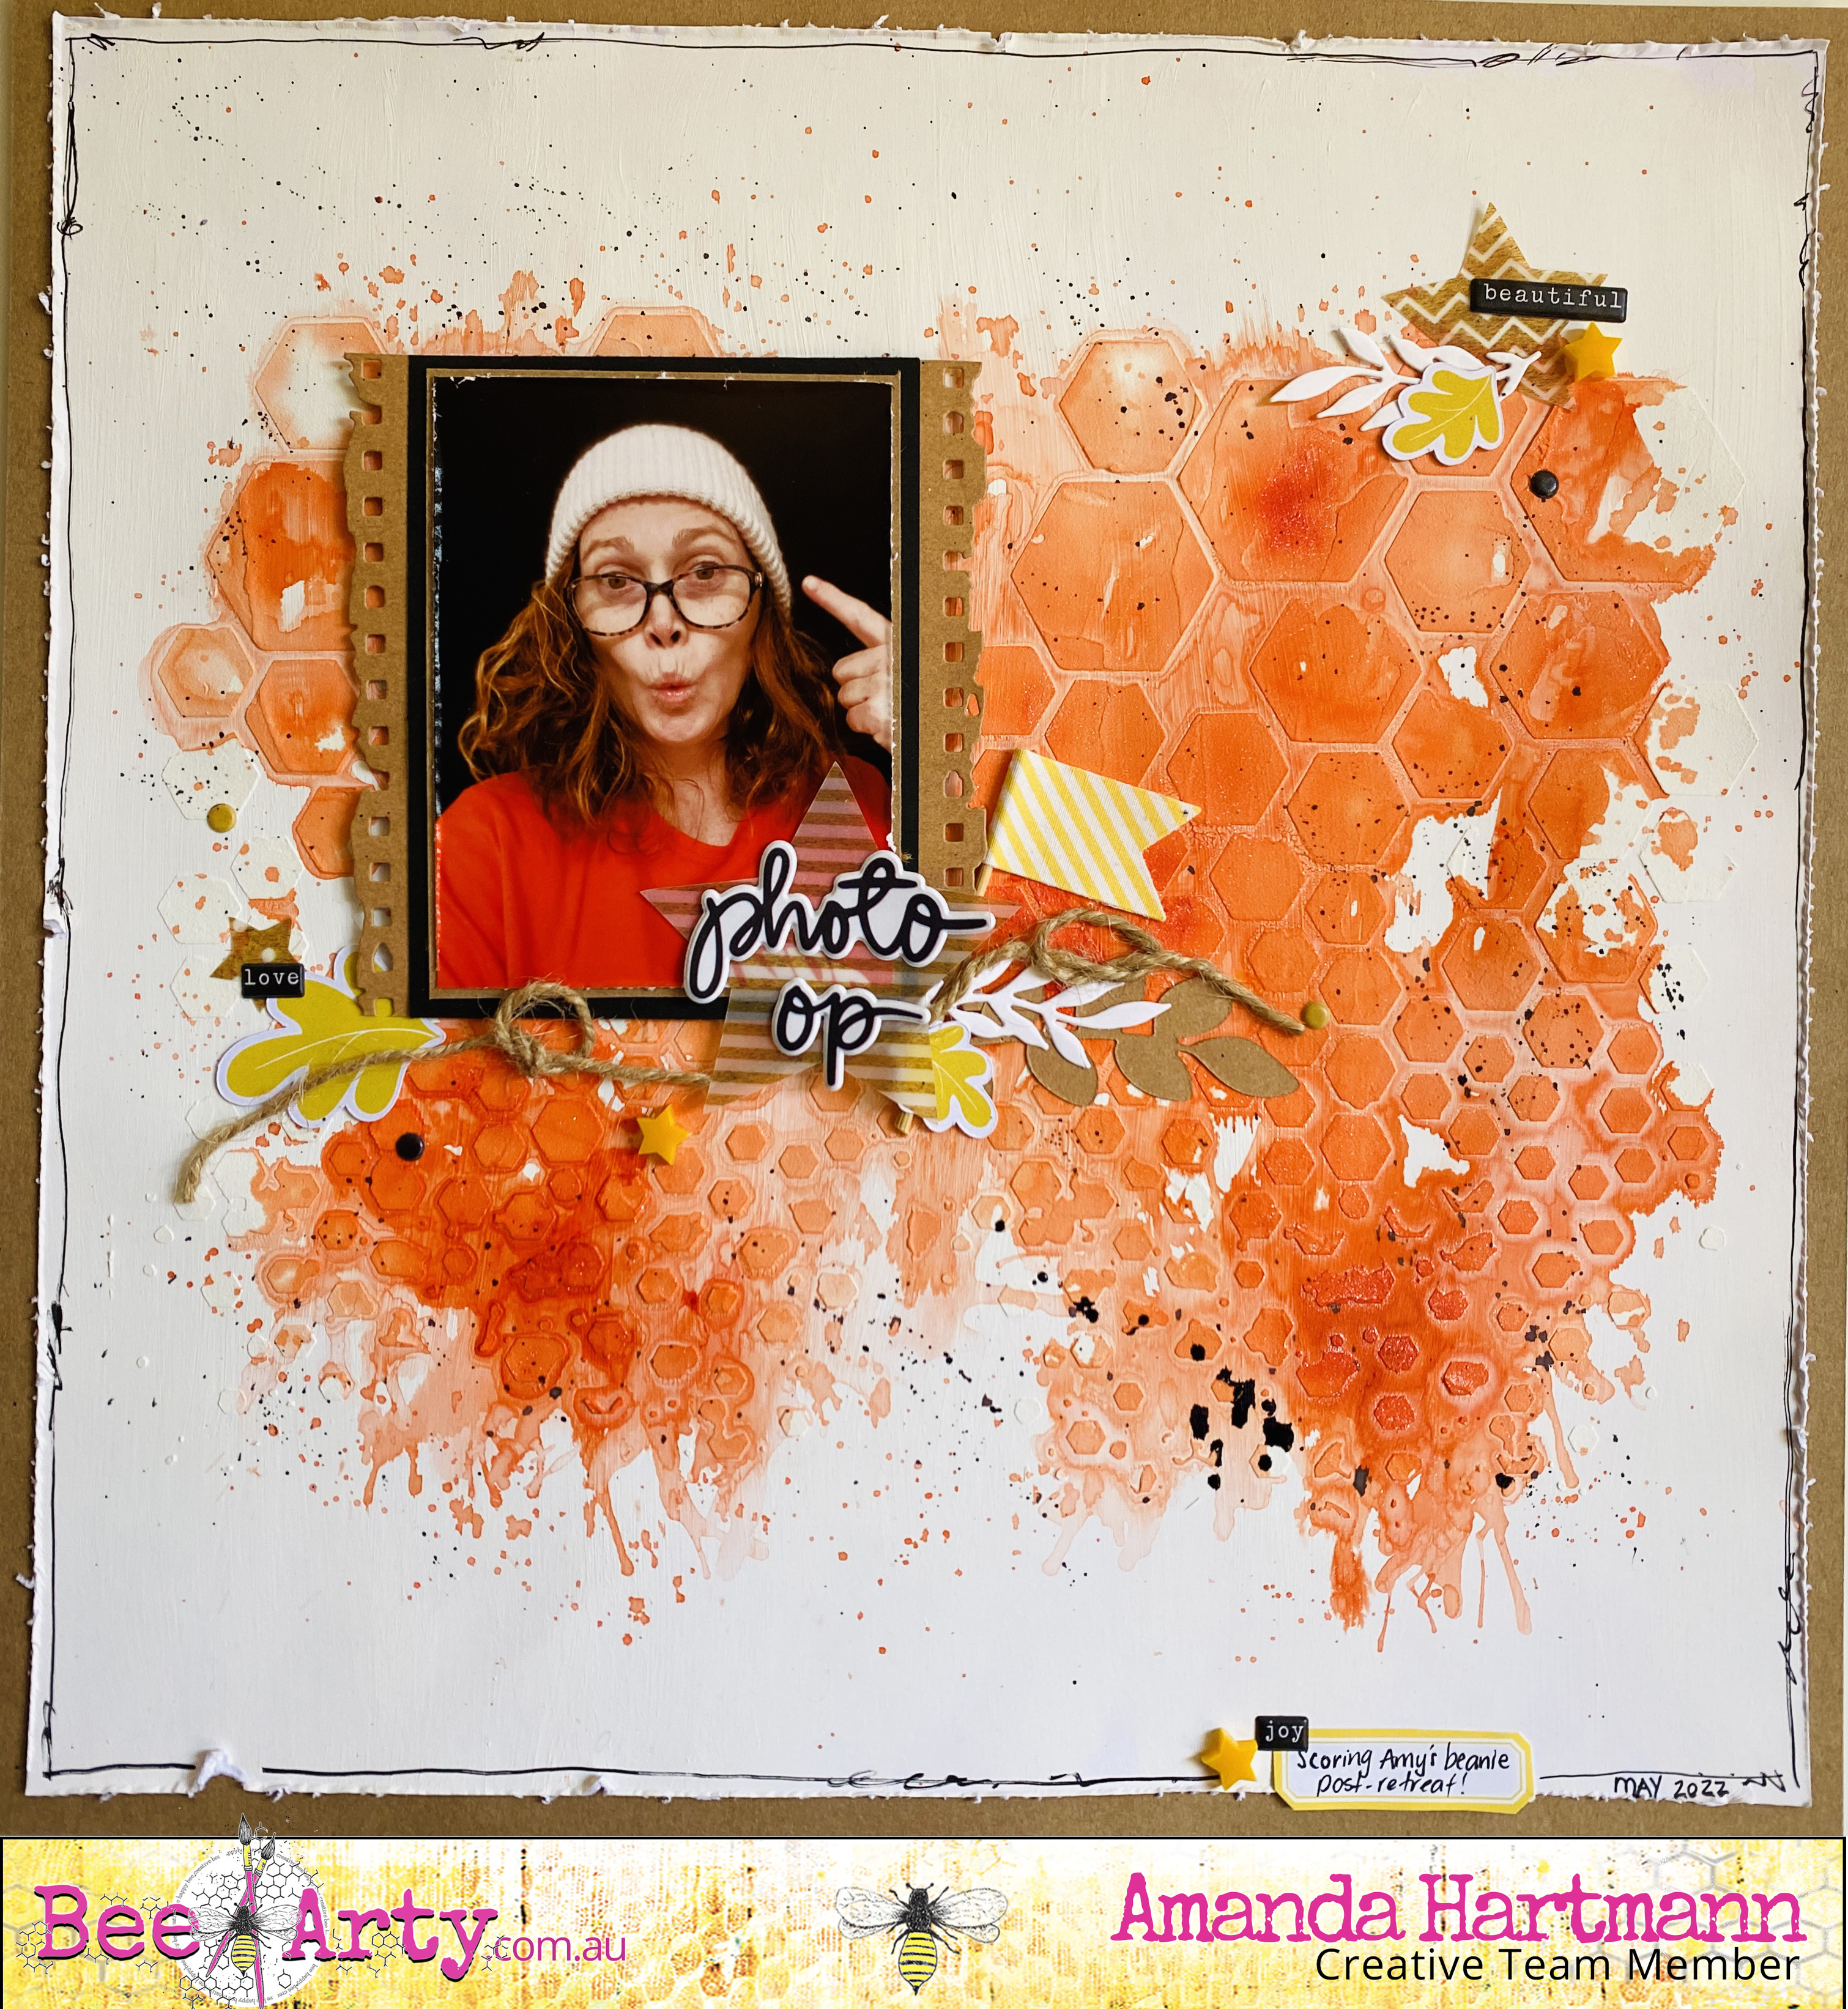


Bringing in the orange of the Amber Shimmer Dust in this one!

Products used:

Heavy White Cardstock

Kraft Cardstock

White Gesso

Colour Shimmer Dust - in Amber

Colour Artist Inks in Soot.

* Bee Arty: Bee the Sunshine: Honeycomb Spray A5 Stencil

* Bee Arty: Destimation Anywhere: Grungy Filmstrip Metal Die


WHY to try this technique?

Gessoing the paper first is the key to this technique. It means your have time to play with and move the colour around the page before it soaks in and sets. You can layer extra colour, or extra water to get lighter and darker elements. You can experiment with adding complimentary colours. Moving and drying the colours lets you see all the complex colours and shimmer in the shimmer dusts. You will have such fun exploring and experimenting!


Thanks for looking today!

Amanda


Sunday, 13 February 2022

Beautiful Mistake part two by Tracey Campbell

Hello everyone, happy Sunday to you all. Here is my latest layout I have created.

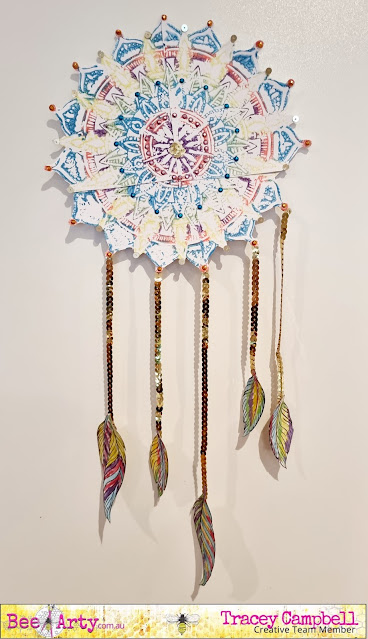
The other week I ended up creating this Dream Catcher from a mistake that I made. 

I blogged about it here... if you want to see how I create it. This week I am using the Dream Catcher on a layout and continuing my Beautiful Mistake journey. 

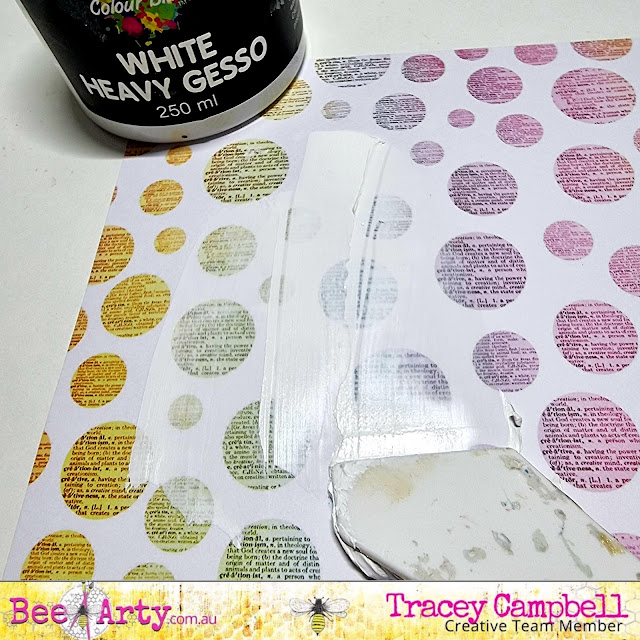
I used the patterned paper with the word circles on from the Arty Farty Collection as my background I applied a layer of Heavy White Gesso to the area where I was going to position the Dream Catcher. 


Applying the Gesso dulls down the printed area of the paper to create a colour block, " a perfect space" to create. The duller background allows the photo or the embellishment to stand out more.


When the gesso was dry, I used some Bling Colour Paste and the Boho Mandal Stencil to add the beading of the Dream Catcher back. When fussing cutting the Mandal out to create a Dream Catcher I had to cut off the vines and beads, as they were way too fiddly for me to cut out. I positioned the beads roughly to the positon where they would have sit fir still attached and where I knew I wanted to glue my Dream Catcher down to, on the background.


I also added the small half mandala from the Boho Mandala Stencil to the right hand side of my background paper.


Here is the positioning of the stencilling with the Bling Colour Paste. I must admit of all the colours of the Colour Paste, the Bling is my favourite, the gold is perfect (not too yellow or dull) and the way it dries makes my heart pitter patter. Once dried I adhered the Dream Catcher over the top, see the final photo for the positioning.


Next I found a photo (4x6 inches) that I thought would suit and cut out 6 different rectangles, the same size of the photo. I also cut out two pieces of vellum the same size. For my papers I used a variety of patterns and colours from the following collections:


Next I distressed the edges of the rectangles with a distressing tool, then screwed them up into loose balls of paper, untangled them and flattened them out. Tip: if you don't have a distressing tool use the edge of a pair of sharp scissors and run the blade across the paper edge but be careful of your fingers. 


Once flat I stacked them under my photo so that at least two of the edges of each rectangle were peaking out. This creates a photo mat with "attitude"  :) it is quiet hight and adds lots of dimension to the layout. Adhere the photo stack to the bottom right hand side of the Dream Catcher. 


To create some addition layouts I tucked in some gold paper doilies and string wreaths that I cut out of some white cardstock with the Sting Wreath metal die. 
I shortened up the gold sequins string, that attached the feather to the Dream Catcher so that they didn't dangle off the page.


Next I cur out a stack of single words from Sweet Talker cut apart in the Bohemian Bliss Collection and distressed the edges. I then adhered them around the layout in random places (see final layout below for positions).


Some close ups.


So I hope I have inspired you to keep going if you make a mistake and not to throw it away, try and create something from it. 

Hugs until next time,
Tracey


Saturday, 8 January 2022

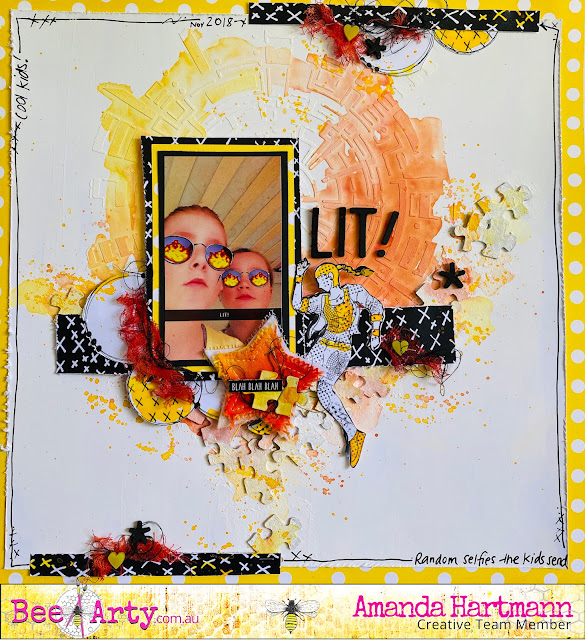
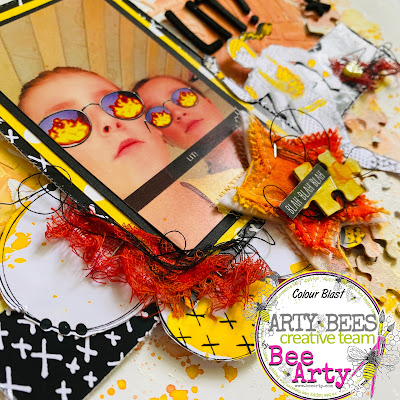
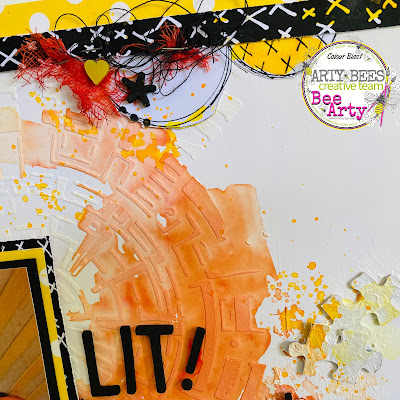
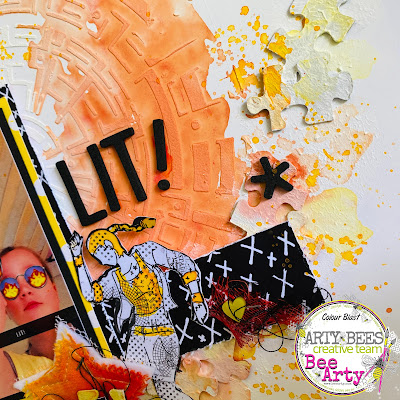
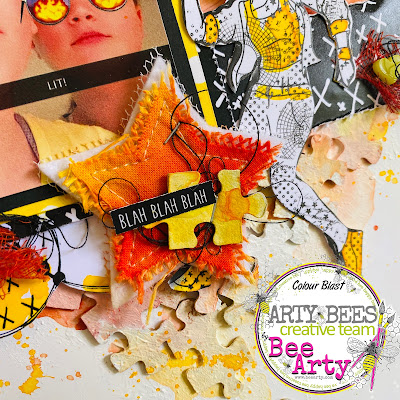
"Lit!" by Amanda Hartmann

 Hello Bee Arty fans!

Welcome to January 2022! Hopefully it will be totally "Lit!"


Today I am sharing a fun and quirky page - full of colour and technique!


I created a mixed media background, and finished with some papers fussy cut from the  Electric Dreams - Mini Collection Paper Pack.

The background:
If you want to see how I created the background - with Gesso, stenciling, puzzle pieces and Colour Artist Inks - you can watch this video: https://www.facebook.com/amanda.hartmann1/videos/10160036158493066/
This was a Facebook live video and I ended up with a spare background - finally pulled it out, and finished a page! Please skip the first 5 or so minutes on the video where I am mucking about, and then see how I create this mixed media background.

Products used for the background:
  • The stencil used is: Interwoven - A4 Stencil – Bee Arty - one of my favourite stencils of all time - I used modeling paste through the stencil
  • Heavy white Gesso - gesso'd background and more gesso over the puzzle pieces.
  • Added colour with Colour Artist Inks - I used Citrus, Cider and Spice. - used to colour puzzle pieces, stenciling, the Charm Creations star, to paint some fussy cut elements and to add splatters. Also used to colour the muslin.
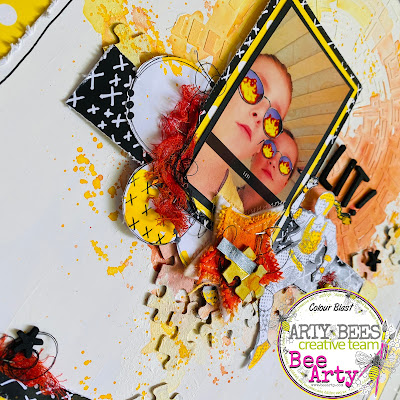
Here are some close ups to see the details!


Thanks for looking,
Amanda


Monday, 20 September 2021

Change is beautiful by Linda Pearson


Hi there Bee Arters!  For this entry I have included lots of die cut elements along with a beautiful butterfly embossed image that glistens from the amazing Colour Blast inks and mica powders.  Unfortunately photos don't show just how gorgeous these products can look.  I hope you give the Bee Arty Mica Powders a try, they are a very versatile product.

White Cardstock 350gsm
Gesso
Craft Powder Spoon
Archival Ink Pad Jet Black
Versamark Stamp pad translucent
Colour artist inks
Mica powder
Serendipity clear stamp set
Flowers Metal Die
Frame Metal Die
black and white stripe paper (offcut strips)  – Electric Dreams Mini Collection designed by Tanya Froud and Elisa Ablett
Butterfly Effect metal die
Memories red rubber stamp set - Love and Grace designed by Michelle Grant Designs
 
Black and white paint pens
Black Archival Ink Pad
Paint colours used: Dina Wakely Carnation, Ocean, Lemon, Lime and black
Black cardstock


Gesso, White - cover journal page with 2 coats of gesso.  N.B. the colour on this page is left over paint from another page.  Dry off.


Roughly and loosely draw out ‘cross like’ lines with small amounts of paint (pink and blue) and small paint brush.  Could add some white to add more depth of colour. 

Add organic lines using small amounts of black paint and credit card or palette knife through the paint.  Add some black ‘splotches’ on several spots on the cross and to top and bottom edges with a small brush (loose strokes). Add some watery paint (Lime and Lemon) loosely along the painted areas.  Dry off.

Using the Memories red rubber stamp set and black archival ink stamp randomly around the painted sections, leaving as much white space as possible.

Add splatters of purple paint, lime and lemon.


Tear small strips of black and white stripe paper, then adhere small strips along the painted cross sections across the page.  Dry off.


Close up images showing detailing of the painted sections and stamping.  With a white paint pen add dots to the black ‘splotches’ of paint and blending in with the paper off cuts.


In a paint well add the Colour artist inks (Grass and Citrus), add a couple of scoops of (cool mint and sunshine) Mica powder  mix thoroughly.  

Emboss (Versamark Stamp pad translucent) the butterfly (Serendipity clear stamp set) onto White Cardstock 350gsm, sprinkle Royalty Embossing powder then set with heat gun. 

Use a small paint brush to carefully add the two artist ink mixes to colour the butterfly.


Spread left over Colour artist inks a sheet of White Cardstock 350gsm.  Drip some of the green ink on the page.   Allow to dry.

Prepare the elements for detailing page. 

Run the coloured cardstock through a die cut machine cutting several shapes (Butterfly Effect metal die.

Run the (Flowers Metal Die and Frame Metal Die).

Add some detailing to the leaves, butterflies and flowers with coloured paint pen.


Adhere all the elements to the page, draw a border around the edge of the page to complete.

I hope you find some inspiration from this journal page and look forward to another blog soon.  Add the sentiment to the page with black paint pen.


Cheers from Linda Pearson

linda@yourcreativepalette.com.au