Showing posts with label colourblast mica powder. Show all posts

Monday, 20 September 2021

Change is beautiful by Linda Pearson


Hi there Bee Arters!  For this entry I have included lots of die cut elements along with a beautiful butterfly embossed image that glistens from the amazing Colour Blast inks and mica powders.  Unfortunately photos don't show just how gorgeous these products can look.  I hope you give the Bee Arty Mica Powders a try, they are a very versatile product.

White Cardstock 350gsm
Gesso
Craft Powder Spoon
Archival Ink Pad Jet Black
Versamark Stamp pad translucent
Colour artist inks
Mica powder
Serendipity clear stamp set
Flowers Metal Die
Frame Metal Die
black and white stripe paper (offcut strips)  – Electric Dreams Mini Collection designed by Tanya Froud and Elisa Ablett
Butterfly Effect metal die
Memories red rubber stamp set - Love and Grace designed by Michelle Grant Designs
 
Black and white paint pens
Black Archival Ink Pad
Paint colours used: Dina Wakely Carnation, Ocean, Lemon, Lime and black
Black cardstock
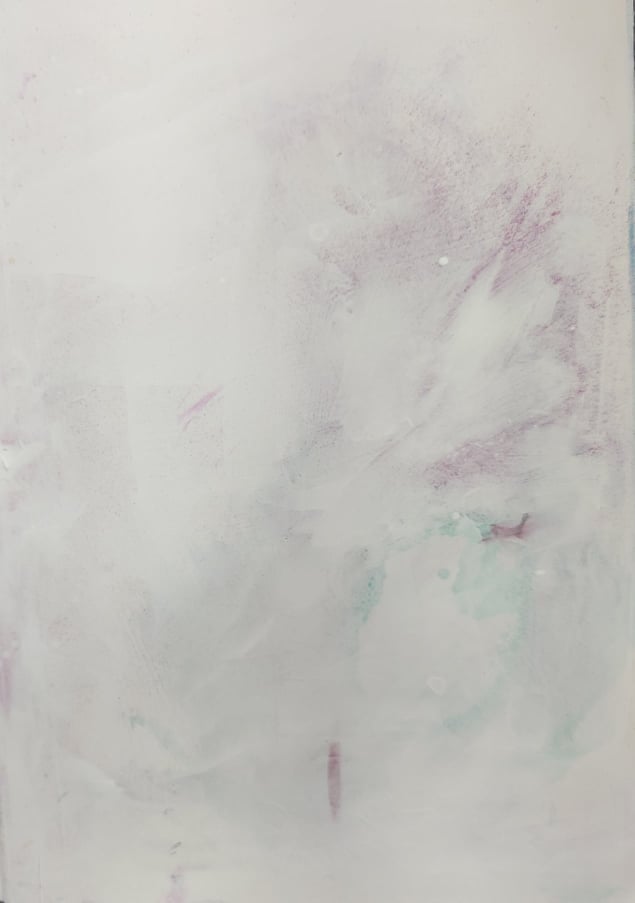


Gesso, White - cover journal page with 2 coats of gesso.  N.B. the colour on this page is left over paint from another page.  Dry off.


Roughly and loosely draw out ‘cross like’ lines with small amounts of paint (pink and blue) and small paint brush.  Could add some white to add more depth of colour. 

Add organic lines using small amounts of black paint and credit card or palette knife through the paint.  Add some black ‘splotches’ on several spots on the cross and to top and bottom edges with a small brush (loose strokes). Add some watery paint (Lime and Lemon) loosely along the painted areas.  Dry off.

Using the Memories red rubber stamp set and black archival ink stamp randomly around the painted sections, leaving as much white space as possible.

Add splatters of purple paint, lime and lemon.


Tear small strips of black and white stripe paper, then adhere small strips along the painted cross sections across the page.  Dry off.


Close up images showing detailing of the painted sections and stamping.  With a white paint pen add dots to the black ‘splotches’ of paint and blending in with the paper off cuts.


In a paint well add the Colour artist inks (Grass and Citrus), add a couple of scoops of (cool mint and sunshine) Mica powder  mix thoroughly.  

Emboss (Versamark Stamp pad translucent) the butterfly (Serendipity clear stamp set) onto White Cardstock 350gsm, sprinkle Royalty Embossing powder then set with heat gun. 

Use a small paint brush to carefully add the two artist ink mixes to colour the butterfly.


Spread left over Colour artist inks a sheet of White Cardstock 350gsm.  Drip some of the green ink on the page.   Allow to dry.

Prepare the elements for detailing page. 

Run the coloured cardstock through a die cut machine cutting several shapes (Butterfly Effect metal die.

Run the (Flowers Metal Die and Frame Metal Die).

Add some detailing to the leaves, butterflies and flowers with coloured paint pen.


Adhere all the elements to the page, draw a border around the edge of the page to complete.

I hope you find some inspiration from this journal page and look forward to another blog soon.  Add the sentiment to the page with black paint pen.


Cheers from Linda Pearson

linda@yourcreativepalette.com.au


Monday, 6 September 2021

Hopes and DREAMS! by Linda Pearson

Hopes and DREAMS!  we all have them... 

Today I have used some of my favourite stamps and stencils from the Bee Arty range to create a journal page.  As always these journal pages can be adapted to become a scrapbook layout if preferred.


Gesso – Bee Arty heavy primer 250ml
Mica powder – Denim, Eggplant and Forest
 
Black archival ink
Corrugated kraft card
Tissue paper
Off cut scrapbook paper
Word or sentiment (photo image for scrapbook layout)


Apply 2 coats of white Gesso to an A4 journal page.  Dry off.


In the jar (2 jars) add some matt medium enough to cover the whole page, add several scoops Mica powder, eggplant and denim to make a mix.  Brush over the whole page with the Eggplant mix then while still wet use a wet wipe rubbed through the City Nights A6 stencil, dry off.


Using the Denim Mica powder mix randomly brush the blue mix over areas of the page, then while still wet, use a wet wipe rubbed through the Distance A5 stencil.  Dry off.


Mix more of the Egg Plant Mica powder apply through the boxed in stencil randomly around the edges of the page, dry off.


Add random track marks using the  Making tracks clear stamp set with the black archival ink.  Also add some tracks around the border of the page.


Roughly tear a section of Kraft corrugated card.  Roughly paint over some of the left over Eggplant matt medium mix to add colour the card.  In a mist bottle add some Forest Mica powder with water to make a shimmer mist spray, spray over the card.  Dry off.


To create the focal point I used a variety of bits from my stash, adhere together;
·       muslin (coloured in Forest shimmer spray),
·       fussy cut flowers from embrace change cut out sheet,
·       black and white scrapbook paper
·       Title from the electric dreams cover page
·       Craft string
·       Tissue Paper stamped with the numbers stamp from the  Making tracks clear stamp set in black archival ink
·       Add black splatters over the focal piece
·       Tie some craft string around the focal piece.


On a piece of White Cardstock 350gsm apply a mix of Denim and matt medium through the Untangirl A5 stencil.  Allow to dry.


Spray some Forest and Eggplant shimmer mist sprays over the stencilled girl.


Cover some White Cardstock 350gsm with the Distance A5 stencil in black archival ink. Cut a backing shape using the stencilled girl as a guide. Adhere the two pieces together.
Apply more Eggplant  and matt medium mix through the Distance A5 stencil  then add some black scribbles around some of the numbers/letters as well as some of the squares around the page.


Thank you for checking out my journal page and hope you are inspired to create your own interpretation.


Cheers from Linda ...
www.yourcreativepalette.com.au