Showing posts with label road trip collection. Show all posts

Tuesday, 22 February 2022

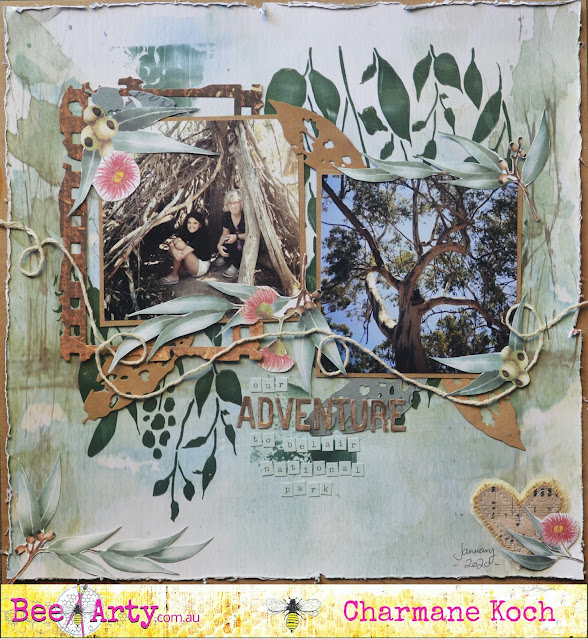
Adventure by Charmane Koch

Happy 22/02/2022! We won't see that again will we?

Hope everyone is getting into the swing of things for 2022! Can't believe it's going to be MARCH next WEEK! How does that even happen?

Anyway, today I am sharing with you a layout I created combining Road Trip & Embrace Change Collections - as they can blend in together really well - as you can see with this layout!
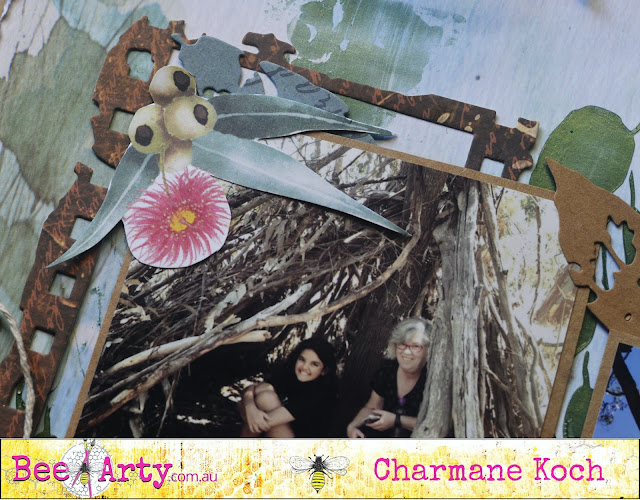

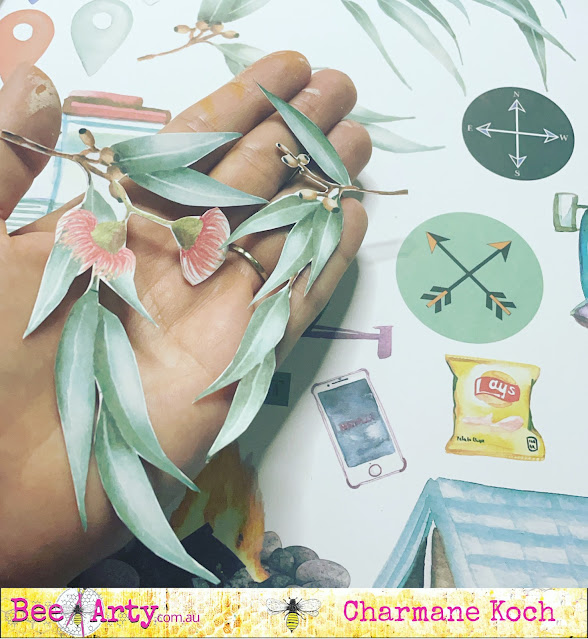
I thought the Exclusive cutouts from the Road Trip Collection were cute, so cut some of the leaves out, as I had in my head an Australian gum tree themed layout.

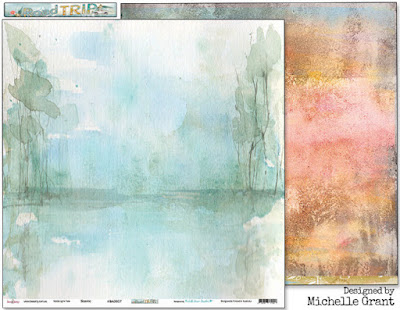
Using the Road Trip - Scenic paper as my base, I scraped some Jungle Colour Paste using a spatula over the top of the Cascading Leaves Stencil...
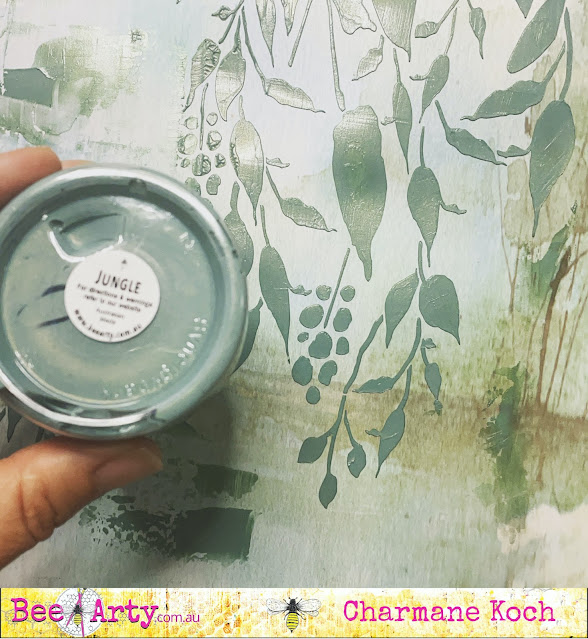

Once dried with a Heat Gun, Jungle is such a gorgeous colour!
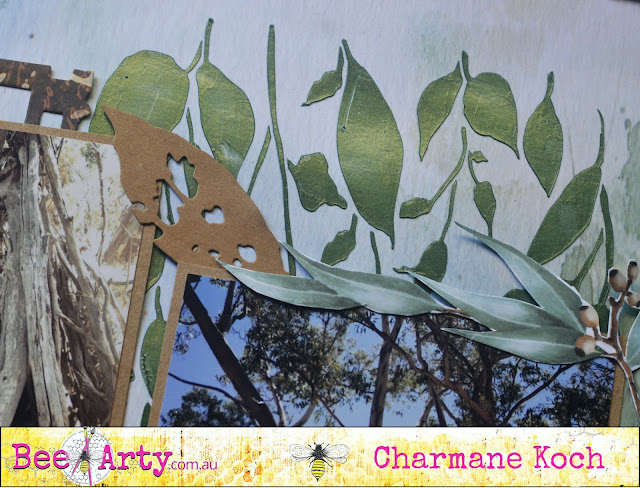

This layout was quite easy to put together! All I did was matte my photos with Kraft cardstock and layer the cut out gum leaves, and also some "Old Leaves" Die cut outs using Kraft cardstock. I also had cut out a Grungy Film Strip
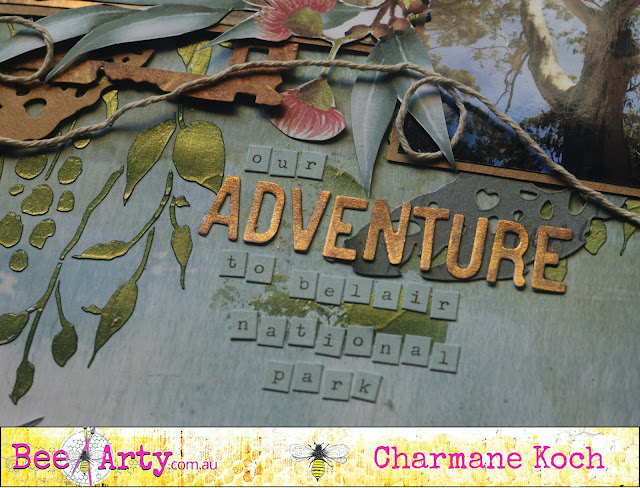

To create my title I used the Road Trip Words "Adventure" colouring it with Bling Mica Powder & Water.

I added my trademark swirly kitchen twine with a few staples... and of course a Charms Creations Heart to finish off the layout! 

Here's what I have used...


Thanks for stopping by & hope I have inspired you to create an Australian themed layout!


Take Care & Stay Safe!

XO Charm

Tuesday, 8 February 2022

"Road Trip" by Charmane Koch

 Happy Tuesday Everyone!

Hope you are all navigating through this very interesting start to 2022 - at the moment it's Online Learning or back to school or both! Life has never been more confusing! And we thought it was going to get better?

Anyway, we just gotta go with the flow, don't we? 

Today I wanted to share with you a layout I created for a recent Aussie Day Crop - and how perfect was the Road Trip Collection to use?

I started off with this AWESOME "LOST" paper:


I knew I didn't need to do much with the background and that the "Tracked" Stencil would be perfect!

The Which Way Die was a perfect addition to my layout {the sign with the bird on top!} I decided to keep it plain so that it would stand out!


I just loved the little bits and pieces to cut out from the Exclusive piece in the Road Trip Collection pack! 


The "Road Trip" Word was perfect too! I kept that plain to stand out too!


Quite a simple layout to put together once I had cut out all the bits! Added a bit of journalling, corrugated cardboard & a Charms Chevron!


Thanks for popping by and I hope I've inspired you to use your Road Trip Collection! Or if you haven't got your hands on it yet - check it out! Especially the fabulous Dies & Stencils!

These are the ones I used:

\


Happy Creating!


XO Charm

Sunday, 23 January 2022

The Best Memories - With Karyn Schultz!

 Hi Bee Arty Lovelies!

It's Karyn here and today I have a scrapbook page to share with you made using the Road Trip collection from Bee Arty.
 
 
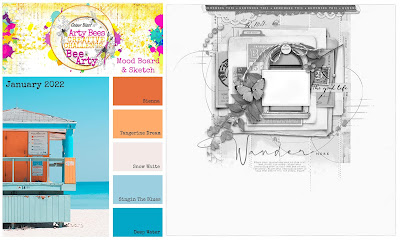
I'm playing along with the January mood-sketch challenge. We would love for you to join in with this challenge and be in the running to win a Bee Arty online voucher. You have until January 30th and you need to upload your challenge here (please follow challenge rules). 
 

I have been inspired by the colours of the moodboard and also the sketch (turned on the side).
 
I used a painting with plastic technique to add Oasis, Calypso and Mermaid Colour Artist ink to some 350gsm Heavy White Cardstock, then I added splatters of each colour.
 
I used the City Nights A6 stencil from the Road Trip collection and Deep Water Colour Paste to add dimension to the page.  

 
I added stamping using the Mapped stamp and the Making Tracks stamp set from the Road Trip collection, and Black Archival ink.  
 
 
 Here is my completed page.
 
 
 I've used a sheet of Road paper and cut matts for my photo using different designs on the front and back of this paper. My photo is 9cmx12cm printed with a white border. I've added 5 different patterned paper layers, some book paper, a kraft tag, and torn cardboard layers.   
 
 
 I've fussy cut elements from the Spy paper as well as leaves from the Road Trip Collection Cover paper. The words are cut from the Vacay paper, also from the Road Trip Collection.  
 
 
 Lastly I've added some orange enamel dots and outlined my page using a fine black Life of Colour paint pen.


Thanks so much for stopping by

Crafty Hugs xx


Saturday, 15 January 2022

Camera Postcard by Sunila Mahajan

 Hello Bee Arty Lovelies,

My name is Sunila, and I will be filling in my daughter Aditi's spot for a while. I have had so much fun diving into the Bee Arty supplies and creating.

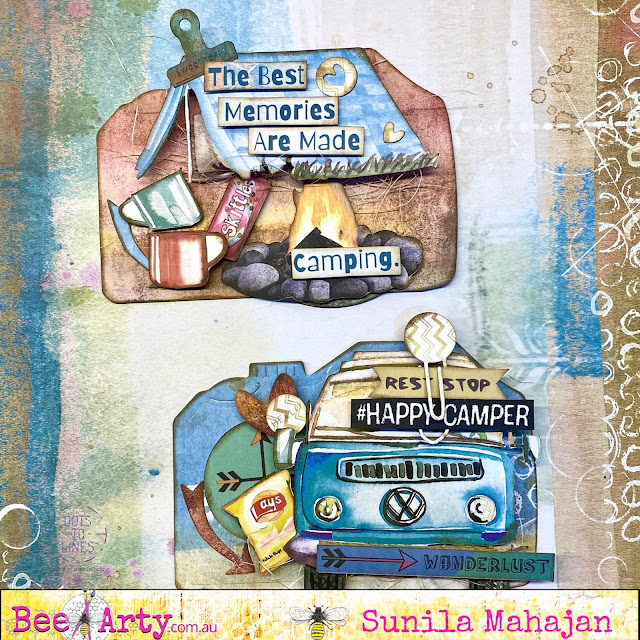
Today, I'm sharing a quick inspiration with you all. Camera style postcards. 

Here's a look at them:


These were easy and quick to make. What I also like about them is the fact that they are quirky and make great gifting cards.

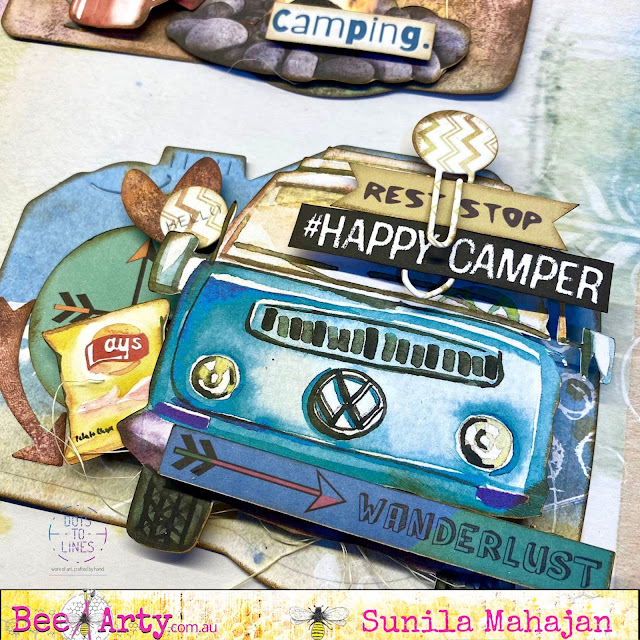
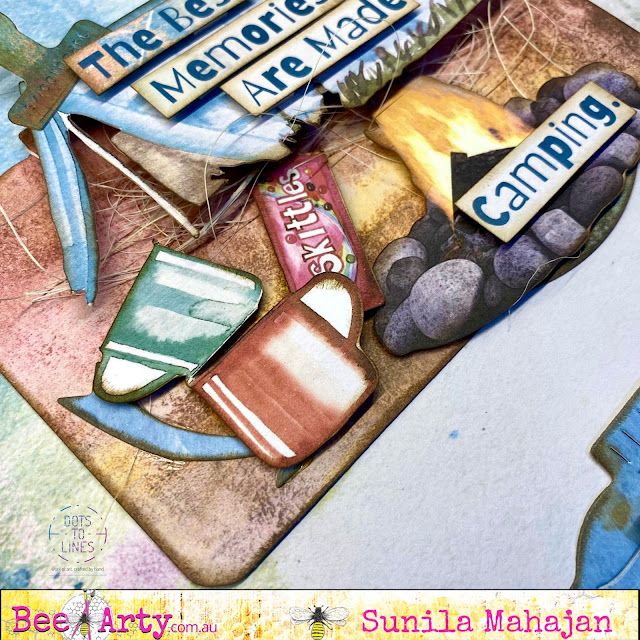
I die cut the base shape on a piece of patterned paper, and then add elements I fussy cut from the same collection. I used foam tape for a few pieces giving them depth. I used some words from the sheet and added them to bring in more meaning. 

Here's a look at some close-ups:


Supplies used:

I hope you've enjoyed my first post here!
Looking forward to sharing more of my creativity with you all!
Hugs!

Wednesday, 27 October 2021

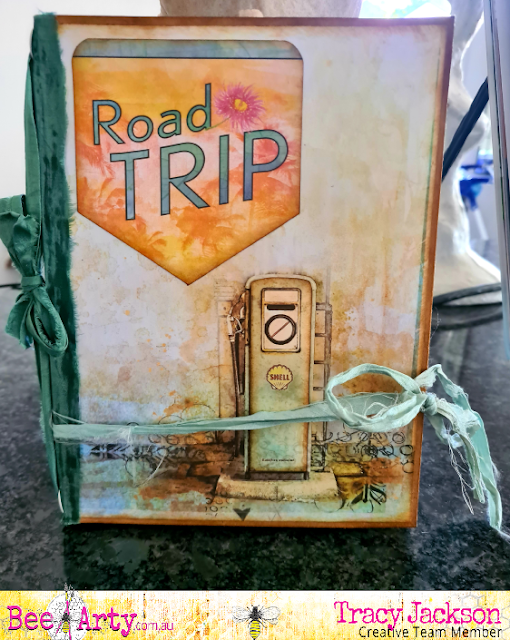
Road Trip Folio Part 2 by Tracy Jackson

                                                                Hello Bee Arty Fans

Welcome back to part 2 of my DT post using paper from  Road Trip Collection to decorate the folio we made a couple weeks ago.

Firstly we will make a pocket to go on one one side of the small envelope. 
I cut out two pieces of paper 9x10cm - I used my corner rounder on the top righthand corner that will be the base, then cut a diagonal on the top paper. 


Ink all around edges before gluing left, bottom and half right side so it makes a pocket.
Fussy cut and ink caravan and word then glue.
Put to the side while we make next piece of ephemera


This 3 pocket ephemera will go on the envelope on the left hand side (see below)
Cut a base from the collection that will leave 2mm around edges showing when glued down. 
Then cut out three rectangles 


I hold all three rectangles together and use my circle punch to punch out a opening that a tag will easily slide in and out. I also had a scrap leftover strip that I used... I inked all pieces and glued down strip and three sides of the rectangles


Next I measured and cut out 3 tags


Pick out images you want to use - ink and glue down


Glue whole piece onto front of envelope
You can also see in photo below one of the other envelopes I decorated. This was simply a piece of paper from collection I measured the same width and punched a half circle in top to make a pocket


Adding a signature..... I wanted to add a signature so I glued a strip of sari silk down the outside, Once dry I punched a hole in spine about1cm top and bottom and put in an eyelet. I then threaded another piece of sari silk though both eyelets and tied in a bow on the outside.


I then prepared a signature by cutting a piece of collection paper as the signature cover and back and filled with 6 pieces of cream writing paper and folded all in half, I also used corner rounder on all signature paper I slotted under silk so it sits in like a booklet and can be replaced when needed


Below are close ups of each decorated envelopes


Front


I rally enjoyed making this folio, I hope I have inspired you to have a go.


Until next time, stay safe..
Happy crafting