Showing posts with label Michelle Grant Designs. Show all posts

Saturday, 15 January 2022

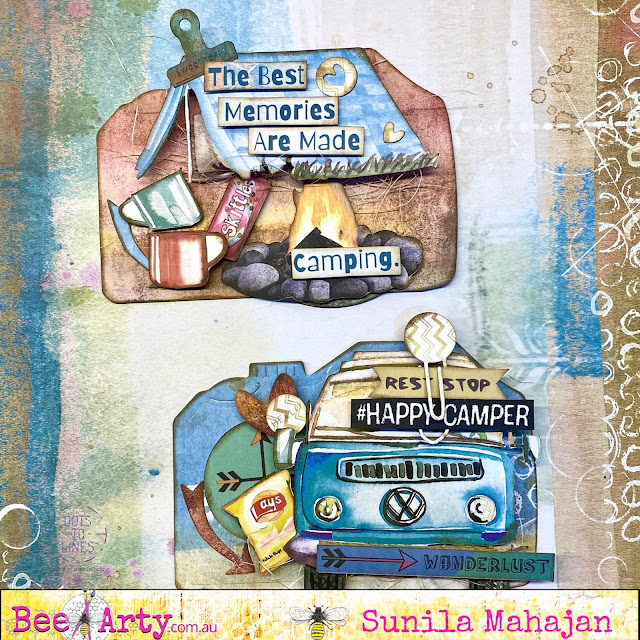
Camera Postcard by Sunila Mahajan

 Hello Bee Arty Lovelies,

My name is Sunila, and I will be filling in my daughter Aditi's spot for a while. I have had so much fun diving into the Bee Arty supplies and creating.

Today, I'm sharing a quick inspiration with you all. Camera style postcards. 

Here's a look at them:


These were easy and quick to make. What I also like about them is the fact that they are quirky and make great gifting cards.

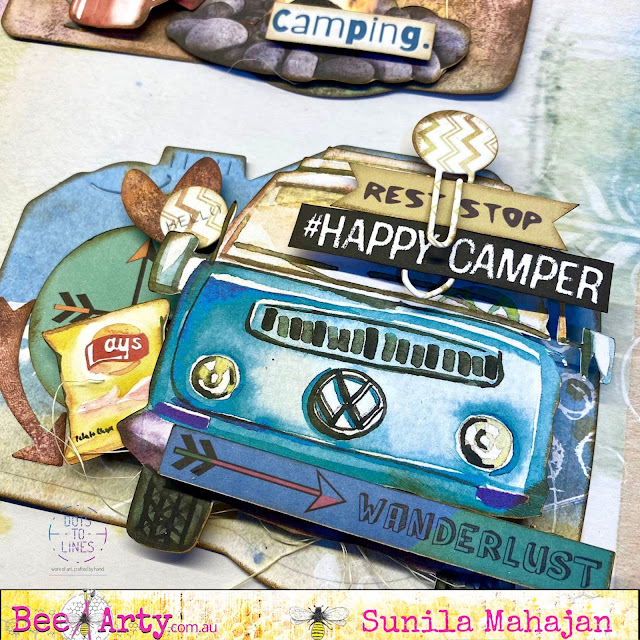
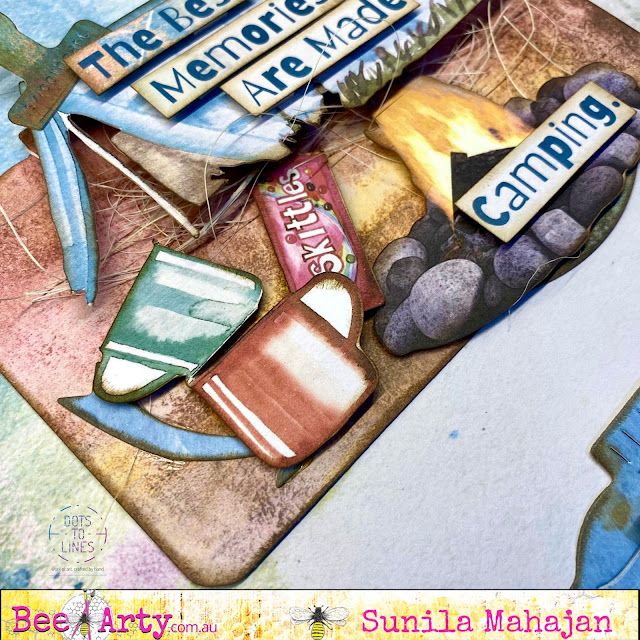
I die cut the base shape on a piece of patterned paper, and then add elements I fussy cut from the same collection. I used foam tape for a few pieces giving them depth. I used some words from the sheet and added them to bring in more meaning. 

Here's a look at some close-ups:


Supplies used:

I hope you've enjoyed my first post here!
Looking forward to sharing more of my creativity with you all!
Hugs!

Monday, 22 June 2020

'Live Your Art' by Amy C

Hi everyone, 

Today I am sharing a simple layout using the gorgeous papers designed by Michelle Grant.

I have done some stamping and stenciling work here: I elected to do very little mixed media work as wanted the papers to be the hero.


Over the gorgeous patterned paper I stamped in various spots using the Meridian Clear Stamp Set designed by Michelle Grant.

To add a bit of bling, added some stars around the page with some 'Bling' Colour Paste through a 'That Way' A4 stencil

Next, I added some splatters randomly over the page with both 'Road Base' Colour Spray and 'Soot' Colour Artist Ink  


For the layers behind the portrait 3x4 size photo I used 'Courage', 'Progress' and 'Muse' papers, also by Colour Blast and designed by Michelle Grant.

The 12" x 12" 'Muse' sheet was the background paper use here.


For my little cluster next to the quote I used chipboard by Kinder Kreations and a handmade embellishment by Charms Creations. I gathered some flowers and sequins lightly around here.


Finally, for my title I cut up a quote from the 'Courage' patterned paper. These words matched so well with the theme here. 


Products used:
Courage, Progress, Muse patterned papers.

That's it for today! I hope it has left you feeling inspired to have a play.

Thank you for popping by,

Amy


Wednesday, 13 May 2020

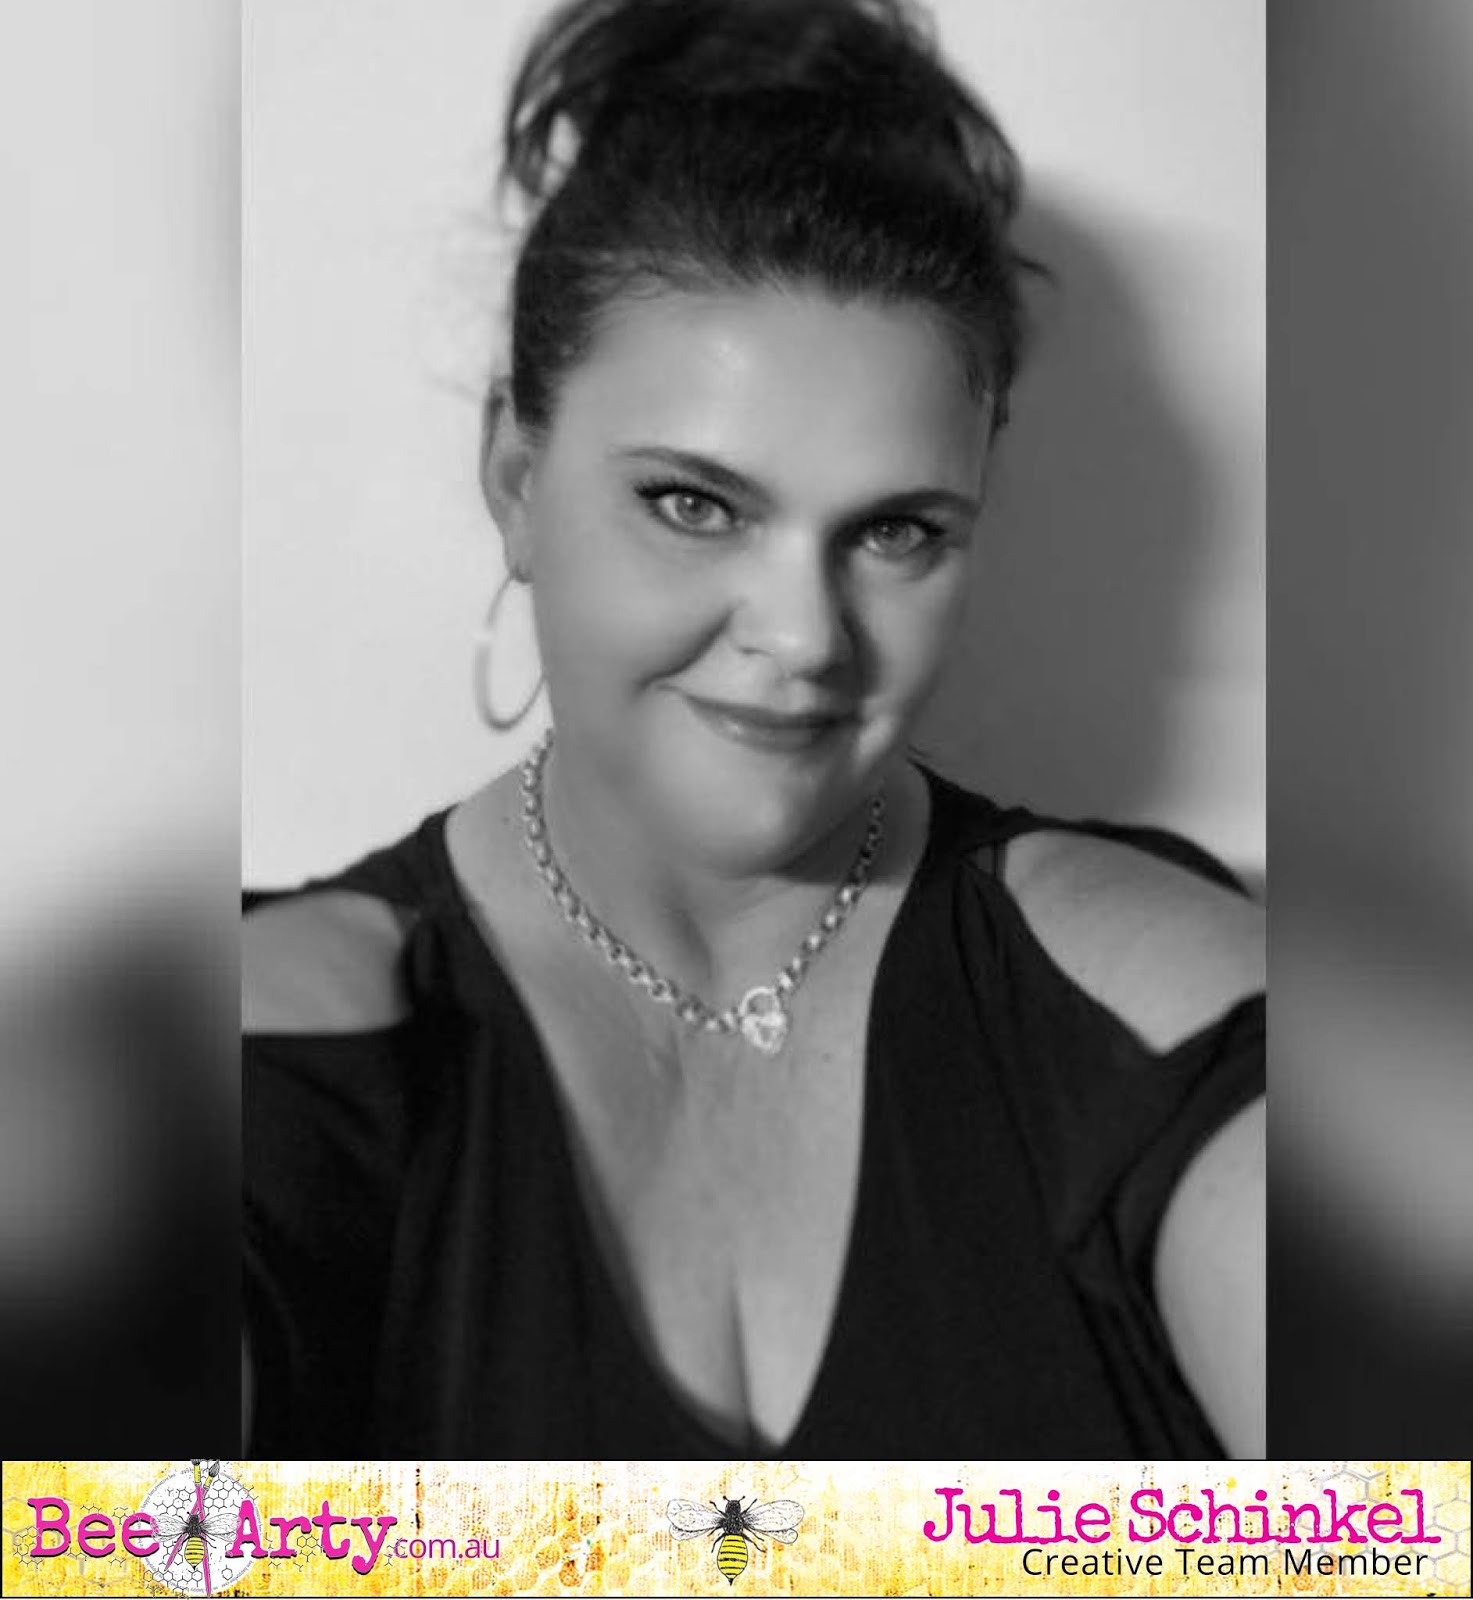
Don't Follow Trends Create Them Layout by Julie Schinkel

Hi everyone, I'm back sharing a layout that took a few different turns before it got to its final destination. I'm always trying to challenge myself and do something different, this was no exception. Nothing like what I had originally planned but hey, that's how creativity goes sometimes. Right?

Okay, onto my layout. I've created this layout using a selfie with the current challenge in mind. Don't ever be afraid to create projects using photos of yourself. Why not? It's fun and with all of the selfie apps and filters around these days, why not have a little fun?


This layout is certainly one is for the fussy cutters as there's a bit of stamping and fussy cutting involved. To start I've done my usual cardstock frame then added a piece of Dude 12x12 paper from the Trendsetter Collection by Michelle Grant. I've torn around the edges - roughly about 1/4 of an inch all around - then adhered that to the black cardstock frame to form the base.

Next I added some Colour Blast Shimmer Dust in Passion with some water onto some scrap plastic and applied it to the base layer. I wasn't fussed on the result so I added a scrap piece of Impress 12x12 paper over the top. I've cut out the "Don't Follow Trends Create Them" quote from the same paper and also the "Keep it Sassy" from the 12x12 word sheet. Ive matted both quotes and the photo with black cardstock.

Okay, on the fun part! If you have a stamp press tool of some kind, you'll need it for this as I've double stamped my images so they are crisp black. To get the best results I've used Versafine in Onyx Black. The stamp I have used are from Floral Delights 1 and Floral Delights 2 stamp sets. I've put next to each flower in yellow on the second image so you'll know how many of each to stamp.


I've just layered all the flowers on the layout as shown. You can use the same as I have or less if you like. It's just another way you can use your stamps as embellishments on a layout. I decided to add some of the Colour Blast Passion Shimmer Dust to the centre area of the flowers and leaves to break up the white. It also helps tie them together to the colours in the layout.

Here are some close up photos of my layout so you can see how I've created and embellished the page.


Check out the current challenge for May over at the Bee Arty Creative Hive:


Thursday, 16 May 2019

Be The Exception by Suzy Loudon

Hi everyone. Today I have a layout to share using the Limited Edition Collection. Such a wonderful collection to work with...so many possibilities.


To begin my layout I tore the edges of my paper, I used 'Stand Out' from the Limited Edition paper range. I stuck it down onto 'Tough' from the Graffiti Grunge Collection. Then using the 'Unpredictable' Stamp from Limited Edition I did some random stamping.


I cut my paper 'Original' paper down & inked the edges for my photo mat. 


I used the frame from the 'Glorious' sheet to frame my photo.


On my first chipboard using my finger i dabbed on some Envy  Colour Paste. Whilst it was still wet I sprinkled on some Envy, Sienna & Stormy Weather  Colour  Embossing Powder then heat setting.


For my next chipboard I die a piece using the 'Hands Of Time' die. Then using Leather  Colour Pastedabbed some on. Then added Envy  Colour Embossing Powder & heat set.


My next chipboard piece I did the same process using Stormy Weather  Colour Paste. Then Envy & Sienna Colour Embossing Powder.


My last chipboard I used Leather & Stormy Weather & Steel Colour Paste before adding Envy, Sienna & Stormy Weather Colour Embossing Powder.


 Using the 'Unique' die I cut out with black card which I placed under my title which I cut out from the 'Exception' sheet. 


Using Sienna & Leather  Colour Shimmer Spray I coloured some muslin.


From here I assembled my elements adding metals, flowers & pearls. 
Here's a few close ups.


Thanks for looking.
xxx Suzy


Monday, 6 May 2019

Trinket Tin By Suzanne Franin


Hey Everyone Suzanne here

My project for the Colour Blast Blog is a little Trinket Tin, good to keep earrings or jewellery in when you take it off at the end of the night

All the products I used you can find here as well as a list of suppliers on the Colour Blast Website 


I used 1 layer of the Colour Blast Heavy White Gesso with a sponge - I like the texture it gives 
Sometimes I like use a brush for a different texture depending on what I'm doing over the top of it

I love this Colour Paste Bling it's so bright and shiny and looks great through this stencil
Colour Artist Inks Lollipop (I had an oops the other day and didn't close the lid properly so luckily I always have muslin on hand to mop any spills LOL) It was perfect for the pop of colour this project needed
Colour Shimmer Dust Peacock I added a bit of the powder to my board then added as much water as I wanted the colour to be - darker or lighter
I thought would go well with the Colour Lollipop Artist Ink and the Colour Paste Bling for the face
Dorland's Wax Medium I used over the top of the face to add something extra it gives it a sheen different to the shine that the shimmer dust does


Colour Artist Inks Peacock I used to paint the tin - the plain white gesso looked a bit boring but unfortunately we lost the shimmer of the Colour Paste Bling

Graffiti Grunge Collection Linked in Die I cut it out in acetate so it's a bit hard to see (I did have to put it through the die a few times)

Make sure to check out the whole blog for the rest of the Design Teams awesome creations and the rest of the going ons x

Thank you for visiting and I hope you come back soon x