Showing posts with label Sienna. Show all posts

Monday, 22 February 2021

The German Cake Shop by Charmane Koch


Happy Monday everyone! Today I wanted to share with you a layout using a mix of different Bee Arty Stencils I have used from different collections including the NEW Daisy Daze Stencil, Live Life & Dusk stencil.


I have used the Colour Artist Ink Citrus & watered down Bling, Sunshine & Sienna Mica Powders.... I've coloured the background using a paint brush to move the colours around, and dried them with a Heat Gun.


I've also used the NEW Bohemian Bliss stamps - the bee from Wonderful & Delicate


How awesome are the colours mixed together... 


Love the glittery shiny Mica Powders... how gorgeous are they??


I've doodled around the edges of the bees & the quote to highlight & give more definition.


I've trimmed down the White Cardstock so that I could back the page with Kraft cardstock to bring the page together.


And here is the finished page. Love how it's turned out and what a memory to scrapbook... 4 generations in one photo!

Thanks for looking and hope you are inspired to get the stencils out :)

PS - did anyone notice that I've used packaging on this layout??? It was a perfect match!

Happy Creating!


XO Charmane

Friday, 27 September 2019

Dog Gone Cute by Michelle Henderson

Hi my scrapping friends!

I have a new page for you today, here's a little sneak...


I started off with a wash of watercolours from the Inspired collection - I used Peach and Umber.


I was after a dark coppery red to stencil, so I mixed up some Colour Paste in Sienna, along with some Lollipop Colour Shimmer Dust. Perfect!


I grabbed my Colour Artist Ink in Walnut, and thinned it down to stamp with it.


 I added my photos along with some punched out circles from specialty papers and copper sheeting which has been in my stash since forever 😆 I also added some Tim Holtz dogs that I used the watercolours to colour.


I love how this came out 💓


Saturday, 29 June 2019

Last post by Suzanne Franin


Hey Everyone Suzanne here

This is my last post for Colour Blast I've decided to step down for health reasons 
I will miss posting projects using these awesome Australian products as we don't have too many too choose from these days
I want to say a HUGE Thank You to Tenisha for choosing me to be on her team and to Kaye for all the hard work she does behind the scenes 
Also to the Design Team thank you you've all been great to work with xxxx

So for my final project, I created a Steampunk type creation using the Limited Edition Paper RangeSienna Colour PasteColour Shimmer Brush Markers - Silver and Gold and lots of cogs from Memory Maze as well as some metal and a clear cabochon over one of her eyeglasses 


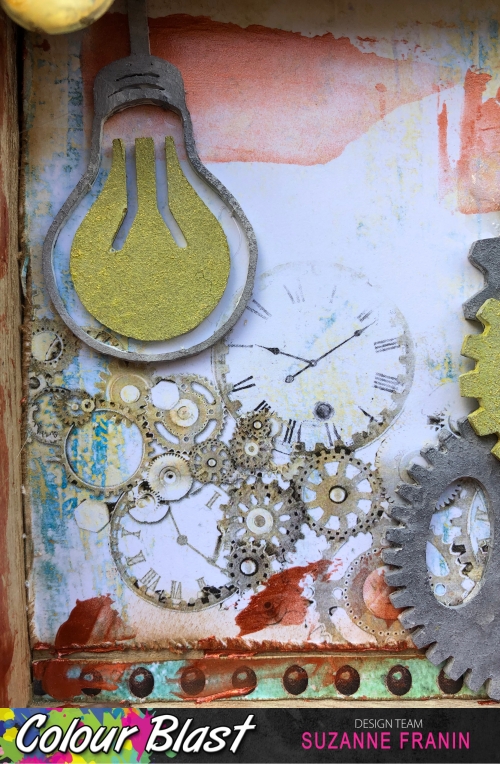
I used the clocks and cogs piece from the Stand Out Limited Edition Range and roughed up the edges with the scissors
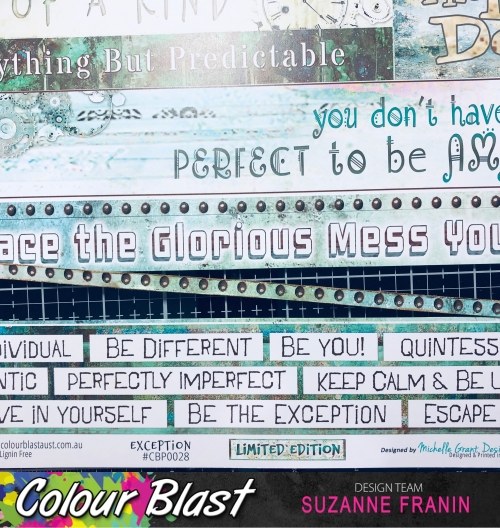
I then used the strip with the brads on it from the Exception paper from the same range
And from the Glorious paper, I fussy cut out the girl the globe bug and the key
I also used the scissors to rough the edges then used the Coffee Archival ink to go around the edges of everything
I used the White Heavy Gesso on all the Memory Maze Chipboard pieces
With the cogs, I wanted a metallic look so I used Silver and Gold Colour Shimmer Brush Markers
For some added texture and colour I added scrapes of  Sienna Colour Paste

Here you can see the cabachon I added to her eyeglass


Here's a closer look at the cogs and other metal pieces I added 
I love the cogs and clocks on the piece I cut out and the Light globe I added from Memory Maze 
I loved the Globe Bugs that are on the paper but in my stash, I had small globes so I thought I would use one over the top for added dimension
Being steampunk themed they use a lot of metal and a lot of the men have moustaches so I thought it only appropriate I add one
Here I added a large metal brad that I have had for years and I stuck the key from the papers I had fussy cut out on it 
I also added a watch because they always have pocket watches and this was the closest to a pocket watch I had 
I then added an Embellish With Flair Vintage Map Flair as it fitted so well with everything


Thursday, 13 June 2019

Steampunk Memories

I had fun creating this layout using the Limited Edition range with a photo from a fun trip to the Steampunk Museum in NZ with friends.


I used the Limited Edition paper "Individual".
Using the "Enough" Stencil I spread Steel Colour Paste first. Then lightly went over bits with Stormy Weather then Deep Water. I forgot to take a photo but I spread the paste from the top right to bottom left & a bit wider in the middle. 


Using my finger I dabbed Steel Colour Paste and Stormy Weather Colour Paste on some chipboard.


Using Sienna & Bling  Colour Embossing Powder I did small sections on my chipboard (and also on some chipboard cogs)


I then used Stormy Weather Colour  Embossing Powder to finish off.


I embossed another piece of chipboard with Sienna, Steel & Stormy Weather  Colour Embossing Powder.


I used the Clear Shimmer Marker Pen on the lady I cut out of the "Glorious" paper.


I added some metals & micro beads to bring it together. I left my chipboard title raw.
Here are some close ups.


Thanks for looking.
May you be inspired to go create.
xxx Suzy


Thursday, 16 May 2019

Be The Exception by Suzy Loudon

Hi everyone. Today I have a layout to share using the Limited Edition Collection. Such a wonderful collection to work with...so many possibilities.


To begin my layout I tore the edges of my paper, I used 'Stand Out' from the Limited Edition paper range. I stuck it down onto 'Tough' from the Graffiti Grunge Collection. Then using the 'Unpredictable' Stamp from Limited Edition I did some random stamping.


I cut my paper 'Original' paper down & inked the edges for my photo mat. 


I used the frame from the 'Glorious' sheet to frame my photo.


On my first chipboard using my finger i dabbed on some Envy  Colour Paste. Whilst it was still wet I sprinkled on some Envy, Sienna & Stormy Weather  Colour  Embossing Powder then heat setting.


For my next chipboard I die a piece using the 'Hands Of Time' die. Then using Leather  Colour Pastedabbed some on. Then added Envy  Colour Embossing Powder & heat set.


My next chipboard piece I did the same process using Stormy Weather  Colour Paste. Then Envy & Sienna Colour Embossing Powder.


My last chipboard I used Leather & Stormy Weather & Steel Colour Paste before adding Envy, Sienna & Stormy Weather Colour Embossing Powder.


 Using the 'Unique' die I cut out with black card which I placed under my title which I cut out from the 'Exception' sheet. 


Using Sienna & Leather  Colour Shimmer Spray I coloured some muslin.


From here I assembled my elements adding metals, flowers & pearls. 
Here's a few close ups.


Thanks for looking.
xxx Suzy