Showing posts with label Tag. Show all posts

Thursday, 12 August 2021

Grungy Tag by Aditi Mahajan

 Hello everyone,


Today I'm sharing with you all a mixed media style grungy tag. I've combined different collections and elements for this tag. As always, I love creating simple yet effective things, that aren't time consuming. 


Here's a look at the tag


I started it of with a pattern paper for the base of my tag. I then used a background stamp and stamped with black ink, randomly. 


I then mixed the mica and shimmer powders with transparent matte paste and applied it through a stencil. While that was wet, I sprinkled glitter onto it. Once dried, I splattered colours on the background, for a rusty grungy effect. 


I coloured the die cuts the same way, fussy cut some elements and created a composition, gluing them. I finished it with a phrase to add meaning to my tag. 

Wednesday, 4 August 2021

Spread your wings Tag and Card by Tracy Jackson

                                                                  Hello Bee Arty Friends

Today I am showing you what I have left over from Spread your wings collection and two projects using it all up

These papers are just about run out so jump on over and grab the last lot of paper or the bundle deal before they go out the door

Below is the leftovers I keep in a bag, I spread them out and form an idea... card and tag


Select any dies or stamps you may wish to use... I plan on using Unwind Stamp set,  Say it Stamp set and Honeycomb Die


Cut my basem stamped my flowers and fussy cut them out, and picked a darker scrap for the Honeycomb die


Arranged them then started gluing. I use normal Uhu glue for anything like the die, but everything else is glued down with Art Glitter Glue


Next onto the matching tag - following the ams process I formed an idea


And started layering


This is the end result - soft colours - lots of layers. Looks like it would take a while to make but in reality the longest part was getting out he cuttlebug!


Until next time
Happy crafting

Wednesday, 28 April 2021

Wonderful card and tag by Tracy Jackson

                                                                   Hello Bee Arty Fans

I'm back again to show you one of the newer stamps called Wonderful making a card and tag

Now bit of a confession here, I got so carried away colouring and making this project that I forgot to take photos... so only have a few to share!

I stamped off a few times as I like to layer my cards


The colouring started... and the memory for taking photos stopped!


Made a base for a tag and layered a card using Trendsetter paper


Have a great week
Happy crafting

Tuesday, 15 September 2020

Acetate Tag - With Karyn Schultz!

 Hi Bee Arty Lovelies!

It's Karyn here and today I have a tag to share with you made using lots of amazing products from Bee Arty!
 
I created this tag as part of last weekend's Great Australian Craft Show and you can see a video here


I've created the tag using some plain acetate/transparency and the new Fearless Brave Free Collection designed by Fiona Paltridge. 

My tag is 8cm wide by 16cm long. I stamped along the left edge and bottom of the tag using Stazon and the Fearless stamp. Then I applied Deep Water Colour Paste through the Directions stencil also along the left and bottom of the tag.

I added some ribbons to the top of the tag and an embellishment cluster along the bottom. The cluster included papers from the Fearless Brave Free paper collection, Black die cuts from the Abstract circles metal dies, white gauze and a flair. 


Thanks so much for stopping by

Crafty Hugs xx


Sunday, 31 May 2020

You make me happy - by Tracy Jackson

Good morning Bee Arty fans...

I'm back again to show you a nice simple card and tag set


I have been eyeing up these stamps for a while now and finally got my hands on them. Its perfect for all you card makers out there who love colouring. Its called "You make me Happy" which is mounted with firm red rubber. It makes a nice crisp outline when stamped which is always a winner in my eyes.

So after stamping the flowers several times and the words with Memento Ink so my copics wouldn't run I was ready to colour.


7 flowers later... time to find my scissors for a bit of fussy cutting while watching a TV program


At this stage I decided the centers needed a bit of bling, so out comes the Shimmer pen which I love, its mess free and easily adds some blingy goodness


So next I picked out a background paper which I cut from Love & Grace collection, I played around with the arrangement of flowers and words until I was happy


At this stage I had 1 flower left so made a tag by cutting one out from the same paper collection, added a bit more detail by stamping a stamp from the Textiles stamp set


After drawing my boarder around the outside, finding a word and a few leaves from the same paper collection I cut and inked all the edges then put my card and tag together.


Hope you have enjoyed this card and tag set. I love how it turned out, and will defiantly be getting a lot of use out of this stamps set

Happy Crafting


Saturday, 29 June 2019

Last post by Suzanne Franin


Hey Everyone Suzanne here

This is my last post for Colour Blast I've decided to step down for health reasons 
I will miss posting projects using these awesome Australian products as we don't have too many too choose from these days
I want to say a HUGE Thank You to Tenisha for choosing me to be on her team and to Kaye for all the hard work she does behind the scenes 
Also to the Design Team thank you you've all been great to work with xxxx

So for my final project, I created a Steampunk type creation using the Limited Edition Paper RangeSienna Colour PasteColour Shimmer Brush Markers - Silver and Gold and lots of cogs from Memory Maze as well as some metal and a clear cabochon over one of her eyeglasses 


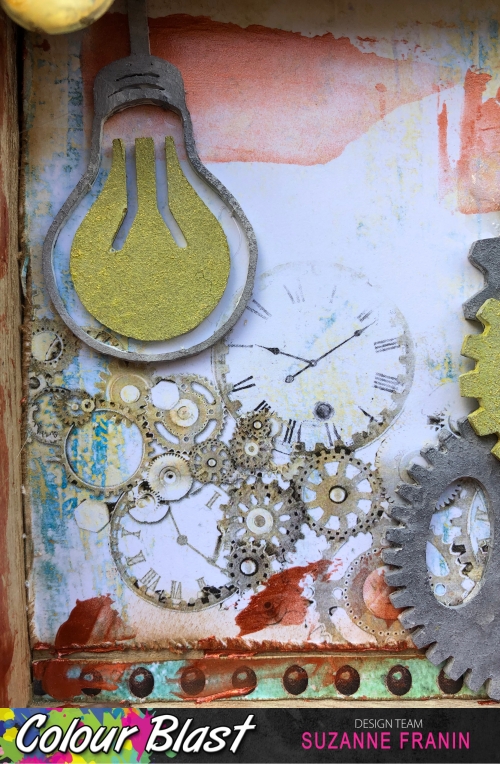
I used the clocks and cogs piece from the Stand Out Limited Edition Range and roughed up the edges with the scissors
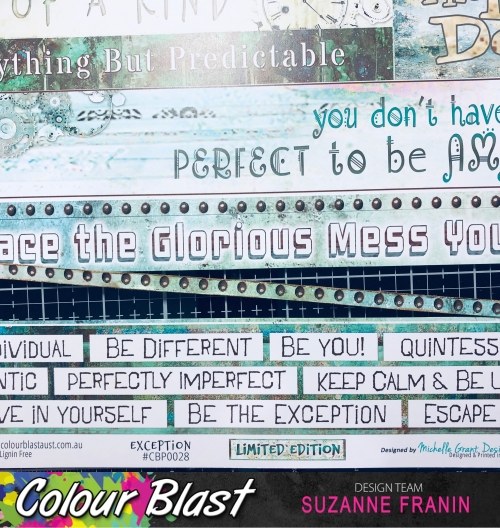
I then used the strip with the brads on it from the Exception paper from the same range
And from the Glorious paper, I fussy cut out the girl the globe bug and the key
I also used the scissors to rough the edges then used the Coffee Archival ink to go around the edges of everything
I used the White Heavy Gesso on all the Memory Maze Chipboard pieces
With the cogs, I wanted a metallic look so I used Silver and Gold Colour Shimmer Brush Markers
For some added texture and colour I added scrapes of  Sienna Colour Paste

Here you can see the cabachon I added to her eyeglass


Here's a closer look at the cogs and other metal pieces I added 
I love the cogs and clocks on the piece I cut out and the Light globe I added from Memory Maze 
I loved the Globe Bugs that are on the paper but in my stash, I had small globes so I thought I would use one over the top for added dimension
Being steampunk themed they use a lot of metal and a lot of the men have moustaches so I thought it only appropriate I add one
Here I added a large metal brad that I have had for years and I stuck the key from the papers I had fussy cut out on it 
I also added a watch because they always have pocket watches and this was the closest to a pocket watch I had 
I then added an Embellish With Flair Vintage Map Flair as it fitted so well with everything