Showing posts with label Honeycomb Die. Show all posts

Friday, 17 September 2021

Hello Weekend Adventure by Charmane Koch

 Hey guys! Happy Friday! I love Fridays.... because that means WEEEKEND!

Since the horrid "Covid" Ashan & I have started going on Date Nights & possibly stay the night somewhere else - of course not too far away! I created a layout of us, I still need to do the rest of the weekend! haha!

This layout I have created using a mix of Road Trip papers and some Bee Arty dies that I think matched well with the papers!

I started off with this gorgeous paper for the background - Open from the Road Trip Range... How gorgeous is this paper? I didn't even want to USE it! All the papers are just beautiful!


This reminded me of the Metal Die Arrow - "Seeker" from the Follow your Dreams Range & also the stamp from the Fearless Brave & Free Collection....

So I decided to cut out the Seeker Die twice using the Breathtaking Road Trip Paper. I also cut out the word Adventure from the Road Trips Word Die & decided I needed more layers so also cut out the Honeycomb Metal Die from the Love & Grace Collection.

To create the stamped effect I have mixed Heavy White Gesso with Polar Mica Powder to create a light blue paste that matched really well with the paper, as I wanted it to blend in, but still be seen.


I dabbed with a sponge dauber gently on the stamp - I must admit I did test it out on a spare bit of paper to make sure it worked!

I have layered papers tearing some and distressing others to create lots of texture on my page, also adding the Honeycomb Die in different layers of the paper too.

Here are some extra closeups...


I finished off with some machine stitching & a few extra embellishments from my stash... and of course journalling!

Here is the final outcome...


I hope I have inspired you to have a play with the Road Trip Collection & maybe mix it up with different Dies & try out the stamping technique too!

Happy Creating Everyone!


XO Charm

Wednesday, 4 August 2021

Spread your wings Tag and Card by Tracy Jackson

                                                                  Hello Bee Arty Friends

Today I am showing you what I have left over from Spread your wings collection and two projects using it all up

These papers are just about run out so jump on over and grab the last lot of paper or the bundle deal before they go out the door

Below is the leftovers I keep in a bag, I spread them out and form an idea... card and tag


Select any dies or stamps you may wish to use... I plan on using Unwind Stamp set,  Say it Stamp set and Honeycomb Die


Cut my basem stamped my flowers and fussy cut them out, and picked a darker scrap for the Honeycomb die


Arranged them then started gluing. I use normal Uhu glue for anything like the die, but everything else is glued down with Art Glitter Glue


Next onto the matching tag - following the ams process I formed an idea


And started layering


This is the end result - soft colours - lots of layers. Looks like it would take a while to make but in reality the longest part was getting out he cuttlebug!


Until next time
Happy crafting

Sunday, 13 December 2020

Spread Kindness by Tracy Jackson

                                                                Morning Bee Arty Fans

Woweeee its December!!!! How fast did this year go... in light of 2020 I think this DT card title says it all....

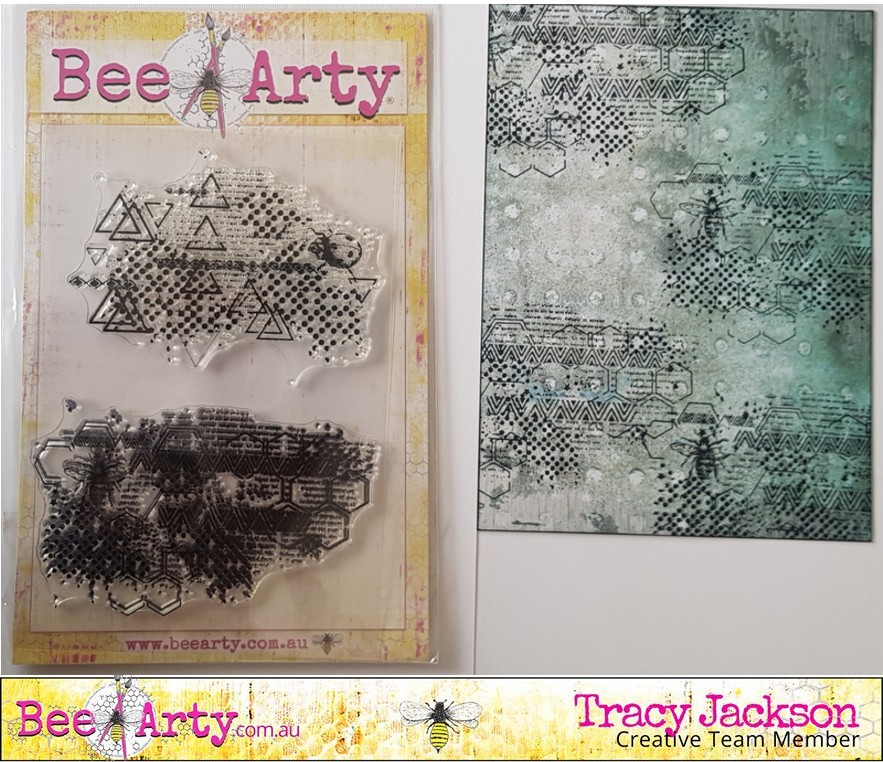
The paper collection I used this time as my background is from Spread Your Wings collection Too add a little more dimension and interest to the background I stamped it with Geo Grunge - which has a cute little Bee on it ;-)


I then added a layer by using metal  die called Honey Comb


I picked out word elements from same collection, and also stamped and fussy cut around the butterfly from the stamps set called New Dawn

The butterfly is coloured with Colour Shimmer Dust from Bee Arty - Amber, Candy, Paris, Navy

Hope you are all taking a little time out for yourselfs in the busy Christmas period....Until next time... Happy crafting

Friday, 9 October 2020

Happy by Tracey Campbell

 Hello lovely people, Tracey Campbell here today with a fun and funky layout using a few different medias, stamps and metal dies. 

Happy Always

To start the layout grab a piece of 12x12 cardstock to use as the base. Have you seen that Paige has an exceptional quality cardstock in store? It comes as a 350 gms, 12"x12" 10 pack for just $8. I just love the quality and feel of this cardstock - no bleeding through on the back from wet medias. 
Anywhoo back to the instructions; so next up I used a bowl and drew a circle in the center of the base cardstock with a light led pencil. Using a paint brush paint in the circle with Colour Blast Artist Ink in Marine.
Paint the whole circle in.
Cut the bubbles out from the Progress Patterned Paper in the Arty Farty range. 
 Using a thin black marker draw crossing lines running vertical and horizontal across the base cardstock and over the circle. Then using black ink stamp the dotted circle stamp from the Meridian Stamp Set over the lines.

Next using the cross hatch stamp from the Life is Tough Stamp Set randomly stamp the image onto the base cardstock. I kept the images close to the stamped circles and lines.
Use the metal die Honey Comb and Create to cut them out of white cardstock. I cut two Create frames and I used the Honey Comb small center pieces for this layout. Now grab a bottle of Envy Colour Shimmer Spray and spray the Create and Honey Comb die cuts. Set aside to dry.
Once the Shimmer Spray is dry adhere the elements to the base cardstock by cutting one of the Create frames in half so that it can be put on the two separate sides of the layout. Add the photo to the center of the circle where the lines cross over, place a frame over the photo. Stick the bubbles down as can be seen in the photo below.
Putting the finishing touches onto the layout by sticking the little Honey Comb pieces on the page, adding a title, a few black stikers and journaling. For the final tocuch I drew some black lines around the outer edge of the cardstock.
 Here is the finished layout, a fun and funky page that can be used for a variety of themed layouts. It is a good layout to try your hand at mixed media if you are a bit hesitant or a newbie.
Thanks for popping in and I hope that you like my layout. 

Hugs
Tracey

Wednesday, 19 August 2020

Be Fearless by Ros Aggett-Madley

Hi everyone, thanks for popping over today.  Today's share is all about no waste, made white scraps and left over product from previous projects.


I've created a tag for my share that started with a few things made from some left overs.  The tag itself was covered in with some left over Midnight and Cobalt Shimmer Dusts mixed with water.  


The honeycomb piece was made from a piece I'd painted with some Heavy Black Gesso left over from a project.  I've then used this to mop up excess liquid from the Antique Shimmer Pen that I used on my last project.
After using the Honeycomb Die I set aside the middle pieces for a future project because they look like gorgeous little sequins.


My butterfly started on a scrap piece of paper which I have covered in embossing fluid.  I added a few layers of  Bling Embossing Powder so it was nice and thick.  While still hot I have pressed it with the script stamp form the Memories Stamp Set.  


I then die cut this with the Butterfly Effect Die.


.

I have splashed the background with a little watered down Heavy White Gesso.


If you click here or on the photo below it will take you to another project I did a couple of years ago.  Same technique with embossing powder but this time I used it for the title on my page. 


Hope you've been inspired 💙


Wednesday, 6 May 2020

Fun, by Ros Aggett-Madley

Hi there, thank you for joining me again.


I pulled out the Scrap FX circle template again this week.  I'm a sucker for a circle.  I used this to make 3 (almost 3) circles across the middle of my page.  The template was also used to trace and cut out a few photos.


The circles have been coloured with a mix of water and Colour Shimmer Dusts in Lollipop, Paris and Peacock.  I have used some scrap papers to mask off each side and splattered some of the mix to each corresponding circle.


I had some scraps of paper which I used to make butterflies in my last post.  I have used these to die cut using the Honeycomb Metal Die.
The title word has been cut using the 365 Alphas Die on some card that has been painted with Paris Shimmer Dust.  I also backed this with the same letters cut from black card stock to help the title pop out a little. 


Around the edge of my page has been stamped with the mesh stamp from the Life is Tough stamp set.
💙

Saturday, 18 April 2020

'Beautiful Soul'
with Lisa Amiet


Hello all!
It's Lisa here today to check in with you all.
I have been busy creating, 
and I have an art journal page to share with you.

'Beautiful Soul'


For this page, I have started with a coat of Heavy White Gesso,
to seal my page. I have then used some of my Colour Sprays,
in Lagoon & Bubblegum, watered down,
on my page. I have moved it around as it dried.


I have then used the Scripted Stencil and modelling paste,
 to randomly stencil through to my page. 
I have also used the Honey Hive Stencil and Heavy White Gesso,
to stencil onto my page.
A bit of stamping with the Geo Grunge Stamp Set


I have used the Forever Always Stamp Set
to stamp the flower lady onto white cardstock, with black ink. 

I have also used the Wildflower Stamp Set, and cut the floral frame in half.
I have then used my Colour Sprays in Lagoon, Saffron, 
Bubblegum & Road Base, to colour in the images. 


I have then fussy cut them out to use on my page. 
I have also fussy cut some bees, tags and the sentiment 
from the Love & Grace papers, layered onto my page, 
with a piece I have cut with the Honeycomb Die.


I hope that you like what I have created,
I love the bright, fun colours and that gorgeous lady!

Until next time!

Lisa