Showing posts with label bee arty white heavy gesso. Show all posts

Monday, 23 January 2023

LOVE THIS by Charmane Koch

 Happy Monday Everyone! Hope you are surviving the School Holidays... or maybe it's back to school today? Whatever you are up to, wherever you are I hope that you can get some Creative Time in!

I have to admit, I have been very slow to start in finding time to being able to have a play, I was hoping this weekend, I did play but not as much as I wanted to!

I finally had a chance to create inspired by the fabulous January Moodboard & Sketch!

I must admit, I felt quite rusty, but loved the outcome of the layout... I have used mostly Saltwater Collection bits, plus a few extra dies & bits from my stash - something I have promised this year is to USE MY STASH! 

First of all I started off with this background that I created a little while before Christmas... Using Polar Mica in a Mini Mister, then I've gone over the top with the Bubbles Stencil, then I've mixed more of the Polar Mica with a bit of Gesso paste and using the Salty Dots Stamp, I've stamped around the page as shown.


I had some Blue Tissue paper lying around in my stash for ages, so I thought I would roughly cut a circle {I scrunched the tissue paper beforehand as well} 


I used Gel Medium Mixed with water to stick down the Tissue Paper. Make sure you pain a layer of Gel Medium before you lay the Tissue Paper onto the background paper, then carefully do a light layer over the top - make sure you don't tear the tissue paper!


Once dry, I have machine stitches a few wonky circles around the edge of the Tissue Paper as shown.


When I looked at the sketch - I thought YES I will get out as many different embellishments I could that I though would kind of match the photos & colours that I wanted to use...

I decided to get out some already cut Die Cut pieces I had in my stash....


I found "Perfect Day" from the Saltwater Collection papers, plus Chipboard chevrons, 


Charms Creations Arrow that matched, Lacey Doily...


Flair, flowers, Vellum & "Lovin the View" also from the Saltwater Collection. Even an old Project Life Card that I still love!


I just LOVE the Saltwater Vellum I was lucky enough to get while at the Retreat last year!


I HAD to use the "love this" transparency I found in my stash to, as that is the title in the Sketch!

I have to admit that my favourite part of creating this page was getting out the Snow White Mica Powder & painting the White "bits" on my page...


I coloured the Waves...


I painted the Chipboard Chevrons....


and the "Love that" chipboard too.


When sticking things down, I didn't fully stick down the Waves so that it would lift up slightly.


What I've used:


These are great:

This is what I've done with some of mine, but I need more! They are so great to use to Mist onto backgrounds!


Thanks so much for popping by!

XO Charmane


Monday, 6 June 2022

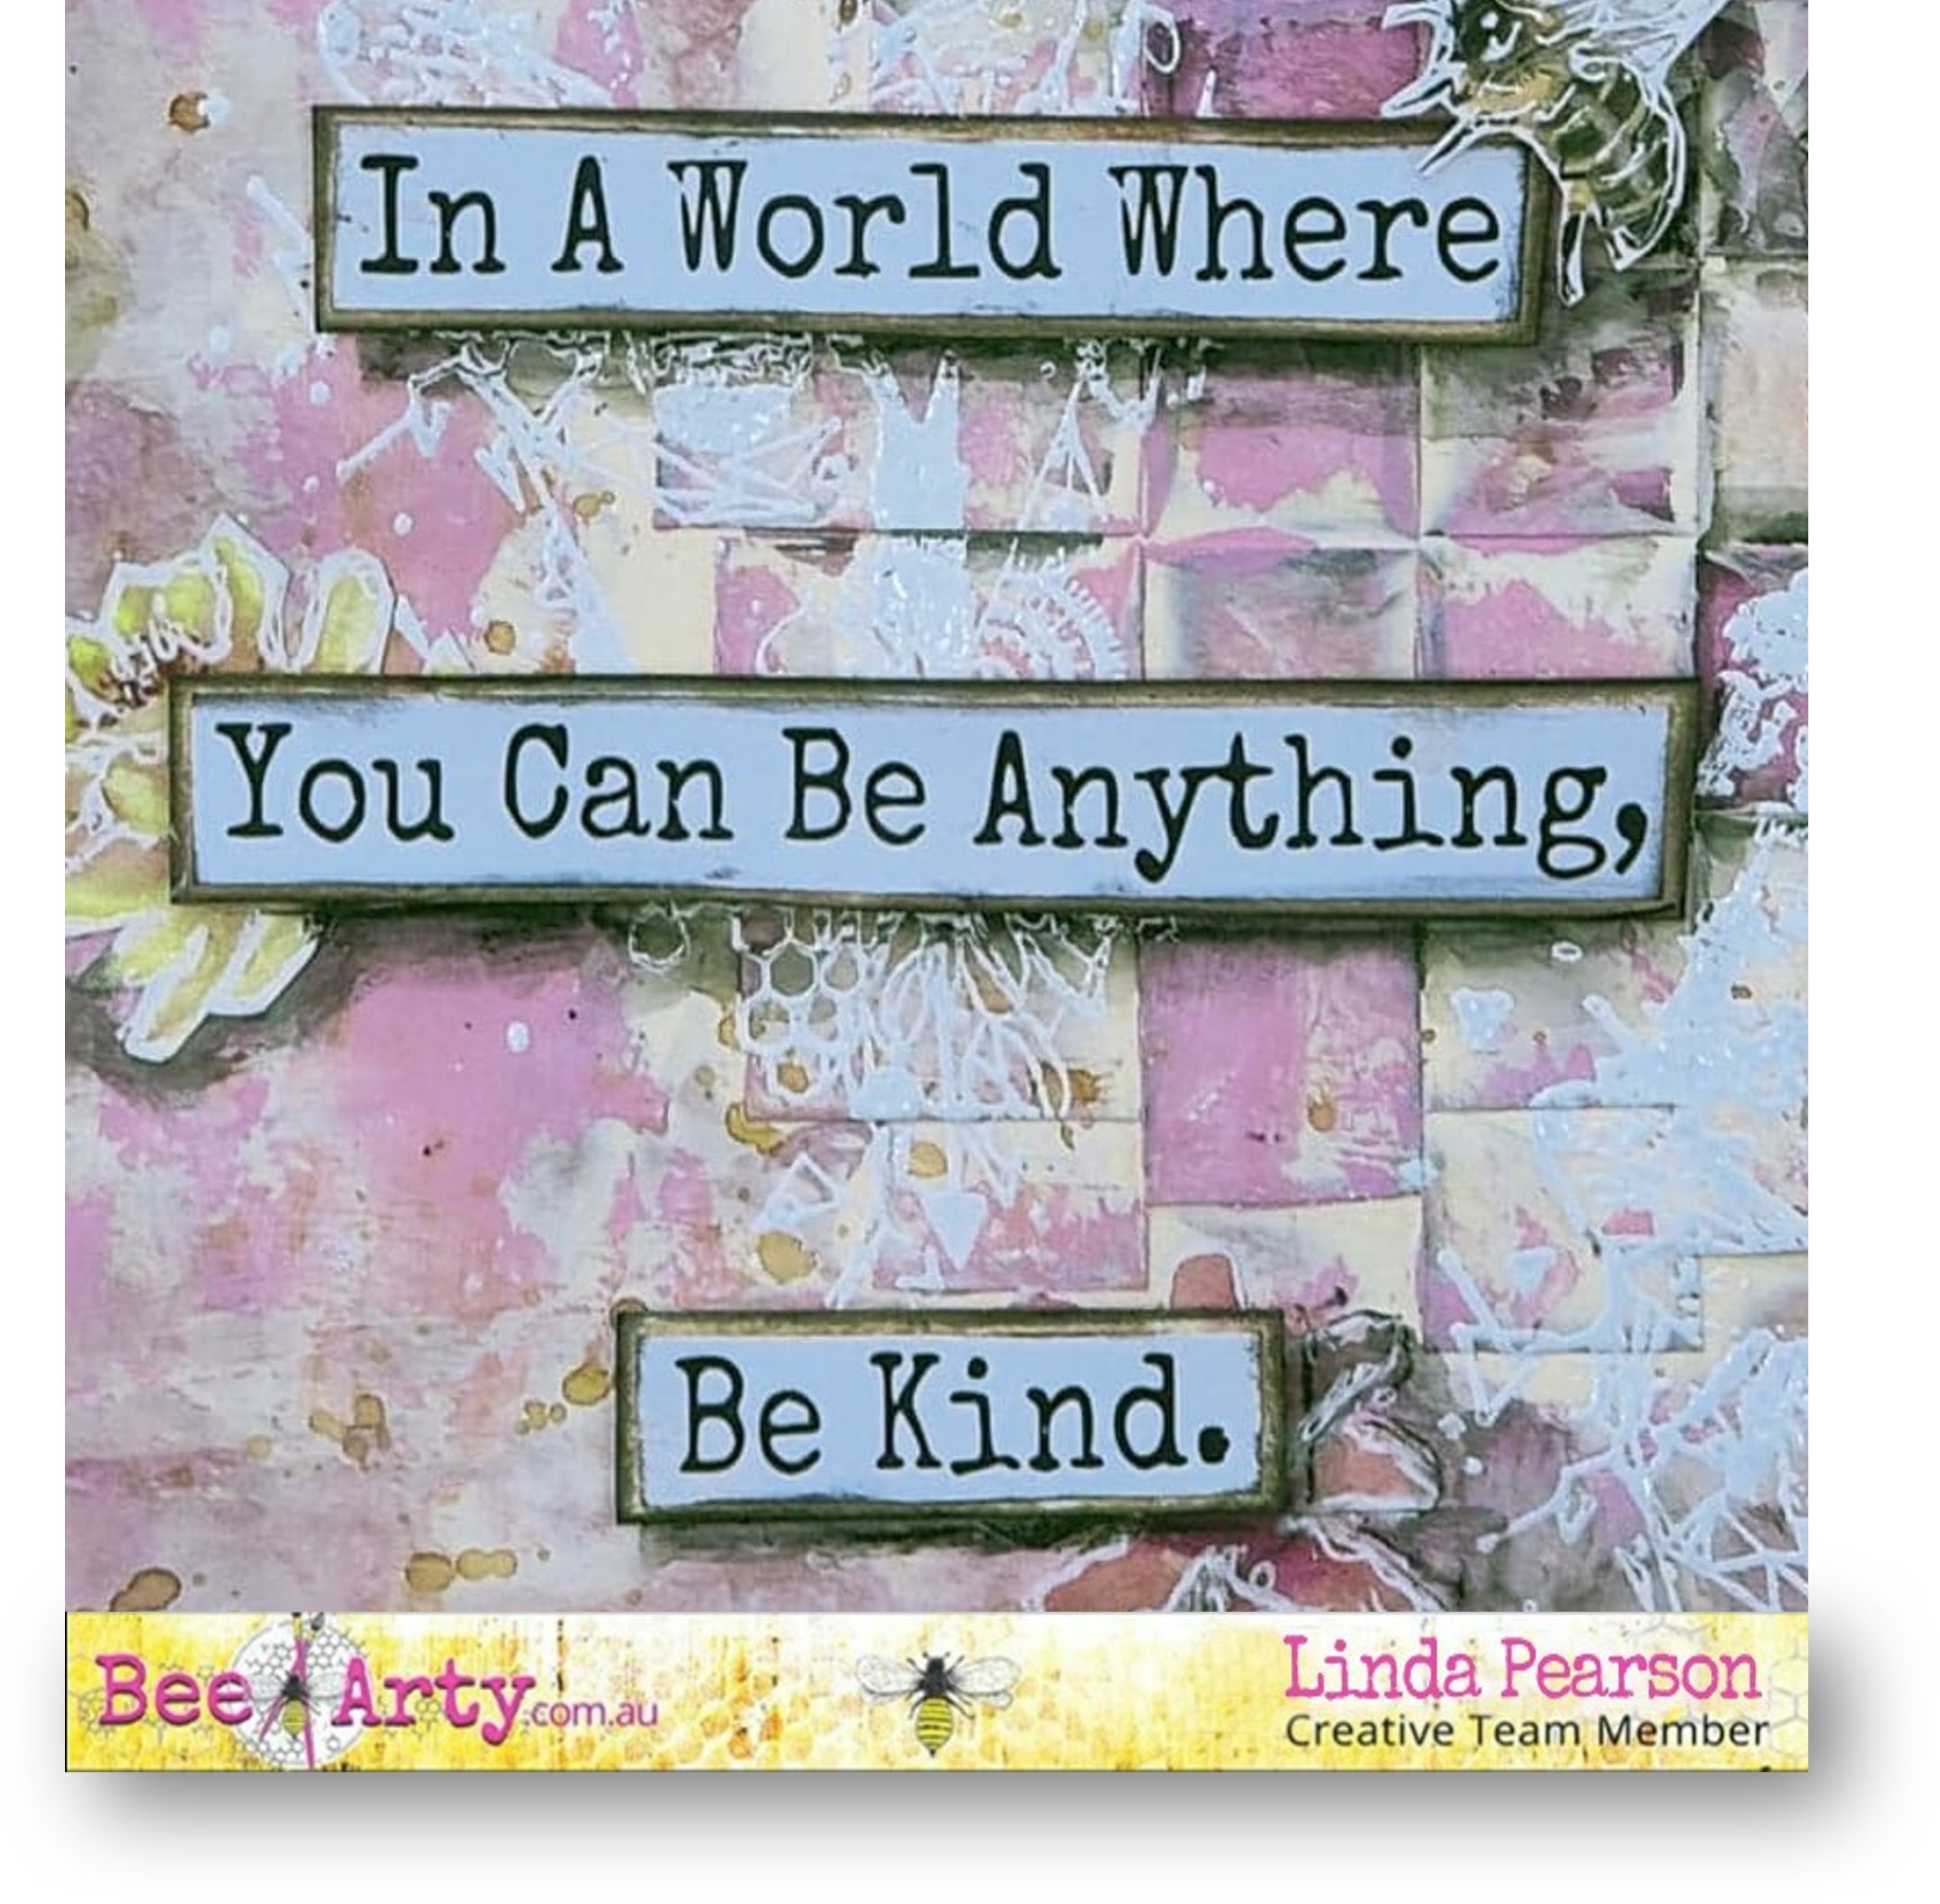
BEE KIND – weaving and cutting journal page

Welcome Crafty Bees to my blog entry today again showcasing the

Bee the Shine collection by Fiona Paltridge.

Today I am presenting another journal page highlighting cutting and weaving techniques in a creative way.


Bee the sunshine collection by Fiona Paltridge.

Bee Garden 12x12 scrapbook paper (weaving)

Honey 12x12 scrapbook paper (B side of word sheet)

Kindness 12x12 scrapbook paper (tag sheet)

Sunny days 12x12 scrapbook paper (coloured cut out sheet)

Find your way clear stamp set

CB Artist Ink – Barley

CB Embossing Powder – snow white

CB Heavy White Gesso (preferred)

Versamark Stamp pad translucent

Stabilo ALL black pencil

Catalyst Silicone tool or palette knife

Carnation Pink acrylic paint

Craft Knife with sharp blade / self-mending cutting mat

Mounting Tape, double sided tape and liquid adhesive

White gel pen or paint pen


Weaving card paper


Cut the Bee Garden paper in half vertically.

Cut vertical lines on one of the cut pieces leaving a border of approx 15mm around the edges.

On other piece cut into strips 15mm wide all the way through horizontally (B side paper).

Weave the shorter strips into the main vertical strip (A side of paper) as tightly as possible.

Add masking tape to back-side of weaving to secure.

Distress the weaving by adding Stabilo ALL pencil then blend pencil marks using wet paint brush. 


 Cutting butterfly shape


Using a sharp craft knife, carefully cut around the large (white) butterfly shape on the Honey (B side of word sheet), leaving a border 20-25mm along the right-hand side of the sheet.


 Adding weaving to main paper

Add double sided tape to the back of the weaving strip, then slide the woven strip under the cut section of the butterfly. 


Adding texture to the background

Add a few drops of Barley CB artist ink to the CB Heavy White Gesso and mix to a creamy colour. 

Lift up the cut butterfly section (chock something to keep the paper lifted), loosely spread the gesso mix over the background butting up and over the weaving strip to anchor and blend into the background with a catalyst silicone tool or palette knife.

Dry off thoroughly.


 Add splatters with a watery Barley CB Artist Ink mix around the page (not the large butterfly).


With Carnation pink acrylic paint and catalyst silicone tool, again spread the paint over the background very loosely (to blend the layers together).

 Dry off.

Add detailing to the cut images using White Gel Pen or paint pen.


 Embossing stamped images

Add the Find Your Way stamp to several spots on the page using Versamark embossing ink pad. 

Sprinkle with CB Embossing powder – snowy white, then heat set the powder.

 N.B. the textured surface may interfere with the preciseness of the stamped image.


Adding embellishments


Select appropriate tag from the Kindness (tag sheet) and determine the sentiment to add to the page. 

Cut out selected items.  Adhere some coordinating off cut piece as backing for the wording. 

Distress the edges of the cut-outs with archival ink.

Cut out a range of flowers and bees from the Sunny Days (coloured cut-out sheet). 

Arrange these elements over the page (main flowers on the tag sheet).

Adhere these elements including the lettering to the page using liquid glue or mounting tape. 

Be sure to stagger the placement of these elements to add depth to the page.


Final detailing of the layout


Add mounting tape behind the large butterfly cut-out section, press the image down. 

Use the Stabilo pencil around the outer edge of the large butterfly, 

Blend out the pencil using a wet paint brush to add shadow and depth. 

Repeat the ‘shadow’ process for all the other elements on the page.

Add a border around the outer edge of the page with archival ink and loosely drawn lines with white gel pen or paint pen.


 I hope you have enjoyed the processes I have highlighted here and you are inspired to create your very own journal page using the weaving elements.

Cheers from Linda Pearson

linda@yourcreativepalette.com.au


Friday, 17 September 2021

Hello Weekend Adventure by Charmane Koch

 Hey guys! Happy Friday! I love Fridays.... because that means WEEEKEND!

Since the horrid "Covid" Ashan & I have started going on Date Nights & possibly stay the night somewhere else - of course not too far away! I created a layout of us, I still need to do the rest of the weekend! haha!

This layout I have created using a mix of Road Trip papers and some Bee Arty dies that I think matched well with the papers!

I started off with this gorgeous paper for the background - Open from the Road Trip Range... How gorgeous is this paper? I didn't even want to USE it! All the papers are just beautiful!


This reminded me of the Metal Die Arrow - "Seeker" from the Follow your Dreams Range & also the stamp from the Fearless Brave & Free Collection....

So I decided to cut out the Seeker Die twice using the Breathtaking Road Trip Paper. I also cut out the word Adventure from the Road Trips Word Die & decided I needed more layers so also cut out the Honeycomb Metal Die from the Love & Grace Collection.

To create the stamped effect I have mixed Heavy White Gesso with Polar Mica Powder to create a light blue paste that matched really well with the paper, as I wanted it to blend in, but still be seen.


I dabbed with a sponge dauber gently on the stamp - I must admit I did test it out on a spare bit of paper to make sure it worked!

I have layered papers tearing some and distressing others to create lots of texture on my page, also adding the Honeycomb Die in different layers of the paper too.

Here are some extra closeups...


I finished off with some machine stitching & a few extra embellishments from my stash... and of course journalling!

Here is the final outcome...


I hope I have inspired you to have a play with the Road Trip Collection & maybe mix it up with different Dies & try out the stamping technique too!

Happy Creating Everyone!


XO Charm