Showing posts with label Art Journal Page. Show all posts

Saturday, 11 February 2023

Steampunk Art Journal I Tutorial I Mixed Media I Sunila Mahajan

 Hello Bee Arty Lovelies,


Hope you are all doing well! Today, I'm sharing a pictorial with you all. I'm creating a steampunk vibe journal page in my art journal . 

Here's a look at the page:


Let's dive right in into creating this!

Step 1- Choose a stencil and apply colour paste through it. This instantly adds colour and texture to the page. On such a page I usually like to have a big composition on one part of the page and little cluster opposite that. That's how I decide where I want the texture to begin within.


Step 2- To add more texture, pick a background stamp and stamp with ink. Now black ink always works, however since I had a steampunk page in mind, I used brown ink.


Step 3- Choose dies that'll go with the theme of the page, and die cut these to add as embellishments and layers to create the composition clusters.


Step 4- Fussy cut elements from the paper collection to go with the theme, and start arranging the elements to form the two clusters.


Step 5- As always, add words/phrases to add meaning to the page. I also added splatter with mica powders mixed with water and Artist Inks.


Here are some close ups of the completed page:


I hope you enjoyed this! Follow me on Instragram (@sunilamahajan) for more inspiration!

Supplies used:


Monday, 12 September 2022

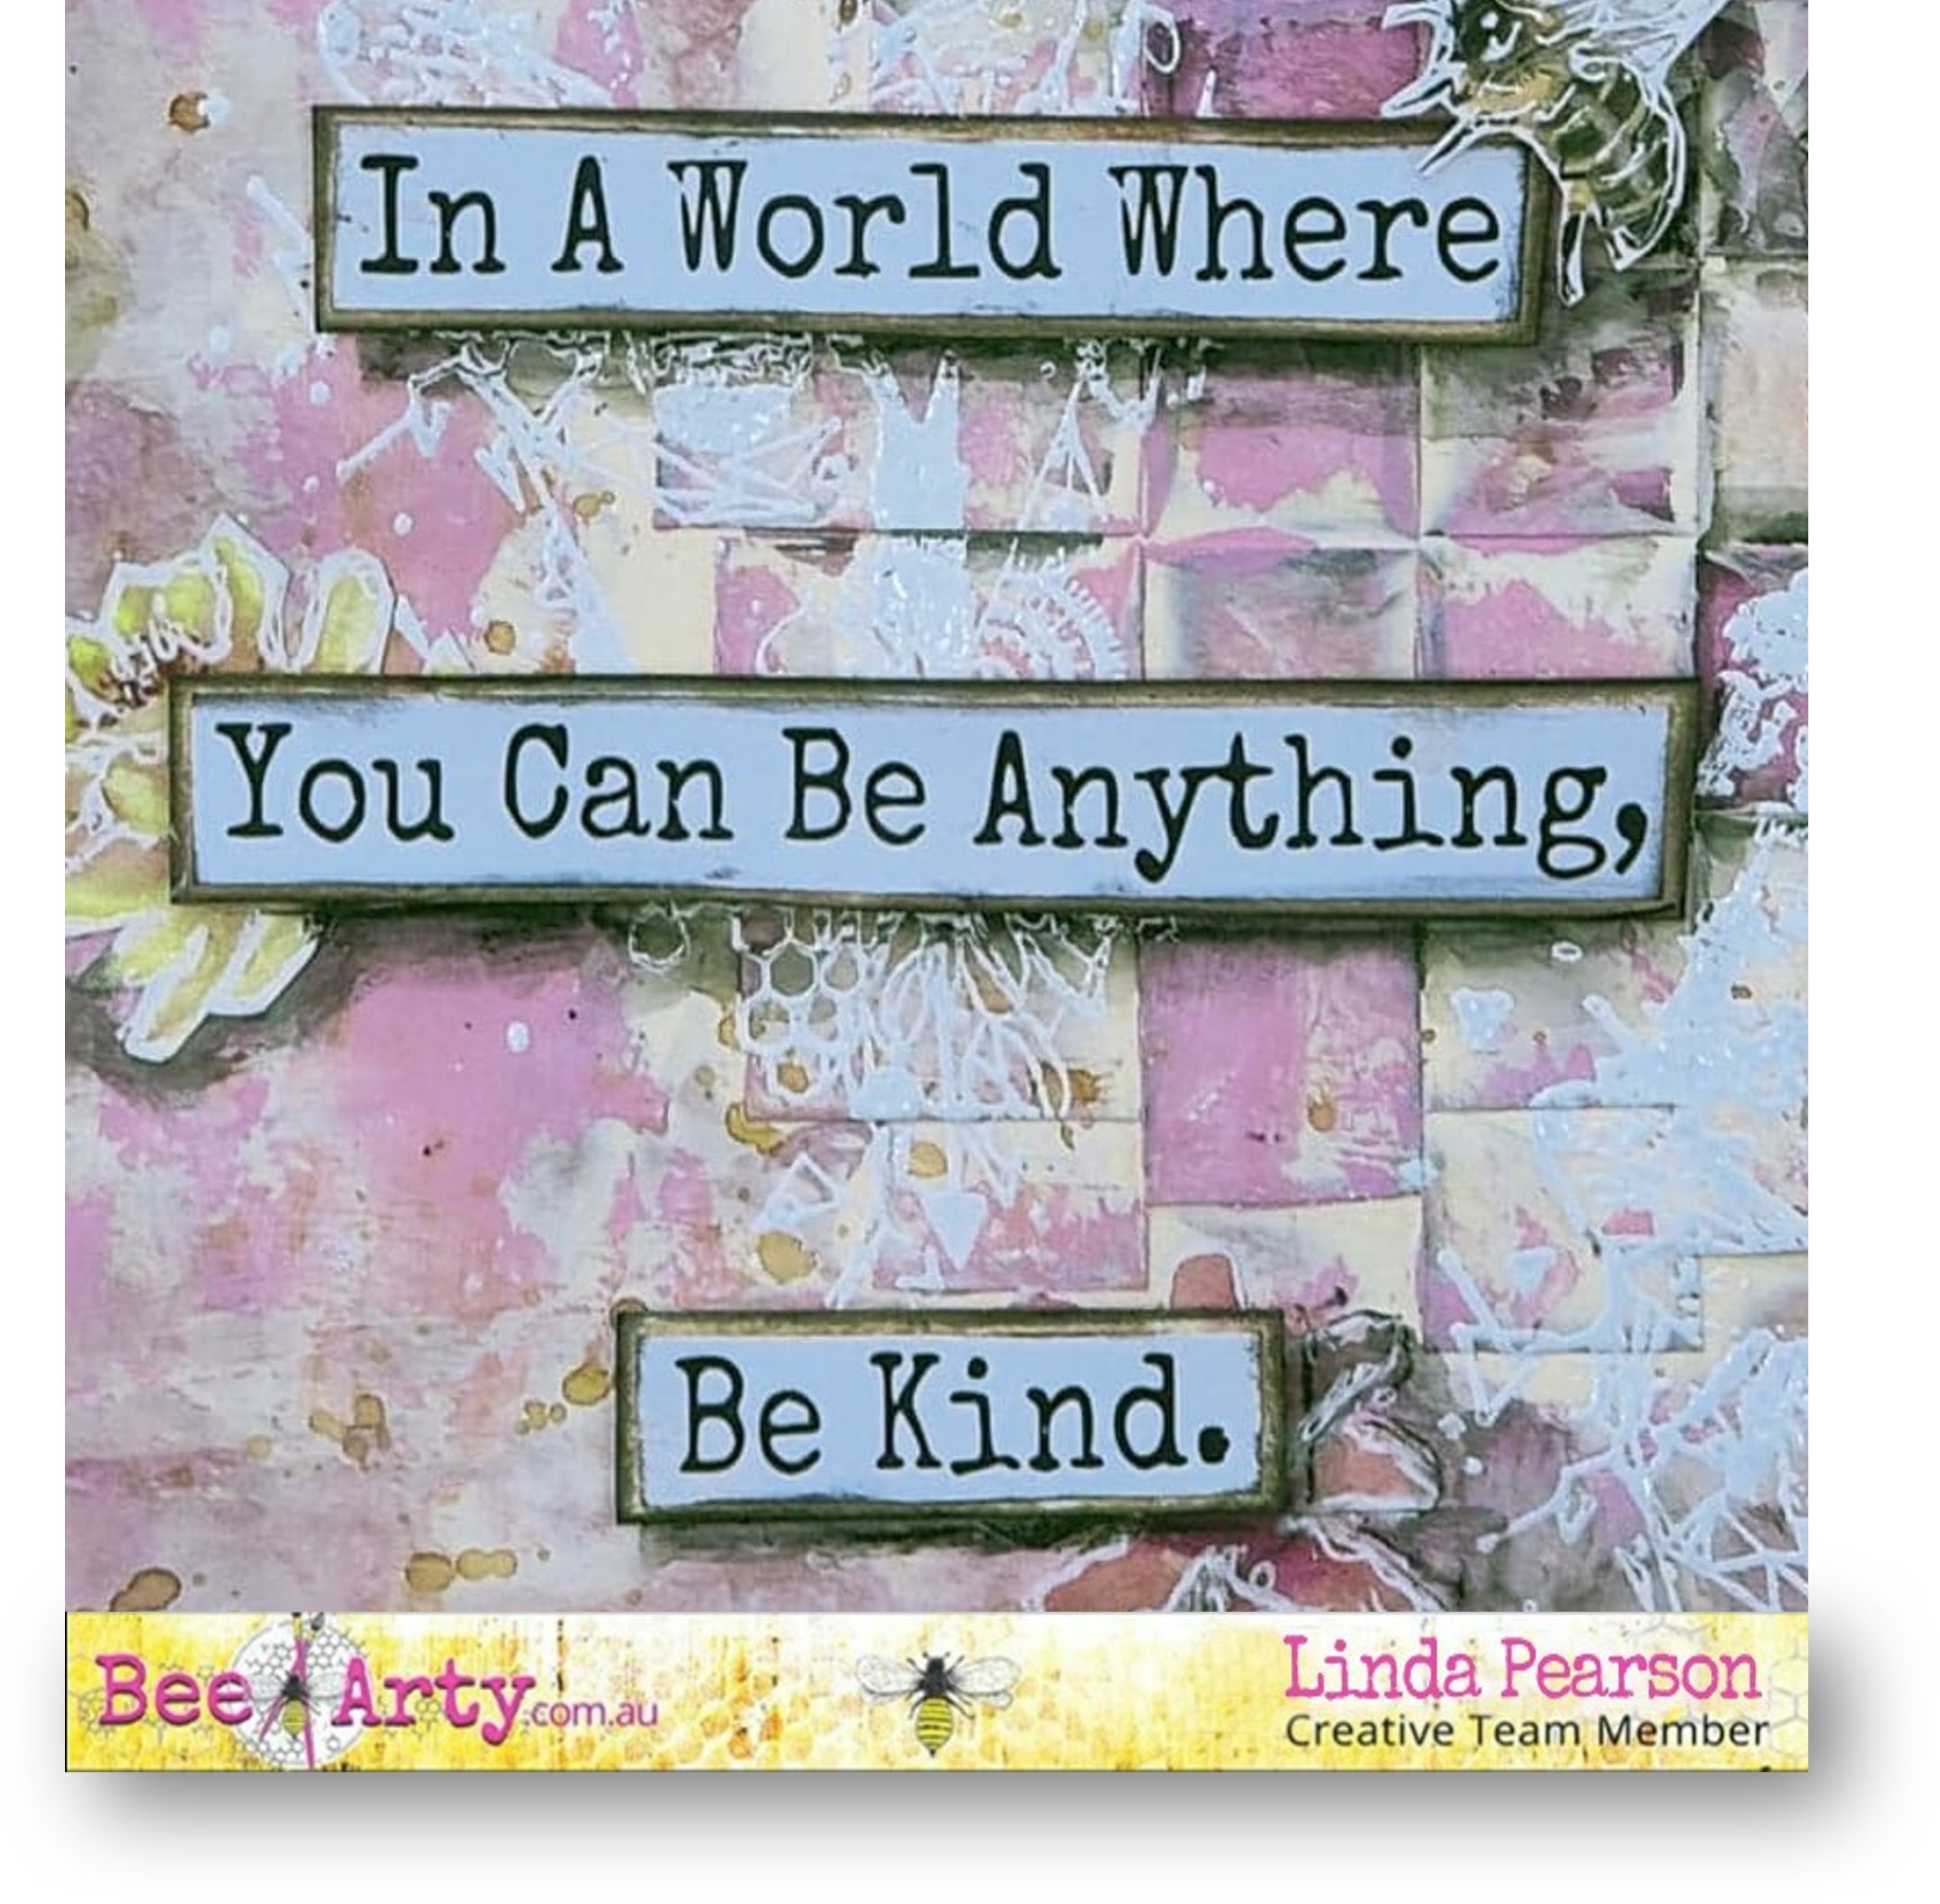
Bee the sunshine in someone's life! an inspiration piece by Linda Pearson


Hi all … I am just popping in to share an inspiration piece using some of the off-cuts and left-over elements from the amazing Bee the Sunshine collection by Fiona Paltridge.


Bee the Sunshine Paper Collection Pack

Bee Garden 12x12 scrapbook paper

Bee to a flower  12x12 scrapbook paper

Pretty fields 12x12 scrapbook paper

Sunny days 12x12 scrapbook paper

Find your way clear stamp set

Flower garden A4 stencil

Shimmer dust – assorted colours

Embossing powder – Black

Versamark Stamp pad translucent

Black Archival Ink and blending tool

Mounting tape and double-sided tape


¨     This piece was made to fit into a Dina Wakely denim journal and placed onto a cream hessian page.

¨     Off-cuts from both coloured and black and white cut-out sheets were collected and sorted for composition of the elements.

An off-cut strip from the Bee to a flower  12x12 scrapbook paper  a pink mix of texture paste was spread through the Flower garden A4 stencil.


¨     Use an off-cut from the Pretty fields 12x12 scrapbook paper is cut to fit the journal page. 


¨     Use white gel pen to outline the floral images.


¨     Add splatters over the off-cuts pieces using Tan Shimmer dust.


Stamp the Find your way clear stamp set onto white cardstock using Versamark Stamp pad translucent sprinkle the card with Embossing powder – Black then heat set the powder with a heat gun.


¨     Colour the embossed stamp with watery mixes of various colours to suit the stamped flowers, leaves etc with Shimmer dust.  Cut the shape out when dry.


¨     Cut the sentiment card … add some extra words to the card with black pen.

¨     Distress all the elements with black archival ink.


¨     Arrange all the elements onto the Pretty fields 12x12 scrapbook paper backing card.  When satisfied with composition adhere with double-sided on the carded pieces, liquid adhesive on floral elements then mounting tape over the embossed shape.


I hope you have been inspired to use up some of those bits and pieces from this and other Bee Arty collections … thanks for stopping by and look forward to creating with you again soon.


Cheers from Linda Pearson

linda@yourcreativepalette.com.au

Saturday, 13 August 2022

Create to Inspire, an Art Journal Page by Sunila Mahajan

 Hello Bee Arty Lovelies,


Hope you are all doing well! I'm back on the blog today with my favourite, mixed media art journal page. I truly enjoy the freedom it gives me to create and in turn inspire you all. It also always gives me an opportunity to be inspired myself. 

On that note, here's a look at the page.


Rich, luscious colours, textures and elements! I love how vibrant this turned out! I played with the Artist Inks for the background. 


I've added texture paste with a stencil and then some black stamping to create depth and textures.


I've cut my focal Paintbrushes several times and glued them together to create that depth making them look 3 dimensional. I've added sisal underneath them, giving it texture and contrast from the background.


I stamped, coloured and fussy cut the butterflies to add them on to my page. I completed it with splatter and sequins. 


Such a fun vibrant page to create! I called this instant happiness!

Supplies used:


Have a great Day!
Hugs,
Sunila


Monday, 1 August 2022

You were meant to STAND OUT! By Linda Pearson


 Moonshadows paper collection pack

Garden blue 12x12 scrapbooking paper

Dragonfly dance 12x12 scrapbooking paper

Favourite 12x12 scrapbooking paper

Borderline A4 stencil

Eclipse 12x12 scrapbooking paper

Celebrate banner clear stamp set

Versamark Stamp pad translucent

Embossing powder – Purple sparkle

Calypso Teal shimmer paint

Silicone sponge

Purple paint pen

Foam Tape

Teal archival ink pad

Blending tool and foam tip


Cut the Favourite 12x12 scrapbooking paper to A4 size.

Pounce Teal paint through the floral section of the Borderline A4 stencil with a silicone sponge.

Outline the stenciled area with purple paint pen.


Add the star stamp from the Celebrate banner clear stamp set using Versamark Stamp pad translucent, sprinkle with Embossing powder – purple sparkle and heat set, add to top and bottom of page.


Cut circle shapes of different sizes from the Garden blue 12x12 scrapbooking paper

Dragonfly dance 12x12 scrapbooking paper

(3 large and 4 smaller circles).  Distress the edges with Teal archival ink and blending tool.

From the Eclipse 12x12 scrapbooking paper fussy cut out several flowers and butterflies.


Assemble all the circle elements to the page using liquid glue. 

Add the cut-out elements (flowers and butterflies) with foam tape. 

Glue the sentiment words to the page.

Distress the border with Teal archival ink and draw lined border with purple paint pen.


Thank you for stopping bye and look forward to sharing with you next time.


Bye for now from Linda


linda@yourcreativepalette.com.au


Saturday, 2 July 2022

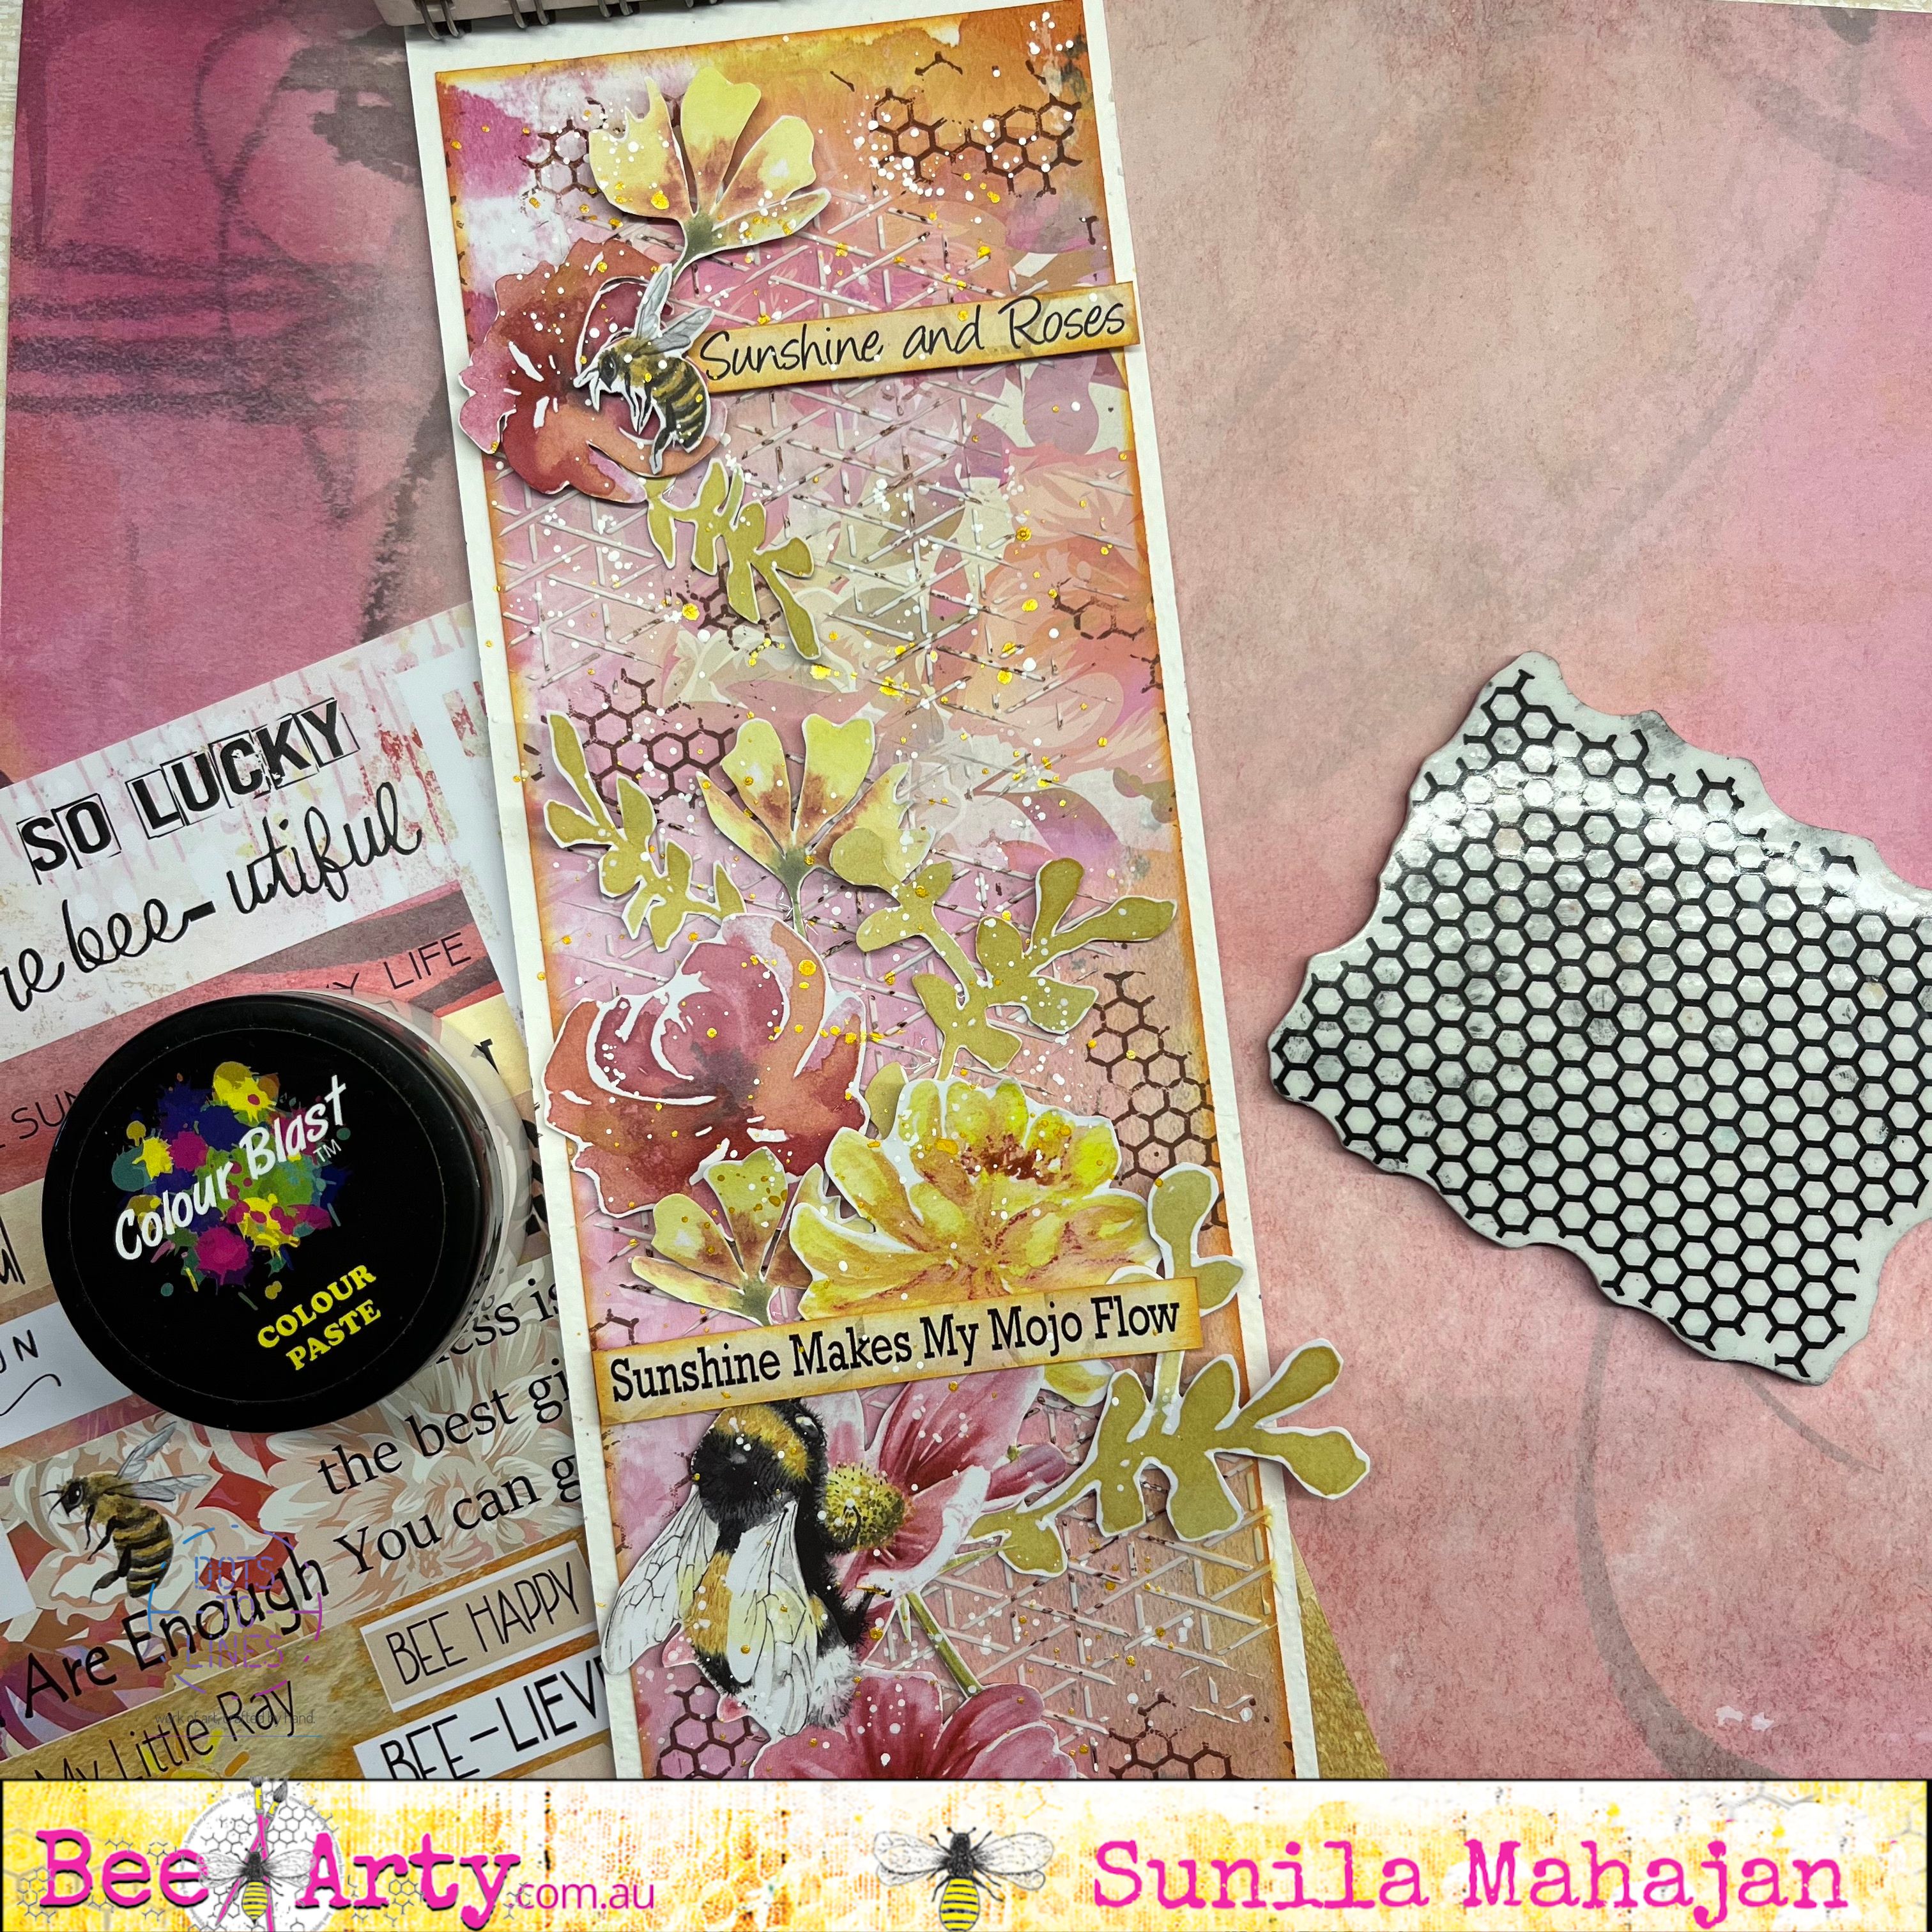
Sunshine and Roses Journal Page by Sunila

 Hello Bee Arty Lovelies,


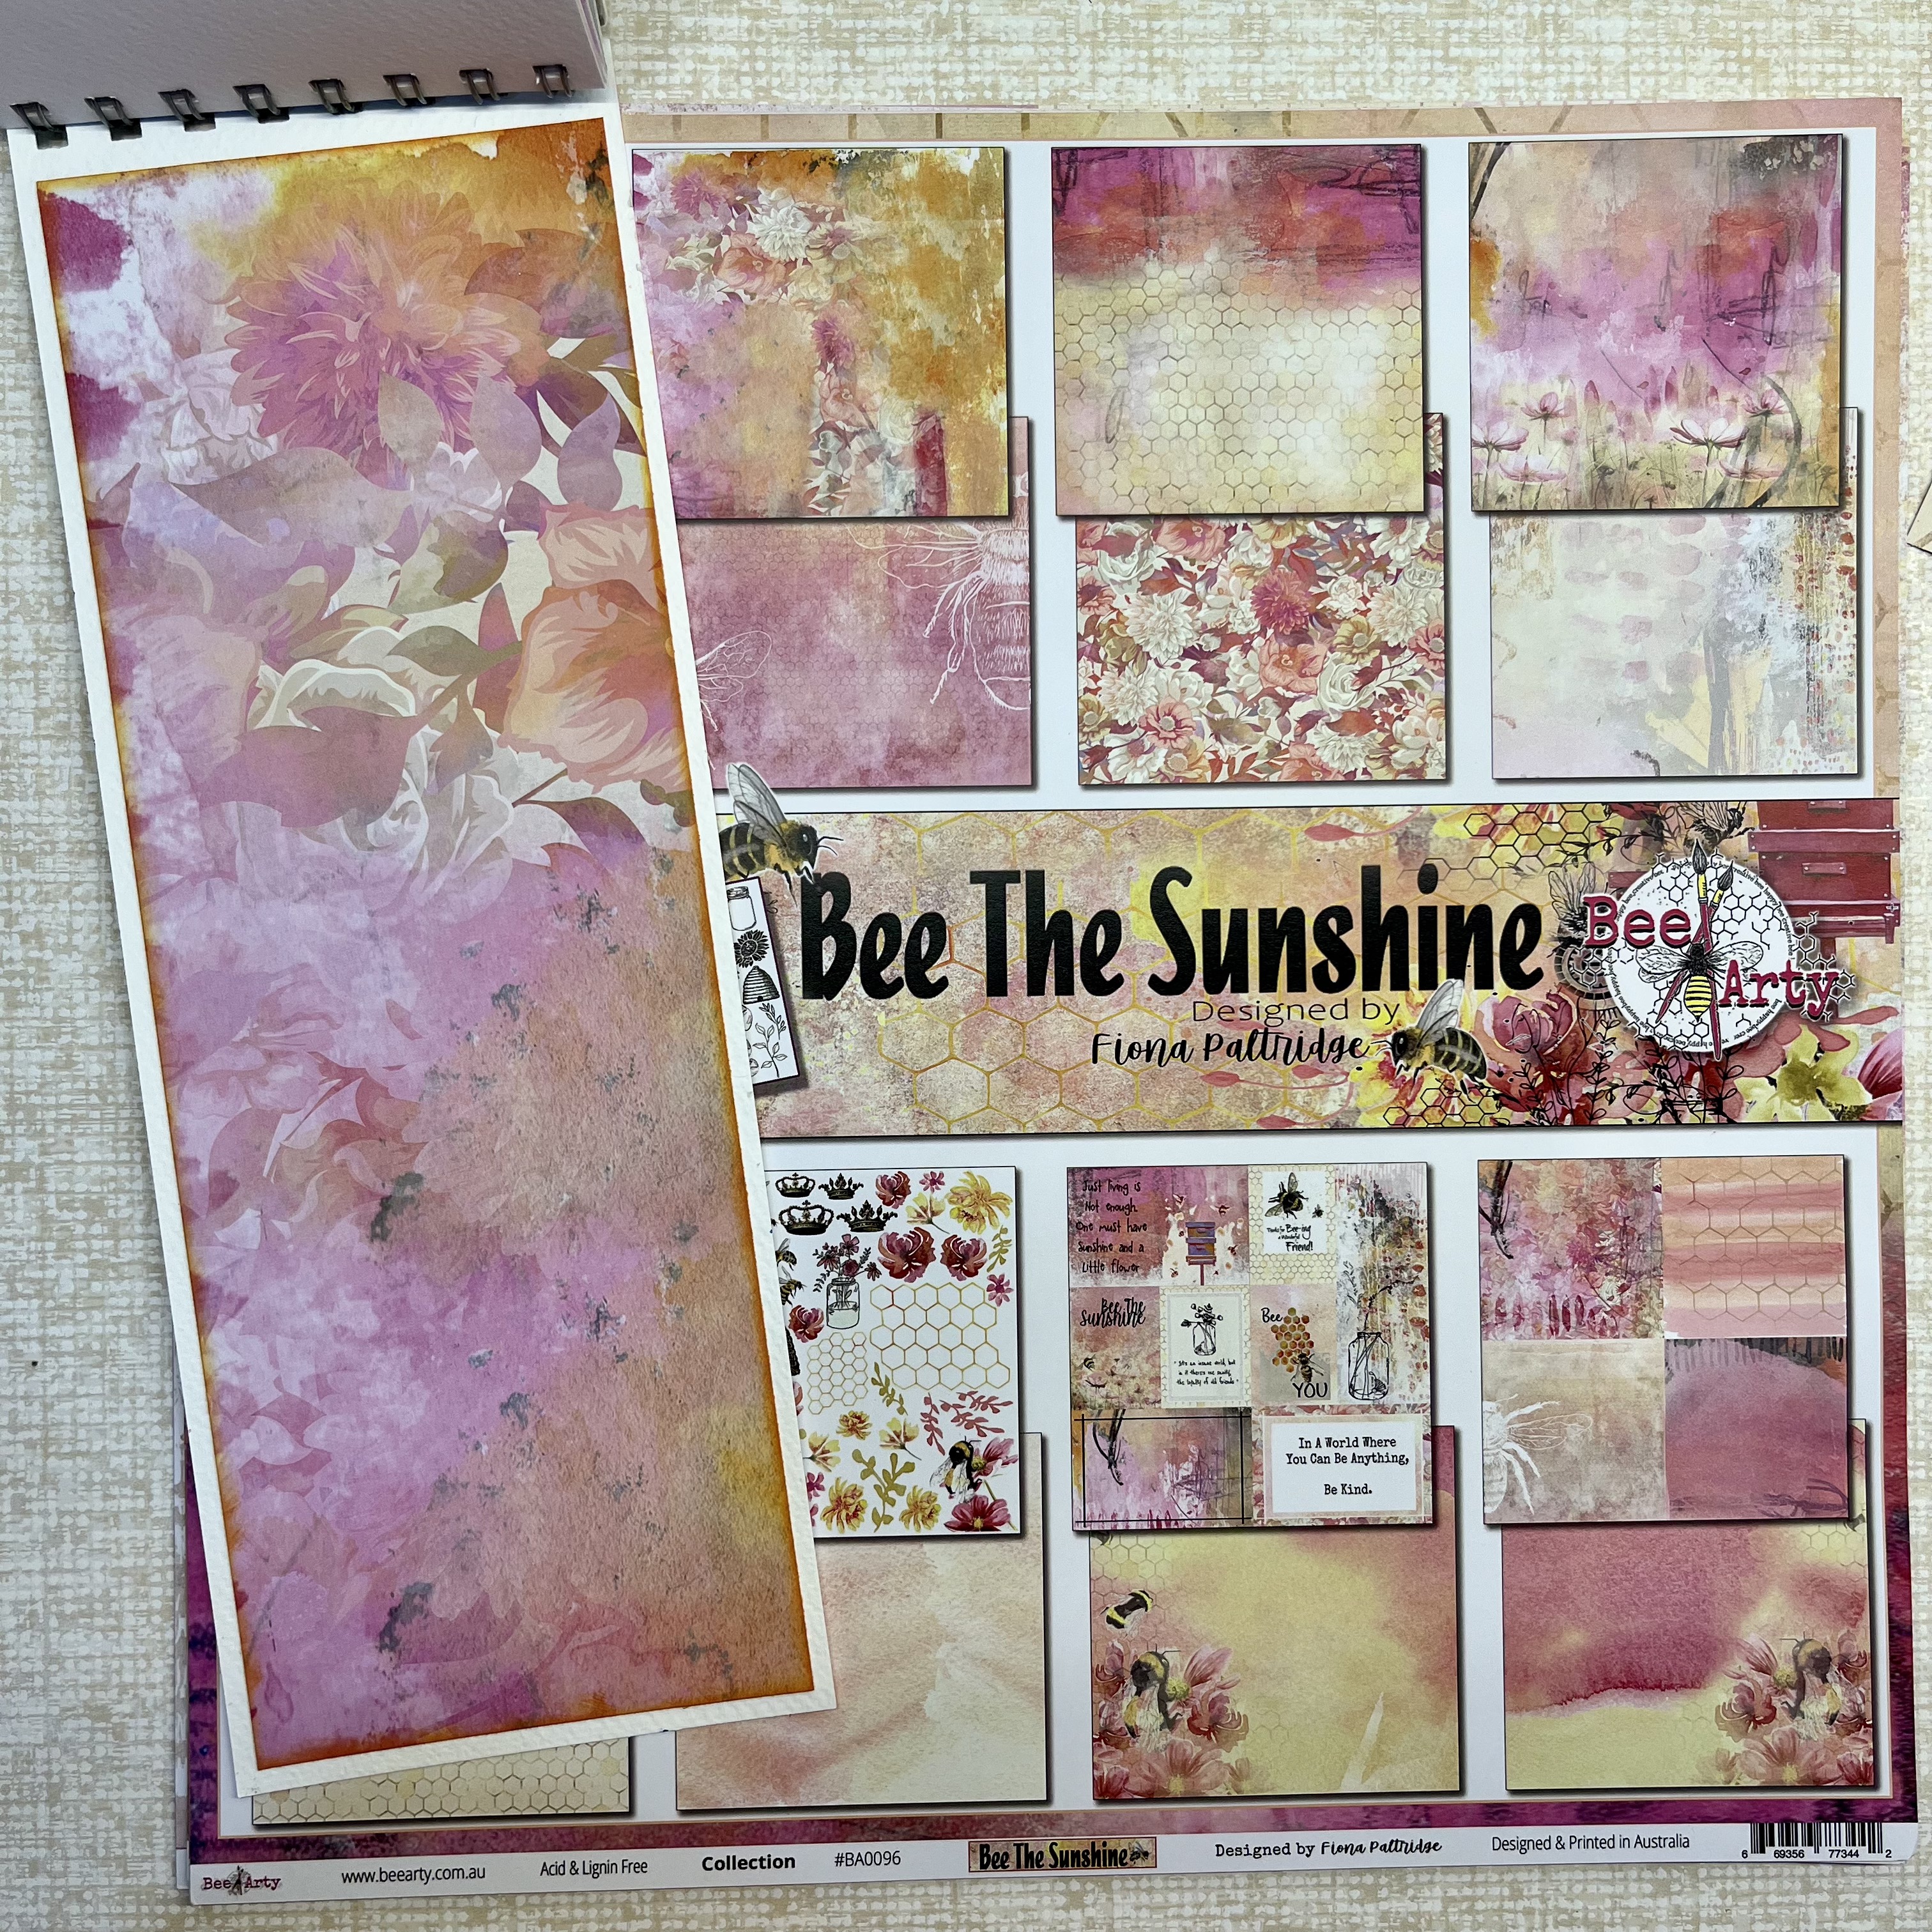
Today I'm back with a pictorial for you all! This time, I'm sharing a mixed media style journal page with simple easy steps using the Bee The Sunshine Collection. 

This collection is fun and vibrant, just what I enjoy when creating. So get your scissors out, and start fussy cutting all the lovely elements.

Here's a look at the page.


Step 1- Cut a piece of pattern paper from the collection depending on the size of your journal. I usually like to leave an 1/2 inch border on all sides. Distress the edges of the paper and adhere it down in the book. 


Step 2- Apply White Paste through a stencil randomly on the page.


Step 3- Add texture, with a background stamp and inks. Black inks and coloured inks that go with the existing colours, work well for this. I've used a shade of Brown. 


Step 4- Pick out all the fussy cut elements from the collection, and layer them on the page. Stick some flat down and some with foam tape, bringing in dimension,


Here's a look at some close-ups:


Supplies used:

Bee Arty Collection- Bee The Sunshine

Rhythm Stencil

Memories Rubber Stamp

Snow White Colour Paste


Hope you enjoyed this tutorial!

Hugs,

Sunila


Monday, 6 June 2022

BEE KIND – weaving and cutting journal page

Welcome Crafty Bees to my blog entry today again showcasing the

Bee the Shine collection by Fiona Paltridge.

Today I am presenting another journal page highlighting cutting and weaving techniques in a creative way.


Bee the sunshine collection by Fiona Paltridge.

Bee Garden 12x12 scrapbook paper (weaving)

Honey 12x12 scrapbook paper (B side of word sheet)

Kindness 12x12 scrapbook paper (tag sheet)

Sunny days 12x12 scrapbook paper (coloured cut out sheet)

Find your way clear stamp set

CB Artist Ink – Barley

CB Embossing Powder – snow white

CB Heavy White Gesso (preferred)

Versamark Stamp pad translucent

Stabilo ALL black pencil

Catalyst Silicone tool or palette knife

Carnation Pink acrylic paint

Craft Knife with sharp blade / self-mending cutting mat

Mounting Tape, double sided tape and liquid adhesive

White gel pen or paint pen


Weaving card paper


Cut the Bee Garden paper in half vertically.

Cut vertical lines on one of the cut pieces leaving a border of approx 15mm around the edges.

On other piece cut into strips 15mm wide all the way through horizontally (B side paper).

Weave the shorter strips into the main vertical strip (A side of paper) as tightly as possible.

Add masking tape to back-side of weaving to secure.

Distress the weaving by adding Stabilo ALL pencil then blend pencil marks using wet paint brush. 


 Cutting butterfly shape


Using a sharp craft knife, carefully cut around the large (white) butterfly shape on the Honey (B side of word sheet), leaving a border 20-25mm along the right-hand side of the sheet.


 Adding weaving to main paper

Add double sided tape to the back of the weaving strip, then slide the woven strip under the cut section of the butterfly. 


Adding texture to the background

Add a few drops of Barley CB artist ink to the CB Heavy White Gesso and mix to a creamy colour. 

Lift up the cut butterfly section (chock something to keep the paper lifted), loosely spread the gesso mix over the background butting up and over the weaving strip to anchor and blend into the background with a catalyst silicone tool or palette knife.

Dry off thoroughly.


 Add splatters with a watery Barley CB Artist Ink mix around the page (not the large butterfly).


With Carnation pink acrylic paint and catalyst silicone tool, again spread the paint over the background very loosely (to blend the layers together).

 Dry off.

Add detailing to the cut images using White Gel Pen or paint pen.


 Embossing stamped images

Add the Find Your Way stamp to several spots on the page using Versamark embossing ink pad. 

Sprinkle with CB Embossing powder – snowy white, then heat set the powder.

 N.B. the textured surface may interfere with the preciseness of the stamped image.


Adding embellishments


Select appropriate tag from the Kindness (tag sheet) and determine the sentiment to add to the page. 

Cut out selected items.  Adhere some coordinating off cut piece as backing for the wording. 

Distress the edges of the cut-outs with archival ink.

Cut out a range of flowers and bees from the Sunny Days (coloured cut-out sheet). 

Arrange these elements over the page (main flowers on the tag sheet).

Adhere these elements including the lettering to the page using liquid glue or mounting tape. 

Be sure to stagger the placement of these elements to add depth to the page.


Final detailing of the layout


Add mounting tape behind the large butterfly cut-out section, press the image down. 

Use the Stabilo pencil around the outer edge of the large butterfly, 

Blend out the pencil using a wet paint brush to add shadow and depth. 

Repeat the ‘shadow’ process for all the other elements on the page.

Add a border around the outer edge of the page with archival ink and loosely drawn lines with white gel pen or paint pen.


 I hope you have enjoyed the processes I have highlighted here and you are inspired to create your very own journal page using the weaving elements.

Cheers from Linda Pearson

linda@yourcreativepalette.com.au