Showing posts with label rhythm stencil. Show all posts

Saturday, 24 September 2022

Adventure Folio by Sunila Mahajan


Hello Bee Arty Lovelies,

Hope you're all doing well! Sunila here and today I'm sharing an inspiration with you'll.

I've created a quick folio with a mixed media style cover.  This comes handy especially to carry a handy art journal/journal when travelling. It holds papers/notepad, and stationery. 

Here's a look at it:


For a project like this, all you need is a nice pattern paper. With some quick easy folds and cuts, this is an easy DIY project. 

I've added texture paste using a stencils, stamped with ink and added a stamped focal images on the cover to make it all stand out and look interesting. 


Products used:

Pattern Paper- Grateful Heart Collection

BeeArty Colour Paste

Rhythm Stencil

Geo Grunge Stamp

Hydrangea Basket Stamp


Hugs,

Sunila

Saturday, 2 July 2022

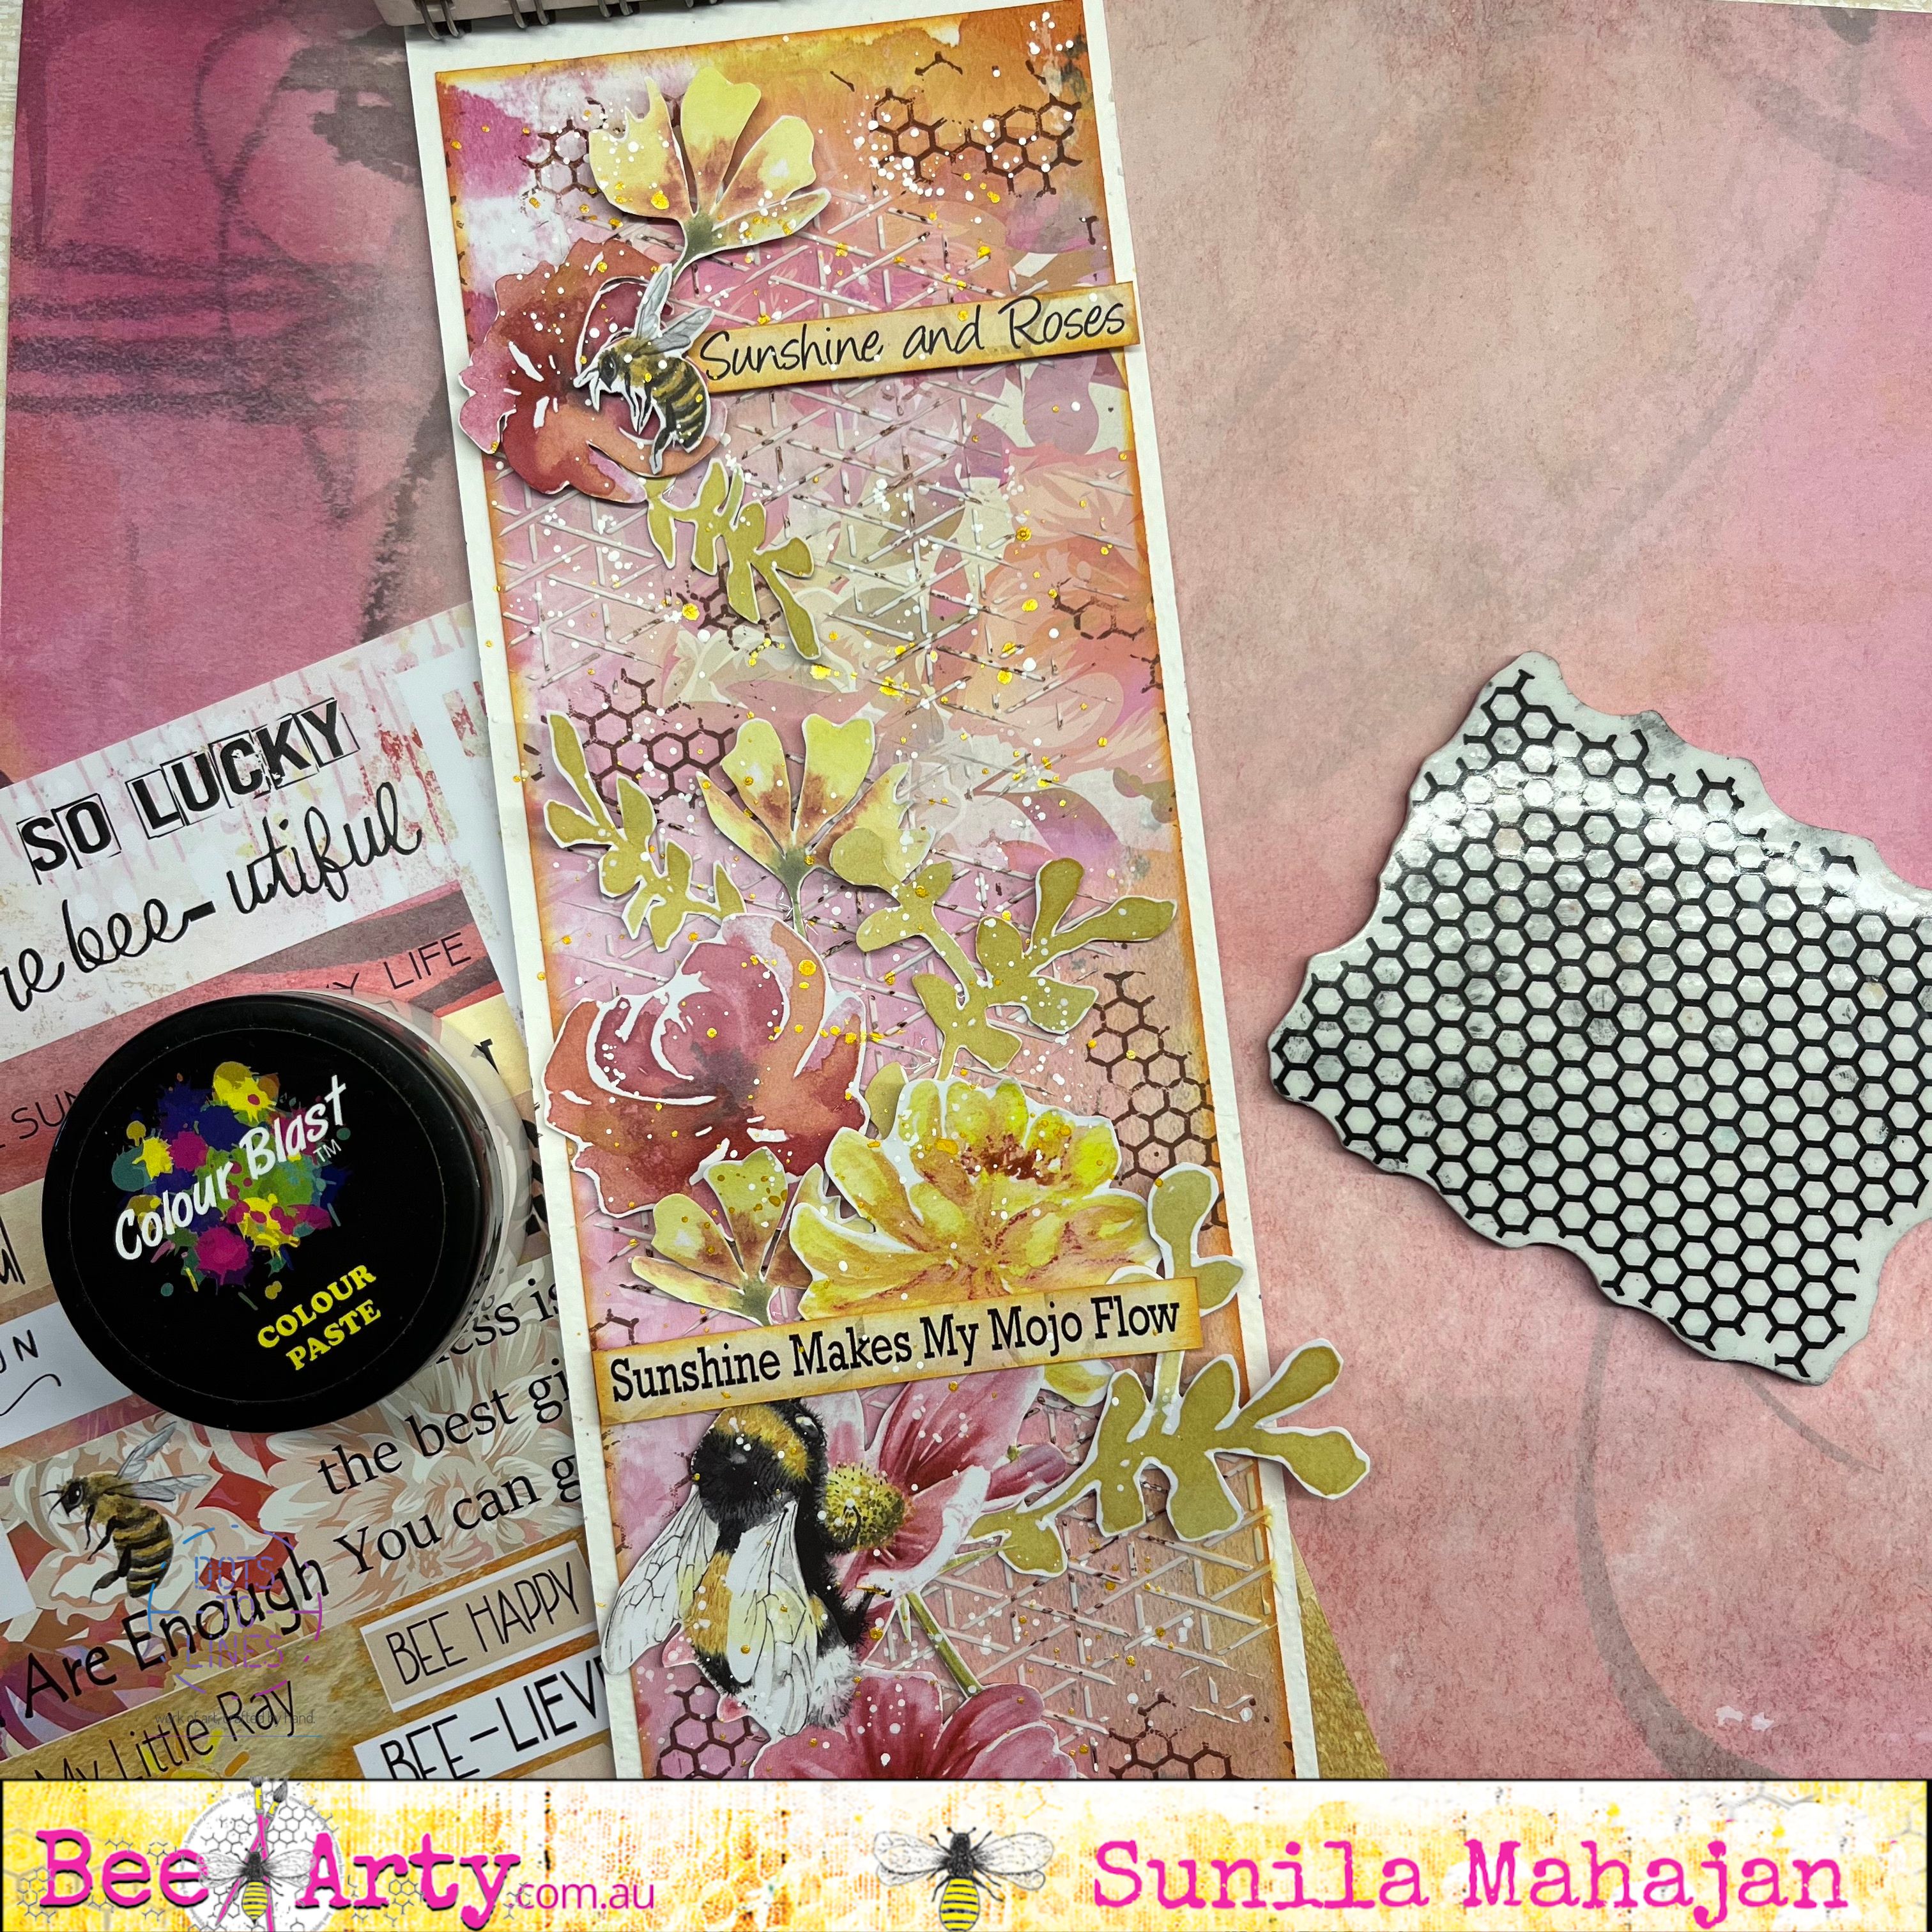
Sunshine and Roses Journal Page by Sunila

 Hello Bee Arty Lovelies,


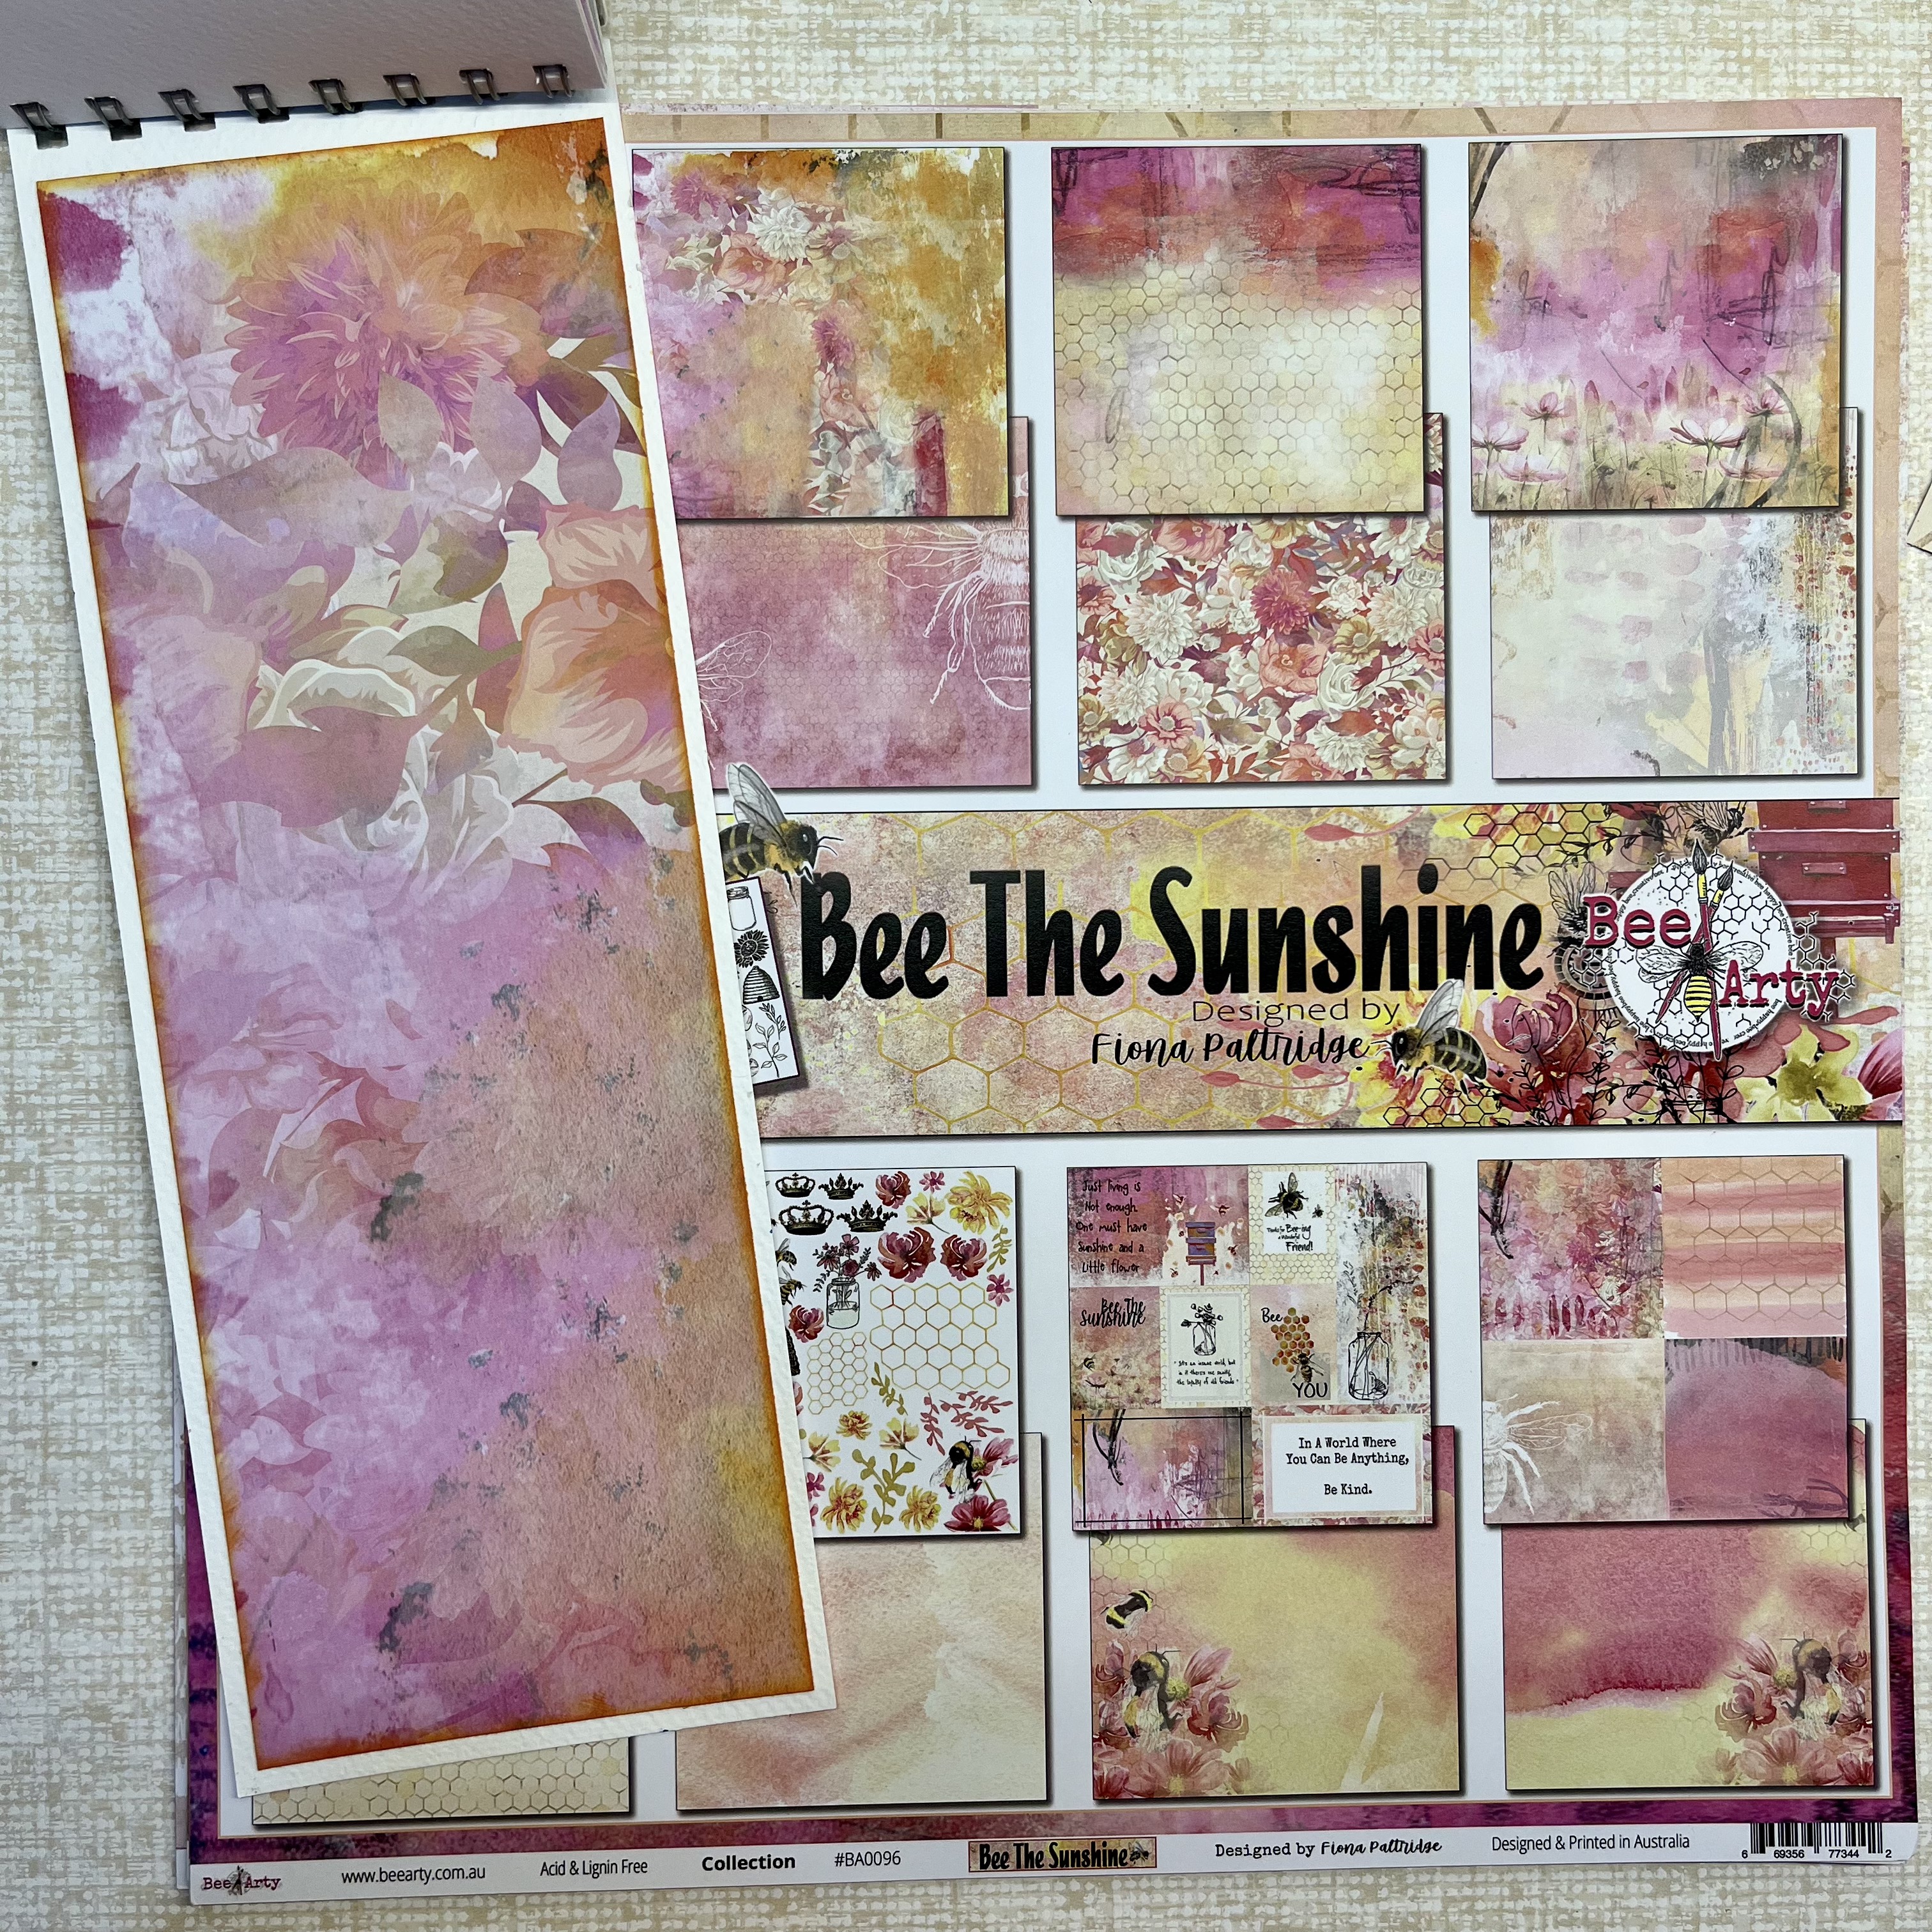
Today I'm back with a pictorial for you all! This time, I'm sharing a mixed media style journal page with simple easy steps using the Bee The Sunshine Collection. 

This collection is fun and vibrant, just what I enjoy when creating. So get your scissors out, and start fussy cutting all the lovely elements.

Here's a look at the page.


Step 1- Cut a piece of pattern paper from the collection depending on the size of your journal. I usually like to leave an 1/2 inch border on all sides. Distress the edges of the paper and adhere it down in the book. 


Step 2- Apply White Paste through a stencil randomly on the page.


Step 3- Add texture, with a background stamp and inks. Black inks and coloured inks that go with the existing colours, work well for this. I've used a shade of Brown. 


Step 4- Pick out all the fussy cut elements from the collection, and layer them on the page. Stick some flat down and some with foam tape, bringing in dimension,


Here's a look at some close-ups:


Supplies used:

Bee Arty Collection- Bee The Sunshine

Rhythm Stencil

Memories Rubber Stamp

Snow White Colour Paste


Hope you enjoyed this tutorial!

Hugs,

Sunila


Saturday, 23 April 2022

Happy Days, Mixed Media Journal page by Sunila

 Hello lovelies,


Sunila here and today I've sharing a mixed media journal page with you all. As you all know, I  art journaling. It  gives me the freedom to play with different products, to experiment a technique, or to try out a new idea, in the space of a page. I enjoy revisiting my pages and flipping through my journals. It helps me understand my growth and progress as well. 

Here's a look at the page:


This page is a simple play with the mica powders for my colour. I've used die cut elements with a photo to create the focal. The background has textures created with a stencil and texture paste, as well as simple background stamping.

Here are some close ups:


Supplies:

Stamps- Wonderful

Hope you enjoyed this!

Hugs

Sunila

Monday, 19 April 2021

Keep Going by Charmane Koch

 Hey Everyone! Hoping your Monday is off to an AWESOME start! I'm guessing some of you will be getting those kids back to school? We still have a week to go, but I LOVE it when my kids are home! No school lunches to worry about, no drop offs & pick ups... just WORK! Ha, ha!

Anyway, today I wanted to share with you my most recent layout loosely based on the April Sketch this month...


I loved all the layering and mix of stamping... so decided to create my background using lots of Bee Arty Stamps & Stencils.

Here is what my base looked like after stamping and stencilling...


I have then added more colour to the page, using similar colours to the Fearless, Brave and Free Confidence paper that I used, Slipper & Oasis in the Artist Inks {with water} and also Polar Mica Powder...


Can you believe I managed to use all of these Stencils and Stamps!
Heres a list of them for you:


And this is the final outcome of my layout...


I finished off the page with doodling around the stencilled images & a bit of machine sewing around the edge of the layout & partially around the photos that I matted using Fearless Brave & Free Strength paper


It was so therapeutic creating the background loosely stamping & stencilling! How much fun it is to play with the fabulous Bee Arty Goodies!

I hope I've inspired you to get out a mix of stamps and stencils and create your own background!

Thanks for popping in!

Have a fantastic week!

XO Charm


Wednesday, 9 December 2020

Shine from within by Linda Pearson

 Hi everyone,  This is my first time posting as a creative team member.  

I have created an art journal page with lots of layers and fussy cutting using a variety of Bee Arty products.  Enjoy! 😉

The following image highlights the Bee Arty products used.


General materials List:

journal book or scrap book page, gesso, paint colours; blue (background), magenta/white, leaf green, payne's grey/white, wet wipes, paper towel, brushes and palette knife, paint wedge or credit card, blending tool or foam sponge, foil card (white and light green) and adhesive.

Bee Arty products:


White cardstock  12" x 12" 350gsm x 1 sheet

My Lady – A4  Stencil Forever my always range

Within 12" x 12" scrapbooking paper  or choose an alternative sentiment for page

String Wreath – Metal Die   Love and grace collection

Bird Talk Metal Die   Spread your wings collection

*Distressed Wings stencil is no longer available.  Alternative options for background stencil:

Rhythm Follow your dreams range

Triangles Forever my always range

Colourblast Paste  -   Envy, Rose Petal and Singing the blues

Dorland’s wax medium


Surface preparation:

Apply a layer of White Heavy Gesso over page, dry off.

Apply light blue background colour over the page, dry off.


Using the *distressed wings (or alternative) stencil rub White Heavy Gesso through the stencil using a blending tool or foam sponge.


Using the same *distressed stencil (or alternative) stencil apply Colourblast Paste - singing the blues through the stencil randomly over the page, allow to dry.


Mix a touch of white paint into payne's grey to lighten a little, then using the artist's wedge (or credit card) dipped in paint add random broken lines over the surface and border also, dry off.


Using a blending tool and black archival ink rub the ink with blending tool through the stencil onto the White cardstock.  Please note: only use the floral sprays (tape off the lady's face with masking tape) in the print.  Try to fit 2 onto the one sheet of White cardstock.


Painting the flowers; use 2 shades of leaf green paint to loosely fill in leaves.  
Please note: I painted up 2 coloured sprays of flowers and left one spray of flowers with no colour.  
Paint the flower petals in 2 shades of light magenta as base colour.  Allow to dry.


With a brush load up some Colourblast Paste in Envy add thick texture to the leaves with the paste.  Repeat for the flower petals using Colourblast Paste in Rose Petal, apply loosely and thickly over parts of the petals allowing some of the background colour to show through.  Allow to dry.


Fussy cut the sprays of flowers as closely as you can (I chose to leave a tiny white outline around the shapes so I didn't have to highlight the shapes later on).  


Cut shapes using the die cuts 
String Wreath – Metal Die from the foil card (2 from each colour).
Using off cut from centre of wreath die cut out the Bird Talk Metal Die (you may not use all the diecut shapes, depends on the size of your page.

For this page I cut some of the words from the Within scrapbook page ... but you may choose to use your own sentiment.


Layout all the cut out sprays of flowers, string wreaths, birds and words onto page.  Arrange the layers to your taste.  I cut a couple of the leaves off and did not use one of the coloured sprays and a white string wreath.  Again it depends on the size of your page to determine how much you use.
When you're happy with layout, adhere all the elements onto the background page.

Finally,  apply a little Dorland’s wax medium over the areas with Colourblast Paste this help to protect your artwork from sticking to other pages.