Showing posts with label white cardstock. Show all posts

Tuesday, 12 July 2022

Just A Kitchen Dance Party by Charmane Koch


Happy Tuesday everyone! Today I am sharing with you a layout I created using a mix of Dies and Gold Mirror Board & Pink & Purple Shimmer Dusts from Bee Arty, it's amazing how many variants of colour you can get just from a couple of Shimmer Dust colours - depending on how much water is added.


I cut out a few different dies with Gold Mirror Board & white cardstock - Beaded Die, Desire Metal Die & Party Metal Die.  


I coloured the White Cardstock Dies with a mix of Lollipop & Passion Shimmer Dusts.


I also coloured a Charms Creations DIY Heart using the same mix of colours. I used the same colours for the background of the layout. I splattered the Shimmer Dusts with a paint brush.


I coloured the chipboard veneer with Passion Shimmer Dusts. Love the shimmery effect the Shimmer Dusts have.


These are the dies I used...


I added the title & heart stickers & I also added a Bee Arty Flair 


Had so much fun putting this layout together! Thanks so much for popping by!


XO Charmane


Saturday, 19 June 2021

The Frog Princess by Tracey Campbell

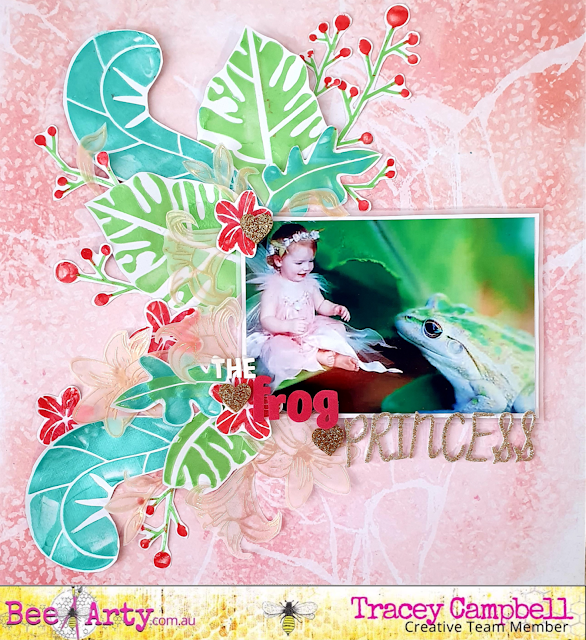
Hello everyone. Tracey Campbell here with you today with a fun layout using some of the awesome Find Paradise range designed by Fiona Paltridge. I have been struggling a bit trying to scrap this photo of my youngest daughter Paige dressed in a fairy outfit superimposed near this cute green tree frog, but couldn't find the perfect range until I got a hold of Find Paradise. So of course it was the very first layout I had to create with it.

For this layout I used the "B side" of the Entangled Pattern Paper, White Cardstock, Vellum, Foliage Stencil, Colour Paste in Apple of my Eye, Peach, Watermelon and Cool Mint, Unwind Stamp Set and Embossing Powder in Bling
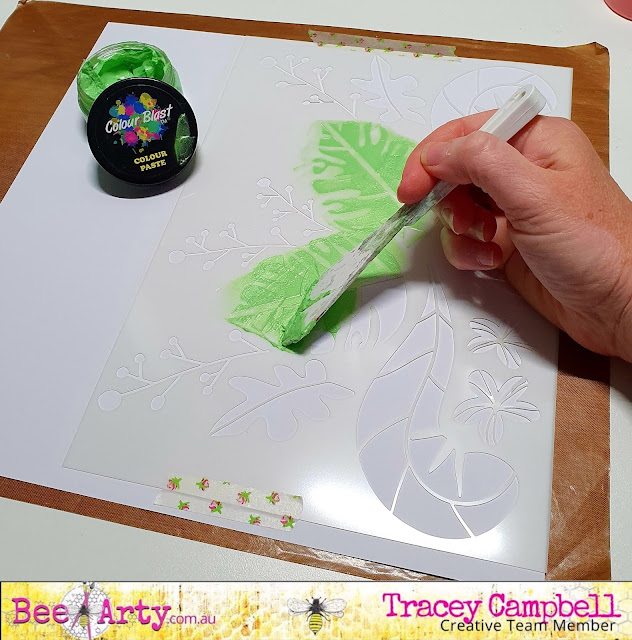
Using the Foliage stencil, the Colour Pastes and a paint palette knife spread the colour paste through the stencil on to a piece of white cardstock. Note: as it is a large A4 stencil I anchored it down with some washi tape to avoid it moving.
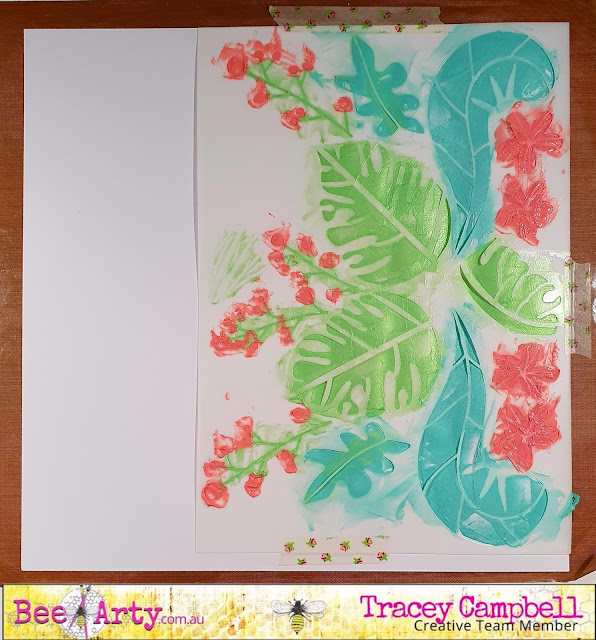
Working fast, I spread the four different colours through the stencil. 
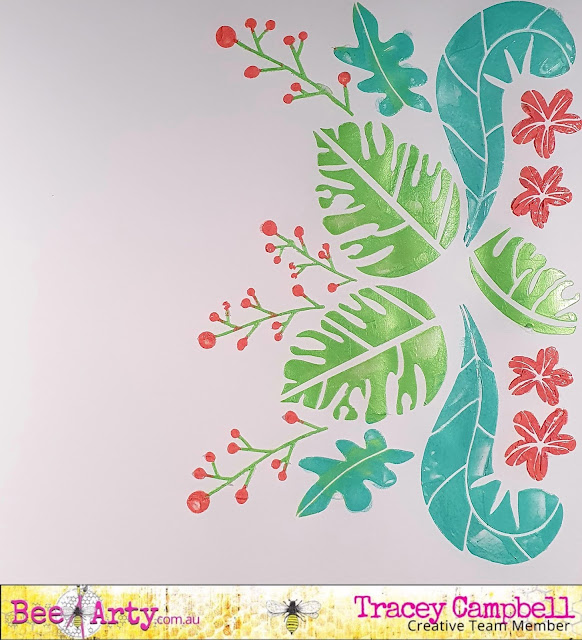
I was going to use the image the stencil creates as it is on my layout.....but inspiration took a turn. 
While the Colour Paste dried I used some clear embossing ink and Bling Embossing Powder to stamp the flowers from the Unwind Stamp Set on to some vellum. 
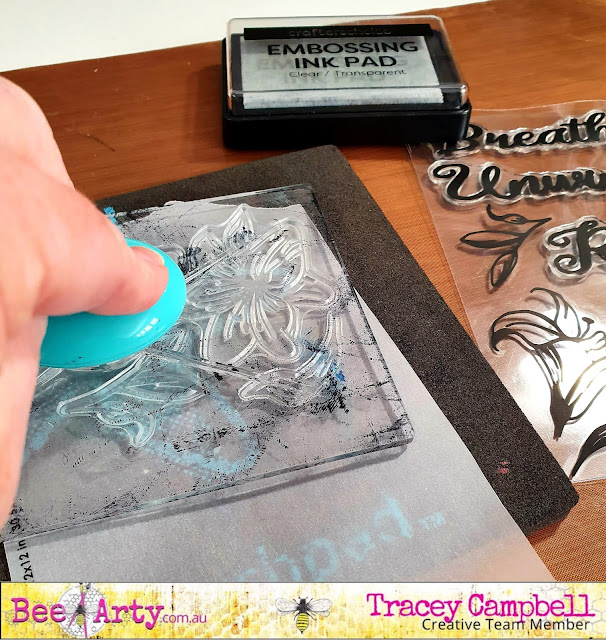
Using the lowest temperature on my heat gun I activated the Bling Embossing Powder. I did this very cautiously as I was not sure how the vellum would go with the heat - I had mental pictures of it curling or burning, but using the lowest temperature it worked. 
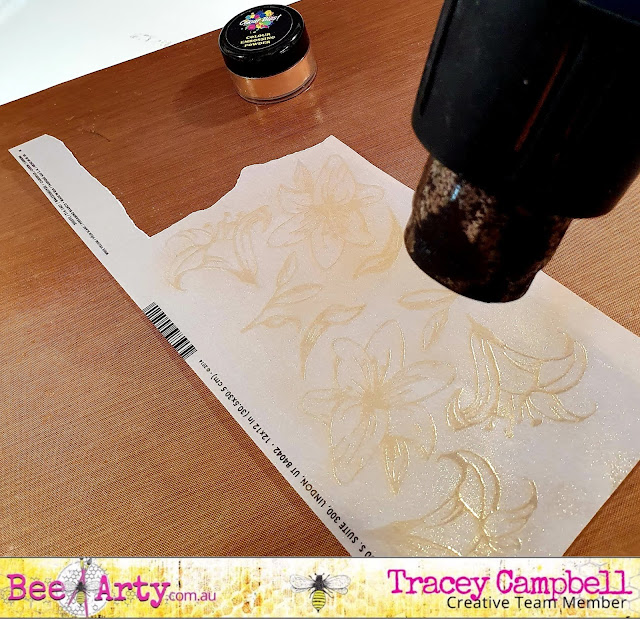
Next I fussy cut the flowers out.
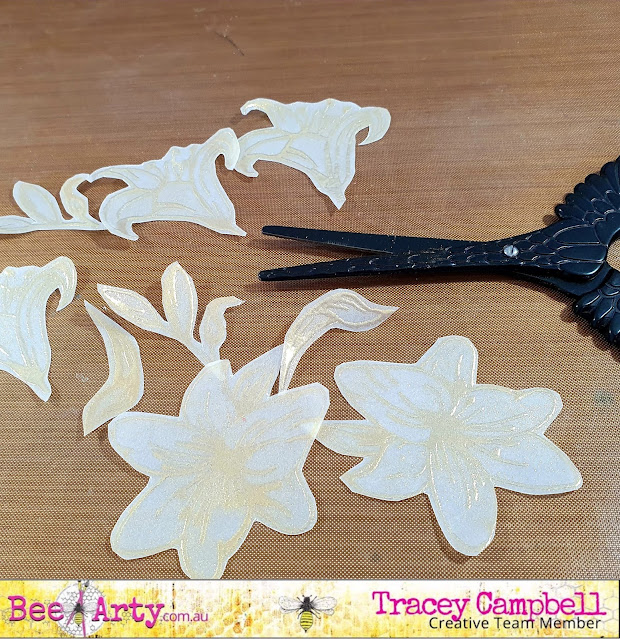
I had an image in my head of all the fussy cut elements spilling down the left hand side of the photo so I committed and fussy cut all the foliage out too.  
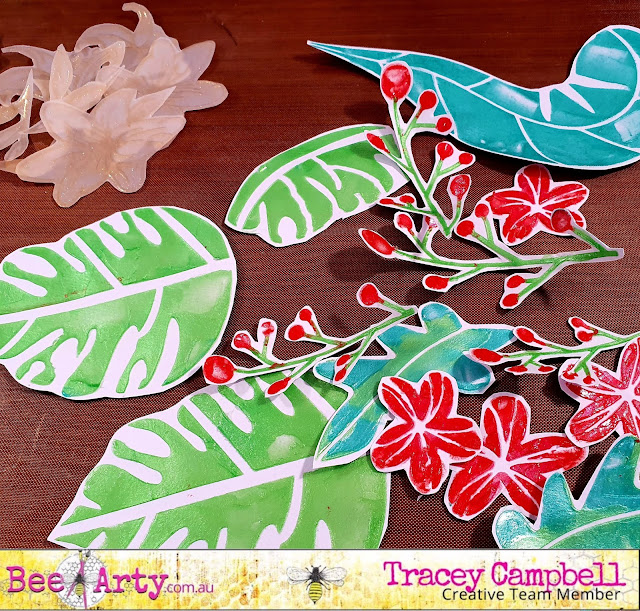
Now that I had cut everything out I started building up the left side of the layout, trying to replicate the image I had in my head. I started with the larger images.


Then added the smaller elements. I used a range of glue and three dimensional tape to adhere and build height in the foliage clusters. 


When I was happy with the foliage I matted the photo with some vellum for a softer touch and positioned it to the right of the cluster.


Using some Thicker I created a title then added a few glitter hearts to finish off. 


It wasn't quite the image I had in my head, but I am happy with how it turned out - a fun cute page fit for a Frog Princess.


I hope that I have given you a bit of inspiration to pull out a large A4 stencil and have a play to see how you can use the image to create a layout.

Happy creating until I see you again.

Hugs
Tracey 


Sunday, 18 April 2021

Dream Big with Belinda Spencer

Hello Bee Arty fans!!

It's Belinda here today to share my latest layout featuring some stunning Bee Arty products.


To start my layout, I cropped a sheet of the stunning Fearless Brave and Free Chance paper and mounted on the heavy weight white cardstock for extra sturdiness.
I then mixed up some Snow White Colour Paste with 2 drops of Slipper Colour Artist Ink and 1 drop of Citrus Ink. I applied my concoction using a palette knife with the That Way A5 Stencil.


Check out this angle shot to see the gorgeous sparkle of the Colour Paste. Love it!


Next I fussy cut a bunch of images from the Follow Your Dreams Possibility patterned paper. I also added a little of each of the Colour Artist Inks onto an acrylic stamping block and spritzed with water. I stamped a couple of leaves into the ink mixture and then applied onto an extra piece of the white cardstock for a watercolour effect stamped image. Once dry, I fussy cut the leaves too. TIP: Add double sided tape to the back of the image to be fussy cut first then once it's cut out you have an instant sticker. This saves messing around with glue!


I added some messy thread to the layout next followed by a cropped piece from the Follow Your Dreams Seeker patterned paper. I inked the edges of the cropped piece using Worn Lipstick Distress Oxide.


Finally, I assembled all of my bits and pieces on my page including my photo. I also fussy cut the feathers from the Possibility paper as well as some quotes from the Seeker paper.


Here's what I used:
- Citrus
- Slipper

Thanks so much for stopping by the blog today. I hope you find some time to play with your awesome Bee Arty goodies too.

Cheers
Belinda


Sunday, 4 April 2021

'F*^k Cancer' by Belinda Spencer

 Hello Bee Arty fans!!

Happy Easter!! I hope the Easter bunny has been kind to you.

Today I am sharing my latest layout featuring lots of amazing Bee Arty products including papers from the Graffiti Grunge and Covid Capers collections.

***PLEASE NOTE: This post includes the 'f' word so if you are sensitive to swear words please look away. In this instance the 'f' word is perfect to describe the last year for my little family.***

'F*^k Cancer'


To start my layout, I cropped a sheet of patterned paper from the Covid Capers collection and mounted it on a sheet of the awesome Bee Arty Heavy Weight White Cardstock. I then used a palette knife to spread some of the Colour Blast Black Heavy Gesso over the central area.


Next I used the black gesso again with the That Way Stencil to add some more interest to the focal area. To apply the gesso, I use a latex make-up wedge with a very small amount of gesso and apply with a dabbing motion through the stencil. This ensures that the paint doesn't bleed under the stencil and you get nice crisp edges.

I used the tiniest star stamp from the Moments In Time Clear Stamp Set with some Jet Black Archival Ink to stamp around the focal area also.


I die cut the Honeycomb Metal Die from extra heavy weight white cardstock a couple of times and fussy cut some tags from the Graffiti Grunge Perfect patterned paper. I arranged all of the pieces and stapled them together before adding to the page.


I added the photo and embellishments next. Then I stamped some more stars using the Jet Black ink and stamps from the Moments In Time Set onto the extra white cardstock. I fussy cut each star and added to the page along with some quotes cut from the Covid Capers papers as well as the Graffiti Grunge Be Yourself paper. Finally I added the title using American Crafts Thickers as well as letters cut from the Untangle Lines patterned paper.


Bee Arty products used:


Thanks so much for stopping by the blog today. I hope you are finding some time to get arty with Bee Arty products over the Easter break.

Cheers
Belinda


Sunday, 21 March 2021

Treasured Memories with Belinda Spencer

 Hello Bee Arty fans!!

It's Belinda here with you today to share my latest project for Bee Arty featuring the stunning Forever My Always Collection designed by the super talented Fiona Paltridge.


I started my layout by cropping a sheet of the Heart Beat patterned paper and mounting it on a sheet of the amazing Bee Arty Heavy Weight White Cardstock.

I then mixed up a concoction of approx. 20 drops of Marine Colour Artist Ink + a dash of Indigo Colour Spray + a tiny amount of Velvet Colour Shimmer Dust + a couple of sprays of water in a Colour Blast Mini Mister.

I sprayed my 'potion' very liberally on my page and also spritzed with a bit more water to create quite a puddle of lovely colour. I used a soft wet paintbrush to pick up some of the ink on my page and flick it over the background to create interesting little droplets of colour.

In fact there was way too much colour on my page still so I dipped a die cut Postage Stamp frame in the colour as well as a Butterfly Effect butterfly. I still had too much colour so I pressed a page of an art journal I keep for just such an occasion into the ink too.


I dried the page with a heat gun and then used a palette knife to swipe some Snow White Colour Paste over the Stardust A5 Stencil. Once that was dry, I added some stamping using Jet Black Archival Ink and the Geo Grunge Stamp.


Here is my completed layout:

'Treasured Memories'


I cropped some papers from the Forever My Always collection and stacked them under my photo. I also fussy cut some flowers and leaves from the collection patterned papers and added those to the layout along with my paper stack and photo.


I added the gorgeous Diamond Die Cut under all of the flowers and the photo  as well as the words cut from the patterned papers. To finish I added a chipboard word from my stash.


Here's what I used:

Thanks so much for stopping by the blog today.

Cheers
Belinda