Showing posts with label Forever My Always. Show all posts

Monday, 30 January 2023

YOU ARE FOREVER MY ALWAYS by Linda Pearson


 Hi everyone ... welcome to my blog post showcasing how  I have used my favourite paper collection, Forever My Always Collection designed by Fiona Paltridge to create this journal page or scrapbook layout.  A very simple composition with lots of gold leafing and pen work to highlight the focal image or photo of choice.

Forever My Always Collection designed by Fiona Paltridge

https://beearty.com.au/collections/forever-my-always

Heart and Soul scrapbook paper (B side)

https://beearty.com.au/products/heart-soul-12x12-scrapbooking-paper

Gentle heart paper cut and colour sheet

https://beearty.com.au/products/gentle-heart-12x12-scrapbooking-paper-cut-colour?variant=32047921823847

My flower metal die

https://beearty.com.au/products/my-flower-metal-die

Diamond metal die

https://beearty.com.au/products/diamond-metal-die

You are forever my always sentiment card (Heart and Soul [A side])

 Magazine Image or own Photo

Leafing adhesive

Gold leaf sheets

Foam Tape

Sheet Gold Card

Gold paint pen


1.     Cut the Heart and Soul scrapbook paper down to A4 size or leave as is if creating a scrapbook layout.

2.     Lightly brush some leafing adhesive liquid randomly over the bottom and right hand sides of paper.  Add some touches of adhesive liquid around the top and sides also.  Allow the adhesive to dry off to a tacky consistency.

3.     Carefully add sheets of gold leafing to areas that are tacky, tapping with an old paint brush to secure to the page.  Buff the gold leafing with a soft brush.

4.     Fussy cut several flower sprays in both coloured and white outlined from the Gentle Heart cut out paper , highlight the edges of the cutouts with gold paint pen.

5.     Run the Gold and White card through the die cut machine using the Diamond metal die (2 gold and 1 white.

6.     Run the My Flower die through the machine with white card 2 times.

7.     Use the offcuts from the gold diecut cards and adhere to the back of the sentiment card.

8.     Place and arrange all the cut out pieces around the page to best suit the focal image or photo/s …

(a)  Place the three diamond cutouts so they are visible behind the focal image

(b)  Arrange the sprays and single flowers in place also

(c)   When happy remove focal image then spot adhere the all the elements

9.     When happy remove focal image then spot adhere the all the elements to page.

10. Add foam tape behind the focal image, then adhere to the page.

11. Adhere the sentiment card with double sided tape or adhesive.  Add outline details around all the flowers and leaves using gold paint pen.

Once again it has been such a pleasure to create using this awesome paper collection and I hope I have inspired you to include the Forever My Always collection again very soon.

Bye for now.


Linda Pearson

https://www.yourcreativepalette.com.au 

Sunday, 15 May 2022

Moments Like These - With Karyn Schultz!

  Hi Bee Arty Lovelies! 
 
It's Karyn here and today I have a scrapbook page to share with you made using lots of fabulous arty products from Bee Arty.
 
 
I'm playing along with the May mood-sketch challenge. We would love for you to join in with this challenge and be in the running to win a Bee Arty online voucher. You have until May 30th and you need to upload your challenge here (please follow challenge rules). 
 
 
For my page I've been inspired by both the colours and the sketch of this mood-sketch challenge.
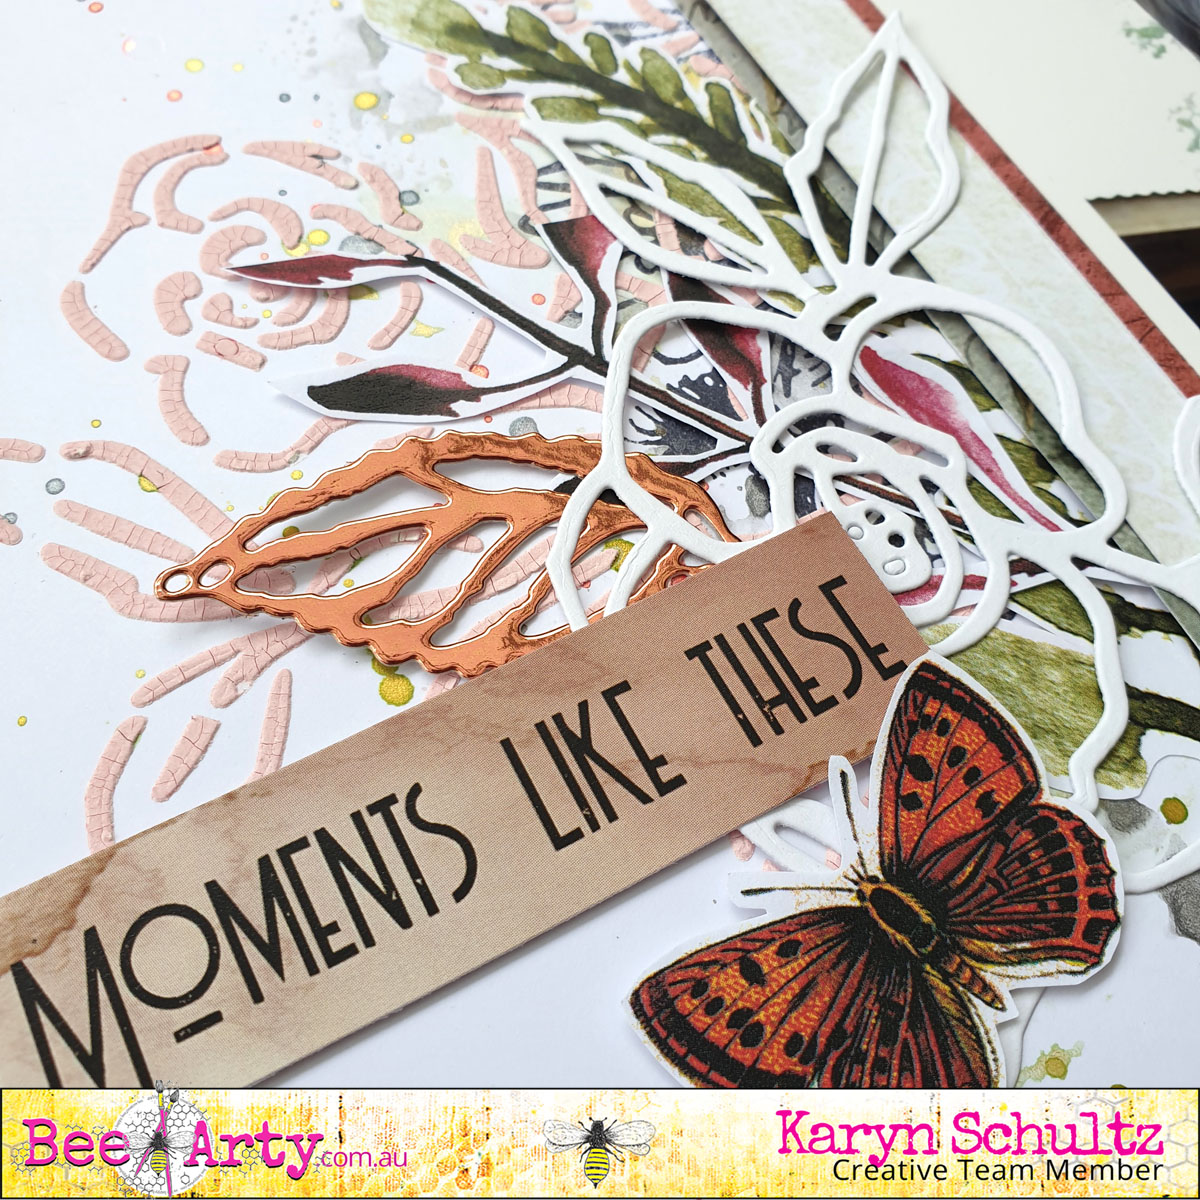
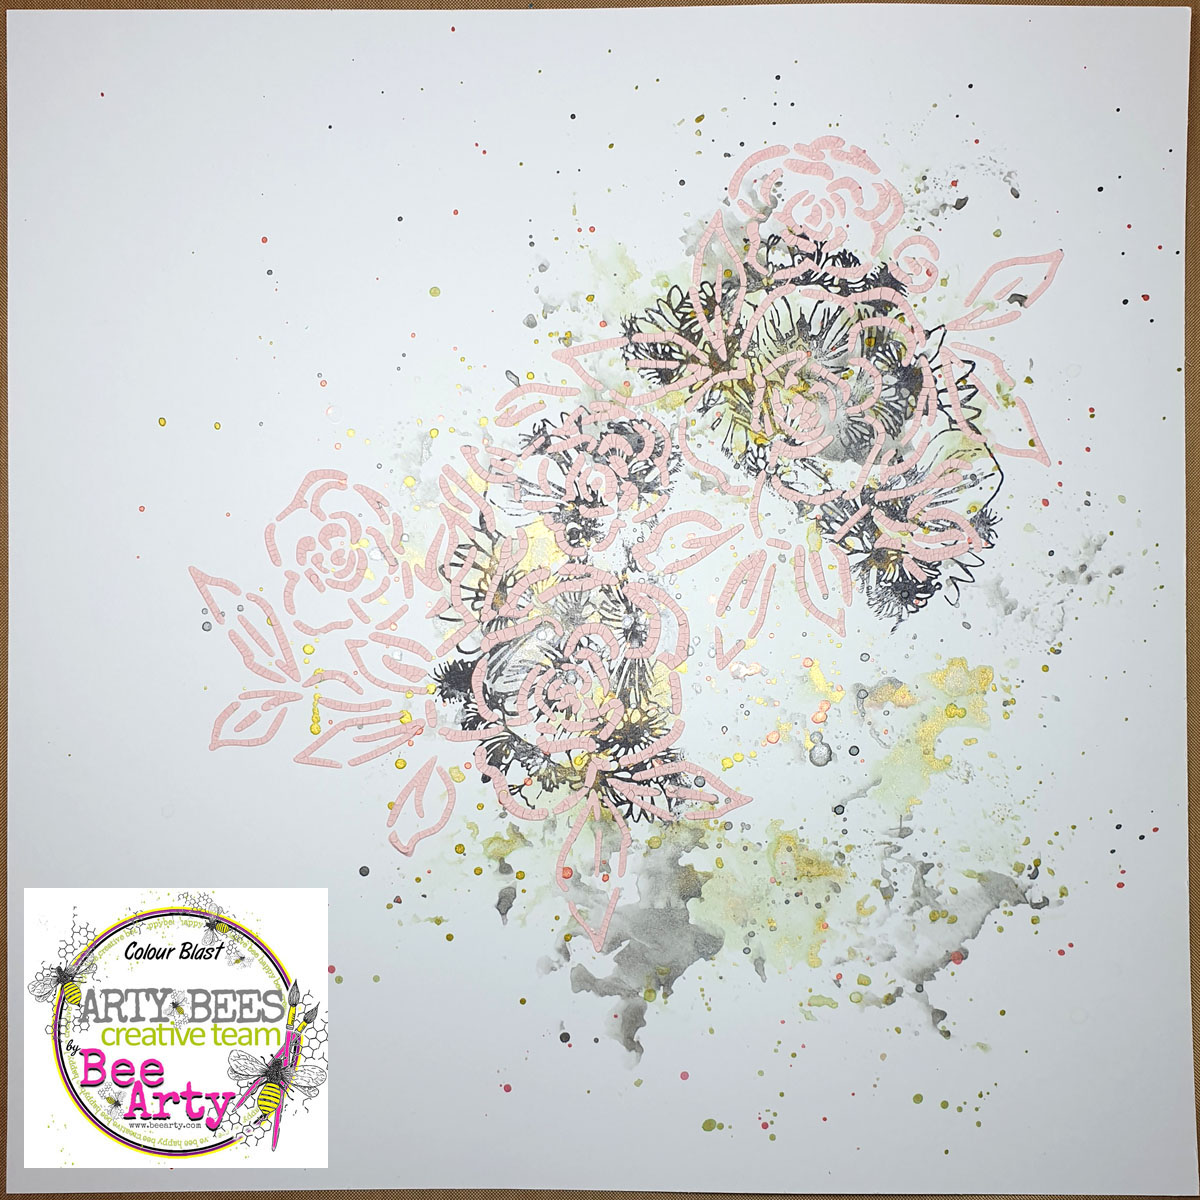
I started with a sheet of 350gsm Heavy White Cardstock and used a painting with plastic technique to add Apple of my Eye and Stormy Weather Mica powders.
Then I added splatters of Apple of my Eye, Stormy Weather and Peach Nectar Mica powders.
I added stamping using the Forever Always stamp, from the Forever My Always collection, and Black Archival ink.
 
 
I added texture to my page using the My Lady A4 stencil (from the Forever My Always collection) and some Peach Nectar Mica powder mixed with a white crackle texture paste (or heavy white gesso would work well also). 

 
Here is my completed page. My Horse Tommy is such a character - he makes me laugh!
 
 
To complete the page I've added photo mats and strips of paper along the top of the page using Embrace Change paper offcuts. 
I've added fussy cut images also from the Embrace Change paper collection.  
I've added a bird diecut from the Bird Talk metal die set
  a flower diecut from the Calendula metal die set (Bohemian Bliss collection),
and a large flower from the My Flower metal die
The diecuts were created using 250gsm White Cardstock and Matte Brown foil Mirror cardstock.

 
Words were cut from the Embrace Change paper collection. 
 
 
 I added a metal flair, paperclip and chevron wood veneer from my stash.

 
Lastly I've added journalling using a fine black Life of Colour paint pen

 
Thanks so much for stopping by

Crafty Hugs xx


Wednesday, 30 March 2022

21st Birthday Card - With Karyn Schultz!

 Hi Bee Arty Lovelies!

It's Karyn here and today I have a 21st Birthday card to share with you made using products from the Forever My Always collection from Bee Arty.  These papers are so pretty and perfect for a 21st birthday card :)
 
 
I created the card base from a 12"x12" page of 350gsm Heavy White Cardstock. I cut it down to 28cmx14cm and folded in half to give a 14cm square card.
 
I used Matte Brown foil Mirror board for the card front mat 13.5cmx13.5cm and also for the diecuts cut using the My Flower metal die. I actually cut the leaves apart from the flower so I could space them across the card front. I also used the Numbers metal die from the Fireworks collection.
 
The background is 12.5cmx12.5cm cut from the Best By Far paper. The flowers and leaves were fussy cut from the Forever My Always collection pack.
 
 
Thanks so much for stopping by

Crafty Hugs xx


Saturday, 12 March 2022

Keep Going- Journal Page by Sunila


Hello Bee Arty Lovelies,

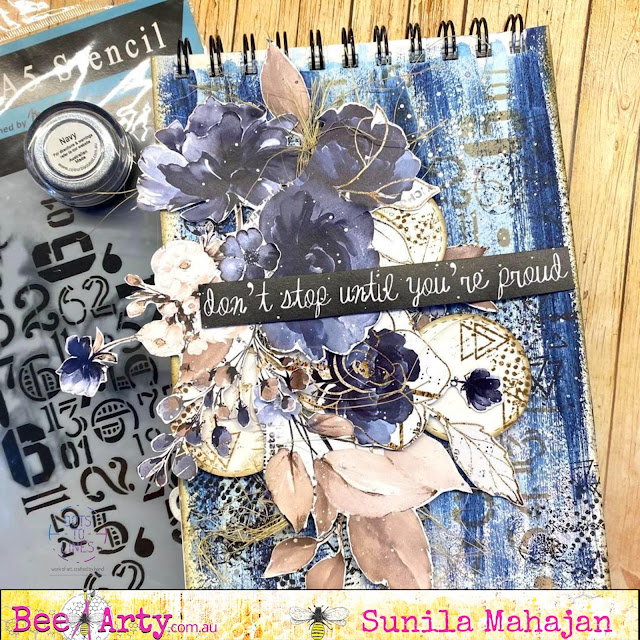
Sunila here, with a mixed media style Journal Page inspiration for you all. I have enjoyed creating this one in my watercolour journal. I love mixed media, because of the layers and elements that add up to the final creation.

Here's a look at the page:


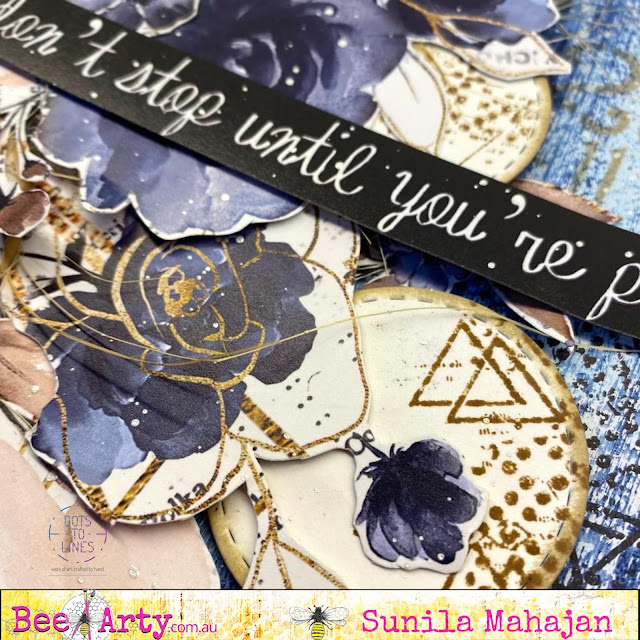
I've used shimmer powder to brush on my background and added stamping for depth and texture. 


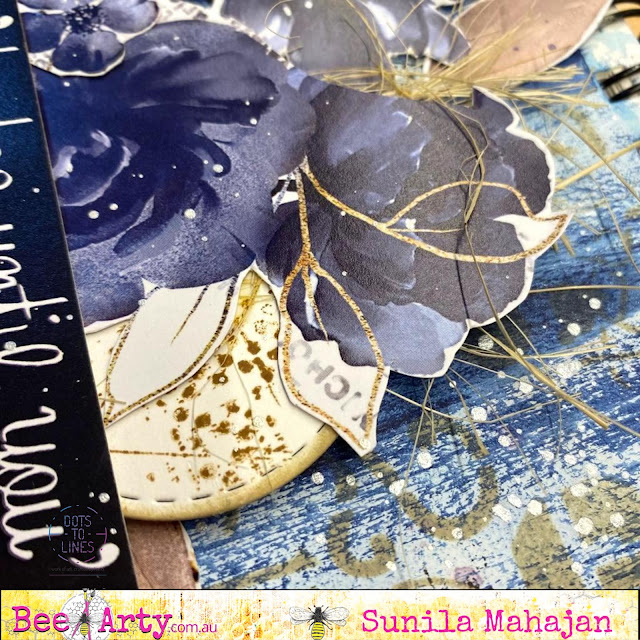
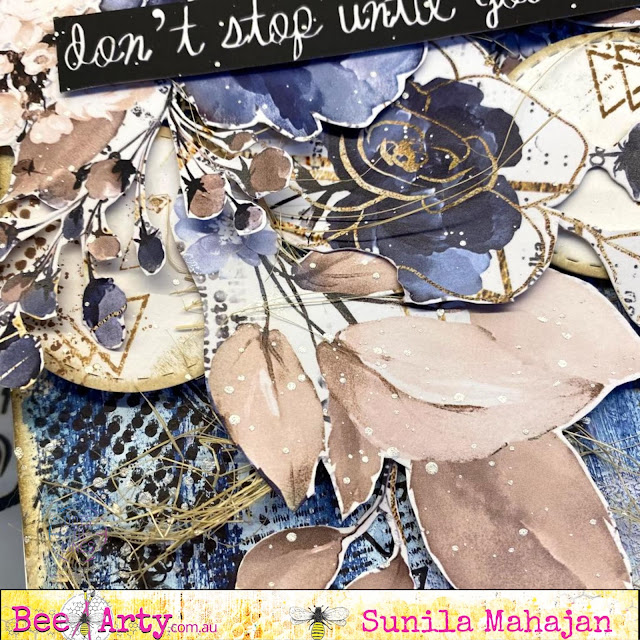
I've used some fussy cut clusters, and die cut circles for my focal element. 


Simple and minimal steps add texture and depth and create stunning pieces.

Supplies used:

Shimmer Dust Navy

Geo Grunge Stamp

Fussy Cut elements from- Forever my Always.

Stencil- Distance

Distress Ink- Pumic Stone


Hope you enjoyed this!

Hugs,

Sunila

Saturday, 29 January 2022

Mixed Media Card by Sunila Mahajan

 Hello lovelies,

Sunila, here and I'm sharing with you all a mixed media layered card today. I show you how I created my background with all the layers in a few steps.

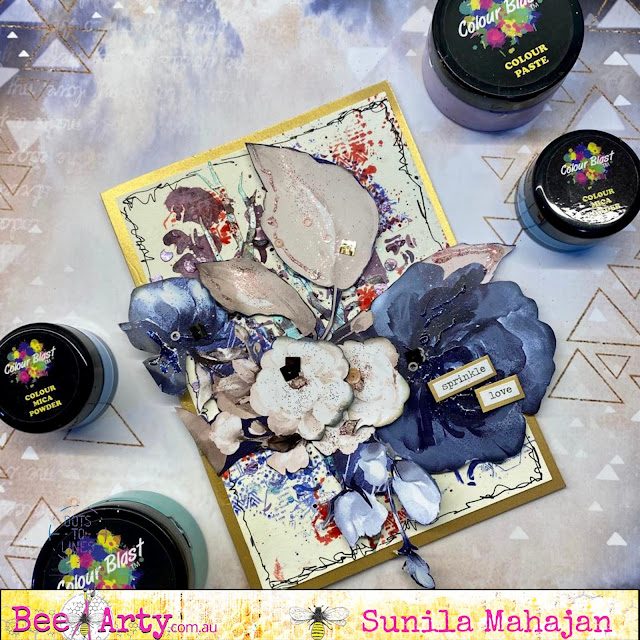
Before we begin, here's a look at the card:


Steps to creating the background:

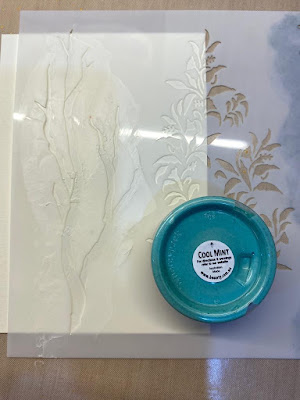
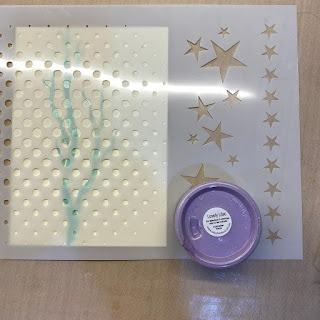
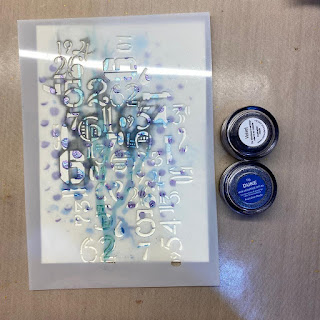
Step 1- I started with a white 5"x7" water colour paper. I added texture using colour paste and a stencil.


Step 2: I added another colour through a different stencil.


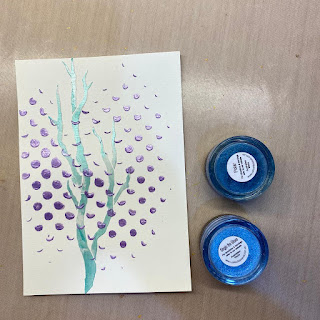
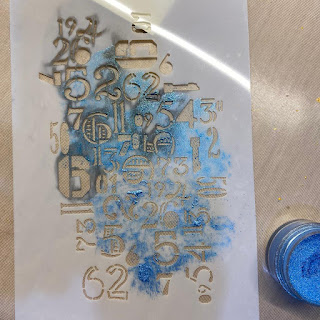
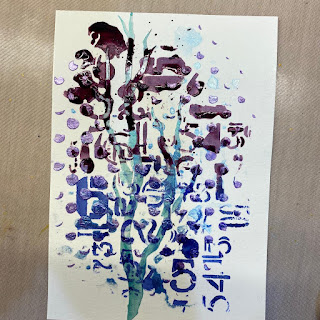
Step3: I sprinkled mica powders on a stencil, misted them with water and took a reverse print on my base. 


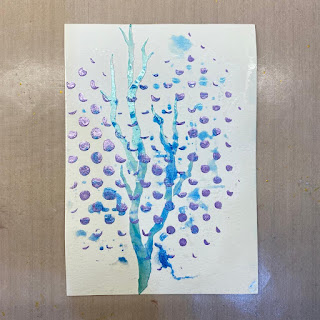
Step 4: Using the same stencil, but now placing it on my base I sponged shimmer dust mixed with water. 


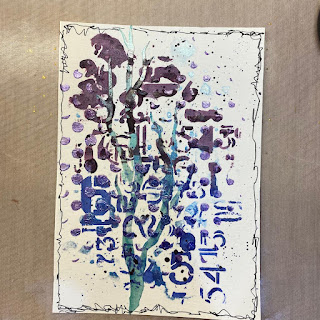
Step 5: I added some black doodling along the border. 


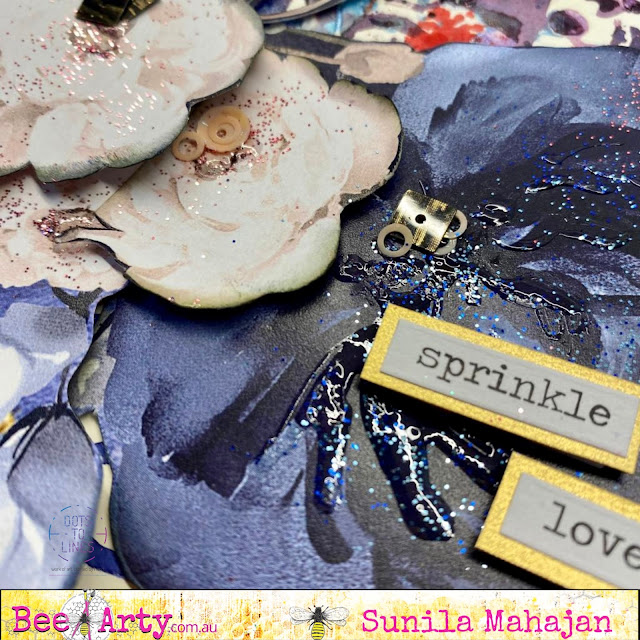
Step 6: I used a stamp with the shimmer dust colours and added that as a final step to my background. I then layered some fussy cut elements, sprinkled glitter and completed my card with a sentiment.


Supplies used:

Colour blast Colour paste- Cool Mint, Lovely Lilac

Bee Arty Stencils- Distance, That Way, Party Lights

Bee Arty Mica Powders- Singin the Blues, Polar

Bee Arty Shimmer Dust- Duke, Velvet, Candy

Bee Arty Stamps- Geo grunge

Paper collection- Forever My Always


I hope you've enjoyed today's tutorial and project! Hugs! 

Friday, 23 July 2021

Sparkle - With Karyn Schultz!

  Hi Bee Arty Lovelies!

It's Karyn here and today I have a scrapbook page to share with you made using lots of fun products available from Bee Arty.  
 
  
I started with a sheet of heavyweight 350gsm white cardstock. I used a painting with plastic technique to add Bling, Leather and Deep water Mica Powders to the page (colours that complemented the "Forever My Always" Collection).  
 
 
Next I applied Leather Colour Paste through the My Lady A4 stencil on my page. I did this upside down as I wanted to showcase the flowers in the stencil.  

 
Here is my finished page. The photo is of my daughter Jessica after she had purchased a new phone and purse (many months of pocket money saved for this!).
 
 
Here are some close-ups of the page. The photo is matted on papers from the Forever My Always paper pack. The flowers and leaves were fussy cut from the Gentle Heart paper. The words are cut from the Love Is Golden paper. I've also added some diecuts using Kraft cardstock and the Old Leaves metal die from the Embrace Change collection.
 
 
 I've added word stamping using the Say It clear stamp set from the Embrace Change collection.


I've added more diecuts using Kraft cardstock and the Autumn Trio metal die from the Embrace Change collection and some paper flowers to finish it off.
 

Thanks so much for stopping by

Crafty Hugs xx


Wednesday, 2 June 2021

Forever My Always by Tracy Jackson

                                                               Hello Bee Arty Friends

Today I am sharing a set of 3 cards using cutouts from Forever My Always collection

The photos below are quick easy steps to produce a lovely set that is tactile and layered


After cutting the flowers and extra leaves out I played around with placements


I also added placements of words. I wasn't happy with the word or placement in below photo, so in end result it didn't make the cut ! LOL


Then I concentrated on the background layer and once I was happy started layering


Until next time
Happy crafting