Showing posts with label Party Lights Stencil. Show all posts

Saturday, 29 January 2022

Mixed Media Card by Sunila Mahajan

 Hello lovelies,

Sunila, here and I'm sharing with you all a mixed media layered card today. I show you how I created my background with all the layers in a few steps.

Before we begin, here's a look at the card:
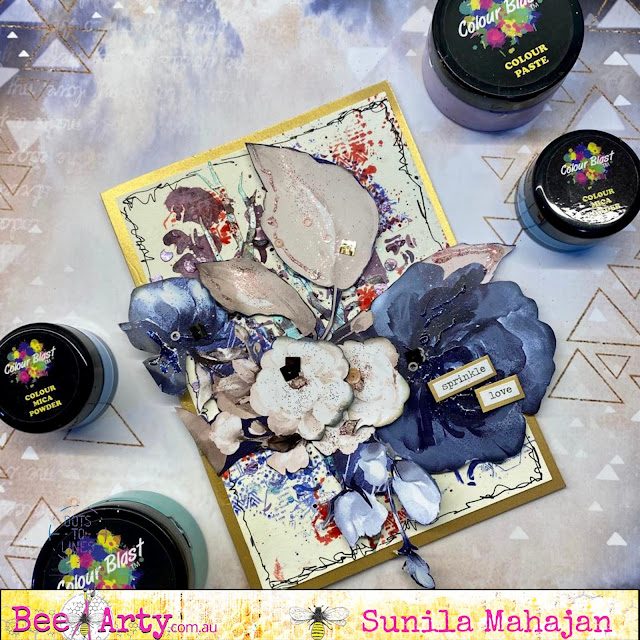


Steps to creating the background:

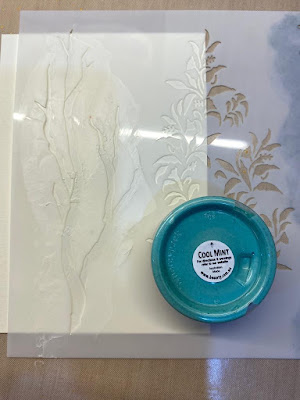
Step 1- I started with a white 5"x7" water colour paper. I added texture using colour paste and a stencil.


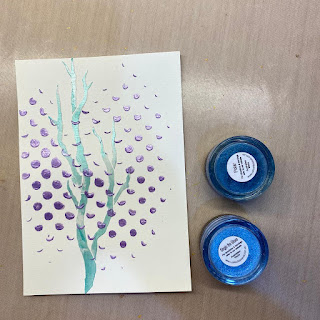
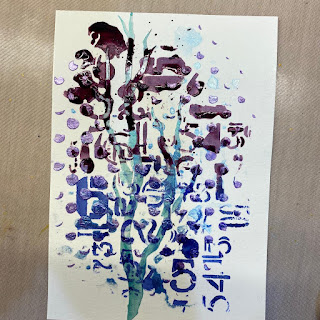
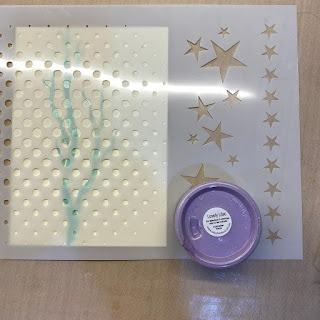
Step 2: I added another colour through a different stencil.


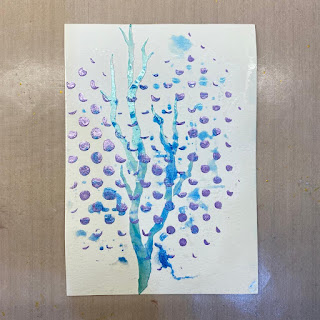
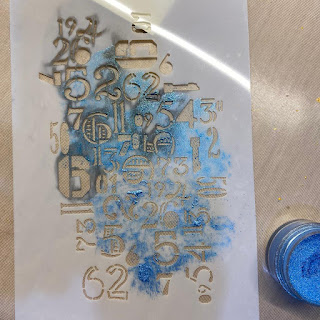
Step3: I sprinkled mica powders on a stencil, misted them with water and took a reverse print on my base. 


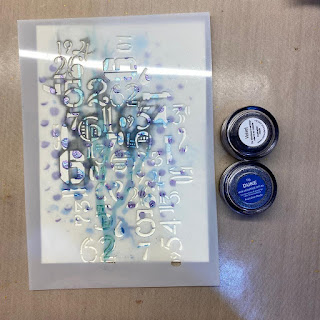
Step 4: Using the same stencil, but now placing it on my base I sponged shimmer dust mixed with water. 

Step 5: I added some black doodling along the border. 
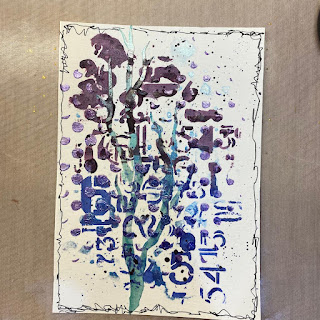

Step 6: I used a stamp with the shimmer dust colours and added that as a final step to my background. I then layered some fussy cut elements, sprinkled glitter and completed my card with a sentiment.


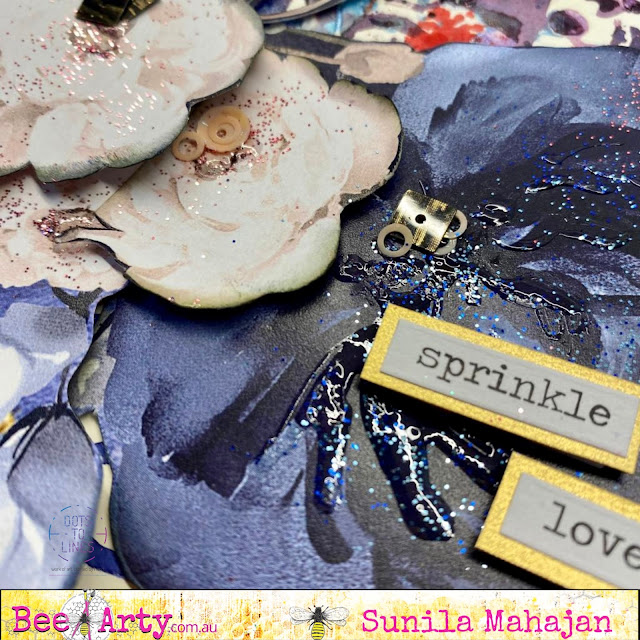


Supplies used:

Colour blast Colour paste- Cool Mint, Lovely Lilac

Bee Arty Stencils- Distance, That Way, Party Lights

Bee Arty Mica Powders- Singin the Blues, Polar

Bee Arty Shimmer Dust- Duke, Velvet, Candy

Bee Arty Stamps- Geo grunge

Paper collection- Forever My Always


I hope you've enjoyed today's tutorial and project! Hugs! 

Monday, 22 March 2021

Sweet Blessings by Charmane Koch

 Happy Monday Everyone!

Today I wanted to share a layout I created based on the Grateful Heart "Love" paper & Grateful Heart Party Lights stencil. I love that I could make the paper by own by colouring it to match my photo using Mica Powders as a watercolour.


This is what the paper looked like before I "coloured it in"...


I also added extra leaves by using the Party Lights stencil  & modelling paste. I then coloured with Apple of My Eye Mica Powder and outlined with black pen.


I added a bit of colour to a Paper Doily and Charms Creations Music Heart to tie the whole page together.


I love how this page came together so easily - and all I really had to do is add a little extra colour! I love how the Grateful Heart papers allow you to add your own colour to match.

Here is the finished page - so soft and pretty!


Thanks for popping by!


XO Charm


Wednesday, 20 January 2021

BEYOND THE GATE! by Linda Pearson


Hi all back again with a journal page using the gorgeous paper collection by the talented Sue Smyth.  

I hope you're inspired by this process and create your own spread and I would love to see your interpretations uploaded on to the Bee Creative Facebook page.

Bee Arty products used for this project:

        (Cover sheet with cut apart images Bay at the Moon and Gothic Favours)

  • gesso – Bee Arty heavy primer 250ml (white and black)

  • Acrylic paint – payne’s grey, pyrole red and deep green, mid-blue

  • White Posca pen

  • Heavy matte gel medium

  • Texture paste

  • Black Archival Ink Pad, blender


I was inspired to create a double spread page in my art journal, first I adhered the -   Bay at the Moon

paper.  In my A3 journal there is a 10cm space on the left hand side when the page is glued in.  


Using some Payne's Grey acrylic paint and gesso Bee Arty heavy primer 250ml (white/black), apply a blended mix of the paint colours using a silcone (makeup) wedge lightly over the blank area of the journal page, carry over the dabbing of colour over some spots of the printed paper.   Dry off.  Then apply some mid-blue acrylic paint in targeted areas near the gate and left hand side of page.
(PLEASE NOTE:  Scrapbookers may choose to work on the printed paper to add a photo later in the process)


Add some drips over the page using watered down Colour artist inks  - Soot.  Dry off.


The next step is to add more 'mood' to the scene using stencils to add some imposing tree branches and foliage.  The Party Lights – A4 stencil Grateful Heart collection designed by Michelle Grant Designs is used with blacgesso – Bee Arty heavy primer 250ml applied palette knife.  Add branches on both sides of the page.  Dry off.  


Before adding the stenciled foliage, make some marks over the page using the silicone (make up) wedge with left over grey paint randomly and lightly through the Rhythm-A5 stencil, from the Follow your dreams collection designed by Michelle Grant Designs


Mix up small quantities of green hues, dark, medium and light.  Starting with the darker green apply paint through the leaves section Party Lights – A4 stencil Grateful Heart collection designed by Michelle Grant Designs.  I chose to add lots and lots of leaves in the three shades of green. Add the dark green, dry off then add mid green shade, dry off.  Finally with the lightest shade of green and white add another layer of leaves to add depth to the foliage.


Below the left hand side shows the dark and mid green leaves, with the right hand image showing the lighter hues of green and white.


Dry off the foliage layer thoroughly.  Fussy-cut some butterflies, rose images from the -    Cover sheet with cut apart images.  Also cut a focus image from the Gothic Favours - the scull image was chosen for this page.  Adhere the image to the bottom of the page.


To anchor the scull image to the page add textured black paste (black gesso added to texture paste). 
Use thTime Magic A4 stencil from by Michelle Grant Designs for anchoring the image to the page    
The stencil is masked to enable small sections of chain to be applied as a frame around the scull image.  Dry off thoroughly.  Once dry, apply the stencil over the chain frame again, this time dabbing somColour paste – singing the blues colour, to add shimmer to the stencil.  Dry off.


Using thTime Magic A4 stencil from by Michelle Grant Designs again, apply the cog border along the bottom edge of the using the black gesso/texture paste mix as before.  Dry off completely.  Once dry, apply the stencil over the border again, this time dabbing somColour paste – singing the blues colour to add shimmer to the stencil.  Dry off.


Detailing - outline the butterflies with white posca pen.  Along the bottom of the butterfly shapes with posca pen then smudge with wet pen paint with finger to create a trail from the butterflies.


Add headings to the page - firstly, paint up an off-cut of paper with Pyrole Red paint.  Fussy cut the words 'Dark' and 'Castle' from the Cover sheet with cut apart images sheet, then cut out the words 'beware' and 'beautiful' from the Gothic Favours sheet, distress the edges with black archival ink. 
Glue all the words to the red offcut card, then cut around the words leaving a red background edge around the words.  Again distress all the edges of the words with black archival ink.


Adhere the words to the page.  Dark Castle above the scull image and place the Beware Beautiful words over the gate.  
After creating this journal page with lot of mood and intrigue .... ask yourself ... 
would you go beyond the gate?


Thank you for engaging with this page and I hope it inspires you to venture 'beyond the gate',
Look forward to the next time I share some creative inspiration with you.
Cheers from 


Linda Pearson
linda@yourcreativepalette.com.au