Showing posts with label Time Flies. Show all posts

Monday, 4 July 2022

Thoughts and Actions by Linda Pearson


Today I present an art journal page utilising some Bee Arty products from a past collection, Time Flies designed by Michelle Grant Designs.


Time Flies paper collection
Life of colour Pens 12 pack – skin tones
Life of colour Pens 12 pack – classic
Scripted - A5 Stencil – Bee Arty
Texture paste and palette knife
Chain and bird - One of a kind cling rubber stamp set
White Cardstock – Bee Arty
Craft Powder Spoon
Archival Ink Pad Jet Black
Versamark Stamp pad translucent
Art Glitter Designer Adhesive
Shimmer dust – Tan, Peacock, Wine
Embossing powder – Steel
Globe metal die
Pipettes
 
Own stash products used:
Grid stamp (own stash)
Double sided tape
Mounting Tape
Muslin
Distress oxide or Archival Ink pad in Ground Expresso
Blending Tool
Foil sheet in mocha
 
 
Colour in the girl’s face from the Time 12x12 scrapbook paper using Life of colour Pens 12 pack – skin tones and Life of colour Pens 12 pack – classic pens.


Fussy cut around the edge of head shape.


Apply texture paste through the Scripted - A5 Stencil – Bee Arty with a palette knife around several areas of the page.  Dry off completely.


Prepare the Shimmer dust – Tan, Peacock, Wine in a palette by adding water with a Pipettes.  Using a large round brush firstly, dip into the Tan colour, brush along the top of page then spritz with water to shift the colour down the page.  Dry off.  Repeat this step with Peacock shimmer dust, spritz with water then dry off.  Again repeat using the wine shimmer dust, spritz then dry off.  Be careful with this step as there is a lot of water on the page and may weaken the structure of paper until dry.


Distress the textured stencil areas with distress oxide or archival ink pad in ground expresso using a blending tool to darken these areas.
 
 
Prepare the die cuts by running the Globe metal die through the machine with foil card. 
Stamping onto the White Cardstock – Bee Arty,
the bird from the One of a Kind cling stamp with Versamark Stamp pad translucent, sprinkle with Embossing powder – Steel.  Heat seal the powder to set.


Collect embellishments to continue –
·       Die cut cogs
·       Assortment Metal cogs pack
·       Cardstock coloured with leftover Peacock, Tan and Wine washes (distressed edges)
·       Muslin
·       Bird stamp coloured with Shimmer dust – Tan, Peacock, Wine


Add lots of background/ghost stamping with the Grid stamp and black archival ink. 
Add random background / border marks using the chain from the One of a kind stamp around the page.


Arrange the coloured cardstock onto as per the above image. Secure to page with double sided tape.  N.B.  be sure to leave the edges of the cardstock free so other elements (metal cogs) can be slotted in under the card.


Lay the muslin over the cardstock, adhere the muslin over the cardstock with gel matt medium (being careful as the shimmer dust colours will shift slightly once rewet).


Arrange the die cut metal cogs and real metal cogs around the page (cut the ‘globe’ away from the cog cluster). 
Also place the bird in position then add metal cogs on and around as desired. 


Add foam tape behind the face to lift off the page.
Adhere all these elements to the page.


Add sentiment/quote to the page using foam tape.


Thank you for stopping by and happy creating!
 

Linda Pearson 
https://www.yourcreativepalette.com.au 

Thursday, 12 August 2021

Grungy Tag by Aditi Mahajan

 Hello everyone,


Today I'm sharing with you all a mixed media style grungy tag. I've combined different collections and elements for this tag. As always, I love creating simple yet effective things, that aren't time consuming. 


Here's a look at the tag


I started it of with a pattern paper for the base of my tag. I then used a background stamp and stamped with black ink, randomly. 


I then mixed the mica and shimmer powders with transparent matte paste and applied it through a stencil. While that was wet, I sprinkled glitter onto it. Once dried, I splattered colours on the background, for a rusty grungy effect. 


I coloured the die cuts the same way, fussy cut some elements and created a composition, gluing them. I finished it with a phrase to add meaning to my tag. 

Monday, 21 December 2020

"Time Flies but Memories Last Forever" by Anita Enright


Hi Guys

My share today is of a double layout that I created using the gorgeous TIME FLIES range designed by Michelle Grant.  It is such a wonderful range to work with and the colours in the kit magnificent.


 Here are a couple of closeups of each individual page.

LEFT SIDE

 
RIGHT SIDE


The one thing I really love about the new ranges from Bee Arty is that they have now created papers that can be used together to create double pages.  I
n this range they are called "Tick" and "Tock", how cool is that 😁

The coordinating mixed media that comes with the kits is the "Espresso" Mica Powder and "Peacock" Shimmer Dust. I used both of these on the pages and it just makes it all pop.

To add texture to the background I used both the "Tic Toc" metal die and the "Riveted" A4 stencil from the collection.  There are two stamps sets in the collection "Time Flies" which has the zipper bees that I stamped on the background and also "Metal Plates" which I also stamped on the background patterned papers. Wording used on the pages came from the "Curious" patterned paper and the cogs and hinges came from the "Collection" sheet from the paper collection pack.

Check out some closeups of my layout.


All products used were from the TIME FLIES collection.  Pop on over to check everything out.
 
As we are in the lead up to Christmas this week, I would like to take this opportunity to wish all of Bee Arty's crafting family a wonderful Christmas and safe start to 2021.
Let's all hope 2021 is a ripper of a year.
 
Take care everyone..... until next time....
 
Anita Enright


Sunday, 25 October 2020

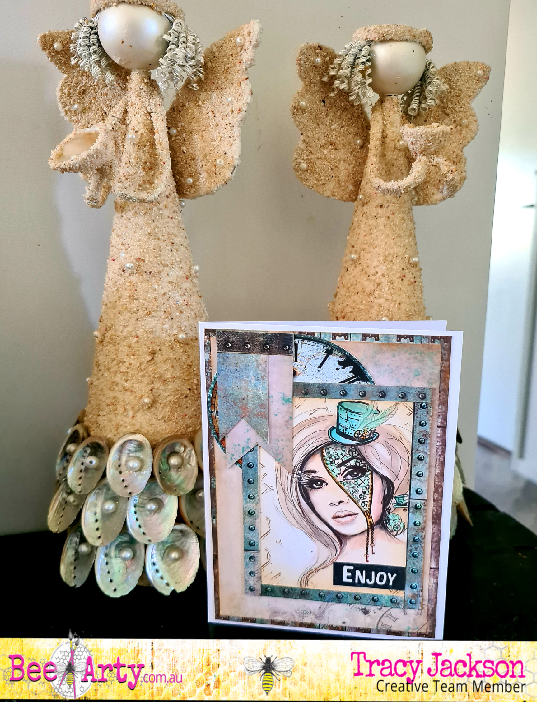
Enjoy by Tracy Jackson

                                                                 Morning Bee Arty Fans

I am back again to share my latest Design Team card


In case you aren't aware - and I'm sure all you Bee Arty fans are... Time Flies collection has a 12x12 page in it that is Time -  cut and colour.
This perfect for all you card makers like myself, for a quick easy solution if you don't happen to have any stamps.


As always with people I colour skin and hair first with my copics
Then the rest is coloured matching the paper I have chosen - in this case I have picked from the same collection Time Flies


Below I cut out strips to frame her on the card


But before that I wanted to add a bit of stamping to the background.
I used a stamp out of a set called Life is Tough


I then gathered some elements from Time Flies collection that were left over from previous projects and hand cut 2 banners.
Once I had destressed all edges I placed and glued all together


I really do love this collection. I'm down to my last scraps and really not sure what to do next!

Until next time... Happy crafting

Sunday, 11 October 2020

Escape The Ordinary by Tracy Jackson

                                                      Good Morning Bee Arty Fans

I'm back again again to share my latest design team card


I have wanted to use this stamp for a long time, its called Kind Heart.
At this stage I had no idea on what I was making , I just kept stamping, and what you cant see is a bowl of chips which I ate while waiting for inspiration!! LOL


After some thought... and a lot of chips later I picked out some paper from Time Flies Kit and started colouring..... still at this stage... no clue as to what I was doing... but.... I did know I was going to fussy cut, (no surprise there!)


And here we go... out with the scissors


I carried on, until I had enough coloured to layer up using foam dots


Once all layered, on the main stamped picture I grunged it up a bit using inks one of the stamps from Life is Tough Stamp Set


Fussy cut pieces and words from Time Flies Paper Collection


And glued it all together


I loved how this card turned out considering I had a complete mind blank to start of with.

If you have this stamp I would love to see your take on it :-)
Until next time... Happy crafting

Sunday, 23 August 2020

Key is the Love by Tracy Jackson

Good morning Bee Arty fans...

Today I want to share my latest card from the collection - Time Flies.


First I stamped out Time Flies Clear Stamp three times and embossed it. I wanted to fussy cut some of the stamp elements to give a 3d impression


Next I coloured the image using the paper colours for reference using alcohol markers


I then used background stamp called Metal Plates and distressed the edges with Distress Inks


Next I prepared the background, by picking one of the amazing rusty looking pages from the same collection. I distressed around edges and mounted on card stock


I wanted to add a little texture so snipped off a bit of cheese cloth and coloured it with some Mica Powder - Leather


End result - minus a picture of messy fingers


While the cheese cloth was drying I picked out elements I wanted to fussy cut from the collection and the words from the Curious sheet


Once all elements and cloth were glued down I then raised the cut out elements of the bird with foam dots.


Hope you are enjoying this collection as much as me, if you haven't got it then put it on your wish list... it is amazing!

Until next time... Happy crafting