Showing posts with label Colour Blast by Bee Arty. Show all posts

Monday, 26 July 2021

Be the change! .... with shaker window by Linda Pearson

 Be the change ...! with shaker window by Linda Pearson


Hi Bee Arters!! 

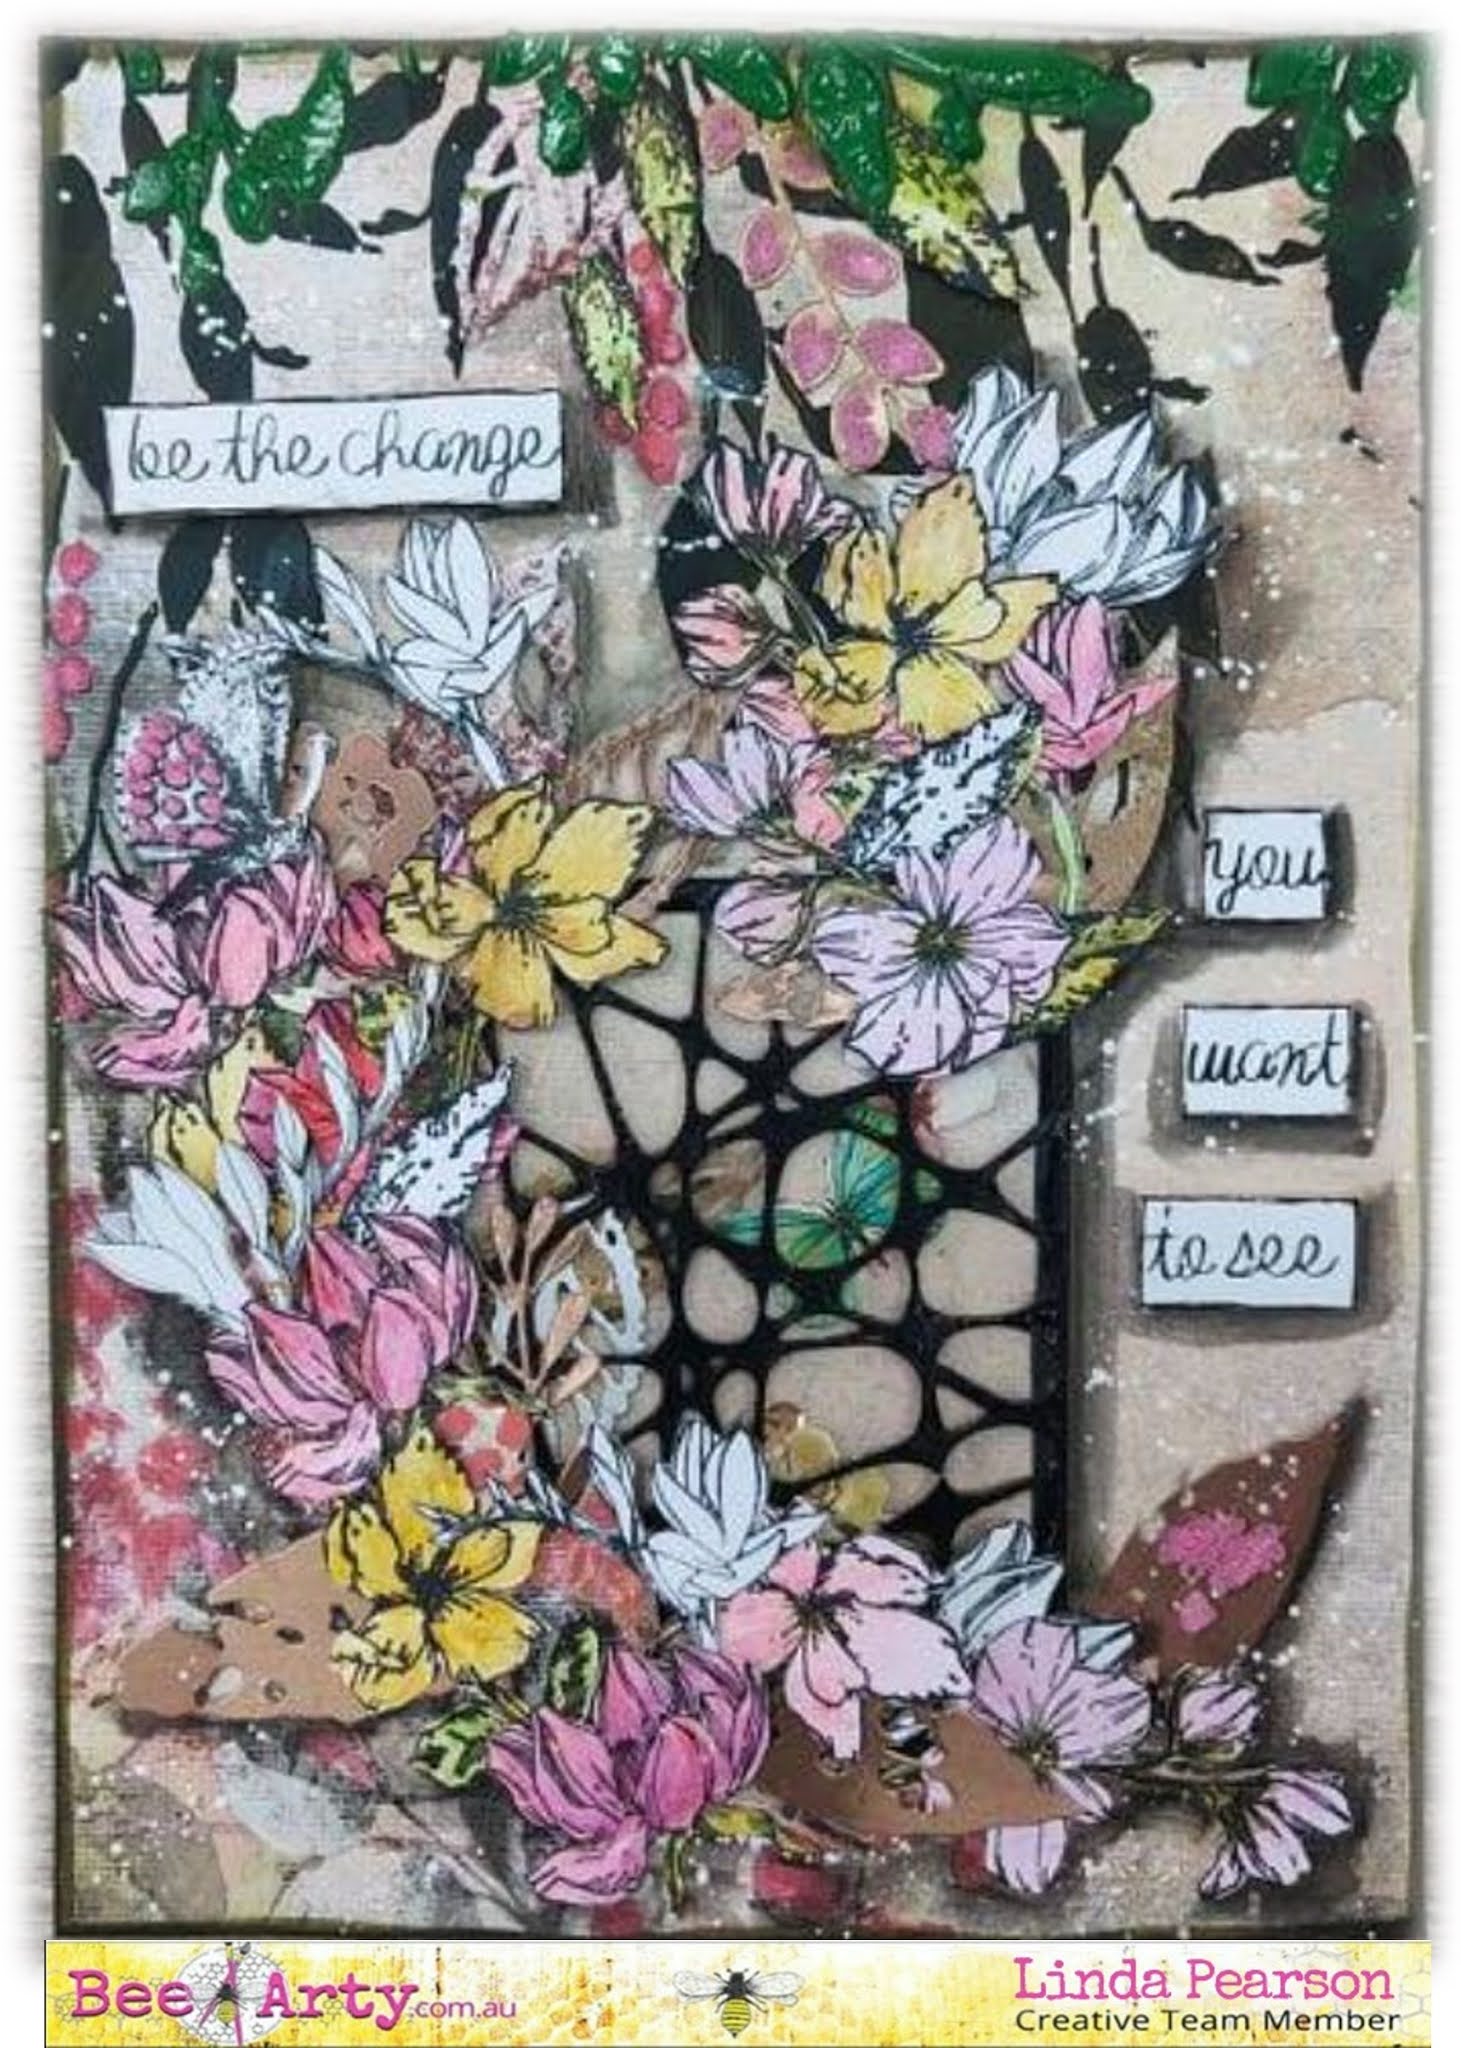
For today’s blog I am embracing change by ‘Being the change I want to see’ using the gorgeous collection designed by Fiona Paltridge.  Focus techniques explored in this post include lots of fussy cutting, colouring, stencilling and crafting a shaker window for interest.


Living 12x12 scrapbook paper  from the Embrace Change collection designed by Fiona Paltridge

White Cardstock 350gsm 10 pack - 12"x12"

Old leaves metal die from the Embrace Change collection designed by Fiona Paltridge -

Autumn trio metal die from the Embrace Change collection designed by Fiona Paltridge

Turning 12x12 scrapbook paper   from the Embrace Change collection designed by Fiona Paltridge

Perfect petals clear stamp set  from the Embrace Change collection designed by Fiona Paltridge

Cascading leaves A5 stencil  from the Embrace Change collection designed by Fiona Paltridge

Poetry 12x12 scrapbooking paper word sheet  from the Embrace Change collection designed by Fiona Paltridge

Web metal die   from the Untangled collection designed by Tanya Froud

Colour blast embossing powder – stormy weather or black

Life of colour pens   -  black white

Stabilo All Pencil Black – Bee Arty

12x12 clear acetate sheet

Small offcut of cardboard (shaker window frame)

Rose Gold metallic sheet

Water colour pencils or equivalent for subtle colouring of stamped flowers

Adhesive

Pink micro beads

Rose gold sequins

Green paints

Texture Paste


Firstly, I cut the Turning 12x12 scrapbook paper to fit my A4 art journal.  I kept the offcut for die-cutting some leaves using the Old leaves metal die.


Using a sheet of  White Cardstock 350gsm I stamped heaps of flowers using the Perfect petals clear stamp set.  I coloured the flowers with inktense water colour pens to create a soft look to match the backing sheet of   .  This image shows the fussy cut flowers as well as the die cut leaves using the Old leaves metal die and Autumn trio metal die in rose gold metallic card.


Using another sheet of White Cardstock 350gsm   
Run the Web metal die through the machine. 
I used the ranger embossing dauber to the web cut out before sprinkling the embossing powder over the web then heat drying to activate the powder.


Not easy to see in this image but next cut out the clear acetate to fit the web cut out.  Carefully adhere together.  As I was making a shaker window I also cut a cardboard frame the same size and painted black (forgot to take photo).  Then adhere the card frame to the the acetate for creating depth in the window.


Preparing the background layer (Turning 12x12 scrapbook paper), add some stencilling to the top of the page using the Cascading leaves A5 stencil  using dark green coloured paint added to texture paste. 


The next stage of the project is adding the shaker window to the background page.  I cut into the page around the printed pattern to slip the window in behind, however, after adding all the flowers this step becomes a bit redundant as the flower covered up this section.  So, cutting the sheet is optional.  

You could bypass the above step and just adhere the window to the page BUT not before you add some cut out flowers, leaves and a butterfly from the coloured cut out embellishments.  Add some micro beads and sequins to the window before sealing the top of the window. 


Go to town adding the flowers to the page around the 3 edges of the window (spot glue in the middle of the flower shapes so the edges are independent of the page.


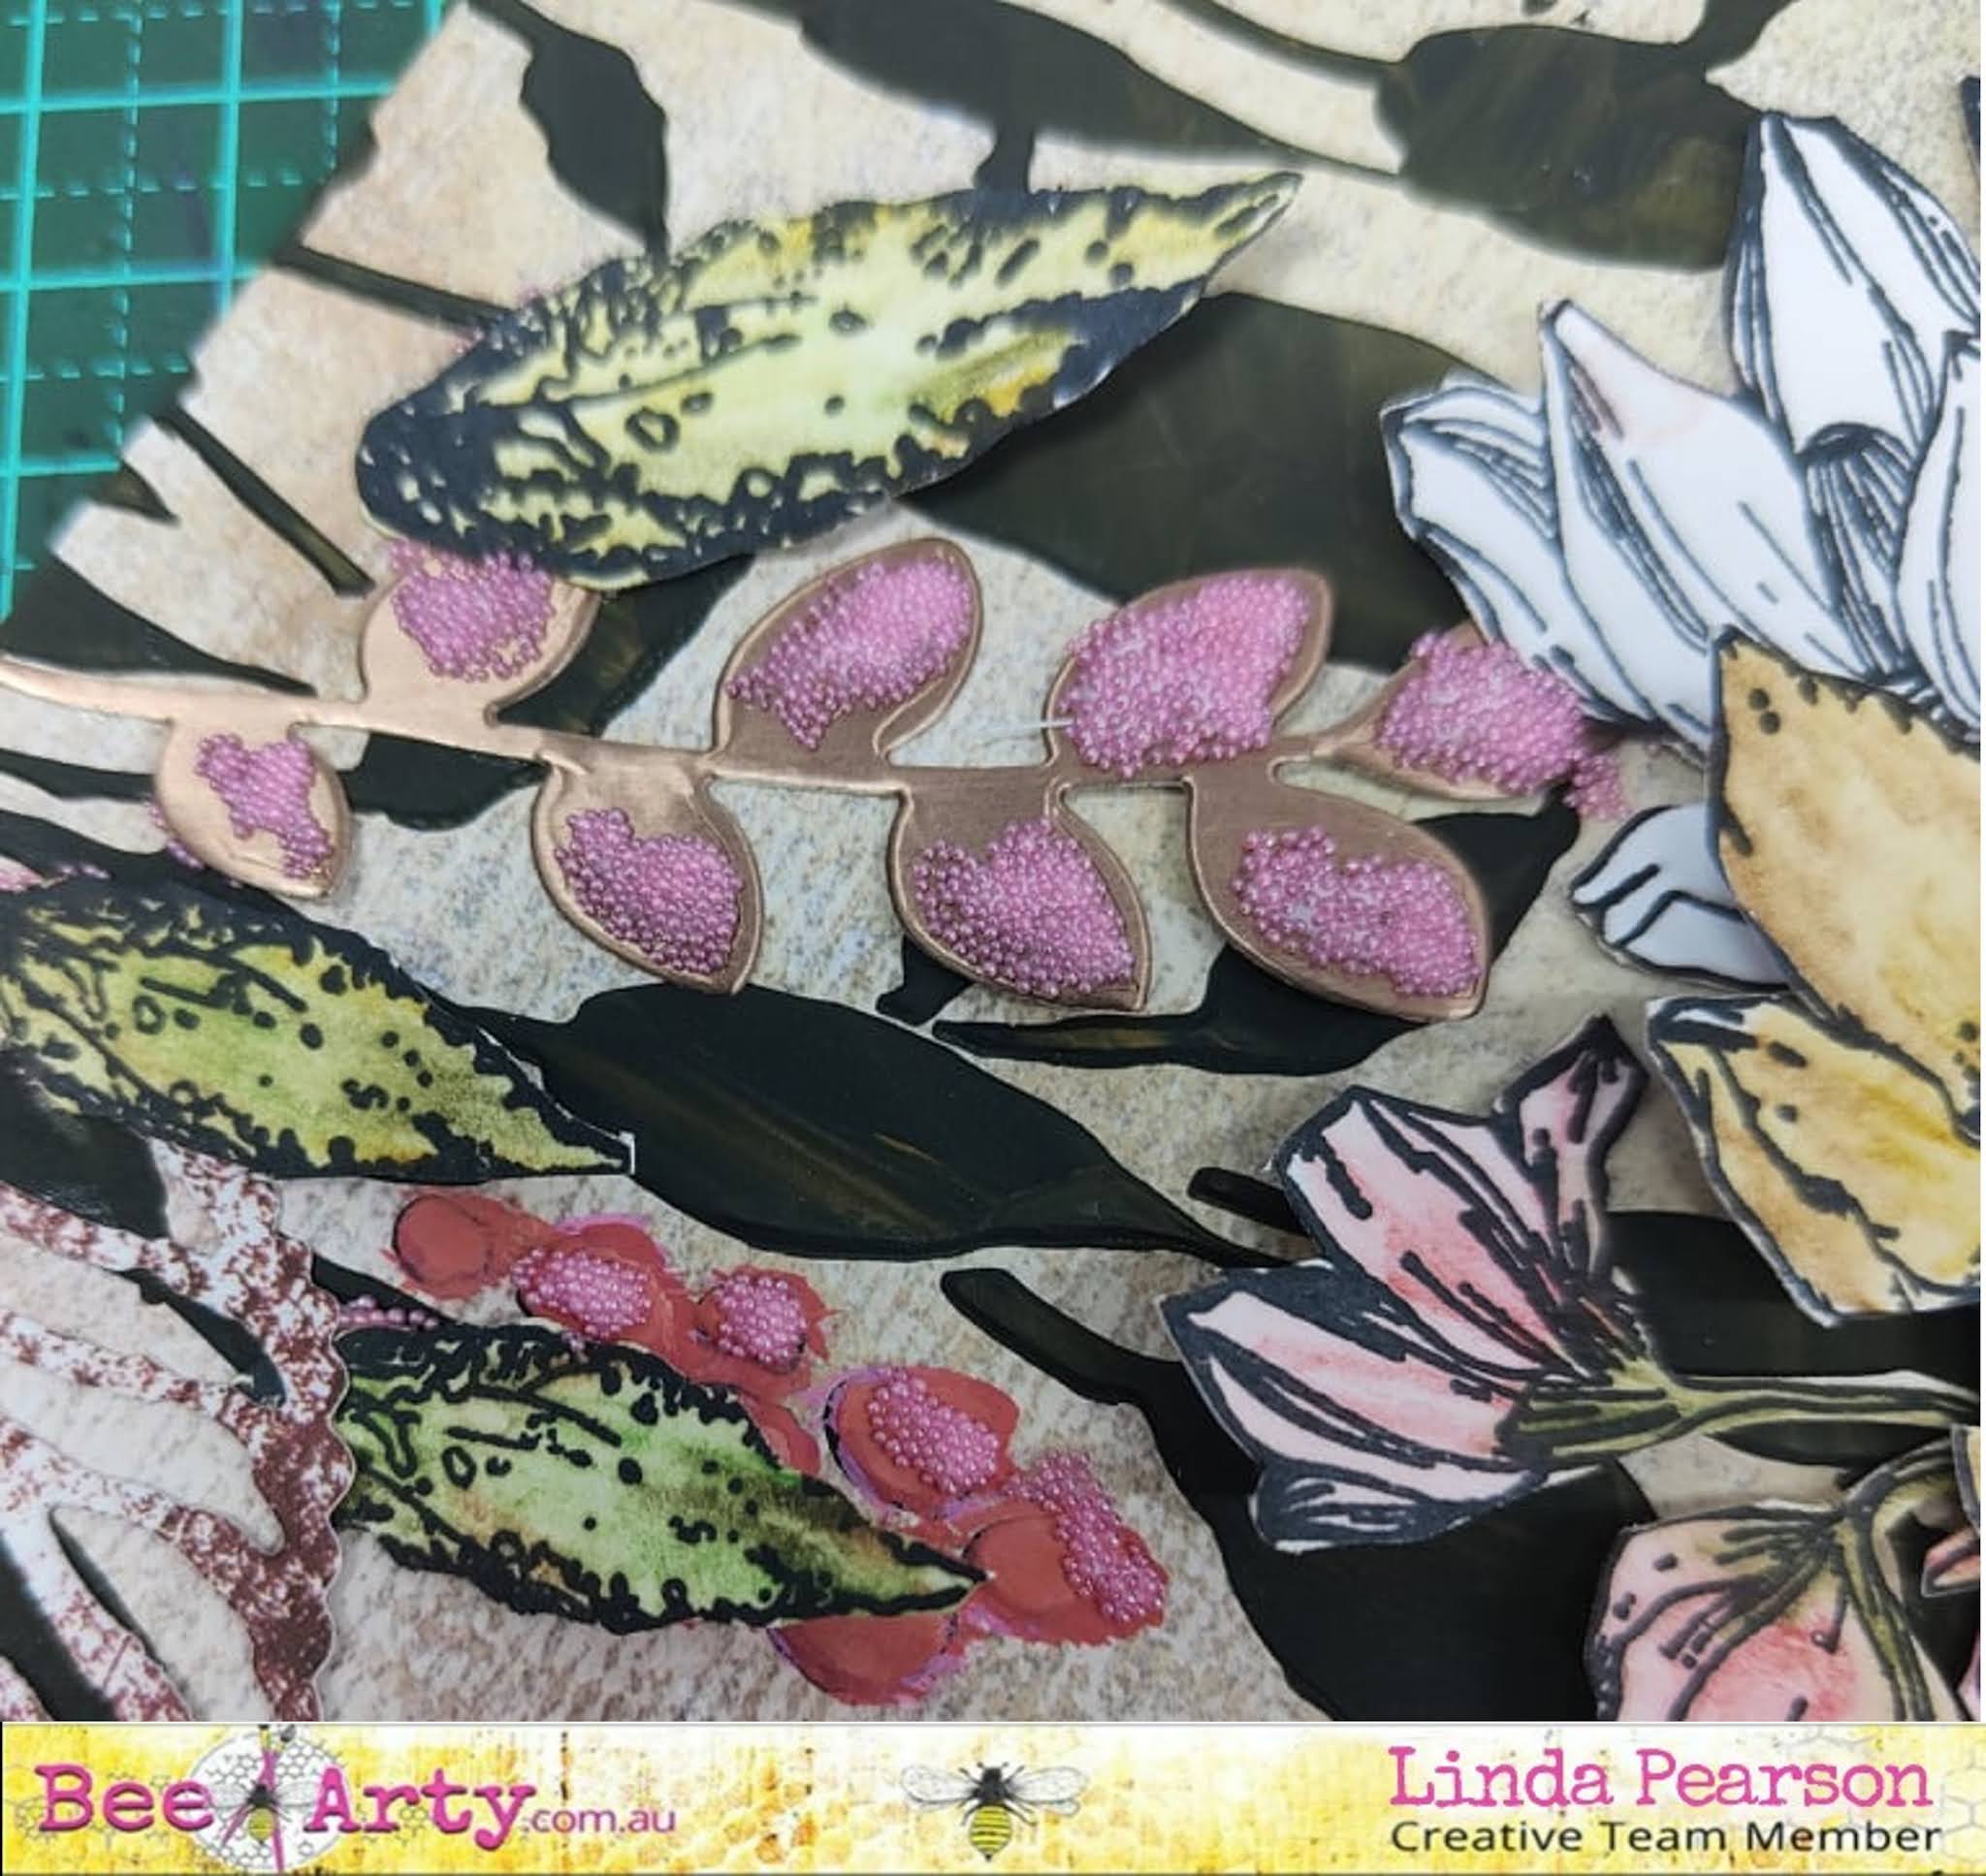
For detailing and finishing off the project adhere some micro beads to the berries, leaves and the butterfly wing for added texture.


Cut the word phrase from the Poetry 12x12 scrapbooking paper word sheet  add some mounting tape behind the words to lift them off the page.  Using the Stabilo All Pencil Black – Bee Arty add shadows around the wording and flowers around the page and blend to soften the effect using water and a brush. 

Finally add some Stabilo All Pencil Black – Bee Arty  around the edge of page again wetting with water to blend as you go.


I hope you enjoyed this project and thanks for stopping by …. Happy creating!


Cheers from Linda Pearson
linda@yourcreativepalette.com.au 


Sunday, 30 May 2021

Simply beautiful by Sandi Spink

Hi hope everyone is enjoying their week. I have always had a problem of knowing when to stop and when to add more or not, so today I decided to go back to my old style of simple is best. I have always loved white space so here is my take on going back to simple and beautiful using ' Fearless, Brave and Free' paper range by Fiona Paltridge.


I used:  Papers - Frames and Phrases 'Free', Circles 'Collections' 'Within' 'Leap' and the B sides of 'Confidence' and 'Chance'

12x12 white cardstock 

Music paper coloured with a wash of 'Lagoon'

Black cardstock to back title

Colour Blast Artist Ink- 'Sunburst'

Colour Blast Colour Spray- 'Lagoon', 'Carribean', 'Road base' 

colour Blast Shimmer dust- 'Amber'

Archival ink- black

Black wire


Step 1- I sprayed a small amount of 'Lagoon' onto the right side of the paper ensuring that there was minimum spray in the area. 


Step 2- Using the 'Carribean' spray I unscrewed the top and dropped droplets of colour over the 'lagoon' colour. Moving the paper helped the ink move, make patterns and mix. I let it dry slightly before adding more droplets so that I didn't get a large puddle. By placing the corner of a wet one into the puddle can draw up excess ink. 

Step 3- Whilst the ink is drying it's a good time to cut out the phrases, frames and shapes needed to be layered together to add dimension and colour. I used the artist dye ink 'Sunburst' to add red to the hearts to the frame.

 Step 4- Picking out a title and backing it with back card stock makes the title pop so after adding this to the page I decided to add arrows to connect the title and the layers. Remembering all the time.... simple don't add to much. I felt there was too much white space so I used the 'Lagoon', 'Carribean', 'Road base' and some 'Amber' shimmer dust mixed with a small amount of water to add splats. 

Sometimes things don't go to plan so if 2 colours mix that spoil the look you can do what I did and find some of the 'chance' circles cut them out and cover the area and then of course add a few more to even out the look. Mistakes can add a dimension you didn't think of before. 


Here is some closeups for you to look at:


Thanks for joining me and I hope I inspired you to check out this and other amazing kits at beearty.com.au . You can find more inspiration and links on BeeArty's facebook page https://www.facebook.com/BeeArtyHive 


Friday, 12 March 2021

Live Laugh Love Chipboard Canvas by Julie Schinkel

 Hi everyone, I'm up on the Bee Arty Blog today sharing an off the page project using the Bohemian Bliss collection. This project can be used as either a stand alone ornament, or a hanging ornament.  If you've received the Bohemian Bliss kit, you would see a 'plank' of thick chipboard. This is what I have used as the base for this project.


To start, adhere the chipboard to the floral side of the Wild Child 12x12 paper. Cut excess of and sand down the edges so they are smooth.
 

Ink all edges with Colour Blast White Gesso. I originally stenciled some feathers onto this piece but decided to go a different way (it happens when we are designing) so you can skip this step. It won't be seen on the final piece as it's hidden under all of the layers.

 
Cut a 2.5" x 8" strip from the B side of the Market Days 12x12 paper. Ink edges with Colour Blast White Gesso. Adhere to the left side of the chipboard leaving an equal distance between the top, bottom and left sides.

Trim down the pink quarter from the Patchwork 12x12 paper. Ink all edges with Colour Blast White Gesso. Adhere to the centre of the chipboard.

Random stencil some daisies using the Daisy Daze A6 stencil with some Colour Blast White Gesso and a sponge.


Fussy cut the floral and butterfly elements from the Bonus Cover Sheet

Fussy cut the banners from the Boho Tags 12x12 paper.
 
Adhere all pieces to the chipboard canvas as shown.

Cut the LIVE, LAUGH and LOVE from the Sweet Talker Word Sheet. Mat each work onto some of the left over teal paper from the Wild Child 12x12 paper. Doodle around the edge of each word with a white gel pen. Adhere to the chipboard canvas using foam tape.

Doodle lines around the edge of the pink later with a white gel pen.

Random adhere some teal sequins from the Bohemian Bliss kit and splashes of Colour Blast White Gesso mixed with water to finish.


You can add some ribbon to the top either by punching holes or using very strong adhesive to make this a hanging ornament if you wish.

Colour Blast White Gesso
 
Other Products Used:
Teal sequins from the Bohemian Bliss Kit
sanding block
white gel pen
sponge for stenciling gesso

I hope you have enjoyed this project. Thanks for stopping by.
Until next time, happy crafting!
Julie xx


Thursday, 28 January 2021

Family Love

 Hi everyone, Great to see so many people doing the most amazing creating. Today I'm here to inspire you to go back and find some of your left overs and even thou this has lots of fussy cutting it is a quick and simple layout to do.


 I used the papers from 'Grateful Heart' kit by Michelle to create this page.

The products included:

- Pages from 'Grateful Heart kit': Blessed (Words1), 'Love' (Side A), ' Faith' (Side B), 'Gathers' (Side A), Black Cardstock 'Together'(Side B edge)

-Colour Shimmer Dust: 'Lush', 'Amber', 'Sunflower', 'Peacock', 'Paris', 'Candy'


Firstly I cut out the flowers, leaves, bird, heart and phrase that I need to layer under the photos are chosen to use. I chose 3 that showcased our beautiful grandies and some of the special moments we cherished. 

I layered a piece of torn white wood 'Faith' paper and the edge of the 'Together' patterned paper over the top of the black 12"x12" cardstock which is in the kit and attached them together with double sided tape.

I use my phone to take photos of different placements of the flowers etc and review the photos to chose my favourite layout. Doing this then provides me with a copy of the final placement to refer back to when I glue it all down finally. I added some torn cardboard under the bird area to lift the bird up to give the page more dimension and with the photo of the boys using the binoculars it worked really well.


Using the colours of Amber, Paris, Sunflower, Candy, Peacock and Lush Colour Shimmer Dust I placed a very small amount into individual sections of the palette and added water to make a watercolour to paint my fussy cut elements. Several layers of colour painted on top of each other in different areas gives more depth to the page. 


For a deeper colour I placed a small amount 'Lush' powder onto my work mat and dipped my wet brush onto the powder and transferred it onto the sections I wanted dark.


I also added some paint along the patterned paper above the title phrase to bring in another colour element to connect the edge with the rest of the painted area. 


Here are some close ups for you to check out.


Thanks for joining me and I hope I inspired you to check out this amazing kit and others at beearty.com.au . You can find more inspiration and links on BeeArty's facebook page https://www.facebook.com/BeeArtyHive

Thursday, 14 January 2021

'Come in we are AWESOME' by Sandi Spink

 Hi everyone,

I'm really looking forward to the new year of creating ahead. I took the chance on my holidays to relax and enjoy some creative time. I'd like to share one of my projects with you. 

I always have some left overs from kits, so I thought I'd challenge myself and use them to create a page. This page was using the 'Grateful Heart' kit by amazing Michelle Grant.


I used: 12x12 page 'Love' and 'Blessed'(phrases)

Heavy White Gesso

Colour Blast Artist Ink 'Lime

Colour Blast Colour Paste 'Deep Water'


  • Using gel medium I glued some torn strips of old book pages onto the 'Love' 12x12 from the kit.


  • With a spatula I scraped Colour Blast 'Heavy white gesso' over the torn papers, wiping sections with a wet one to smooth out the gesso in some areas.


  • Using the spatula I applied Colour Blast 'Colour Paste Deep Water ' across the dried gesso using the wet one to blend the Colour Paste. 


  • Cutting out all the left over phrases from the kit page 'Blessed' I edged each with black ' Archival ink' before experimenting with a variety of placement and direction of text. I took a photo of where all of the phrases, old negatives and some photos were before individually gluing each into place. Some of them I added small pieces of cardboard to the back to help add height and dimension.  ( I later changed and added more photos to balance the page better)


  • Adding a small amount of the Colour Artist Ink 'Lime' onto the mat and into it dipped a small paint brush using it to splat colour onto the background. I covered photos and phrases with scrap paper to protect them from added colour.

  • I repeated the process with watered down white heavy gesso.


Here are few close ups to check out:


Thanks for joining me and I hope I inspired you to check out this amazing kit and others at beearty.com.au . You can find more inspiration and links on BeeArty's facebook page https://www.facebook.com/BeeArtyHive 


Wednesday, 13 January 2021

Today is a Gift Layout by Julie Schinkel

Hi everyone! I'm up on the Bee Arty blog today with a layout created with the new collection by Michelle Grant called "Grateful Heart".  Here is the completed layout plus a tutorial below showing how I created this layout.
 

 On a glass craft mat or messy mat, mix some Olive Grove Mica Powder with some water. Smoosh across the base with some scrap plastic.


Take a sheet of Bee Arty white 350gsm paper, trim off an inch from one side and adhere the two spotted/lacey strips from the "Gathers" 12x12 paper to the top and bottom to form a 12x12 base.


Using the Lined A5 Stencil, lightly stencil an "L" shape over using black archival ink and a blending brush or sponge. Using the Starry Night A6 Stencil, stencil some Olive Grove Colour Paste (or Sage if you have the kit) over the area where you smooshed the mica powder/water mix. Turn the stencil as you go to give a more random look.

Next fussy cut the floral cluster from the "Love" 12x12 paper excluding the bird cage. The image below shows where it will sit on the layout.


Fussy cut all elements from the "Family", "Gathers" and "Bonus Sheet" as shown in the images below. You may use more or less elements if you wish. The photo and title layers have been adhered with foam tape for extra dimension.


Here are some images of my layout from different angles so you can see how I've created and embellished the page.


Bee Arty Products Used:
Other Products Used:
Black Archival Ink
Foam Tape
Pearl/Gemstone Embellishment (for the bow)
 
I hope you have enjoyed this project. Thanks for stopping by.
Until next time, happy crafting!
Julie xx