Showing posts with label Soot. Show all posts

Monday, 10 May 2021

Breathe, Relax & Unwind by Charmane Koch

 Hey guys! Hope you all had a lovely Mothers Day! I did! Didn't do much, but that's the way I like it!

Today I am sharing with you a layout I created using the awesome Finding Paradise Collection.


I have discovered how to emboss my Die Cuts! And it's a bit fiddly but the effect is AWESOME!


Using my Die Cutting machine, I have cut out the gorgeous Flowers of Paradise

Then on a folded piece of copy paper I have inked with Watermark Ink...


Then poured my Punch Embossing Powder over the top...


Folding the paper underneath in half then makes it easier to pour the excess embossing powder into the container again {I'm sure most of you experienced people would know this trick!}

I've then got the Heat Gun out to set the Embossing Powder.


And as you can see in this photo it gives a really shiny pretty look to the Die Cut! I'm stoked!


I have used from the Finding Paradise Collection:


I've also used Bee Arty:
And splatted with watered down Mica Powder - Soot, Apple of My Eye & Peach Nectar

Thanks for popping by & hope I've inspired you to get out your Die Cuts & Embossing Powders! So much fun! 


Happy Creating!
XO Charm

Monday, 22 June 2020

'Live Your Art' by Amy C

Hi everyone, 

Today I am sharing a simple layout using the gorgeous papers designed by Michelle Grant.

I have done some stamping and stenciling work here: I elected to do very little mixed media work as wanted the papers to be the hero.


Over the gorgeous patterned paper I stamped in various spots using the Meridian Clear Stamp Set designed by Michelle Grant.

To add a bit of bling, added some stars around the page with some 'Bling' Colour Paste through a 'That Way' A4 stencil

Next, I added some splatters randomly over the page with both 'Road Base' Colour Spray and 'Soot' Colour Artist Ink  


For the layers behind the portrait 3x4 size photo I used 'Courage', 'Progress' and 'Muse' papers, also by Colour Blast and designed by Michelle Grant.

The 12" x 12" 'Muse' sheet was the background paper use here.


For my little cluster next to the quote I used chipboard by Kinder Kreations and a handmade embellishment by Charms Creations. I gathered some flowers and sequins lightly around here.


Finally, for my title I cut up a quote from the 'Courage' patterned paper. These words matched so well with the theme here. 


Products used:
Courage, Progress, Muse patterned papers.

That's it for today! I hope it has left you feeling inspired to have a play.

Thank you for popping by,

Amy


Monday, 20 April 2020

'All things grow better with love' by Amy

Hi everyone! Last month, Bee Arty had a creative challenge. The theme was 'Flower Power'. I was super-impressed with the fantastic entries that came through: thank you Bee Arty fans!

So today I am sharing a page inspired by the 'Flower Power' theme...


...and this is my take on it...


I created this colourful page by using various Colour Artist Inks, stamps and a stencil from the Bee Arty Store

I started by using Colour Artist Inks mixed with water inside my hand drawn circles. I applied one colour at a time using the following colours: 'Citrus', 'Oasis', 'Slipper', 'Mermaid' and 'Cider'. 


Next, I placed the white cardstock ready for my stencil pattern. I dipped the Bee Arty 'Devotion' A4 Stencil in 'Road Base' Colour Spray mixed with water. I then transferred it across to the coloured areas on the white cardstock and allowed to completely dry.


To continue with this flower theme, I stamped in various places with the 'Floral Delights 2' Clear Stamp Set by Colour Blast. N.B. I used a permanent based ink in black. This is advisable, as it prevents the ink from bleeding and allows for sharp images.


Before I added the photo to the page I added splatters over the background with the Colour Artist Ink in 'Soot' and allowed to dry. I then embellished the page with paper flowers, doily, chipboard by Kinder Kreations. 

The title was a rubon from my stash.

Take a look at these close ups.


Here are the products in store that I used:

Colour Artist Ink - Citrus, Mermaid, Oasis, Slipper, Cider and Soot
Colour Spray - Road Base
Stamp - Floral Delights 2 Clear Stamp Set by Colour Blast
Devotion A4 Stencil by Bee Arty

Other products:
White card stock
Permanent Ink - Black
Fan brush (for splatters)
Paper Flowers 
Doily
Chipboard by Kinder Kreations
Black Sharpie Pen

That's it for today! Thank you for stopping by. Amy ðŸ˜Š


Wednesday, 4 March 2020

'Celebrate' by Amy C


Hi everyone! It's Amy here! ... am super excited to be sharing my first DT post for Bee Arty!


I have here a bright and fun mixed media page using various - but all awesome - Bee Arty products. 

To start, I primed a piece of white cardstock with Colour Blast White Heavy Gesso. It is important to prime your page before working with wet mediums as a means to protect your page. 

Once dried, I lightly marked where my photo was to be placed. This helped me as I added the mixed media layers to the page.


Next, I took the Bricked A6 Stencil and used a spatula to spread some modelling paste through the stencil over the page. You could then either set aside to dry or use a heatgun to speed up the drying process. 


After it dried, it was time to add some colour, but before I applied some colour - using the Colour Artist Inks - I lightly sprayed water over the areas where the colour was to be added. This allowed the inks to easily run on the page creating the desired effect.


I started with the Colour Artist Ink in 'Slipper' first and gently squeezed over various areas of the page as pictured. It is quite concentrated and super bright. I moved the page around to allow the ink to run a little. I heat-dried this colour before moving on to the next colour.


As pictured, I have repeated this process for three colours: 'Slipper', 'Citrus', and 'Cider'.
Note: it is important to dry well in between each colour, to prevent the colours 'bleeding' into each other. 


Next I took the 'Life is Tough' and 'Textiles' Clear Stamps Sets and - with a permanent-based ink - stamped over the coloured areas. These stamps work so beautifully - and so I used them vertically and horizontally around the page.


Next I added some splatters of the Colour Artist Ink in 'Soot' mixed with water. You could use either a fan brush or a normal small tipped paint brush for this. 


Before I adhered my photo to the page, using a permanent black pen and a household item I drew a circle and placed the photo inside the circle.


Once the page background was complete I finished it off with a few embellishments. 

Have a look at these close ups:


Thank you for looking and I hope this might inspire you to try some of these techniques! 

Amy


Products Used:
Clear Stamp Sets - Life is Tough and Textiles

Other Products:
Heavy white cardstock
Spatula
Paint brush
Water
Black permanent pen
Black permanent ink


Friday, 18 October 2019

ACCEPT IMPERFECTION by Suzy Loudon

With Halloween nearly upon us I felt inspired to create something spooky. So here goes.


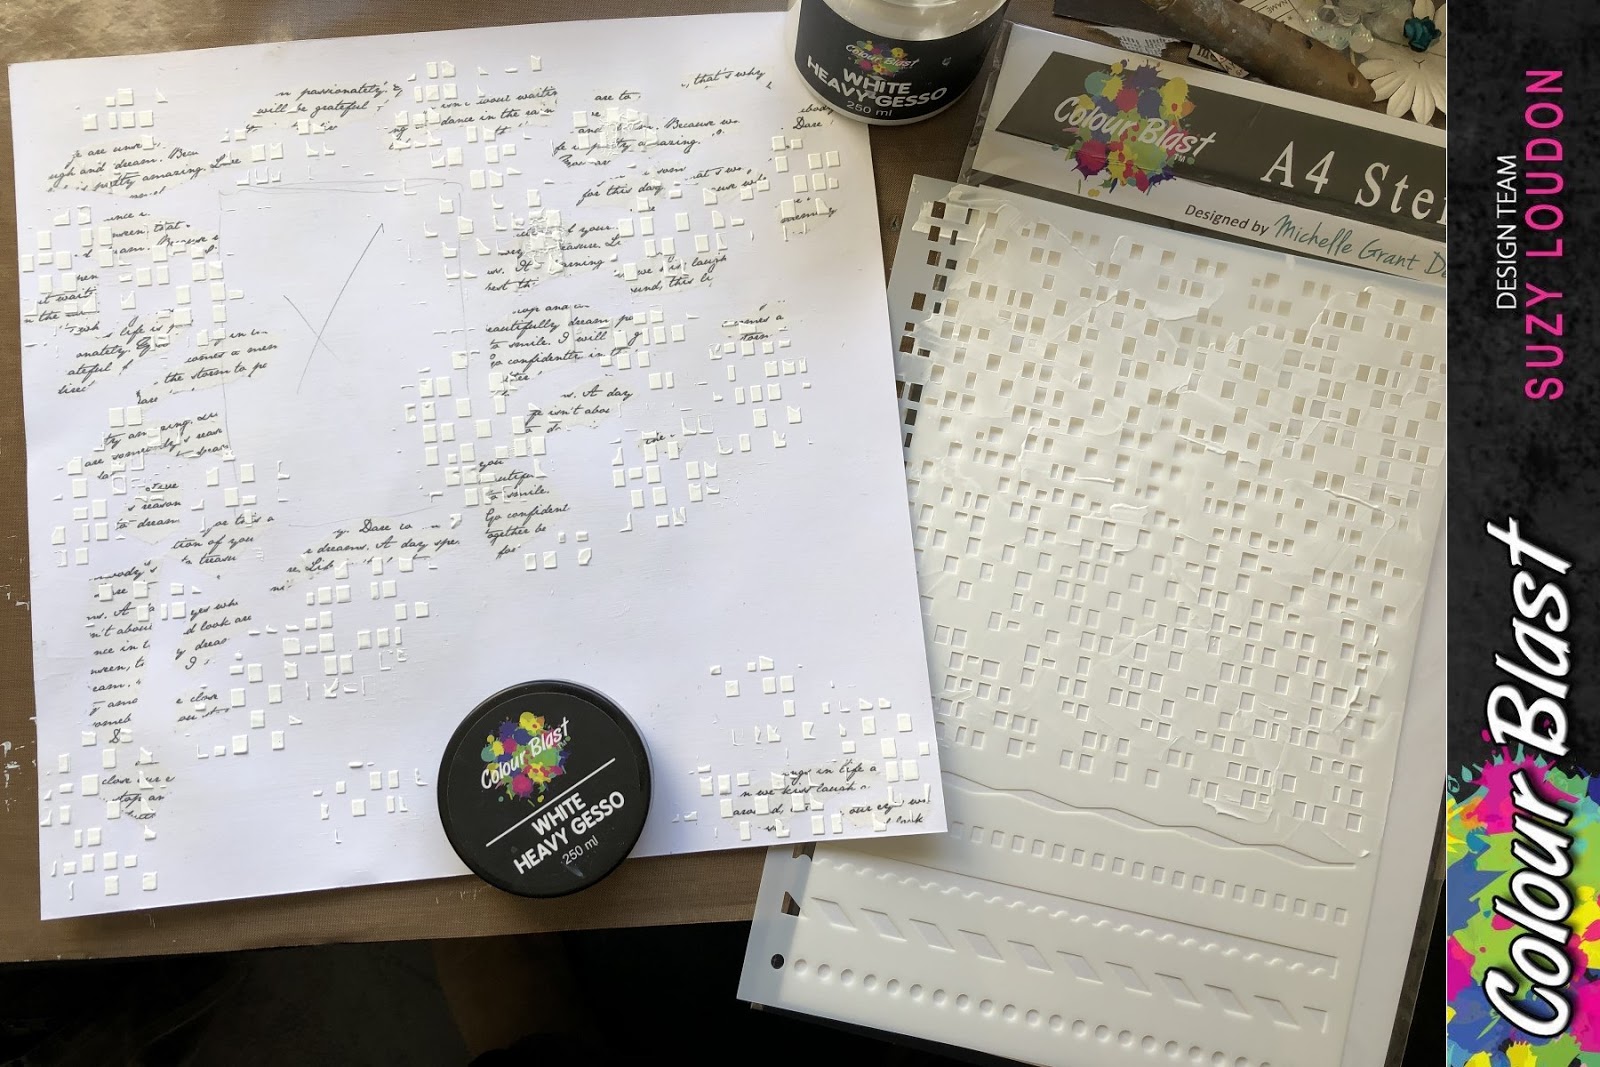
To begin with I tore up some print paper then using a clear gesso sealed the whole page.


Using the Imprinted A4 Stencil I spread Heavy White Gesso around the page.


I sprayed my page with water before dropping Spice & Cider Artist Inks. Tilting my page around I dried it with a heat gun, moving the ink around.


I did the same thing with Soot Artist Ink. As the water was sprayed it did slightly re-activate what was dried changing it all over again.


I watered down some Heavy Black Gesso & splattered it around before painting around the edges.


Using the Black Gesso I then painted some metal charms. I later rubbed some coloured rub on them to highlight.


Using Road Base Colour Spray I coloured some muslin & dried off gently with my heat gun.


Using Steel Embossing Powder I embossed some chipboard.


Then embossed my other chipboard with Dusty Charcoal Embossing Paper.


Using my Shimmer Pen I went over my black web die cuts.
Then it was time to put it all together & I'm done.


With the sale of Colour Blast Australia you can get to the new website via any of my above product links or here...  https://beearty.com.au/

Alternatively you can check things out on Facebook


Thanks for looking
xxx Suzy