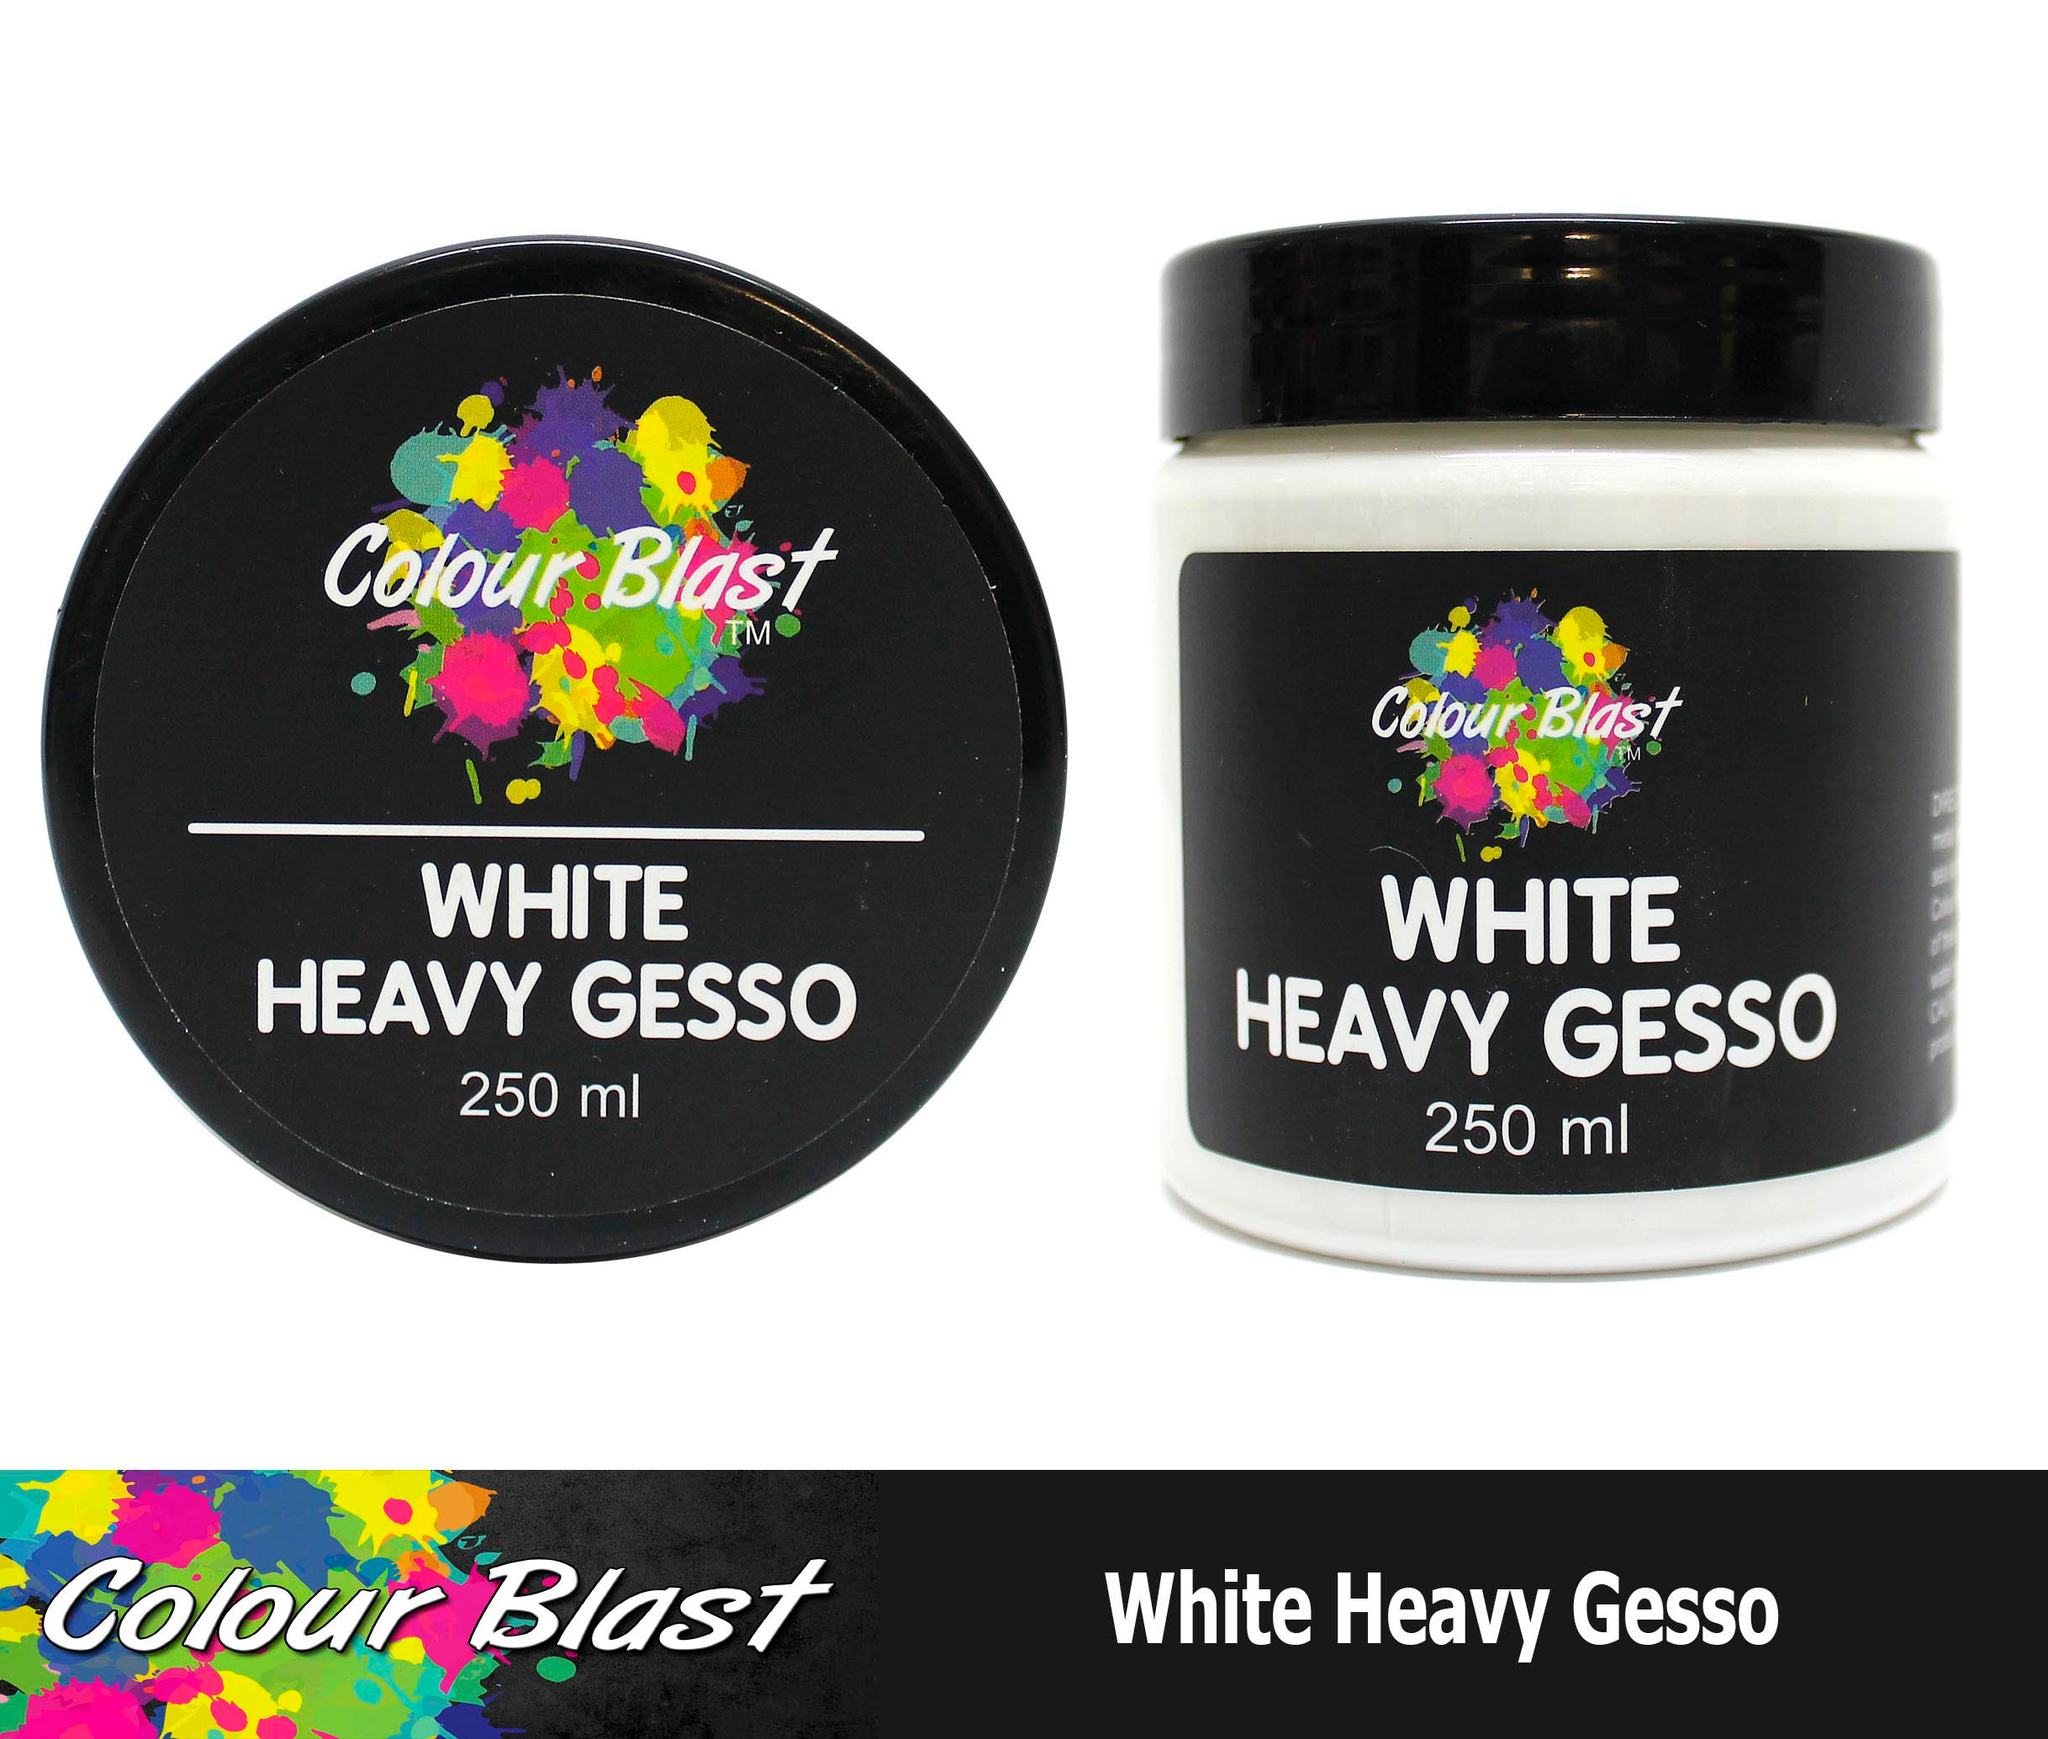
Showing posts with label Heavy White Gesso. Show all posts

Monday, 6 February 2023

My Happy Place by Charmane Koch

 Happy Monday!

Today I want to share with you a recent layout I created using mostly the Saltwater Collection, which I absolutely love - it's definitely a fave! It was very hard to photograph and capture all the shiny, see through, glittery textury bits!

I started off by using a background I had created using the famous Amy Churchward Bubble blowing technique {it's in the Bee Arty Hive I think!} using Apple of My Eye & Polar Mica Powder and water.

I have then with a mix of HeavyWhite gesso and Polar Mica Powder stencilled the Under the Sea Octopus tentacles on the left and right of the cardstock, and starfish a couple of times onto my page.


I have used lots of different embellishments from the Saltwater Collection - I've cut out the Waves Die & used the Silver Mirrorboard Paper - I stuck these on at the end.


I coloured my chipboard title by painting with gesso first, then once dried I've added the Peacock colour.

I also cutout the Moonrock die to add behind the photo to mimic coral, 

I finished off the layout by adding the School Of Fish stencil and Snow White Colour Paste - overlapping under and over the vellum/cut outs from the Saltwater paper collection.


I love how this layout has turned out with so many different elements overlapping...


the colour of the title matches perfectly with the photo.


I hope I've inspired you to get out your Saltwater Collection bits and pieces to have a play! {Moon Rock is from the Moonshadows collection though}


Thanks for popping by! Happy creating!


XO Charmane

Tuesday, 17 May 2022

"All You Need Is Love" by Charmane Koch

 Hello & Happy Tuesday to you all!

Well, I have just got back Sunday night from a lovely Bee Arty Retreat! And it was definitely what I needed to refresh & reboot! Although now, I am in recovery mode - Retreat Hangover! LOL!

Thanks so much to Paige for EVERYTHING! I would be beside myself, with last minute changes to the venue & sorting everything out! But it did in the end, and it was AMAZING!

Anyway, so while I was there I managed to scrap a "few" layouts - too much chatting does limit the amount to create!

I wanted to share with you one of the two layouts I created based on the May Moodboard/Sketch Challenge at Bee Arty... 

I went with the colours and added a few flowers based on the image of the flowers too....

I started off by gathering all the Bee Arty colours - Candy, Sunflower, Apple of My Eye & Blush - either in Mica Powder or Shimmer Dust - splattering these colours to Bee Arty Thick White Cardstock that I had added White Heavy Gesso too.

I have then collected some bits and pieces that I have accumulated on my scrappy table to create clusters around my photo. The photo I have matted using one of the lovely NEW Bee the Sunshine papers, I have also backed the White Cardstock with Bee the Sunshine Paper too.


I've coloured the #bestday chipboard with Wine Shimmer Dust & also the Diamond Metal Die.


I've stamped the cute Man & Woman stamp from the Scrabble - Clear Stamp Set randomly on the page using the Apple of my Eye Mica Powder & Water.

Here is the end result...


So, if you haven't already make sure you give it a go if you haven't already!


PS... here's a sneak of the other layout I created based on the sketch.... using the NEW Snow White Shimmer Spray - it's so gorgeous!


Thanks for popping in! Now, time to get scrappy!

XO Charm


Friday, 14 January 2022

Love Us by Charmane Koch


Happy Friday Everyone! OOHHH it's one month until Valentines Day... so this layout is kind of perfect to get into the swing of things - hahah!

I decided to have yet another play with the Chit Chat Collection - wow how many layouts I have created using this fantastic collection now? Is it 4 or 5 maybe?


I started my layout off with a background I created recently using the Boxed In Stencil, some Heavy White Gesso and sprinkling on some Aquamarine Embossing Powder. I have then dried it with a heat gun.


How therapeutic is it watching the Embossing Powder bubble away??? Or it just me?


So I did that background back in December - as I did it on my "Mask On" layout and wanted to recreate the background and maybe show you how I did it? Who knows... that was sooo last year! heheh...

I decided that it was time to use it and the Aquamarine colour matched perfectly with the Chit Chat Collection Papers... 

The other night, I wanted to scrap but had no mojo, so instead I got out this piece of paper and did some fussy cutting....


and yay.... {PS - I am not normally a fussy cutter, so don't look too close!}


So to put the page together it was all about layering & playing around with the bits and pieces I cut out. I also cut out the Grungy Filmstrip Metal Die  using Black Cardstock


It's perfect for a frame around photos, and also ripping the smaller filmstrip in half I have tucked underneath the other layouts on my page.


I then got out the fabulous Scrabble Stamp - how awesome are the alphas? 


I stamped US onto one of the Chit Chat patterned papers to create my title...


I also used the cute Male/Female stamp on the Charms Creations DIY flag, and you will see I have stamped it all over the background. To create a different effect I have used a mix of Gel Medium & Slipper Artist Ink!


I also used the Happy Clear Stamp "Together is my favourite place to be" - this will be IN STOCK SOON!

How cute is this "love"?


And the FULL layout! Really had fun playing with this!


Thanks for popping by and I hope that I have inspired you to have a play with the Chit Chat Collection! It is a LOT OF FUN!


XO Charm

Saturday, 20 November 2021

Such A Blast by Tracey Campbell

 Hello and welcome to the Bee Arty Blog, I am Tracey Campbell and today I get to have some fun with the Bee Arty Mini Collection Electric Dreams. This is such a bright, bold, fun collection that it wonderful to use with those photos of your kids that you haven't been able to sue. You know those photos that you have of them having an adventure in a busy colourful environment. Places such as busy play grounds, fairs, theme parks even shopping centres. Those photos that don't seem to go with any other patterned papers. 

I've used a photo of my youngest daughter Paige, we were at Luna Park and she had just gotten off the large indoor slide and followed the pathway around to the stairs. At the bottom of the stairs there was a grate and coming from the grate was the best blast of air, so hard a pressure that it actually changed the look of you face. Not heard enough to hurt, but enough to make it so much fun!!

For the base of my layout I used the the black with geometrical lines and the patterned circle papers from the Electric Dreams Mini Collection to create my background. I inked the edges with black ink and adhered 3/4s of the circle paper over the top of the geometrical lined paper. When adhering the patterned circle paper onto the black geometrical lines paper I made it slightly angled and off centre. I did this on purpose as I knew that my page was going to be a fun messy page and I didn't want to align it too much. If this is not your style then you can adhere it squared on your page.

Next I wanted to add more colour onto the background so I added splashed of colour. I did the by first adding flicks from the straw of the Road Base Colour Spray. I then added a fussy cut zig-zag strip (cut from the zig-zag Electric Dreams patterned paper) down the left hand side of the background. 


After it was dry I still wanted more colour so I mixed some Heavy White Gesso, a dash of water and Colour Shimmer Dust to create three different colours of watered down Gesso paint. The colours I used of the Colour Shimmer Dust were; Sunflower, Peacock and Candy. 


While it was drying I decided on a title and used some 220gsm Black Cardstock and the 365 Alpha Metal Dies to cut out the word "Such A Blast". The 365 Alpha Dies are such an easy way to create your own custom title and they are such a fun font that they look great with any layout.


I then adhered a landscape photo into the middle of the background, fussy cut a few elements from the cut-apart-sheet from the Electric Dreams Mini Collection and stuck them to the bottom corner of the photos. 


I added the 365 Alpha letters over the top of the photo to create the title and popped a tiny bit of journaling across the bottom of the page with a white paint pen to finish it off.


Here is the finished layout, I love the contrast of the black against the white and the bright colours in the Electric Dreams Mini Collection it makes it such fun to work with and really turns any layout into a statement piece.


Thanks for stopping in and I hope that I have inspired you to have a look at this collection and add it to you cart. Take care.

Hugs
Tracey


Sunday, 19 September 2021

Fierce Mind Brave Spirit by Belinda Spencer

 Hello Arty Bees!!


It's Belinda here today to share my latest layout created for Bee Arty featuring the awesome Graffiti Grunge collection.


I cropped a sheet of the fabulous 350gsm White Cardstock and mounted on a sheet of heavy weight black cardstock from my stash. I then spritzed the focal area quite heavily with water and sprinkled some Midnight Colour Shimmer Dust over it. I used a soft paintbrush to move the colour around and to 'mix' the Shimmer Dust and water together. I used the same paintbrush to pick up the colour from the really wet parts and flick it over the page.


Next I cut out the tags I wanted to use from the Perfect Tag Sheet. There were still plenty of tags left over to make another layout or some cards. I inked the edges of the tags with some Cobalt Archival Ink.


Next I added some stencilling using the Gridlock A6 Stencil and White Heavy Gesso. I love how when the gesso dried it had picked up some of the individual colours that make up the Midnight Shimmer Dust. It gave it even more of a grungy look.


I added a little more stencilling. This time I mixed up a little of the Midnight Shimmer Dust with water in a palette and painted it through the stencil on the page. It gave a really messy watercolour effect pattern which just added to the grunginess. 
Once the layout was dry, I layered on the tags and added some cogs and the light bulb using the Cog Globe Metal Die Set with the white cardstock.


I added my photo and a cool chevron from Charm's Creations. I finished by fussy cutting some appropriate words from the Be Yourself  Word Sheet, inking the edges with Jet Black Archival Ink and adding to the page. I used a black journaling pen to add some doodling to the die cuts as well as scribbly borders around the words to make them stand out more.


Thanks so much for stopping by the blog today. Make sure you keep an eye out as this layout will soon be available as a kit so you can create your own version of this layout.

Cheers
Belinda