Showing posts with label Colour Blast Colour Spray. Show all posts

Sunday, 19 June 2022

Years Ago by Tracey Campbell

 Do you ever look back at your creations and reflect on all you have done? Well today I have taken a step back in time ..... back to before Bee Arty was Bee Arty, it was Colour Blast, the journey from then to now has been awesome with great quality products and the introduction of the Collections. Many things have come and gone but the one great tried and tested product that has remained is the Colour Blast Spray in a huge range of bright bold colours it is a staple in any scrapbookers stash. 

Today I am going to share with you three different layouts that I created using the Colour Blast Spray, doing three different techniques. I created the blog post way back in 2017 and I still use the Spray and these techniques to this day.

For the full step by steps pop back in time to this Blog Post: 1 Product 3 Ways.

Splatter Technique

Stencilling

Dribble Technique


Well just a quick reflection from me today, hopefully this makes you want to go back into the archives of the blog and have a look around.

Hugs
Tracey 


Monday, 28 March 2022

The flowers and the butterfly - natures true love affair… by Linda Pearson


For today's blog I let my imagination take me to a place of fantasy and beauty.  Using the Flux and Foliage stencils to create some fantasy flowers to attract its winged lover.  The Bee Arty stencils provide a wonderful avenue for challenging your creative mind to produce wonder journal pages or photo layouts.  Enjoy the process.


Colour Spray  – Bubblegum, Caribbean Colourblast colour sprays

GessoBee Arty heavy primer 250ml  white

Flux A6 stencil

Cascading leaves A5 stencil

Butterfly A4 stencil

Sparkles 12”x12” cardstock paper (Fireworks collection)

Mica powder  sunflower, cobalt, lollipop Colourblast mica powder

Catalyst silicone mini blades tool

Dina Wakley Acrylic paint - (Lemon, Orchid, Syrup, Green, Olive, White, Orchid, Magenta, Fuschia)

Modge Podge Dimensional Magic

Nuvo Crystal Drops white

Silver Rhinestones

Moulding Paste (texture paste)

Makeup sponges, Paint brushes,

Silicone Spreader Tool


Apply 2 coats of Gesso.  Dry off.


First background layer -  2-3 green colours into paste through the Cascading leaves A5 stencil over the entire page by tapping the paste with a silicone sponge.  Can add some white Gesso to lighten the green paint.


Second background layer – Apply a second spread of green colours through the   Cascading leaves A5 stencil – this time turn the stencil on angles over the entire page again.  Dry off.


Third background layer – For this layer apply Gesso through the Cascading leaves A5 stencil again changing the direction of the stencil to cover some of the gaps in the previous layers.  Dry off.


        Flowers – Create 3 flowers on left hand side of page. 

Using the Flux A6 stencil to create abstract flowers, mix quantities of  DW orchid (light shade), Magenta (medium shade) and Fushcia (dark shade) into the moulding paste.  Pounce the light shade through the stencil using a makeup sponge.  Repeat this process using the medium shade then the darker shade in turn to add depth to the petals.  Dry off between each pass.


Stamens – Mix some DW lemon paint into a small amount of moulding paste.  Swipe a good amount of paint through the berry shapes on the Foliage A4 stencil to resemble flower stamens.  Add one stamen to the centre of each flower.  Dry off.

Use a stipple brush to tap some textured lemon paste into the centre of each flower.


Add white dots around the stamens and on some of the petals using the Nuvo crystal drops.


Add silver rhinestones to the stamens and on some of the smaller petals using dimensional magic.  Use a paint pen to highlight around the textured shapes.


Add spatters of paint in DW fuschia and olive over the entire paint (not flowers).  Dry off.


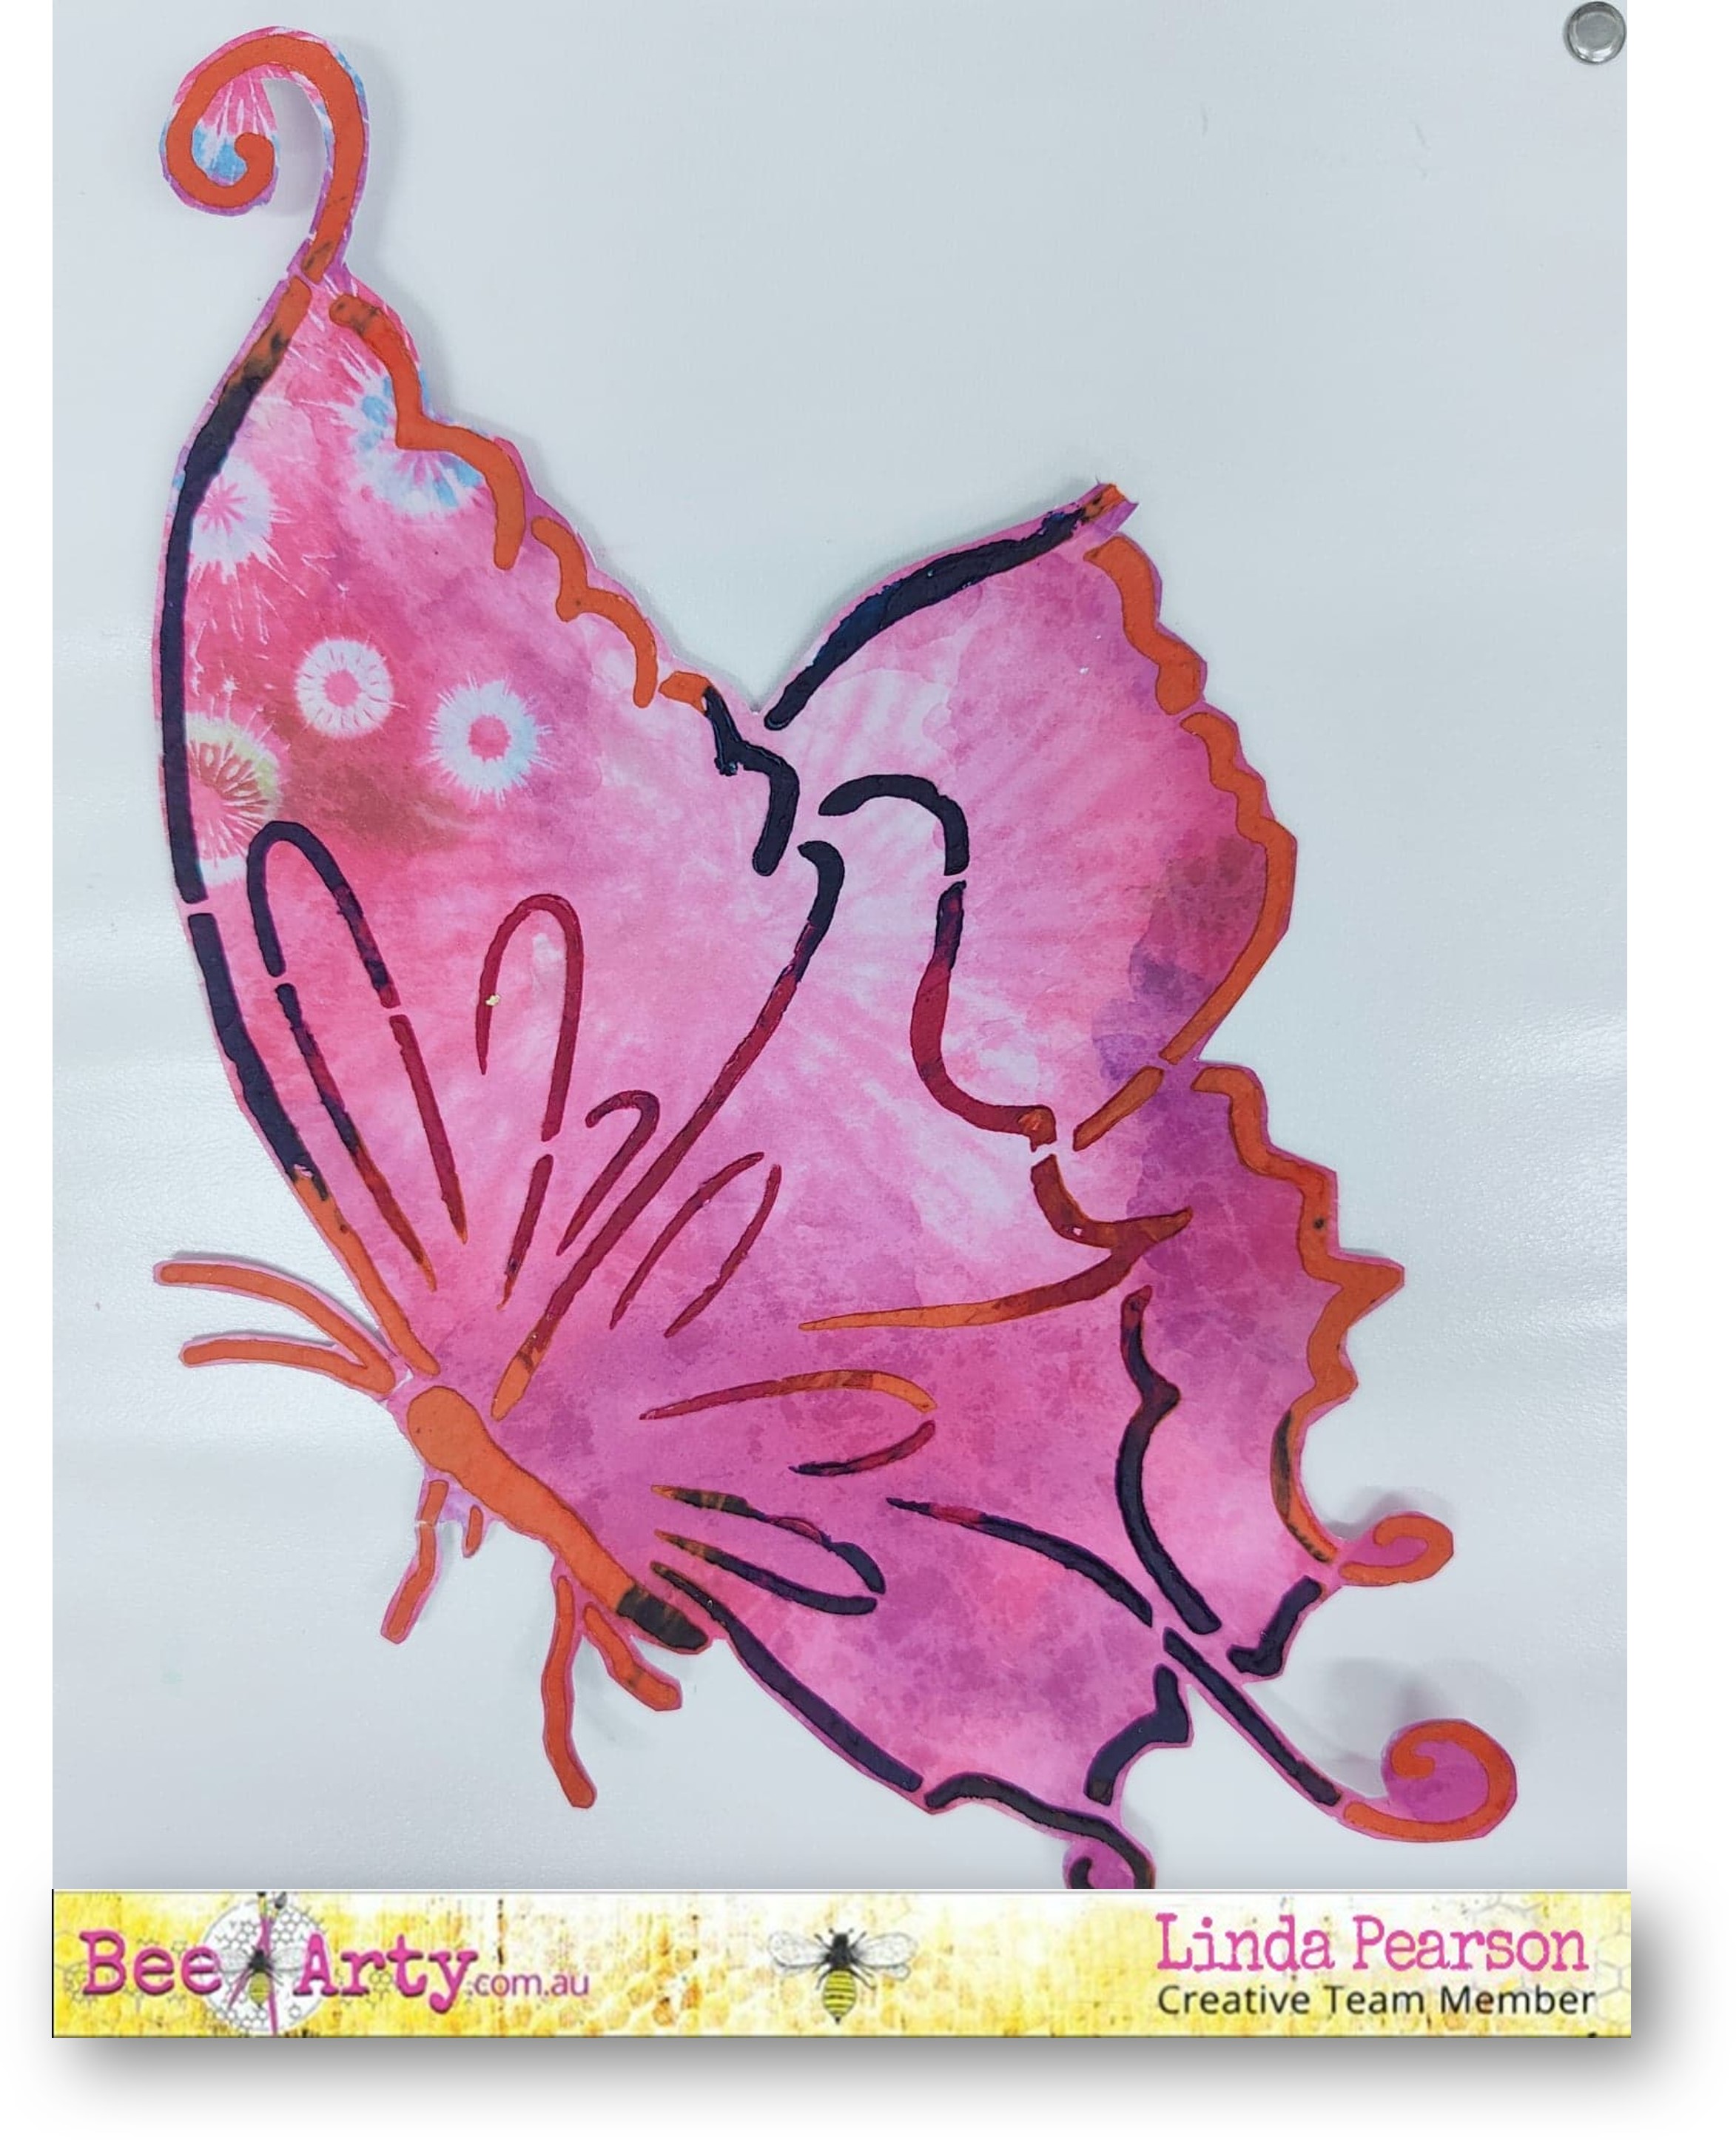
Butterfly – Use a sheet of Sparkles 12”x12” cardstock paper as a coloured base to add Butterfly A4 stencil. Mix small quantities of moulding paste, adding Mica powder  sunflower, cobalt and lollipop.  Spread the 3 colours through the Butterfly A4 stencil.  Allow to dry. 

Spray some Colour Spray in bubblegum and Caribbean to the butterfly shape, spray with water to spread (Note:  some of the colour in the moulding paste outline will move also).  Cut out the shape from the paper when completely dry.
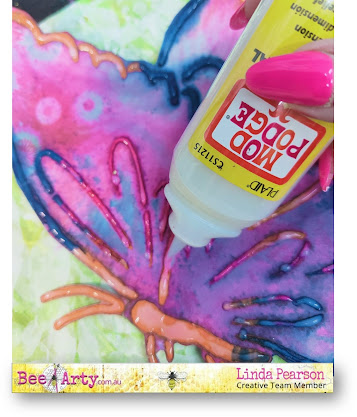


Add dimensional magic and silver rhinestones over the textured shape to add shine and dimension.


Adhere the butterfly to the right-hand side of the page using mounting tape. 

Add silver rhinestones to the butterfly with dimensional magic adhesive.

  Outline the butterfly with fine black paint pen.

Add the sentiment to the page and border to the page with paint pen.


Thank you for stopping by and hope this project has triggered your imagination to create your own fantasy page.

Bye for now from Linda

linda@yourcreativepalette.com.au


Sunday, 27 February 2022

Love This by Tracey Campbell

Hello everyone, Tracey Campbell back again to share with you today. Did you know that Bee Arty has a monthly challenge? You didn't !! Well if you would like to find it head to the Bee Arty Hive on Facebook, here you will find the challenge along with all sorts of inspiration from the Creative and Design Teams, beautiful layouts that the members of the Hive have done, along with a group of friendly lovely people ready to say hello and welcome you.  I used the Bee Arty February Challenge as inspiration for my layout, so grab a cuppa and sit back with me as I take you though my process.

The February Challenge was a sketch challenge with beautiful hues of purple. Now you do now have to use both the sketch and the colour palette together if it is too challenge. You can simply do the sketch or just use the colours. The choice is yours.
I deicide to give both a go.
I started by going through my stack of Bee Arty paper supplies to see what purples I had. I found lots of smaller pieces of  paper left over from the Trend Setter Collection and a piece of Symbolic from the Three Six Five Collection but I didn't find a complete 12x12 for the background so I had to create one.
To do this I took out a piece of  White Cardstock, the Vamp and Basket Background stamps
Using a clear Embossing Ink stamp the large image from the Vamp stamp set onto the centre of the white cardstock, the repeat so that the image spread across the base. See the photo below for the final placement of the stamping. You will only be able to see a slight image of the stamp at this stage, I have already applied Embossing Powder to this image below. Which is the next step I will take you through.
One at a time sprinkle some Colour Blast Embossing Powder randomly over the wet Embossing Ink and tip the excess back into the pots. I used Lovely Lilac, Blush and Rose Petal, all three colours beautifully match the colour selection for the challenge. Remember to sprinkle, then tip off the excess. Do not do another colour until you have tipped off the first colour or you will mix up the colours of the remaining Embossing Powders.
Next use a heat gun and activate the Embossing Powders. You will create a stamped background that has the image with various colours through it. 
Next use a purple ink and stamp the crosshatched flower image from the Basket Background stamp over the top of the Embossed Vamp image. Tip: I have actually cut the rectangle boarder off from the Basket Background creating two separate stamps. I did this simply by pushing through a very pointed pair of scissors through the blank corner of the stamp and cut around the Basket Background, being very careful where the two images get very close to each other. It can be a bit scary doing this but it gives you more flexibility with the stamp - creating two from one.
Next I used Lovely Lilac Colour Shimmer Spray and squirted it around the page. Hint: When using the Shimmer Sprays if you press the squirt head down slowly it creates large drops, when you press fast it created a fine spray.
The photo below is how the back ground looked after I had finished spraying the Lilac Colour Shimmer Spray on it.

I felt it need a bit more contrast to the background so when dry I took the lid off the Royalty Shimmer Spray and flicked drops of it across the page using the straw as the tool to create droplets.
Here is the final background. 
Next I cut and tore two pieces of the purple papers from the Trendsetter and Three Six Five collections. I left straight edges on the top and left hand side of the paper and tore the edges of the right and bottom edges. I then used the Vamp stamp set and the Rose Petal Embossing Powder to stamp the left and bottom of the rough rectangles and set it with a heat gun.
I then adhered the paper rectangles together, overlapping the bottom right corner of one and the top left corner of the other. I repeated this and adhered the photos the same way. This created a funky shaped photo mat.
I then glued the matted photos to the background, see the final layout for the positioning. The next step was to create a rectangle boarder around the photos.
To do this I used the rectangle edge from the Basket Background stamp. I covered up my photos with some scraps of cardstock, so that they wouldn't get any ink on them. I then used some purple ink and stamped the rectangle around both photos. 
I then decided that the background didn't look complete I felt it need a bit more of a mulberry colour to it to complement the colour palette in the challenge. So I mixed my own colour using two Colour Blast Colour Sprays. I poured a small amount of Bubblegum Colour Spray into a container then added two tiny drops of Indigo Colour Spray. I mixed them well and added a boarder around the very edge of my base. I then added a drop of the liquid to the edge and blew through a straw to make the liquid spread out across the cardstock. 
I embellished the layout by adding some paper flowers.
The final step was to add a title. 
I am happy with how it has turned out, I do know I need some more purple tones and hues in my scrapping supply for the future as I am now out of them. They are not usually a colour I use much but I really like the monochromatic way it all looks.
Thanks for stopping by.
Hugs
Tracey


Sunday, 5 September 2021

Happy by Belinda Spencer

 Hello Bee Arty fans!

It's Belinda with you today to share my latest layout for Bee Arty inspired by the spectacular September Mood Board Challenge.


Here's a reminder of the mood board for this month:


The colours are so perfect for the new fluro range!

To start my layout I chose a patterned paper from the funky new Electric Dreams Mini Collection as my base. I then spritzed water on the page in the focal area before sprinkling on some Duke Shimmer Dust. I used a soft paint brush to manipulate the colour on the layout and also flick some of the colour over the page.


Once the layout was dry, I added some stencilling using the Ecliptic A6 Stencil with the Fluro Pink Colour Paste. Next, I added a scoop of the Fluro Pink Colour Mica Powder to a paint palette and mixed with a little water. I used a soft paintbrush to pick up the colour and flick it over the page. The pink really contrasted with the blue to give a vibrant effect.


I added some stamping using a stamp from the Embrace Change Say It Stamp Set and Jet Black Ranger Archival Ink.


I die cut some shapes from the 350gsm white cardstock using the String Wreath and Abstract Circles Metal Dies and coloured them with the Fluro Pink Mica Powder mixed with water as well as the Duke Shimmer Dust mixed with water and Lagoon Colour Spray.


I fussy cut some elements from patterned paper from the Electric Dreams Mini Collection. I used the Fluro Pink and water mix to paint the plus signs.


I layered everything on my page and added a couple of Charm's Creations fluro embellishments as well as some coloured wire


Thanks for stopping by the blog today. I hope you are feeling inspired to play along with the Mood Board this month too.

Cheers
Belinda