Showing posts with label Colour Embossing Powders. Show all posts

Friday, 18 October 2019

ACCEPT IMPERFECTION by Suzy Loudon

With Halloween nearly upon us I felt inspired to create something spooky. So here goes.


To begin with I tore up some print paper then using a clear gesso sealed the whole page.


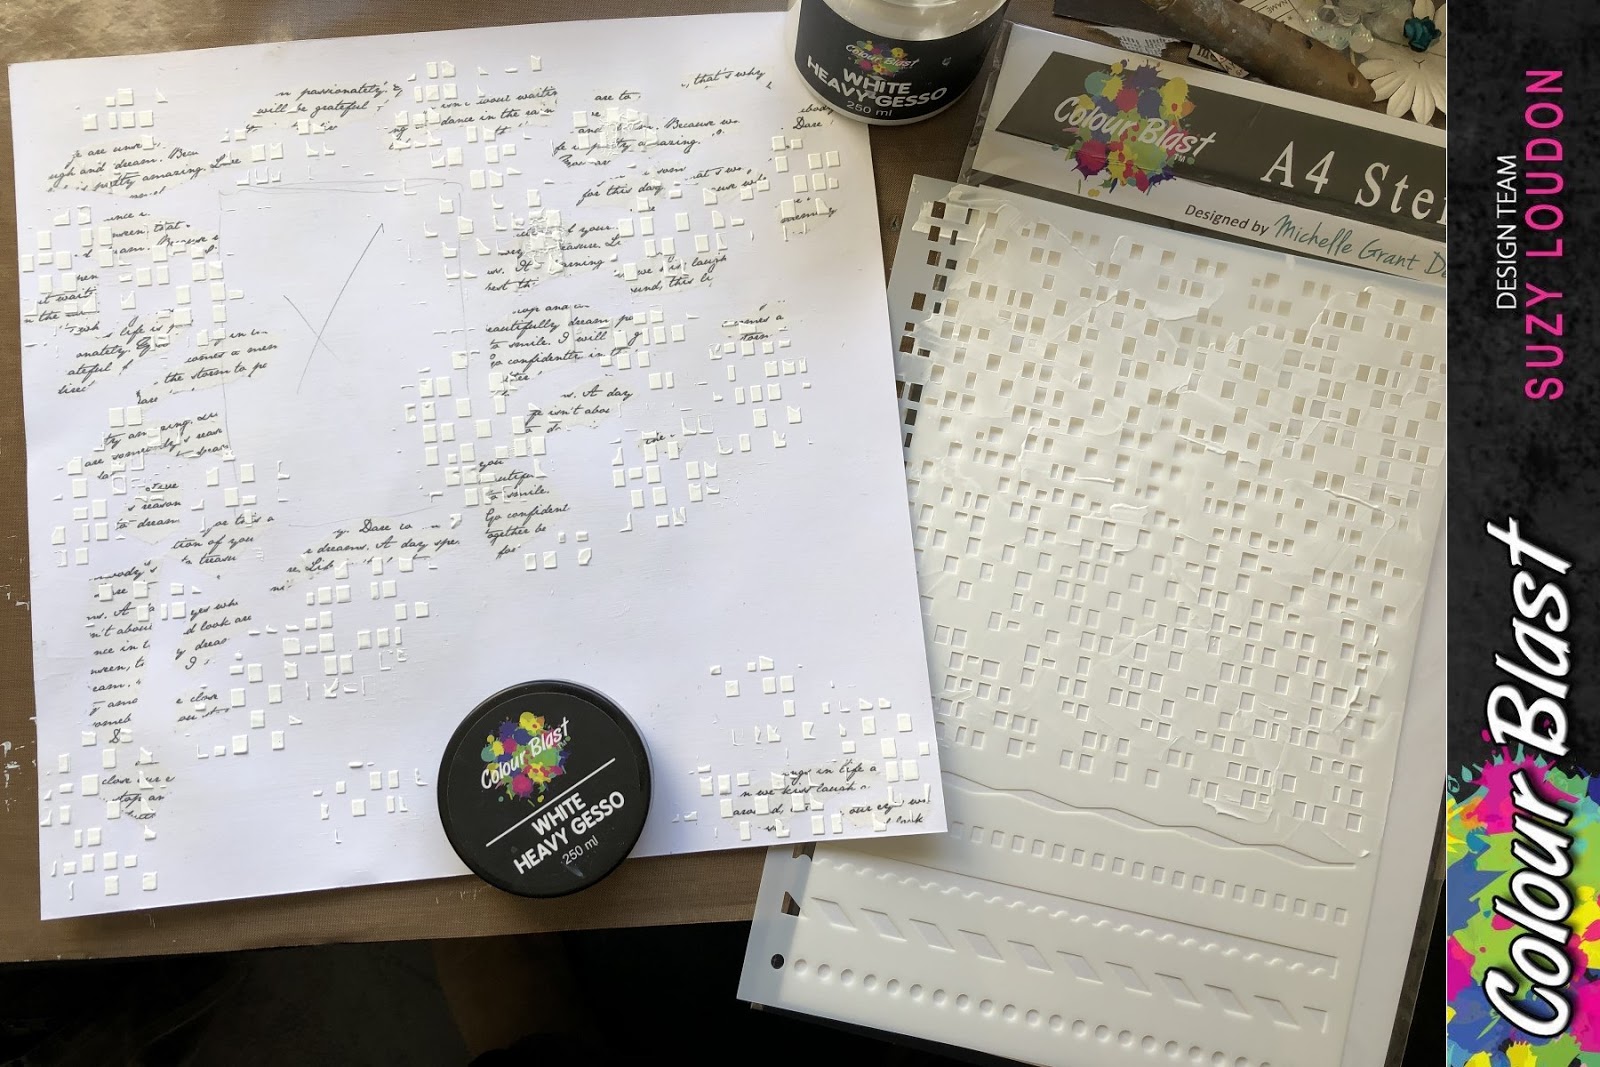
Using the Imprinted A4 Stencil I spread Heavy White Gesso around the page.

I sprayed my page with water before dropping Spice & Cider Artist Inks. Tilting my page around I dried it with a heat gun, moving the ink around.


I did the same thing with Soot Artist Ink. As the water was sprayed it did slightly re-activate what was dried changing it all over again.


I watered down some Heavy Black Gesso & splattered it around before painting around the edges.


Using the Black Gesso I then painted some metal charms. I later rubbed some coloured rub on them to highlight.


Using Road Base Colour Spray I coloured some muslin & dried off gently with my heat gun.


Using Steel Embossing Powder I embossed some chipboard.


Then embossed my other chipboard with Dusty Charcoal Embossing Paper.


Using my Shimmer Pen I went over my black web die cuts.
Then it was time to put it all together & I'm done.


With the sale of Colour Blast Australia you can get to the new website via any of my above product links or here...  https://beearty.com.au/

Alternatively you can check things out on Facebook


Thanks for looking
xxx Suzy


Tuesday, 23 October 2018

Grunge Heart - Kristy Abela

Hey all, Time for a bit of a teen layout...
I wanted to make something quick and easy, up-cycling some random pieces from my stash. I set myself an hour for this task and was so pleased with the result.. Can you find an hour too?


I kept the colours simple as I wanted a grungy effect. I only had half a heart I fussy cut from an old piece of paper so the layout formed around that. 


I marked out where the embellishments were going to be and started spraying with my Colour Spray in Road Base... I knew I wanted drippage so I worked with a water mister as well to get the spray to flow.


I didn't have any red spray on hand (put that on the shopping list) so I made up a spray with my Colour Artist Ink in Sunburst. I only used three drops in an teaspoon of water as I didn't want the colour to dilute too much.


I added some stamping to the background


I added some Colour Paste in Stormy Weather to add some texture to the stamped areas. Waited for that to dry... 


I used some Colour Embossing Powder in  Dusty Charcoal... Watered down some Colour Blast Heavy Gesso White and splattered the background... 
And reassembled my page!


Hope you can find time for a quick create this week. Pop your projects onto the Facebook page so I can see what you come up with in your One Hour Challenge!

Abela Artistry

Friday, 24 February 2017

Best Boss Ever- Fiona Hughes


Hello my crafting friends, I'm back today to share this layout of my youngest child, Angus & his Boss, Adam.
They have a really fun relationship, which I really wanted to demonstrate in this layout.


Ok, so first I started with the Colour Shimmer Dust in Midnight and Navy... First wetting down my heavy white cardstock and sprinkling the Colour Shimmer Dusts over the page randomly.
I then sprayed it some more water, to activate the amazing colours.


I dried this with my heat tool.... too impatient to let it dry naturally.
Once dried you can see the beautiful shimmer.... spectacular!


Looking pretty random right now isn't it!
Now I add some splatters using Colour Shimmer Spray Snow White &  Colour Spray -Sapphire
for some more detail.


While my splatters were drying, I again used the Colour Spray in Sapphire to colour my canvas star. I also coloured some medical gauze with  Colour Shimmer Spray- Stormy Weather, & allowed them to dry.


My background is now dry so it's time to add some texture.
I grab a stencil and some Colour Paste in Steel, and worked it through the stencil horizontally across the page.. and allowed to dry.


I chose a circular shaped piece of chippie &  heat embossed it, using Colour Embossing Powder- Snow White, to give a sort of cosmic vibe.


A few extra splatters in Colour Shimmer Spray- Stormy Weather & Colour Spray- Road Base to finish the background.

Then finally putting it all together, after matting this pic on some off-cuts of patterned papers.


Quite a masculine layout.  Thanks for looking. Until next time, happy crafting.

Cheers, Fiona.


Wednesday, 22 February 2017

Welcome Baby by Danielle Vertigan

Over the holidays we welcomed a New addition to our family.

So my project went out the window when I printed off some photos!
I'm a gushing Aunty after my sister brought this little bundle into our lives and boy 
does a baby inspire!


I chose black and white to capture the image.
I also seem to be really into the collaboration of 
blue, black and white.

My colour selection to get started is
Colour Shimmer Spray Singin the Blues
Colour Spray Caribbean

You will need Chipboard, Black Cardstock (Centre removed 
to mat the photo) White Cardstock
and a paint brush.


After layering the 3 sheets I positioned my photo and lightly marked the corners.


Now its time to crack open the New Heavy Black Gesso!!
This is without a doubt, Hands down the BEST black i have worked with!!
Thick! Luscious!
The coverage is amazing and quick drying! A very nice surprise!!


Using my dots as guides I painted my desired pattern on the cardstock.


Using the Colour Shimmer Spray first I spritzed the page well with Singin the Blues.
Caribbean Colour Spray is spritzed over the top adding more depth to the colour.
We are looking for the pooling as you will now need to lift your layout so
you can spread the colour to your desired pattern.
In stages add more colour as you work around the page.
(If you do the full page at once it can be difficult to maneuver as it will limit you)


You can add as much or as little as you like.
Set this aside to try.
If you have the time allow it to dry naturally for best results for smooth cardstock.
However by all means a heat gun is absolutely fine.


Drawing from the cute onesie I'm sticking with the stars.
To cover my area of Gesso you can see my stencil doesnt work.
Complete it in 2 stages.

My Colour Paste selection is


Starting with singing the Blues apply I applied it to my layout in random sections
I want to create a slight marbled effect so I followed
with Snowhite in and around the remaining area.
lapping the Blue and mixing the colours.

The window below makes the perfect frame for the little man.


I decided to dress this with a white chalk ink and 
Colour Embossing Powder in Steel
It matches perfectly!


I think you'll agree its the perfect dressing marrying the 
Black and White Photo with the Background.


A few flowers.
A touch of sequins and Vine are all
the embellishments needed 


I'm so happy with the finished result!!!
I hope your staying cool and have some time to craft..
Till next time
Happy Scrapping.....


Friday, 27 January 2017

MR Kitty Layout and Process Video with Anita Bownds


Hi there,
Anita here with you today sharing my layout and process video my last project for Colour Blast 
I've had a blast playing with the products 


So, today I'm sharing some fun with misting with stencils


I've combined 2 stencils the first one is text and the other stars.
I sprayed the first stencils with Rainforest Colour Spray and let dry
Then I sprayed the star stencil with  Bling Colour Shimmer Spray
To match my Colours of my patterned paper 

Here is my. Process video of how I created my layout 


I used Colour Embossing Powder in  Bling to emboss a butterfly stamp 


I also used the  Envy Colour Embossing Powder to emboss a flower stamp to go under my flowers 


Under both flowers I added the embossed flowers 


I hope I've inspired you to today 
A big thanks to Tenisha for having me on the team 

Happy crafting xx