Showing posts with label Fiona Hughes. Show all posts

Friday, 20 April 2018

Anzac Day 2017 - by Fiona Hughes


Hi crafters, Fi here again, for the final time, to share my layout.
One of my earliest efforts at using the Colour Mica Powder- Olive, along side Colour Shimmer Sprays - Leather & Stormy Weather.
I have held onto this page to post it at the appropriate time, so here it is, leading up to one of our Nation's most significant days of Remembrance.


I mixed a tiny amount of the Olive Mica powder with water, making a slurry of sorts. Using fully loaded watercolour brush I splattered & smooshed it in a triangular area to the left of my heavy gauge Marshmallow Cardstock. 
I then decanted a small amount of the Shimmer sprays and did the same thing, to make the following effect.


I allowed it to dry before adding a few splatters of Stormy Weather.

I gathered some aged & vintage looking patterned papers, fussy cut some poppies from photographs, a  themed flair button, tag, washi tape & chipboard tiny words. 
Layering & clustering until I was happy with the overall placement, before sticking it all down.


Take a look, and remember our fallen on Anzac Day.
LEST WE FORGET.

Well that's all from me.
Cheers,

Fi. x x


Friday, 6 April 2018

Today - by Fiona Hughes


Hi there, crafty friends. Hope your Friday is shaping up to be a good one.
I'm here to share my layout for today.
I began by choosing ordinary white cardstock, a  triangle stencil & my Colourblast  Heavy White Gesso. Using a  spatula, I worked the gesso through the stencil randomly over the page, (fairly generously) & allowed it to dry. 
I covered the entire page with a thin coat of clear gesso and helped this to dry with my heat tool.


Once dry, I trimmed the page on all sides and mounted it on a complimentary coloured cardstock, to stabilise it a little.
I picked 3 Colour Shimmer Sprays - Deep Water, Steel & Stormy Weather. Also ColourSpray  in  Roadbase.


I wet the page down a bit and used the smooshing (or packaging) technique with  Colour Shimmer Sprays - Deep Water and Stormy Weather.
While still wet, I splattered Steel & Roadbase over the page, using the spray nozzle, taken from the bottle, and waved about with a tonne of enthusiasm..
See how some of the splotches have run and some have dried more clearly..... I love the abstract nature of this technique, don't you?


Here's a close up of the smooshy effect with the splatters over the top. Cool huh!?


All that was left to do  was to mount my photo on black cardstock, then on a Kraft envelope, with a white label shaped die-cut in between.
Washi Tape, Tiny Words, 2 x Flair Buttons, Black Cotton, Blue Cotton, Wood Veneer Stars, plus some  black foam Thickers elements.


I love how these embellies frame the pic and highlight  the background that I've made with these awesome Colourblast products.


Hope you like my page. It is fairly simple with regards to techniques but.. I think it's effective.
Happy Friday my friends.
Cheers,

Fi. :)


Friday, 23 March 2018

Crazy Loved - By Fiona Hughes


Happy Friday my crafty friends!!
My post for today is of my beautiful boy, (at 15 months of age), Chad!
 He is just the cutest!.... American Staffy X Sharpei, all brindle and is known within the family home, as "the Brown Menace", for his very naughty antics.
I went with neutrals for this layout, as is my thing.
Heavy gauge Kraft cardstock, I had borrowed a stencil from a lovely friend and wanted to give it a go. I worked texture paste through the stencil, centred on the page (roughly, of course!)
After letting this dry I grabbed 5 gorgeous Color Blast Sprays to make my "watercoloury"-type background.
Colour Shimmer Sprays in - Leather, Sienna, Stormy Weather & Dusty Charcoal. Colour Spray in - Roadbase.


I wet down the page, generously, with water. Then with the chosen  Colour Shimmer Sprays, I sprayed over the stencilled area in random patches, allowing the shimmery puddles to coalesce.
I helped the page to dry, with my heat tool.
After that, I splattered, Roadbase over the page as an accent.


I decided that my page needed more texture. So I choose some background stamps and archival black ink, &  then stamped abstract, partial stamp prints over the stencilled background.


Moving on to the embellishments. I opened my wood veneer storage box and chose my title, arrow and chevron.  To colour these, the Colour Shimmer sprays in - Steel & Bling, and also Colour Spray in - Roadbase. I coated the pieces with several coats of the shimmery goodness, to achieve the desired effect.


I mounted the photo of Chad on scraps of "doggie"-type papers. I kept it  simple so as not to take away from the background.


Finally I added some tangled black cotton and co-ordinating flair button to complete the page.


And that's it for another pretty abstract layout.
I tend to stick to neutral bases but I love how the lovely fine shimmer just adds that special something.

Have a wonderful day everyone.
Until next time,
Cheers
Fi  x 


Friday, 9 March 2018

Swagger- by Fiona Hughes


Hi there Colourblasters. 
Here again, to share my layout for today.
This is my middle child, Ethan. He is a good looking young man at 19yrs old. He is a born leader and is involved in Herbalife. Regularly, he is asked to speak , do presentations, or give his testimonial. (Proud Mumma right here!)

So here we go! I picked some light kraft cardstock (heavy gauge), and the left over Colour Mica Powders (in- Olive Grove & Espresso), that I'd been using on another project.
Using a wet, soft paintbrush, I loaded it with the leftover medium, and splattered it over the page in a "+" shape, on the central part of the page.

Once dry, I splattered some of the awesome, Stormy Weather - Colour Shimmer Spray, in the same configuration.


Once this was dried I chose an irregular  spotty stencil, and, through it I smooshed Leather Colour Paste, vertical & randomly.


Take a look!.......


I let  the paste dry naturally,  then I was ready to put my page together.


Some lovely Australian designers...  I have kept it pretty minimalist for this layout, with just the small pop of green in the matt for the pic and the cotton nest for the flair button. I used a black paint pen to draw a border around the page to bring it all together.

Finally, a few sprinkles of Steel & Leather- Colour Shimmer Spray.


Hope you like it.

Cheers, Fi  x


Friday, 23 February 2018

Love Life - By Fiona Hughes


Hello Lovelies! I hope you have been managing to have some scrappy time in your busy lives.

Today my layout is on 12 x 12 watercolour cardstock, which I trimmed to mount on some deep orange Bazzil for stability again.


I grabbed a watercolour brush, a pointy palette knife, my water spray bottle & 3 warm toned Colour Shimmer Dusts- Sunflower, Amber & Candy.

So I wet the page down pretty well, starting from the right side this time, working most of the right hand side of the yardstick then tapering the wet area towards the left hand side.
Taking the palette knife, I lifted and sprinkled a tiny amount of each dust over the wet area. I spritzed over the area again and began moving the colour with my wet watercolour brush.


Once I was satisfied with how it looked, I dried it with my heat tool.  At times throughout this process, I lifted the cardstock, and let some of the excess water to run onto some folded paper towel, (this made a really cool pattern too, so I kept that for later).


Once again, I selected a 12 x 12 stencil, with plus signs on it, this time, & my go to Colourpaste, - Snow White.
I worked this sparkly goodness through the stencil over the coloured area only, what do you think?


Once this was dried, it was time to assemble my page.
I mounted my pic on patterned tissue then on thick packaging cardboard.
I used a doily, an acetate piece, a tag, some twine and flowers to embellish this layout.
I really hope you like it.

Take care of you and I hope you can play with paper and media soon. 

Lot-sa luv..... Fi x


Friday, 9 February 2018

Hello Mr Rad! - By Fiona Hughes


Hi fellow Colour Blasters. Ok, 
m going to be straight up and tell you I have been feeling incredibly jealous this last couple of
 weeks.
Why?, I hear you ask. Well, one of my favourite bands were in town, with one of my main crushes as  lead singer/guitarist.
Yes..... The FOO FIGHTERS were here.
To say I was gutted that I did NOT get tickets, is the biggest understatement of all time!
So, I pulled out this layout I did earlier last year, using some amazing ColourBlast products and some super cool, "Foo-ey" Flair.


To begin, I grabbed some heavy gauge, light kraft cardstock.
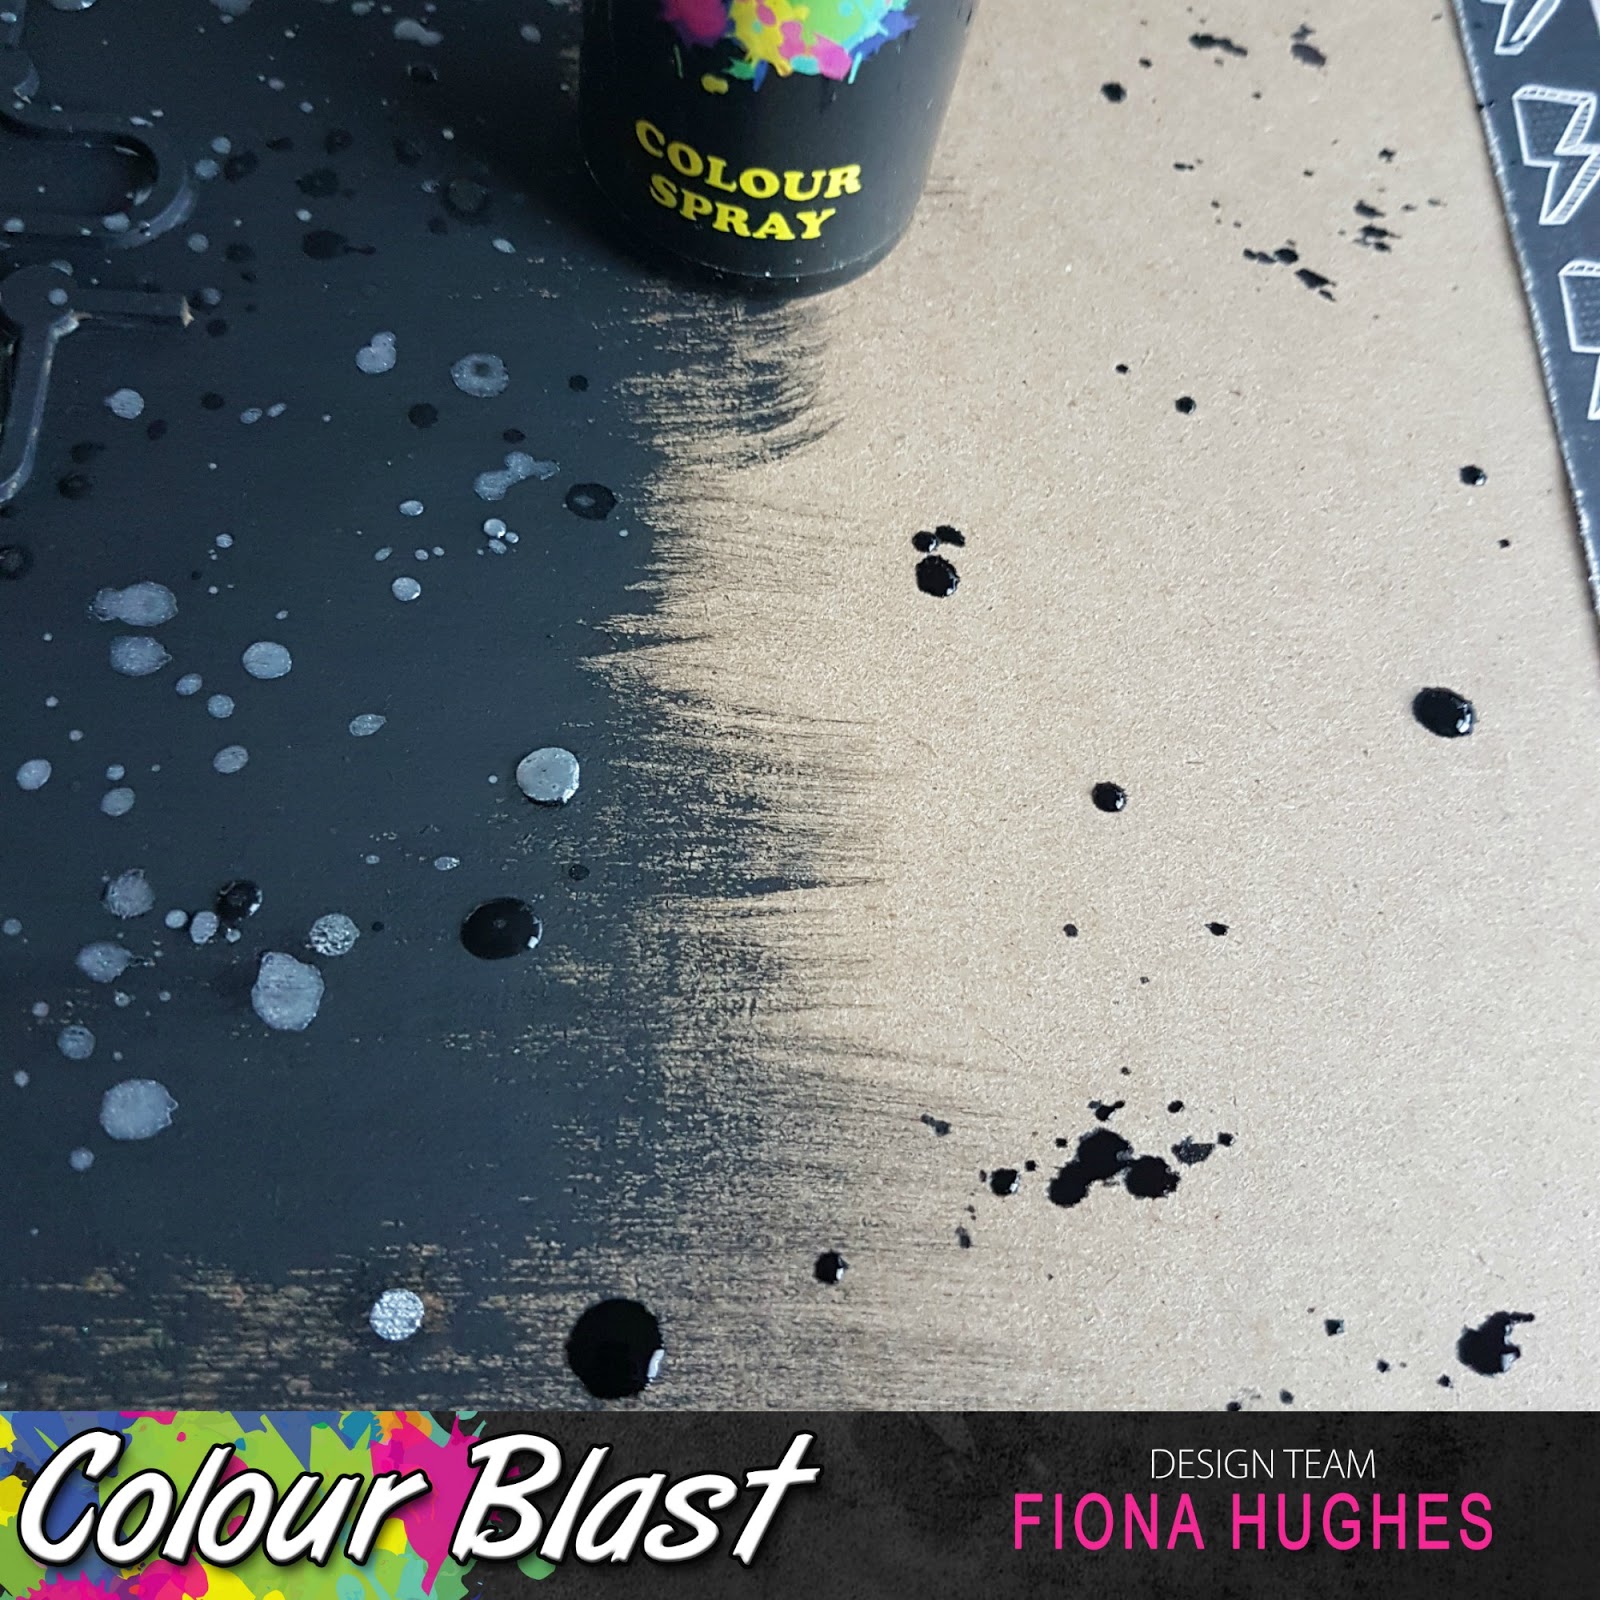
I stuck down this groovy pipe-y type, chipboard piece, hard up against the left hand side of the page. I, then, decided to go with our Heavy Black Gesso. I painted it from left to right, over the chippie, (making sure all the nooks & crannies are covered) with rough strokes to finish at the right. Take a look at the above pic.


Then, I chose my 3 favourite colours within the range of sprays,- Colour Spray in- Roadbase & Colour Shimmer Spray in- Steel & Stormy Weather. I used these lil gems, to make splatters over the entire page, (as is one of my "things").


 I allowed these to dry naturally. Weird i know!! who doesn't use a heat tool, right???


It's time for the embellies now. So I thought stars would work, because Dave Groll is a star, lol!
Minimalist that I am, I thought 3 little wood veneer stars would be enough. To make them sparkley, I selected our Colour Embossing Powder in- Snow White, to do the trick. Subtle yet effective, yes????


Now it's time to put our page together. I went with some fussy cut pieces, from another one of our awesome Australian companies, for my Title, & some cotton, punchinella, patterned paper to mount the chosen pic of my crush, plus the strip down the right had side of the page,  & of course, those seriously cute Foo Fighters flair.


Really hope you all like him, oops!, I mean, It!, as much as I do!


Ok crafty peeps, that's it for me today.  It's kind of a random page but i really hope you like it & can take something from it for your pages.

Much love to you guys.
Cheers, Fi x x 


Friday, 26 January 2018

Chin Up Buttercup!- by Fiona Hughes


Helloooo crafters!
  I hope your day is going great.
Today's page is another self-portrait. 2017 was probably one of my worst ever years, hence the title.

I chose blues for this layout to blend with my "Dory" scrub top.
I layered my heavy white cardstock onto  2 differing blue cardstocks, to give some stability, because I was going to be using a good amount of water.


With water spray in hand, I selected three Colour Shimmer Dusts-
Spritzing the page from left to right, a larger area tapering to a narrow area on the right side of the page.
I then sprinkled  a tiny amount of each of the Colour Shimmer Dusts over the wet area ( remember less is more), then spritzing again, I watched as the magic happened.
Then allowing a good amount of drying time I set the page aside.


Eventually, my impatience got the better of me and I had to speed up the drying with my heat tool.

Once dry, I chose my 12 x 12 stencil of the day, a script one,  and my favourite Colour Paste - Snow-white.


Over the blue area of the page, I worked the Colourpaste through the stencil.
This dried to the lovely shimmery, iridescent effect, to give the subtle texture, I was hoping for.


I used tissue paper as my mount for my photo today.
Popping the photo up on some old cardboard packaging, I tucked half a lacy doily under the left of the pic. I stuck the other half to the right hand side of the colour wash area.
Finally, just a couple of flair buttons, some complementary coloured cotton and some glass droplets randomly affixed around the page to finish.


The sugar skull flair just reminded me that in 2017, I often had to paint on my mask, to get through each day, and snapchat filters helped too, of course Lol!

So that's it for today. 
I hope you liked this one.

Take care, Cheers,

Fi x


Friday, 12 January 2018

# Always Fun- Fiona Hughes


Hi guys, Fi here again with  todays' layout.
I don't often use pink in layouts about me, but this crazy Snapchat filter cried out for it. 


Matting my white cardstock on some patterned paper this time, I chose Blush Colour Paste and a super cute heart stencil. 
Towards the right of my page I smooshed some smooth loveliness through the stencil in 2 little patches, 


( of course I allowed these to dry naturally).


After my lil hearts had dried, I picked two Colour Shimmer Sprays- Blush & Steel, and using the nozzles, taken from the bottles, I flicked the shimmery colour randomly onto my page. Some splodges are bigger than others and this is ok.


I did "help" these to dry between colours.
Look how pretty it is! :)


Once my pretty colours were dry, I assembled my layout, using scraps, because I hate waste and it works sometimes.


A couple of flair buttons , a bow, some die-cuts, cotton, washi tape, coloured paper eyelets and enamel dots. I  then chose to mount my picture on some more scrap papers and then on some foam tape to emphasise it a little.

 And that, my lil friends, is that.
Simple but cute, I think.

Have a great day.

Cheers, Fi. x