Showing posts with label Navy Shimmer Dust. Show all posts

Friday, 29 May 2020

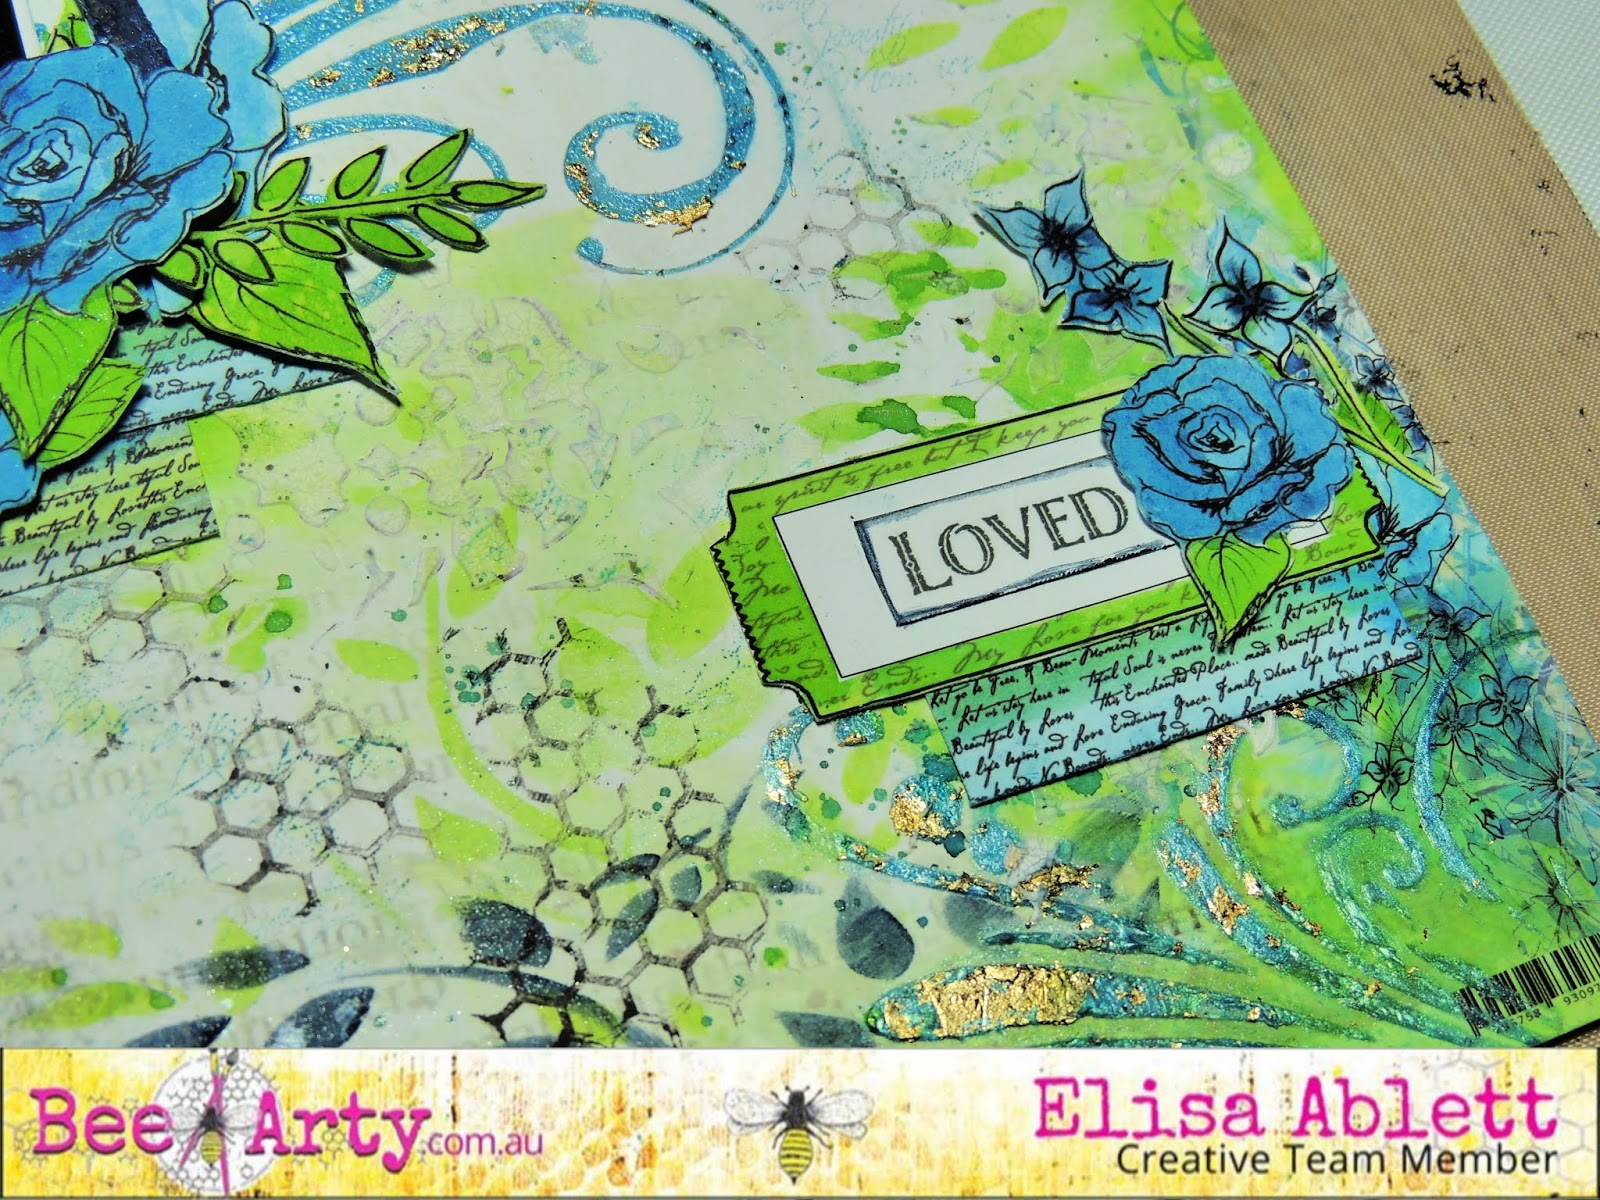
'You are loved' by Elisa Ablett


Hi Everyone,

My turn up on the blog today with my latest inspiration for you, a vibrant mixed media layout !

I think you can all guess what my favourite colours are to work with - blues and greens and all shades inbetween and what better products to start your layout with other than those sparkling shimmer dusts. The colours and other products I used to complete this layout are listed below with links.

But first lets take a closer look -


Here are the product links and names:


and I have a step by step for you though I must apologise that the first few photos I took of the background unfortunately were corrupted on my camera's memory SD card:- 


Step 1 - Using Lucinda paper from the Love and Grace range by Michelle Grant as your background paper. Add small amounts of each of the shimmer dusts named above into a paint palette and add a small amount of water to each. Using a spritzer bottle, spritz water over the areas on your background paper that you wish to add colour and using a paint brush, add colour washes in layers to your page. I accentuated the hexagon shapes with the Lush green shimmer dust and also in between the hexagons with the Duke Shimmer Dust. Use the main photo to guide you where to add your extra colour.


Step 2 - Fussy cut out these elements from the Love and Grace - Heart Cut and Colour Sheet and colour using a small paint brush and your left over shimmer dusts and put aside to dry.


Step 3 - Stencil using the Imagine Stencil and Colour Paste Singing the Blue as shown in the main photo above. While the paste is drying and is tacky to touch, put the stencil back over the stencilled area - matching it perfectly and then lay small amounts of gold foil flakes or gold foil sheet and lightly press down, heat with a gentle heat gun and then lift the stencil carefully off. You should have gold foil accents on all your stencilled areas.


Step 4 - Using the Laced Stencil and the white gesso, stencil light amounts of the gesso or you could use crackle paste etc on the left hand side of the layout below the hexagons and also on the right hand side near the smaller hexagons. 


Step 5 - Add some stamping using the Memories Stamp Set and Tanya Froud's technique of adding liquid shimmer dusts to a make up sponge and using that as a stamp pad. I love this technique as it allows you to coordinate all the colours and techniques on your layout.


Step 6 - Using the Leafy Stencil and a make up sponge wet with Navy shimmer dust, stencil by gently dabbing the make up sponge through the stencil in the places as shown in the photo above. 


Step 7 - Check with this progress photo to see if you have completed all your steps and also take the time to add some splatters in your chosen colour! I went with Navy Shimmer Dust splatters. 


Step 8 - I have a great technique to use on chipboard, using your finger smooth Singing the Blues Colour Paste over the chipboard frame and while it is wet press your stamp into the wet paste. Dry with a gentle heat or leave to dry naturally. Once dry, paint a darker colour shimmer dust liquid (Navy) over the top of the stamped areas, making sure you get the darker liquid into the grooves etc. 

Once dry, wipe gently with a baby wipe to reveal some of the underneath Colour paste, giving your chipboard a multitoned textured effect. 

Start putting all your elements together on the layout as shown below.


and you are finished!


Thanks for stopping by the blog today, hope you have enjoyed the step by step.

Elisa x

Hugs 


Thursday, 27 December 2018

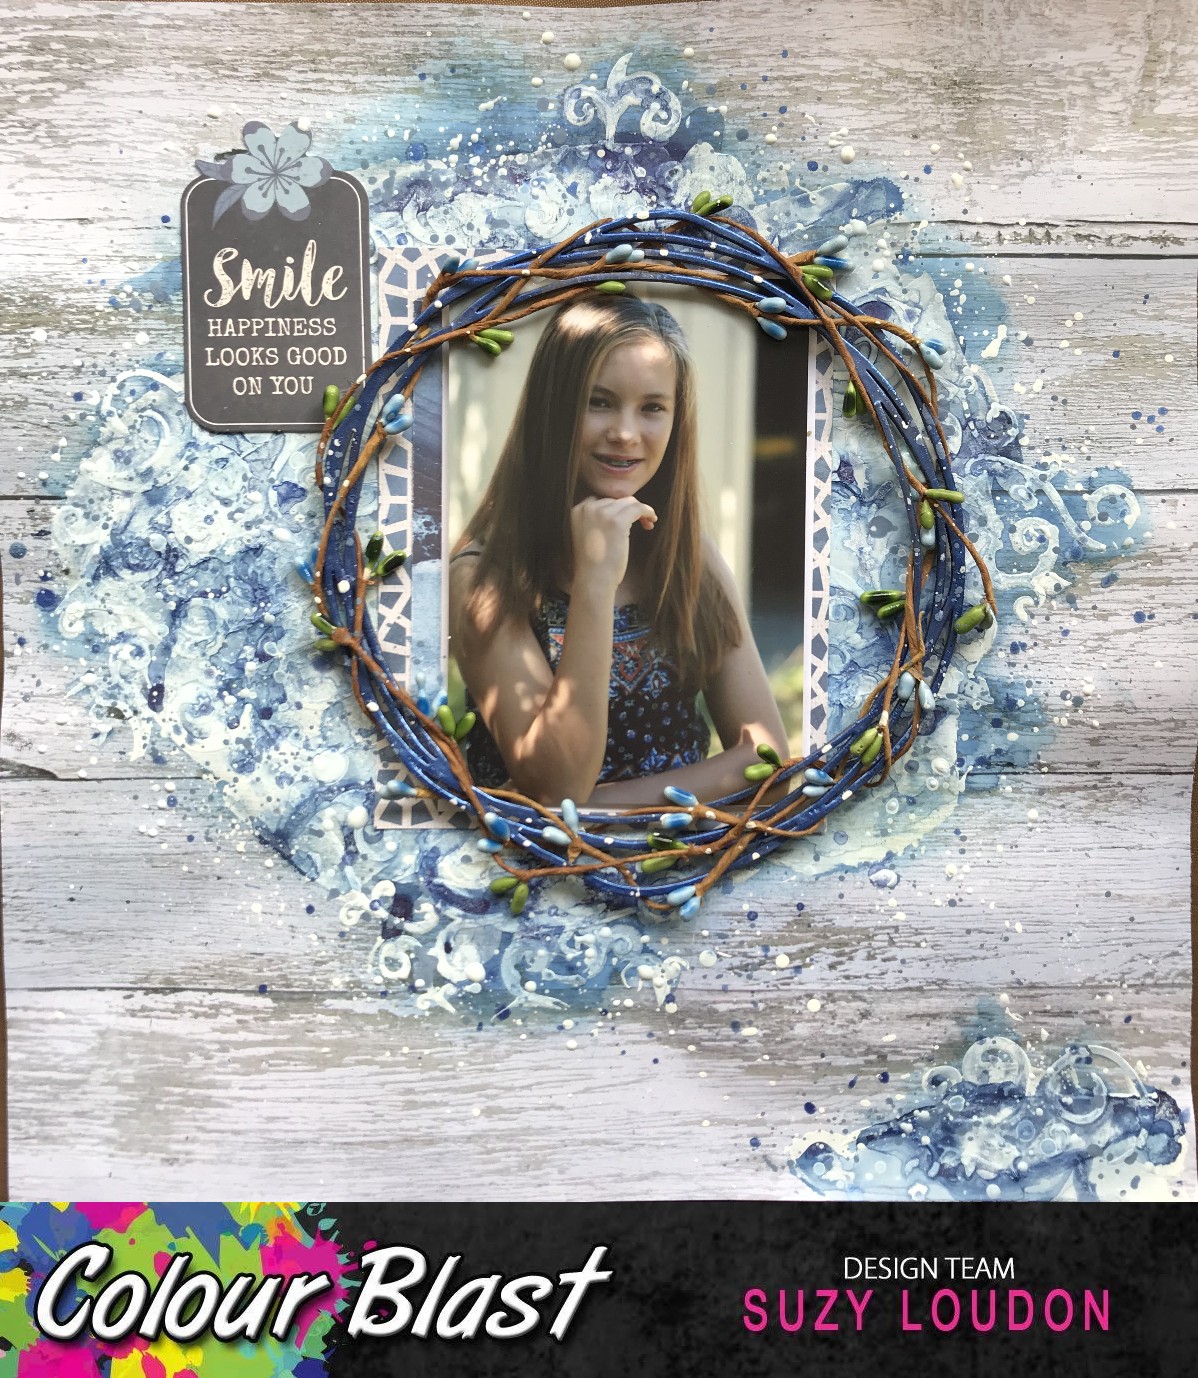
Mama by Suzy Loudon

Hi all. I hope everyone has survived the Christmas festivities & now taking the time to relax. What better time to get some crafting in.
Today's page is special to me. This was a candid shot of my mother & our oldest son just before he left to live in Europe for ten months. 

To begin my layout I arranged some patterned papers to form the background. I then gave it a bit of a white wash with Heavy White Gesso.


I have a spray that I made up of water and Navy Colour  Shimmer Dust. I used this to splatter around some colour on my page.


I sprayed some water dispersing the colour.


I used my Navy Colour Shimmer Dust spray to give my white flowers colour.


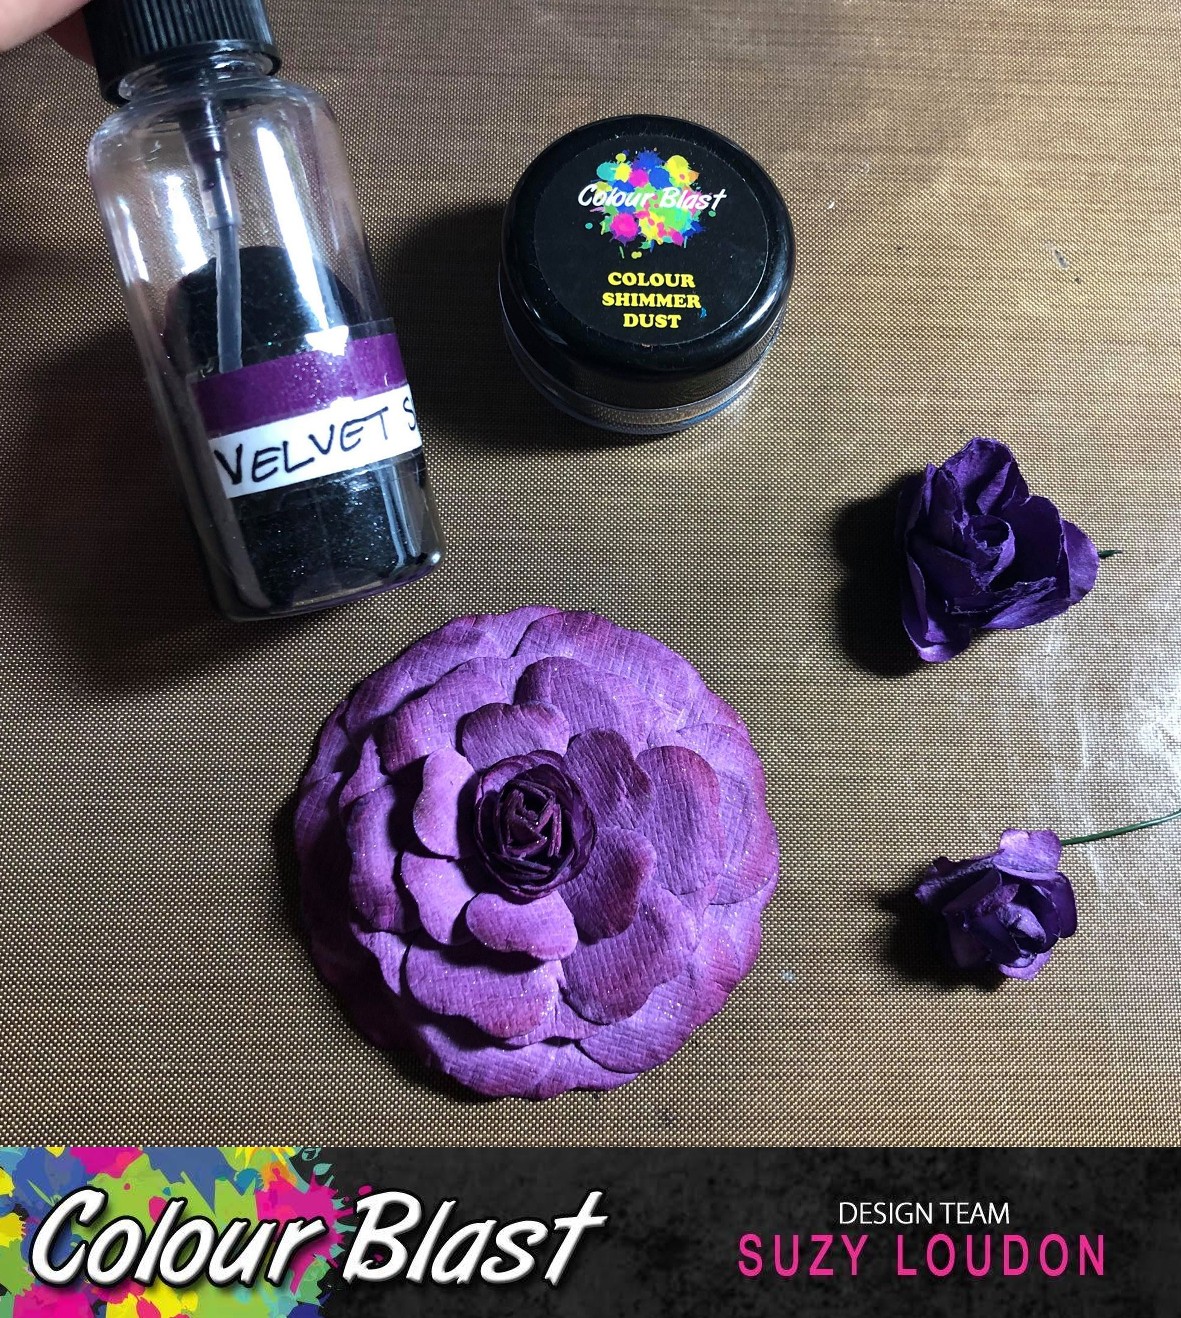
I then used my made up Velvet Colour Shimmer Dust Spray to colour some more white flowers.


I painted my chipboard with Heavy White Gesso. Then used my Silver Shimmer Brush Marker along the top. And Velvet Shimmer Dust on the bottom heart.


I painted another chipboard with Heavy Black Gesso.


I mixed Navy Shimmer Dust with the Heavy White Gesso until I got the shade of colour I wanted. Then painted my letters. Once dry I went over them with my Clear Shimmer Brush Marker. 


I gave some tiny chipboard hearts a spray with Navy Shimmer Dust.

To finish off my layout I added some ribbon, chipboard word tabs and a sprinkling of beads, micro beads & art stones.


Thanks for looking. I hope you all continue to have a happy and safe Christmas season.
xxx Suzy


Tuesday, 9 October 2018

Bono U2 by Kristy Abela

Hi Everyone...
 I have a Celebrity Spread for you today. This was a chance encounter with Bono from U2 when I was working at Seaworld on the Gold Coast. I popped the full story on the blog in some tags I used on the layout. 


I loved doing this layout it was bright and fresh and really quick. I usually take forever to pull a project together. Using Colour Blast makes it so easy. 


I used Colour Spray in Carribean and Colour Shimmer Dust in Navy to create this cross hatch effect. I used a wide nylon brush to brush vertically and horizontally crossing in the bottom left corner. 


I love the way it created little rays of sunshine in the colour. I had some left over on my craft mat so I diluted it a bit further and added some platters. I love the way the overall effect looks like a puddle and some splashes. 


I added some stamping to create emphasis along the lines. If you look closely you can see I burnt the page... OOPS!! Ill cover that up later...


Being a star studded layout I used a star stencil with some Colour Paste in Snow. I didn't want to detract from the layout so made this effect subtle.


Check out the shimmer in that paste!! I really love the way it dries translucent. All the work I created on the background wasn't covered up.
  

I use some Colour Embossing Powder in Dusty Charcoal and Sunshine on my chipboard. I didn't end up using the arrows in the end.  


Knocked up a few tags and added the story for you all to have a peek. I also used these to cover up my burn mark... Shh...


To create the title I used some Thickers that I had lying around and customised the colour to match the layout with some Colour Mica Powder in Lemon Zing.


I needed another pop of colour... but like the stars I didn't want to cover up the background. I rummaged through my stash and found some Vellum!! I used my colour artist ink SPARINGLY and spread it across the page. (I put the first layer on too heavily and it warped and buckled). I ran it through the cuttlebug to create the stars
I added a bit of string and some enamel dots and my final title. Done and dusted!!


Thanks for looking and if you try out any of these techniques make sure you pop it up on the Facebook page Colour Blast Creative Corner so I can share the love back. 
Happy Scrapping!!

Abela Artistry

Thursday, 12 July 2018

Loving Life by Suzy Loudon

Hello all. I generally use quite a few Colour Blast products on my layouts. But today I've only used four. So even if you only have a few products, you can still create lovely layouts.


To begin my layout I smeared Heavy White Gesso with a palette knife.


Once dry I spread more Heavy White Gesso through a a stencil. I did it really rough & fast not worrying about seepage as I figured it would just add extra texture & you really won't be able to tell. So don't worry if it's not "clean".


Once dry I made up a spray with Navy  Colour Shimmer Dust. I then sprayed some onto my page before adding more sprays of water, spreading the colour around. I dried the area with my heat gun before continuing around the page,


I heat embossed my chipboard with Just Blue Colour  Embossing Powder before twisting a vine around it,


I layered/matted my photo on some patterned papers


After sticking my photo down (& a tag) I covered them before splattering watered down Gesso around.


With the leftover watered down gesso I added some Navy Shimmer Dust stirring it through until fully activated. Then splattering it onto my page.


I grabbed my Just Blue Colour  Shimmer Spray. Gave it a good shake before using the spray nozzle to splatter around.


After all the splatters had dried I thought it needed some more white, so I added another layer of white splatters. Here's what it looked like once it all dried. 


I sprayed some flowers with my Navy Shimmer Dust spray.


Using my finger I dabbed Heavy White Gesso around some words & hearts.


After I had glued down my embellishments -sprayed flowers, the cut out butterflies from the Kaiser Indigo Skies Collection that I was using, as well as cheese cloth & pearls. I then finished off by brushing my butterflies with the Clear Shimmer Brush Marker.


Here are a few close ups.


Thanks for looking.
See you next time
xxx Suzy