Showing posts with label Sunset. Show all posts

Tuesday, 11 September 2018

Highlight by Kristy Abela

This one was actually my first Project using the products from Colour Blast. I received my kit from Tenisha and dived straight into using the Colour Artist Inks... I put it into "Save for later" as that month Ros and Michelle also did amazing layouts using the same colours. First world problems.. I know right!!


My turn now to showcase my sunset.. I snapped this pic on my phone when I got out of my car from my driveway last summer and I love it. It truly shows what the sunsets in Western Sydney are like.. Hotter than hell in summer and spectacular reward at the end of the day!
Have a look at some close ups and I will run through how I achieved the effect at the end. 


I started by pooling Colour Artist Inks onto my page. I started with the lightest colours first, BarleyCider and Rust. Then building up to Sunburnt and Bordeaux. I didn't prime my page. I used a semi gloss cardstock so it wasn't particularly porous as I found that the colours were more vibrant without gesso. I did this in several layers drying some areas with a heat tool to seal in the colours and left other areas wet too add more colour to blend. 


 Once dry I used Colour Artist Ink in Soot to splatter my page. 


I wasn't really satisfied with the soot on its own - too dark as I was hoping to use black embellishments to replicate the silhouette in the photo. I added some Colour Mica Powder in Olive to Gel Medium and watered it down just a touch to add some golden splatters to the background also.


 To finish off the background I added some Colour Paste in Tangerine and used a marbled stamp to add some definition to the background. I had a contrast of shimmery oranges and golds with some flat blacks.. 


 To finish off my page I created my own embellishment by colouring some watercolour paper with the same Colour Artist Inks I used for the background. 

I used the same techniques to create the clocks. I stamped the image onto cardstock I had coloured and fussy cut. 
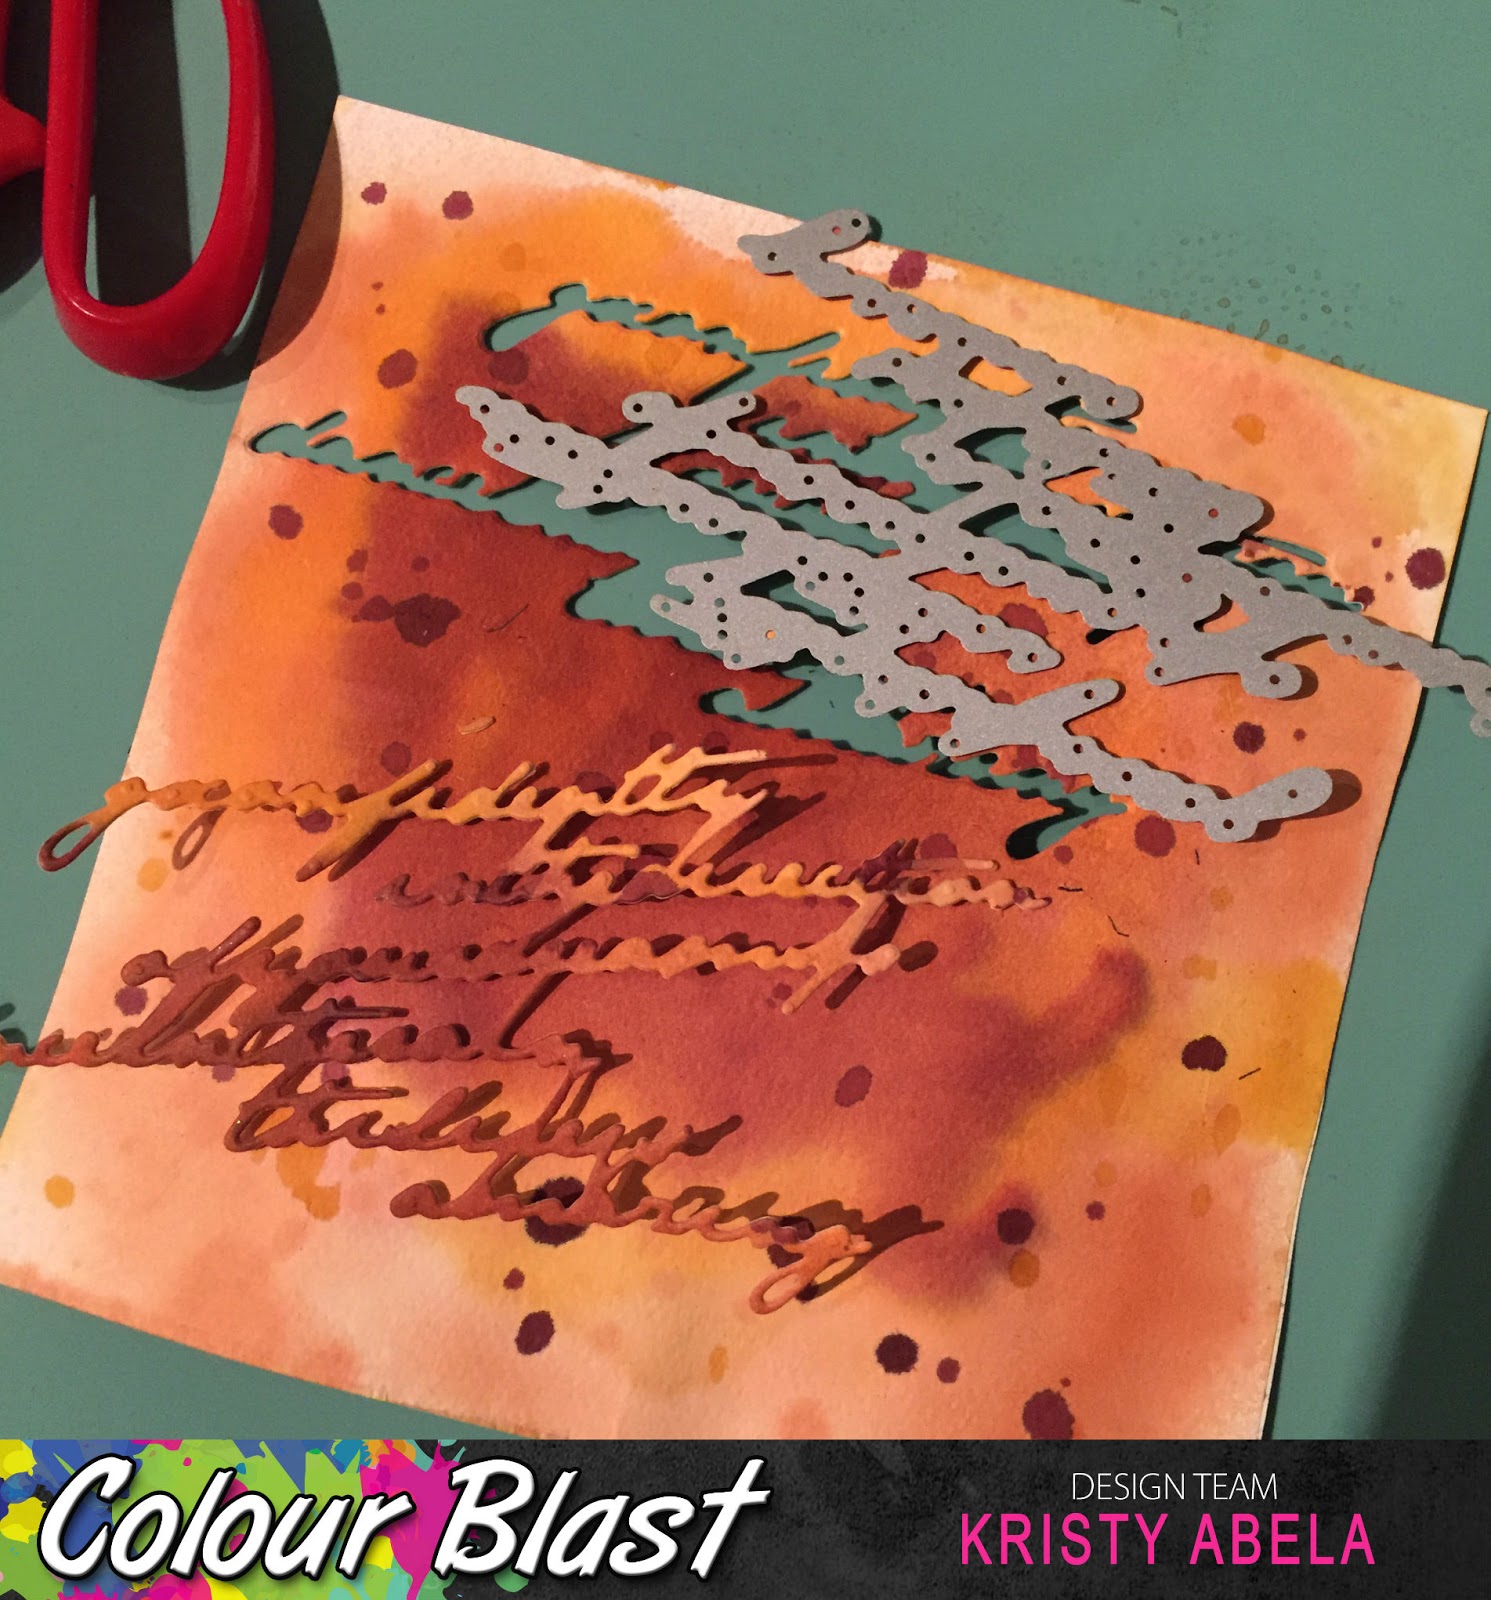

 I used Colour Blast Heavy Gesso Black to colour some chipboard and the Colour Mica Powder in Olive to add sparkle. I love this colour when used on black as the shimmer pigment becomes the colour base.  


Lastly I also Colour Blast Black Heavy Gesso to prime my title and applied Colour Embossing powder in Sunshine.. Love the way the Embossing powder is golden on black gesso.


Hope you got some inspiration from here today!
Thanks for looking

Abela Artistry

Wednesday, 22 August 2018

"Art Is......" Journal Page- Chrissi Mannix

Hi Lovelies,
Chrissi back today, to share an Art Journal page with you.
 I probably art journal more than anything else. It is my favourite creative outlet. I love experimenting in my journal. Whenever I get new mediums, the first thing I will do is open my journal and just play. I like to see how the mediums and colours work together, and most of the time, I end up with a page I really like.
Today, I really want to experiment with my Gel Plate, and Colour Sprays!!! I've used paint before, many times, but never colour sprays and I was very curious how it would turn out, and I have to say, I love it!

I started out by playing with, what would be my focal image- I HAVE to have a focal image on my pages, its a me thing lol. I used Colour Sprays in the colour's Saffron and Carribean- (which I'm almost out of, its totally my fave). I sprayed these liberally over my gel plate.  

Then I just got some good old copy paper and pulled up the ink. I replaced the paper in different sections of the gel plate, and reapplied more colour spray when I wanted more colour. I continued doing this until I was happy with the coverage. 

When I was happy, I then dried the page off with my heat gun. I wanted to add some interest to the paper, so I grabbed a collection of background stamps, and randomly stamped these over my page. 

I drew out my shape and then cut it out. Simple.
So using my mixed media supplies I made my own personalised paper, and focal image. Now to move on to my page.

While I had my Gel Plate out, I decided to use it to make my backround aswell. I did the same thing, using a different colour palette. I applied Saffron, Sunset and a small amount of Bubblegum Colour Sprays.

I applied the Gel Plate directly to my journal. Again, I reapplied the colour and gel plate untill I was happy with the coverage.

So this is what I like to call the Hot Mess stage of an Art Journal page. This is the point where it looks like a hot mess, and I would probably not be very happy. BUT, I have learnt too work past this stage. Very important, and remember that it is just a background.

Now this is where things start to come together. I start adding my layers. I'm using some Black Heavy Gesso to add some stenciling, and some splatters around my page. I also use a makeup sponge to randomly go around my page.

Now its starting to look a bit better, and I'm much happier. Now to add my focal image. 

Before I added my heart, I wanted to give it a mat of some kind. So I decided to use one of my favorite textures- cheesecloth. I dyed it by spraying it with Road base colour spray. 
To finish off my page, I layered the cheesecloth and my heart, using gel medium to adhere. I then added staples, once it was all dry, just to add some grunge.  I went with a contrasting colour to really make this pop. I then outlined it using a water reactive pencil and bled the lines with some water. And that's my art journal page. I hope you enjoyed my play with gel plates and colour inks, I sure did. I love finding new ways to use my tools, other then the way they were originally intended. 


Chrissi xxx

Tuesday, 5 June 2018

"Friends" Scrapbook Layout + process video by Louise

Hi Crafters

Sharing a new scrapbook layout inspired by the colours of my chosen photo.

"Friends"


This page (for me at least) is VERY mixed media!!!


I've used the following

Colour Artists Ink Soot
Colour Spray Rainforest
Colour Shimmer Dust Lush
Colour Spray Sunset
Colour Paste Tangareen Dream


***

I firstly chose a photo - the little pop of orange in the picture was my inspiration for the pop of orange on this layout.


The Colour Artists Ink come with a dropper - so I wanted to use this to make my background.
I've lightly sprayed the edge of the page with water and then used the dropper to add colour and let it run.


As each layer dries, rotate the page and repeat.
I let the ink dry naturally overnight and then added some Colour Paste Tangareen Dream through a stencil in some of the square areas of the ink drips.


To help with the flow of my orange theme, I've trimmed the outside of the inked cardstock and mounted it on orange.
I also added some background splatters with Colour Spray Sunset


While playing around with the layout, I decided I needed to frame the photo.
I pulled out a chipboard circle and added some White Heavy Gesso


I thought about embossing, but decided to pull a little of the green from the elements of the paper collection I've used and firstly painted the chipboard with Colour Spray Rainforest.


It just wasn't green enough so I then coloured it with the Colour Shimmer Dust Lush  - much better!


Finally, I've added some diamontes, wood veneer, flair and cheeseclothe.


This is so different to my normal creations but I love how it turned out.


***

You can see the whole process in the video below.


Thanks for visiting.
Happy Scrapping


Friday, 1 June 2018

‘Mixed Media Tags’ by Amy


Hi there ColourBlast fans! I hope you all have been doing some creating. I wanted to share with you, a project based on using mixed media. 


I love making tags, as gifts, as you never know when they might come in handy as a handmade present for someone!


To begin I heavily sprayed water over an A4 sheet of water colour paper. While still, wet, using Sunset, Sunshine, Violet and Sapphire Colour Sprays, I sprayed various areas of the paper then dried it completely with a craft heat gun.


Then I randomly splattered water around the page: this creates a cool water droplet look that I love.


Once all dried again, I trimmed the paper to tag size – if you have a tag-shaped die – even better!


As an experiment, using the water and stencils of my choice, I sprayed the tags with the water, then heat-dried them. This did not quite work out as I had hoped – but you never know until you try!


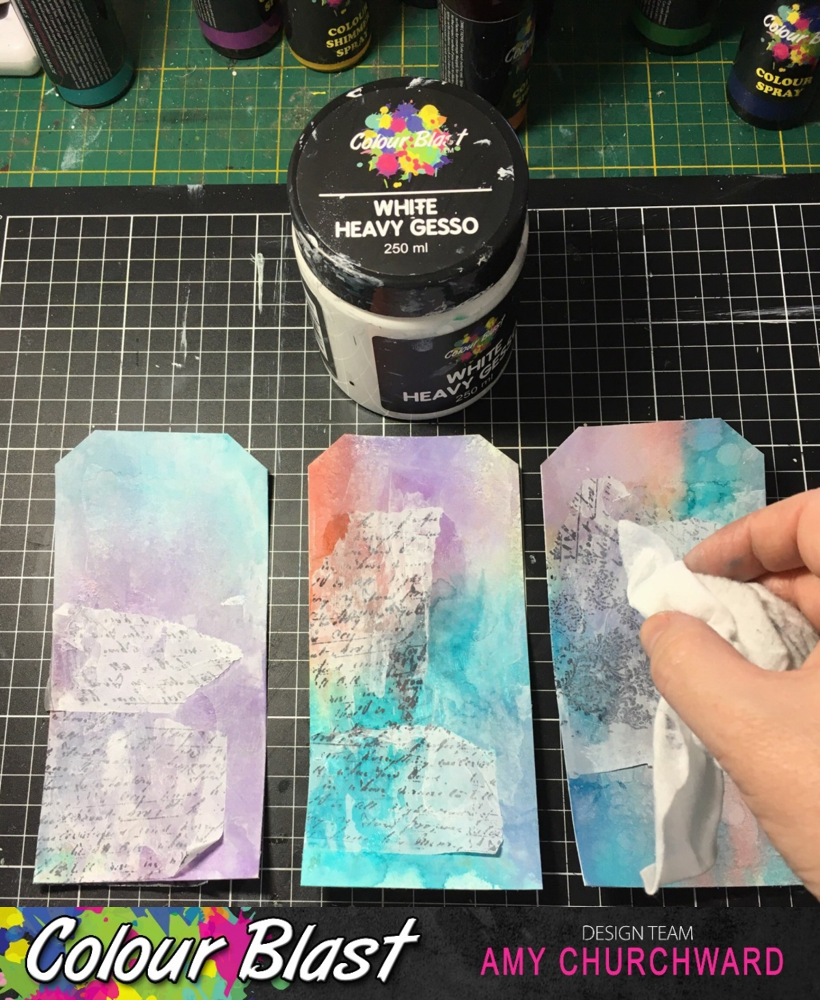
To continue with the mixed media theme, to give some texture, using gel medium, I adhered some plain tissue paper that I stamped with a permanent ink in my stash. To allow the tissue paper to blend in, I rubbed some 'White Heavy Gesso' with a baby wipe.


As pictured here, I stamped the tags using a permanent black ink and various stamps from my stash. To give more dimension to each of the tags, I used various stencils to apply Envy, Lovely Lilac, and Tangareen Dream Texture Paste. I then dried this with a craft gun.


To create an outline for each of the tags, I used the stalk of the Roadbase colour spray and ran it around the edges. 


Then, before the Roadbase outlines dried, I sprayed over the outlines with water and held the tag vertically, (not like in the picture, sorry!). This allowed the ink to run down the tag. I repeated this step for all the tags, and heat dried them.

Next, to brighten the tags, I lined them up and splattered some water mixed with 'White Heavy Gesso' over them – and set them aside, flat, to dry.


While they were drying, I started to browse through my stash of embellishments to choose some to compliment my prepared tags.
And here are the close-ups. 


It was great fun making these tags. I’m really looking forward to seeing your projects for this month’s challenge!


Please join in the ColourBlast Creative Corner!

Amy 😊