Showing posts with label Background.. Show all posts

Friday, 25 August 2017

Be Daring Today - by Fiona Hughes

Hi everyone. I'm back to share another of my layouts today. Once again I have recycled some, (what many would call rubbish, I call...), leftover remnants. Here is the final product, what do you think?

Let's get started......


I started with a piece of heavy gauge white cardstock, to which I stuck the leftover surrounds from a 12x12 die-cut sheet. Then covered the entire page with Heavy White Gesso & allowed it dry naturally, to prevent buckling of the cardstock. I love how this looks, it gives so much  subtle texture to the overall layout.
(picture pre-gesso below)


To build up the background texture, I picked a bubble stencil and 3 Colour Pastes- Deep Water, Stormy Weather & Steel. I splodged globs of all 3 colours, randomly on the stencil, from left bottom corner, upwards diagonally to  the right top corner.
I grabbed a 40cm plastic ruler and made only 2 swipes across the page, so as not to mix the colours. The result was 2 distinct areas top and bottom, with the 3 colours easily seen.


I grabbed my Colour Shimmer Sprays in Deep Water & Stormy Weather, and using the "smooshing"/packaging technique, added some more colour over, the now dried, Colour Paste spots.


After letting that dry, I wanted a little more randomness,  & I chose the Colour Shimmer Spray in Dusty Charcoal. Using the tubing from the nozzle,  I splattered flicks of shimmery magic over the page.


To finish this baby off, I embellished with phrase stickers,  paper flowers, flair buttons and a lovely teal hessian heart. I also split the title  to top & bottom, following the diagonal flow of the layout. The Be Daring part of the title, was originally raw watercolour card, so I used the Deep Water shimmer spray to colour it too.

This layout is, again, showcasing my journey of trying to learn some self-love this year. Thanks so much for humouring me and looking at my page today. I hope you can take something from it and use it yourself, with your own Colourblast goodies,  on one of your next pages, (I'd love to see the results).

 I hope your day is amazing. Here's to the weekend.

Cheers, Fi x


Wednesday, 14 June 2017

A Big Thumbs Up!! by Danielle Vertigan

There is so much for me to love in this layout....
My daughter is very outgoing and is very much like her Daddy.
Today I get to share a snippet of the moments they share with of coarse my favourite products Colour Blast.
My first step was to use the Black Heavy Gesso
and a paint Brush on my 12x12 sheet of cardstock.

Using this I roughly painted an offset diamond with two longer sides. 


Once this was dry I selected a range of Colour Shimmer Sprays that would tie in with my photograph.
The colours I've chosen are
and Blush


Using my chosen stencil I layed it over the Black Gesso, as pictured you will see the stencil doesn't completely cover the gesso image.
I slightly moved the stencil when needed.


Using the complete colour selection I sprayed around my layout.
I kept my image close by and used this as a guide to help dictate the colour pattern.
You will notice from the below image I moved the stencil down to complete my spritzing however I chose not to move it the right if my page.
This is completely up to your personal choice.

I then selected 2 texture stamps and began with the arrows which I randomly stamped around the border of my diamond.
I find doing this without a block gives me the flexibility to bend my stamp so I can avoid square edges.
I then used the second stamp to fill in any gaps.
The grid stamp is perfect for this and used again without a block.
Then using a black Gel Pen I added a border freehand you can use any design.
Today I have gone with a simple double line and add a few scratching's.
Its time for Colour Paste fun and toady I'm playing with
I've gone with these again guided by my image.

I added these over the Colour Shimmer Sprays sticking with the same colour pattern.
I am currently loving this circle stencil is fast becoming a new fav!


I like to try and use up my offcuts where I can.
all these stripes pictured where collected into a pack from a previous layout.
I simply started layering these behind my photograph.


I'm pretty happy with how the backing turned out.
The arrow and tag where apart of the same collection and added in


I added some Journaling which I'm finding myself doing more and more these days.
At this point I wanted to add a touch of Star Power.
Sing'n the Blues Colour Paste was just what I needed.
This was also a great way to wrap in my journaling so it became apart of the layout itself.


The last touch was a little white splatter.
I used the water with my Heavy White Gesso and flicked it across my layout
with a thin paint brush.


This gave me the last touch I needed.


A few close ups of how these Products look layered together.


The Shimmer from the Sprays is by far always a standout.
I like the contrast of colour from the White Cardstock and the Black Gesso


I went back over a few areas using a baby wipe to remove any gesso from over the Colour Paste that I wasn't happy with.
Its easy to do and can be done visually.


I'm really loving the Layers and textures on this one.


Thanks for stopping by.
Id love to see how you layer your products on your next layout.

Danni


Wednesday, 31 May 2017

Kraft and Bronze by Danielle Vertigan

This week I was inspired by Earth tones and Nature.
Gold, Bronze and Chocolate.....
I was looking for really rich tones sitting on Kraft with a pop of white.
It was one of those layouts that feels rich in texture aswell and has come together
just as I had hoped.

So to get this page going your going to need
Heavy White Gesso (I love, love, love this stuff)
Tissue paper and Gel Medium.
Using the Gesso paint a diamond working in the centre and painting outwards.
This will give you the feathered look around the edges.
Repeat this process in the bottom right corner.

Once dry Paint the gel medium liberally adding the tissue paper to it.
You are going to get tacky fingers as you work in the creases.
You want these as they add a fluffy texture.


In the images below you will see the texture created by lapping the tissue.


The coverage of Heavy white Gesso is A-mazing....


My next selection is Colour Sprays...
I've chosen to work with
Mocha  Colour Spray and Leather  Colour Shimmer Spray


I Spritzed the page first Using the Mocha Colour Spray and dabbed the access using
paper towel.


I repeated the process again using the Leather Shimmer Spray.
Theses colours where then used again on a few chipboard pieces.
I didn't prep these pieces and used the sprays on my chipboard raw.


I spritzed 2 layers. One of mocha and one of Leather,
allowing it to dry in between and then for the third layer I used Bling Colour Shimmer Spray


The Shimmer is gorgeous and colour Rich....
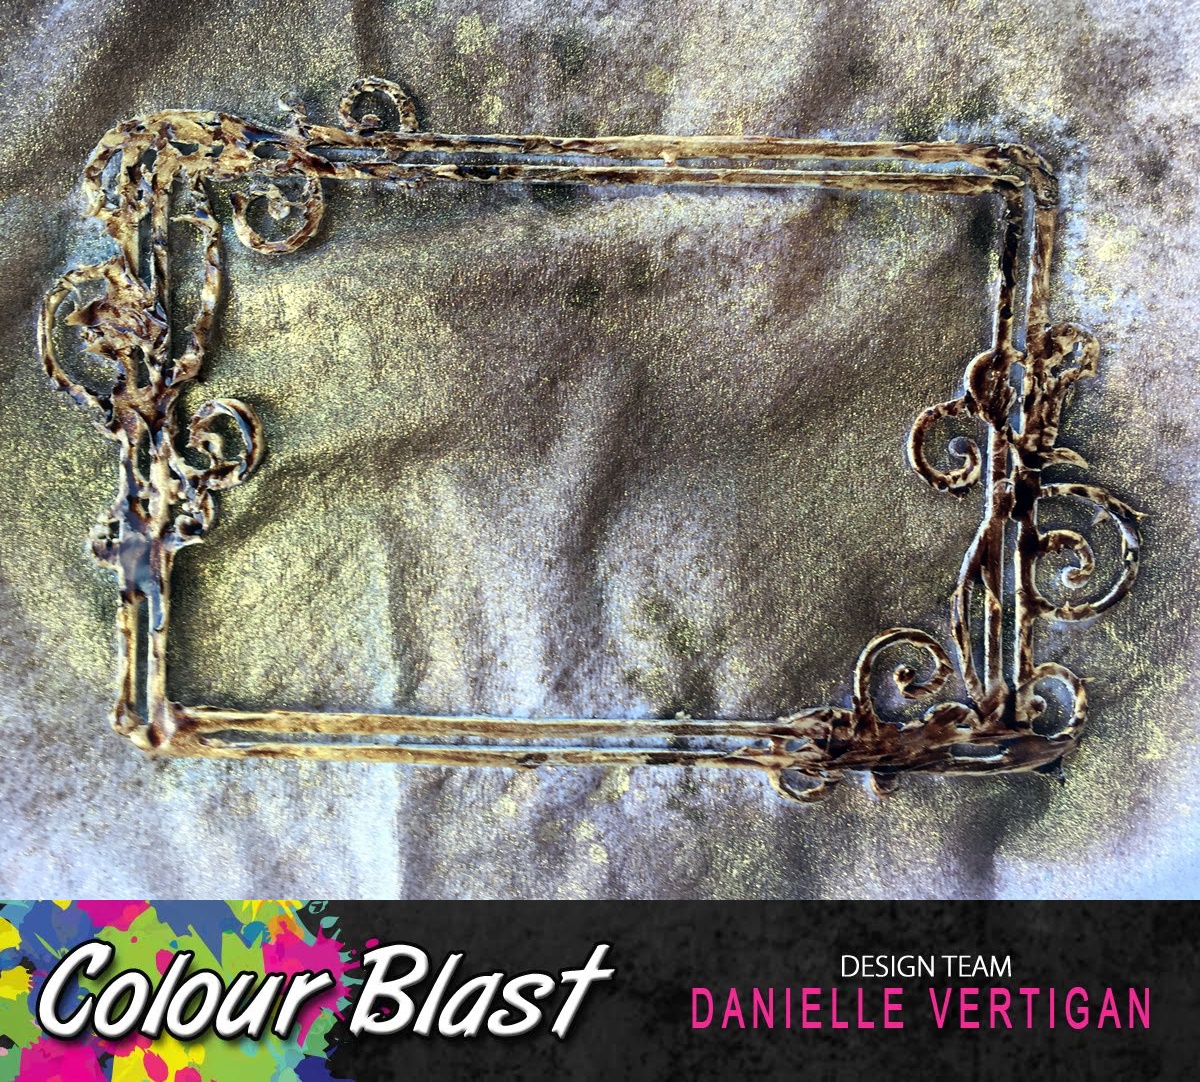
Using the Colour Paste in Bling I coated the frame roughly using my finger.


My Border Pieces where prepped with Heavy White Gesso and left to dry.


I spritzed these using Leather Colour Shimmer Spray.

One the dried frame I Spritzed with the Mocha Colour Spray.

I repeated the process again with Leather Shimmer Spray.
Using and Stencil and the Leather   Colour Paste I added the zigzag pattern before
embellishing.
On My frame pieces I roughly added some speckles of the Bling Colour Paste,
I did this through a small patterned floral stencil.


I repeated the paste and the stencil over my prepared diamond and started layering my
prepared chipboard pieces with muslin, Hessian and a touch of gold.


You can really see the texture from these close ups.


Using a white Gel Pen I added a boarder and few details like
names, location and some general squiggling...
I couldn't help myself.


There is just something really Raw and Earthy that I just love about the finished result.

All these goodies and more can be purchased from
They are very addictive to play with and the results speak for themselves.

Till next time happy Scrapping
Danni


Saturday, 28 January 2017

So Many Reasons to Smile by Danielle Vertigan

I was flicking through my photo's and since I'm the kind 
of creator that works with the image which inspires me on any given day, you can imagine there is no order to my madness. Just complete organised chaos as I go where I'm inspired.

It's that process which saw me stumble across this precious moment.

I knew with a black and white image I wanted to keep it clean, textured and feature a black background.
It is a 5x7 photo which I've clearly framed smaller.


I started by removing 1cm from the bottom and side of the black cardstock.
Next step was to cut out my frame.
Layer with the white and remove my left frame.
I don't measure and just go by feel but you might prefer to measure when completing this style of layout.


I started with the Snow White Colour Shimmer Spray.
But before starting replaced my square back to prevent any run off under the card.


I spritzed the top left and bottom right corners.
Then decided to add a touch of colour with Singin' the Blues Colour Shimmer Spray in the remaining corners set aside to dry.


You can get a really good look at the shimmer here.
I chose the same colours in Colour Paste
Plus a selection of stencils


Using the circles I applied the Snow White Colour Paste above and
below my photo.
Once dried I re-inserted the black square over my photo.
I layed the vine stencil horizontally to emulate water and applied the Singin' the Blues Colour Paste.
(The black square allowed me to lap the edge of my frame)


While this was drying Using a White Gel Pen I added some details.
Freehand border, small bubble circles and Lines around my vines/waves.
Some journaling across the bottom and right hand side of my layout.
I'm not good at paragraphing but find this a great way of adding more detail.


For the third stencil I decided to draw the depth of the photo out
by adding the
Steel Colour Paste through the Script Stencil.


Some Prills, Sequins and Flowers finished this off Beautifully.
I love the texture and shimmer.


You can also see the script stencil also slightly overlapped the photo.


I love the result, it has a timeless feel about it.
The shimmer really sets off the black and white image.
As always the Colour Paste does not disappoint.

Thanks for stopping by,

Until Next time,