Showing posts with label kraft. Show all posts

Friday, 6 October 2017

Happy- By Fiona Hughes


Hey there, fellow Colourblasters. I hope your day is a amazing as you all.
Today, I want to share with you, this simple page of, "the Middle Child"- Ethan. 
Not a lot of technique involved , I'm sure you'll agree, but the effect is so good!
 (It's an absolutely horrendous photo but I scrapped it anyways.)

Starting with heavy gauge Kraft cardstock, I picked  a small or finely patterned stencil, and 2 contrasting Colour Pastes- Sienna & Stormy Weather.  I  smooshed these  super light & creamy pastes through my chosen stencil, randomly - why?.... because i can!!!!!
How good does it look!?


After letting this shimmery goodness dry, I grabbed my Colour Shimmer Sprays, in the same colours - Sienna & Stormy Weather,


Using the smooshing or packaging technique, I transferred these seriously cool colours over my stencilled background.

I also applied some splatters over the page too, in the  Dusty Charcoal -Colour Shimmer Spray.
Heat tool to the rescue!! Hehehe!


At this point I decided to free draw a black border around the edge of my page.

And then using only a doily, some  gold tiny word stickers, a little handmade embellishment I crafted out of some leftovers, a tag and some scrap patterned paper..... a tag, some washi, a flair badge and an acrylic title piece, I discovered in a kit I hadn't used.


So simple but effective, with the help of the Colourblast Range.

Roll up your sleeves girls, and give it a go.

Have a great day. Until next time,

Cheers,   Fi x x


Wednesday, 31 May 2017

Kraft and Bronze by Danielle Vertigan

This week I was inspired by Earth tones and Nature.
Gold, Bronze and Chocolate.....
I was looking for really rich tones sitting on Kraft with a pop of white.
It was one of those layouts that feels rich in texture aswell and has come together
just as I had hoped.

So to get this page going your going to need
Heavy White Gesso (I love, love, love this stuff)
Tissue paper and Gel Medium.
Using the Gesso paint a diamond working in the centre and painting outwards.
This will give you the feathered look around the edges.
Repeat this process in the bottom right corner.

Once dry Paint the gel medium liberally adding the tissue paper to it.
You are going to get tacky fingers as you work in the creases.
You want these as they add a fluffy texture.


In the images below you will see the texture created by lapping the tissue.


The coverage of Heavy white Gesso is A-mazing....


My next selection is Colour Sprays...
I've chosen to work with
Mocha  Colour Spray and Leather  Colour Shimmer Spray


I Spritzed the page first Using the Mocha Colour Spray and dabbed the access using
paper towel.


I repeated the process again using the Leather Shimmer Spray.
Theses colours where then used again on a few chipboard pieces.
I didn't prep these pieces and used the sprays on my chipboard raw.


I spritzed 2 layers. One of mocha and one of Leather,
allowing it to dry in between and then for the third layer I used Bling Colour Shimmer Spray


The Shimmer is gorgeous and colour Rich....
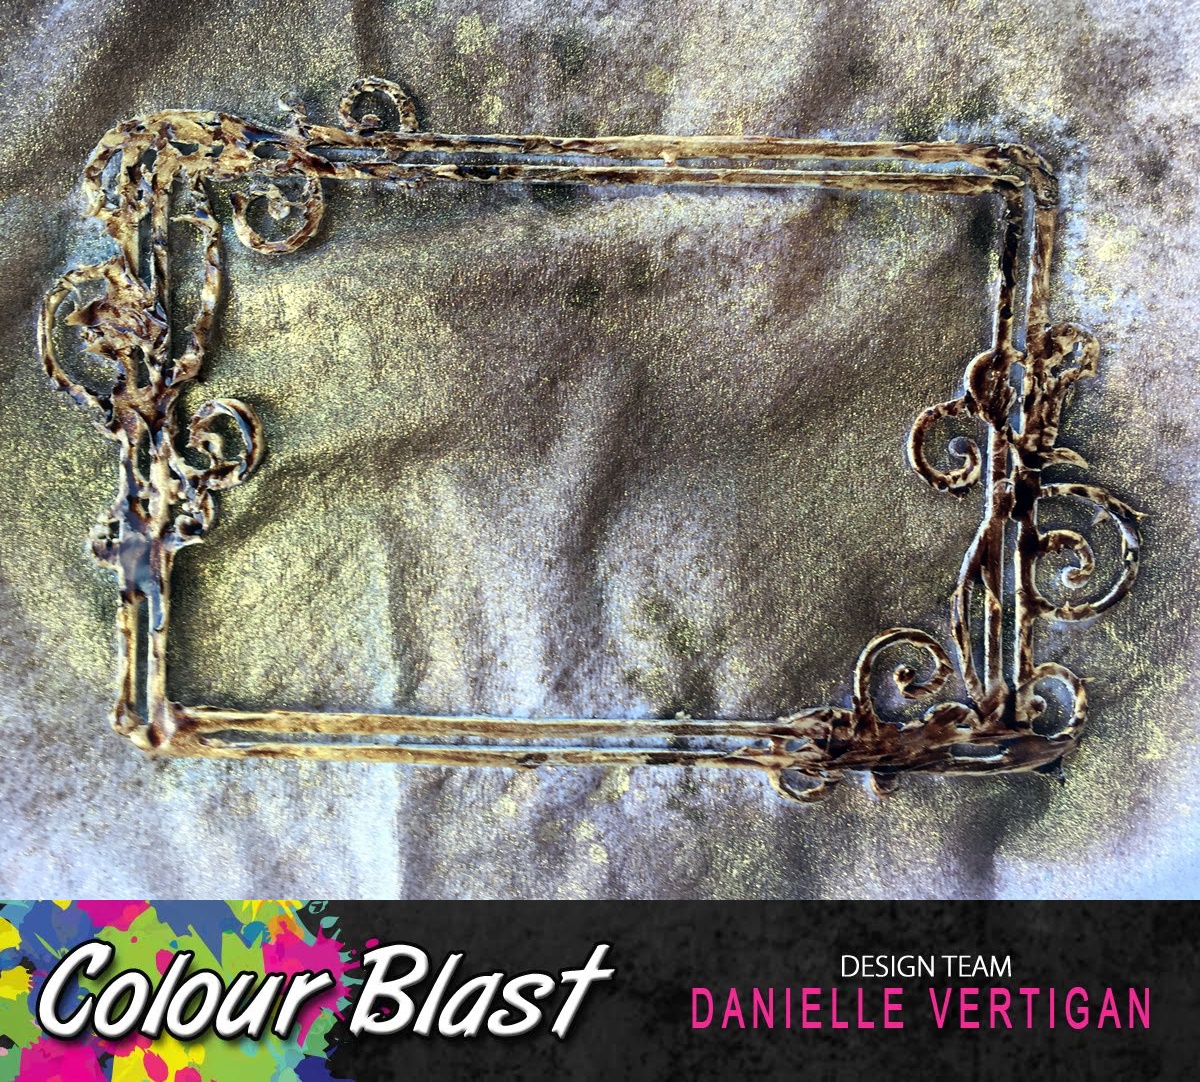
Using the Colour Paste in Bling I coated the frame roughly using my finger.


My Border Pieces where prepped with Heavy White Gesso and left to dry.


I spritzed these using Leather Colour Shimmer Spray.

One the dried frame I Spritzed with the Mocha Colour Spray.

I repeated the process again with Leather Shimmer Spray.
Using and Stencil and the Leather   Colour Paste I added the zigzag pattern before
embellishing.
On My frame pieces I roughly added some speckles of the Bling Colour Paste,
I did this through a small patterned floral stencil.


I repeated the paste and the stencil over my prepared diamond and started layering my
prepared chipboard pieces with muslin, Hessian and a touch of gold.


You can really see the texture from these close ups.


Using a white Gel Pen I added a boarder and few details like
names, location and some general squiggling...
I couldn't help myself.


There is just something really Raw and Earthy that I just love about the finished result.

All these goodies and more can be purchased from
They are very addictive to play with and the results speak for themselves.

Till next time happy Scrapping
Danni


Sunday, 6 November 2016

Always Together by Farrel Tailor

Hey hey lovely CB fans!!! 
I am super excited to share with you a layout I created for the Kraft Plus Challenge.
The criteria was to use something from our closet as inspiration and I decided to use the colours on my favourite scarf.


So let me step you through the process in creating this layout.

I wanted my sprays and paste to pop from the kraft background so I decided to lightly rub on some white gesso with a baby wipe. 


I didn't have a spray to suit one of the colours on my scarf so I mixed Duke Colour Shimmer Dust with water to create my own spray....and loved it!!! I put this aside for now as I will use it later on.


Now for some stenciling using Lipstick Colour Paste. I didn't stencil in the center of the gesso as this is where my photo will go and I don't like wasting lol


Once the paste is dry, I then sprayed with Rainforest  Colour Spray.


Then using the lid of the my Peacock Colour Shimmer Dust, I tapped randomly onto the stenciled area. I only used the lid because I didn't want a lot - a little goes a long way with the Colour Shimmer Dust.


I then sprayed the area with water and let the colours run


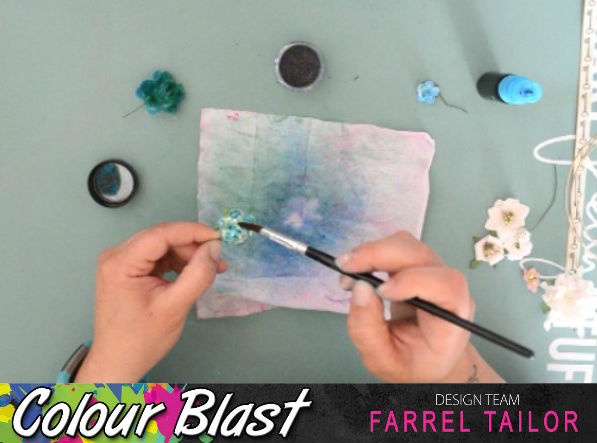
Next I coated my chipboard with white gesso and using a paint brush I dabbed my Duke  Colour Shimmer Dust spray all over.


I always have white flowers on hand so that I can colour them to suit my layouts, so here I have used
Peacock Colour Shimmer Dust,  Duke Colour Shimmer Dust Spray, Fire Engine Colour Shimmer Spray and Colour Sprays in Rainforest and Bubblegum.


Then I added some stamping and assembled the the layout, here are some close ups.
I splattered the background with Duke Colour Shimmer Dust Spray, Bubblegum and Rainforest Colour Sprays.


Here is my process video for this layout. I hope you enjoy and for all the products used please click on the links below.


Until next time happy scrappin xx