Showing posts with label mocha. Show all posts

Thursday, 10 August 2017

Cherish The Time by Suzy Loudon

Hello everyone. Welcome back to the Colour Blast Blog where there's always plenty to see & lots of inspiration.
It's not often we get am family picture so today I'm sharing a page of just that during a fun day at Seaworld. 


To begin my page I coated my cardstock with Mod Podge to seal it as I wanted my sprays to sit on the page rather than soak into the cardstock. 
I sprayed Coffee Colour Spray onto my acrylic block, gave it a spray of water, then turned my block upside down & stamped it onto my page,


I did this until I had the coverage I wanted.


I did the same thing with Mocha Colour Spray building up layers.


Using Lagoon Colour Spray I did the same again.


Using the new Colour Shimmer Spray in Sienna I added a light spray. I took 2 photos as the left one with the flash shows up the shimmer a lot better.


A tap of Roadbase Colour Spray around the page & my background was done.


I used Deep Water Colour Embossing Powder on some chipboard.

I did 2 layers with Dusty Charcoal Colour Embossing Powder on some more chipboard.


My chipboard letters for my title I used the new colour in Sienna with 2 layers of Colour Embossing Powder. I later glued on some micro beads (you can see that in a close up later) 


I sprayed a chipboard clock with Roadbase Colour Spray.


I wanted to add some cogs as embellishments, but so they wouldn't get lost with all the brown colours I added some Colour Embossing Powder on sections in Deep Water, Leather & Sienna. But be very careful as when you heat the metal it gets really hot. so be patient & wait for it to cool a little before touching.


I added to background paper to mat my photo, also using cardboard between my layers for depth.
Put it all together & it was done.


Thanks for stopping by.
xxx Suzy


Wednesday, 31 May 2017

Kraft and Bronze by Danielle Vertigan

This week I was inspired by Earth tones and Nature.
Gold, Bronze and Chocolate.....
I was looking for really rich tones sitting on Kraft with a pop of white.
It was one of those layouts that feels rich in texture aswell and has come together
just as I had hoped.

So to get this page going your going to need
Heavy White Gesso (I love, love, love this stuff)
Tissue paper and Gel Medium.
Using the Gesso paint a diamond working in the centre and painting outwards.
This will give you the feathered look around the edges.
Repeat this process in the bottom right corner.

Once dry Paint the gel medium liberally adding the tissue paper to it.
You are going to get tacky fingers as you work in the creases.
You want these as they add a fluffy texture.


In the images below you will see the texture created by lapping the tissue.


The coverage of Heavy white Gesso is A-mazing....


My next selection is Colour Sprays...
I've chosen to work with
Mocha  Colour Spray and Leather  Colour Shimmer Spray


I Spritzed the page first Using the Mocha Colour Spray and dabbed the access using
paper towel.


I repeated the process again using the Leather Shimmer Spray.
Theses colours where then used again on a few chipboard pieces.
I didn't prep these pieces and used the sprays on my chipboard raw.


I spritzed 2 layers. One of mocha and one of Leather,
allowing it to dry in between and then for the third layer I used Bling Colour Shimmer Spray


The Shimmer is gorgeous and colour Rich....
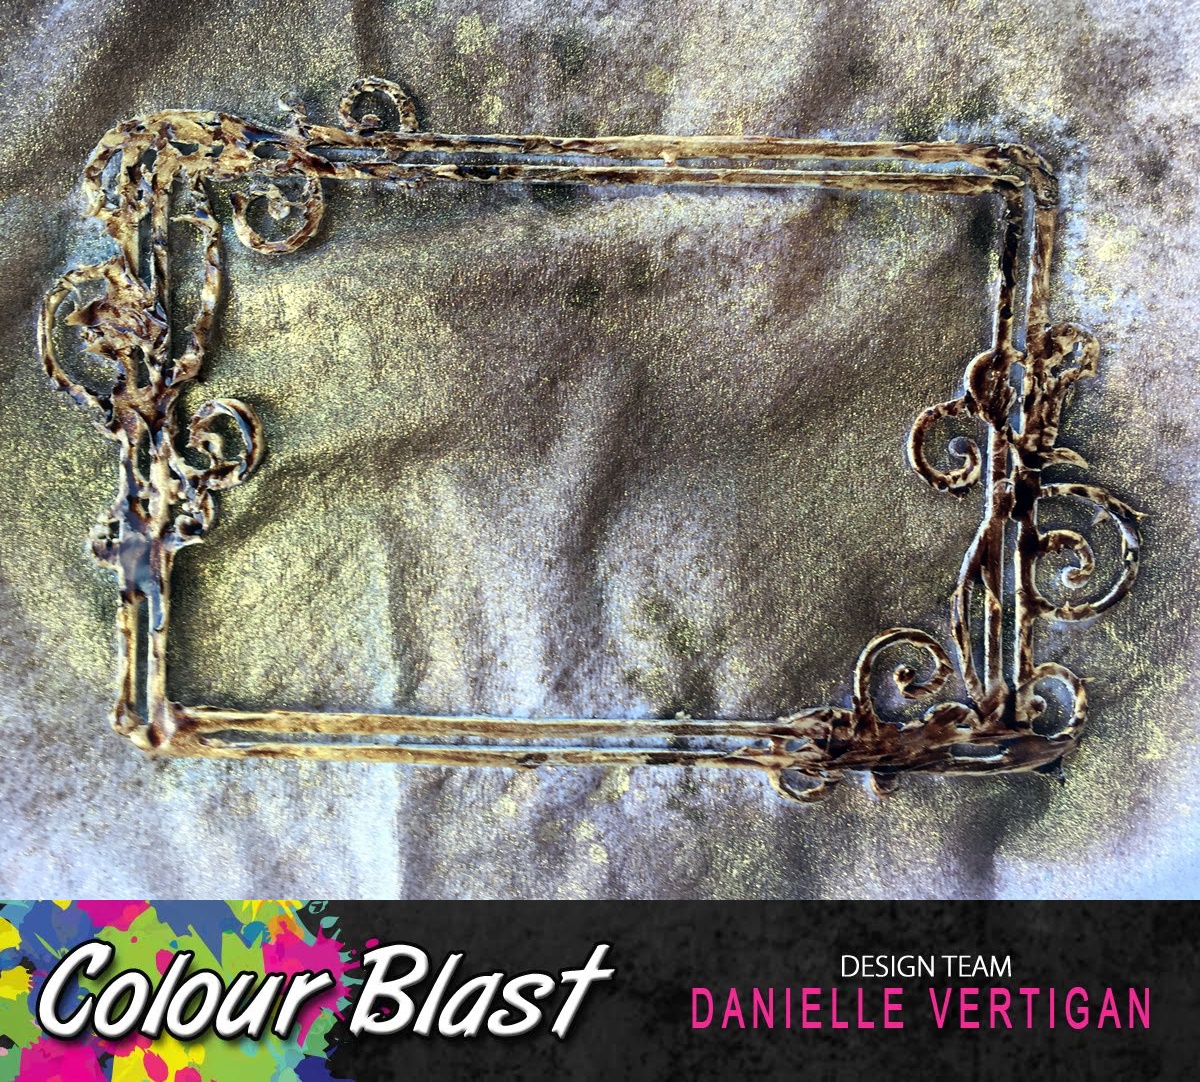
Using the Colour Paste in Bling I coated the frame roughly using my finger.


My Border Pieces where prepped with Heavy White Gesso and left to dry.


I spritzed these using Leather Colour Shimmer Spray.

One the dried frame I Spritzed with the Mocha Colour Spray.

I repeated the process again with Leather Shimmer Spray.
Using and Stencil and the Leather   Colour Paste I added the zigzag pattern before
embellishing.
On My frame pieces I roughly added some speckles of the Bling Colour Paste,
I did this through a small patterned floral stencil.


I repeated the paste and the stencil over my prepared diamond and started layering my
prepared chipboard pieces with muslin, Hessian and a touch of gold.


You can really see the texture from these close ups.


Using a white Gel Pen I added a boarder and few details like
names, location and some general squiggling...
I couldn't help myself.


There is just something really Raw and Earthy that I just love about the finished result.

All these goodies and more can be purchased from
They are very addictive to play with and the results speak for themselves.

Till next time happy Scrapping
Danni


Tuesday, 17 January 2017

More with Melinda Sweetman

Hi there Colour Blast fans and thanks so much for stopping by for my 1st post for 2017! I hope the new year finds you well!!

Today I am sharing a page I created using the very gorgeous 7 Dots Studio Cotton Candy Dreams range paired with Colour Blast products in Leather, Envy, Tangereen Dream and Mocha! I do have to also share that I was VERY inspired by one Anguree's posts from December and ran with it!

And there is a process video if you'd like to see my page come together


First up a little stamping with my black archival ink on this gorgeous patterned paper


And next some Colour Paste in Tangereen Dream through a stencil


I quickly dried that off my heat tool and the next step was another stencil this time with Leather Colour Shimmer Spray


Then I did some splatters using the nozzles of some sprays - Envy Colour Shimmer Spray, Tangereen Dream Colour Shimmer Spray, Rainforest Colour Spray and Mocha Colour Spray.


I then left that to dry off naturally while I worked on my title. A very simple one word title "more" which I cut a few times on my cameo. I was unsure which size I wanted to use and ended up adding all 3 to my page!

I very simply sprayed that with Tangereen Dream Colour Shimmer Spray. I also sprayed the other 2 pieces a bit later when I decided I wanted to use those as layers.


Next up for a bit more colour I used the same stencil I used on the background and Tangereen Dream Colour Paste and applied that over the top of my word.


I had pulled out a few stickers from the Cotton Candy Dreams range which eluded to "find your wings and fly" so wanted to add in some butterflies. I grabbed stamp set, my versamark and also my Tangereen Dream Colour Embossing Powder and got to stamping and embossing. And, of course, fussy cutting ;)


At this point I decided I wanted to add in some chipboard so I grabbed this Dusty Attic piece from my stash and again went in with my versamark and embossing powder.


I started to assemble my layout here and this is when I decided to add in the extra words I had cut on my cameo but wanted a little more colour/depth to them so added on the Leather Colour Shimmer Spray through a stencil and love how they came out!


Finally I added in some very rough hand drawn lines around the border of my page using the Mocha Colour Spray nozzle.

And here is my completed page


And a few close ups


 Just as a side note, the word "more" is the word that spoke to me for my take of One Little Word by Ali Edwards. I have included a tag behind my photo in a pocket which I will add some journalling to about what I hope 2017 brings for me!

It really is amazing where a little inspiration can take you! I had so much fun putting this page together. Next time you see something that catches your eye, make something - you may just love it or learn something in the process!!

Until next time!

Melinda