Showing posts with label Coffee. Show all posts

Thursday, 11 July 2019

Sail Away by Suzy Loudon

Hi everyone. I'm back today to share another layout using the wonderful Colour Blast Products.


To begin with I spread Heavy White Gesso though a bird stencil.


 I activated Cobalt  Colour  Shimmer Dust with some water on my craft mat. Then using some scrunched up plastic wrap I dabbed the colour onto my card until I was happy.


I then activated Navy  Colour Shimmer Dust and did the same.


I sprayed some Coffee Colour Spray onto my craft mat, then added some water to dilute it a little. Then using my plastic wrap blotted it onto my page.


I mixed some micro brads with glue before spreading them onto a tag (with some washi tape on it). Once slightly dry I Sprayed my Navy Colour Shimmer Dust (I have a spray that I made up) over the tag and left to dry.


For my second tag I used the same technique as the background, but this time I didn't water down the Coffee Colour Spray with water.


I added some ribbon & charms on the first tag. And a wax seal on the second.


My anchor chipboard I first embossed with Stormy Weather  Colour Embossing Powder. Then before it fully heat set I sprinkled Sienna  Embossing Powder, then Envy  Embossing Powder before fully heat setting.


I sprayed some flowers with Bling & Leather Colour Shimmer Spray.


Here's a few close ups after I finished putting my elements together.


Thanks for looking.
xxx Suzy


Thursday, 15 November 2018

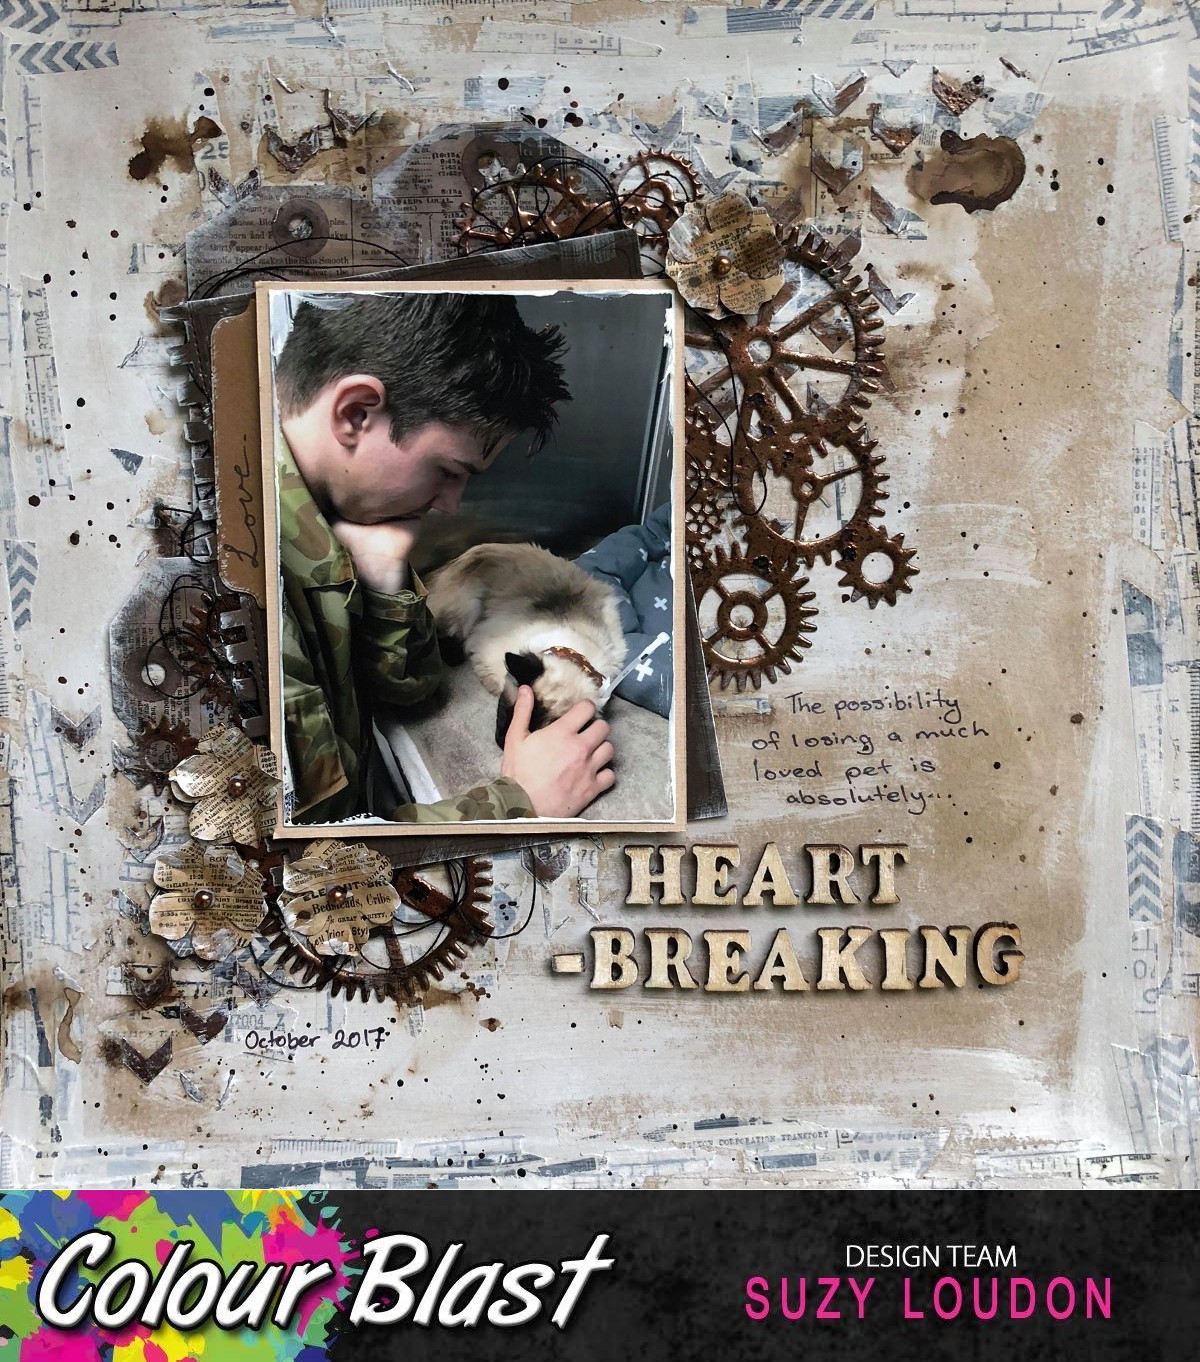
Heartbreaking by Suzy Loudon

Hi everyone. As I sat down to think of a layout, I had to first de-clutter my desk a bit. One thing I had was my box of washie tapes. So I decided to do a layout using them. It took a little thinking but I was happy with the end result.


To begin with I grabbed my washie tapes. I tore lengths then tore them in half before sticking them down around my cardstock and through the inside around where I planned for my photo to be.


I added some Leather Colour Paste through a stencil.


I dry brushed Heavy White Gesso all over, thicker in some areas. Then using a nappy wipe I wiled some of the Gesso off the Leather Colour Paste.


I unscrewed my Coffee Colour Spray & used the end to drop some colour around. Then using my water spray I gave each blob a spray moving the colour around & drying with a heat gun.


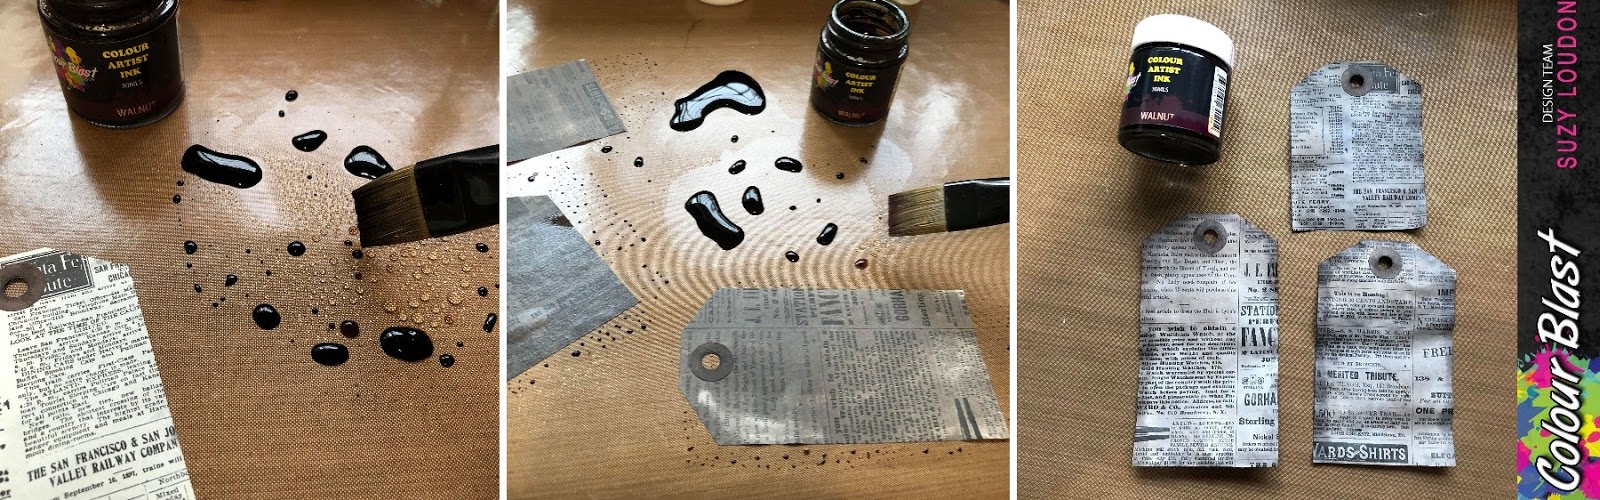
I coloured some tags I made by adding a few drops of Walnut Artist Ink onto my craft mat then adding water. I varied the shading by adding a little more water as I went.


I embossed my chipboard by first covering it with Leather Colour Embossing Powder. Then after heat activating adding Sienna Colour Embossing Powder to some areas.


I then gave it some splatters with Coffee Colour Spray.


I matted my photo then dry brushed it with Heavy White Gesso.


Covering my photo I splattered Coffee Colour Spray around.


I punched out some flowers using the same paper as my tags. I then gave them a light wash with watered down Coffee Colour Spray.


I dry brushed the Gesso around my flowers, tags, chipboard & title to finish it off.


Thanks for stopping by.
xxx Suzy


Friday, 4 May 2018

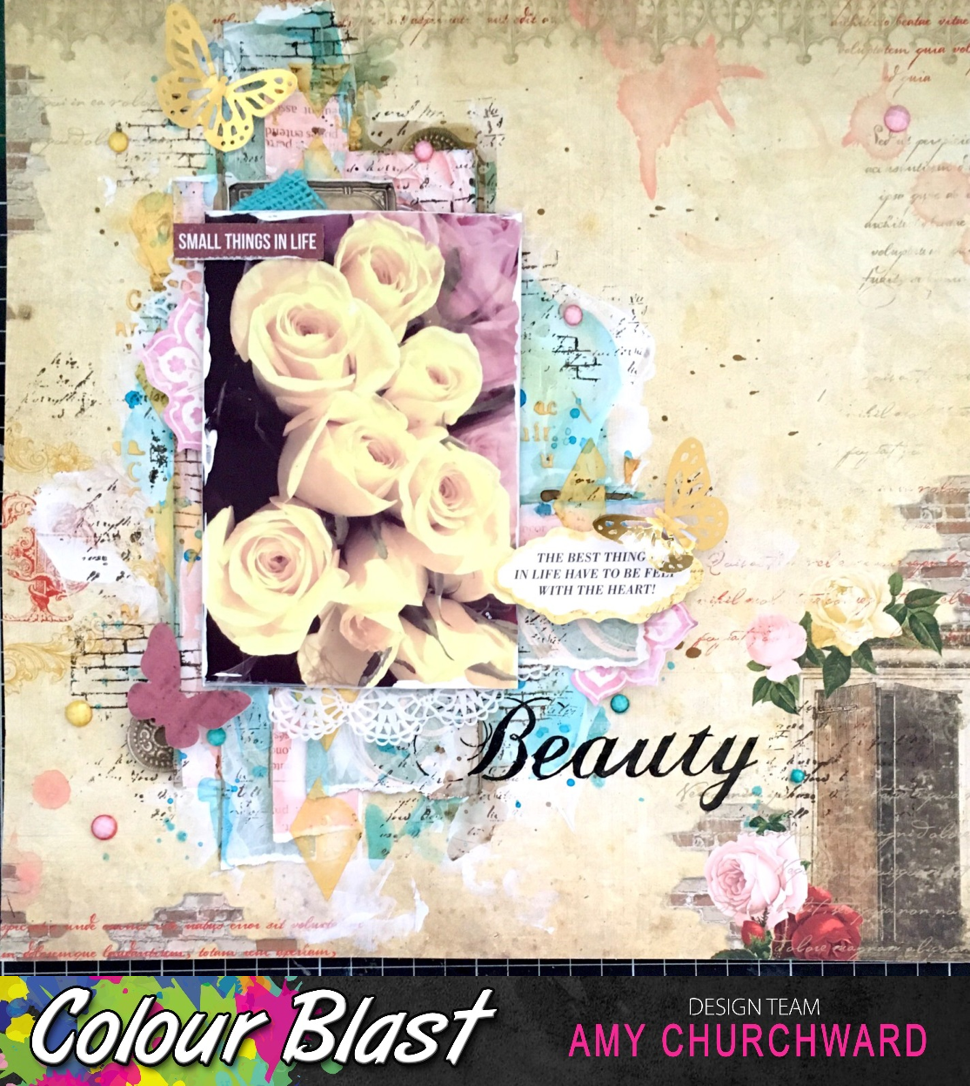
‘Beauty’ by Amy


It’s May already!

In our household, the combination of birthdays and of course Mother’s Day are the celebrations here.

Mother’s Day is the day for honouring our Mothers, or perhaps remembering them.

Some people like to do cards, a special breakfast, picnics or simply hand-picked flowers.


Today, I am going to share a simple but pretty page.


To begin, using a spatula, I primed the page with 'White Heavy Gesso' onto a heavy patterned paper from my stash. Once dried, using a paintbrush, I covered the Gesso with ‘Sapphire’ Colour Spray. This was perfect to use, as I wanted to keep the colour palette soft.
Then I splattered some of the ‘Sapphire’ Colour Spray over the covered blue area.


I tore strips of paper – both long and short – and adhered these in a way to match them up to where the photo was going to be placed.


To prime the torn strips, I smeared 'White Heavy Gesso'. I deliberately did not want to fully cover them as wanted to leave some of the patterned paper exposed.
While this was drying, I ran some 'White Heavy Gesso' around the border of my photo with my fingers. This helps give the photo a rustic look.


To add some more blue to the page, I applied the ‘Sapphire’ Colour Spray, focusing on the ends of the strips of paper.


After I heat-dried the blue ink, I highlighted the edges of the paper strips with ‘Coffee’ Colour Spray to give it an aged / vintage effect.


To add some bling, I couldn’t resist the opportunity to use the gorgeous ‘Bling’ texture paste with a diamond-shaped stencil and then set it aside to dry.


To complete the background, I used a permanent ink and stamped randomly over the layered papers. Once I was happy, it was time to adhere the photo with the gorgeous white paper doily from D-Lish Scraps. I then added some embellishments to the photo.
It was nice to do a soft, pretty page for a change. Here are some close-ups.


I hope you have a relaxing Mothers’ Day, doing something that you love!


Thanks for stopping by, ciao!  Amy


Thursday, 1 March 2018

'XOX' by Amy


New Month! New Challenge!


For this month’s challenge, TEXTURE is the theme. It can be with the use of the likes of wool, thread, tissue paper or even with mixed media materials such as texture paste and layers of paints – you name it!
I really hope you can give it a go! As I always say you are your own artist and everyone has their own interpretation of the one idea.


I decided to do a bright sea-themed canvas project.
To begin, I prepped my canvas completely with White Heavy Gesso, using a roller.


For the sea floor, using a pencil, I drew a wavy line. I used the Coffee Colour Spray with some water and painted the sea floor. For the seawater, I used Sapphire Colour Spray with some water. These sprays paint so well and flow well on canvas.


To provide more depth to the sea water, I mixed both Roadbase  and Sapphire Colour Sprays to provide some darker tones.


For the sea floor, as I needed some green, I used Rainforest  Colour Spray on tissue paper and scrunched it while I dried it with a heat gun. I tore it into random strips and adhered it to the canvas using a gel medium.


To add dimension to the seaweed I stamped it, using a background stamp and permanent ink.


I couldn’t go without bubbles!
Using a stencil, spatula and White Heavy Gesso, I applied it in a vertical motion.


For the background, using a permanent black ink, I randomly stamped circles around the page.


For my fish, I hand drew the shape and used scrap papers to make this little beauty. You can use fabric, bubble wrap, cardboard or anything else really.


Before I could add embellishments to the canvas, I wanted the fish to blend in. So, using the tip of my fingers, I used both White and Black Heavy Gesso around the fish to add some depth. Then, finally, to provide some shine, I used the Snow White  Colour Paste.
Once dried, it was time to add some embellishments! This was fun to create. Here are some close-ups of the project.


I hope this leaves you feeling inspired to do a project using texture! Once you have made yours, post it in the ColourBlast Facebook Group and share the joy!
Thanks!

😊 Amy