Showing posts with label Texture. Show all posts

Monday, 23 July 2018

Colour Blast Journal Flip Through 2 & video with Selena Stevens

This is last blog post from me as a member of the Colour Blast Design Team.  To round up my year with Colour Blast I have put together a bit of a flip through of my journal.  I managed to fill two during the 12-month term and this is the second one. I have previously done a video and a blog post on my first journal.


Here is the video if you would like to watch the Flip Through of my Colour Blast Journal 2 where I talk about the different pages that I have created.

So, lets begin …

I believe that art journaling is a lot of fun.  It is a not so serious way of doing some art or trying out a new technique, as it doesn’t have the pressure attached to it like a canvas that will be displayed on a wall. An art journal can be whatever you want it to be, and if you don’t like it, just turn the page.


Swatches are always a great way to have a look at new products.  It’s a quick way to see the colours when they dry, to know which products you have at a glance and to try out some application techniques with them. 

The above photo is of a page of some swatches I did when I received some new Colour Blast products. Lots of yummy colours to choose from.


I find art journals are also a great tool to experiment with and see how products react to medium that you aren’t familiar with using.  For example, in the above photo I wanted to see how different Colour Blast products reacted to the Aqua Primer that I had.  So I scraped on the Aqua Primer, let it dry, then added on the Colour Blast products to see how they would react.  As I hadn’t used the Aqua Primer previously it also helped to become familiar with it.


I took my art journal (ok 3 or 4 in total plus canvases) along to the Biannual Colour Blast retreat. If I can recall correctly, I think I finished about 17 pages or close to it over the 4 days.  The above photo are some of the pages that I created.

If you haven’t been to one of the retreats hosted by Colour Blast I would advise you to go along. They are a great weekend.  The food is great, with a lovely and lively group of women attending.  It is relaxing, especially next to the pool.  You can create for as long or as little as you like.  It is definitely worth the weekend away.  To find out more contact Colour Blast.


Colour Blast run monthly challenges on their Colour Blast Creative Corner Facebook page.  Each month the challenge is set to a theme and everyone and all levels are encouraged to participate with the winner being able to claim a prize at the end of the month.  The above photo shows one of my blog posts that was created for a monthly challenge.

To participate in this challenge all you have to do is find out the challenge for the month, create something that fits that expectation and upload it to the Colour Blast Creative Corner page.  It is a supportive environment that encourages people to participate and we all love to look at other peoples work.  So have a go and good luck.


Of course there are the daily Colour Blast blog posts that are available daily with new designs and uses for Colour Blast products.  These posts are always worth looking at for ideas and techniques.  Colour Blast also have a youtube channel where some members post videos using these products as well.

The above photo is of some of the blog posts I have created as a member of the Colour Blast Design Team and they also include a video of the page being painted.  I would love for you to have a look at them and tell me what you think.

It has been a memorable, rewarding and challenging 12 months with the Colour Blast Design Team.  I have been lucky enough to use some great products with lovely vibrant colours.  I wish the new team great success and would love to encourage everyone to create something every day.

To keep in touch with what I am doing creatively, you can find me at
Facebook:  Selena Stevens Art
Instagram: selenastevensart
Youtube:  Selena Stevens Art

Selena

Friday, 15 June 2018

‘Hello Gorgeous’ by Amy Churchward


Texture, texture, is the theme here…


I have created this page on a 12x12 sheet of corrugated paper. I love using this paper as it allows different media to have a variety of changing effects within the ripples of the card.
 

To begin the process, I tore a sheet of plain grey paper. I then adhered it to the cardstock. Using my fingers, I roughly applied some Heavy Black Gesso around the border of the page and over some of the grey paper.


Using a chunky hog-bristle brush, I applied both black and white Heavy Gesso, in a horizontal motion, as pictured and set it aside to dry.


To continue with by ‘Industrial’ theme, I found some patterned paper with brick imaging on it. I tore a strip of this so it would be the right size to be placed behind the photo.
I splattered some of the gorgeous ‘Sienna’  Colour Shimmer Cube over it too. This was the perfect tone to go with the theme.
Once the background was complete, it was time to apply layers – consisting of paper doily, cardboard, and patterned paper, behind the photo.
After the photo was adhered down to the page, the fun of embellishing the paper began!
To continue with the textured theme, I used washi tape, chipboard, thread, veneer and wire.


This was a simple page to create, but as I hope you can tell, a lot of fun!
I was really very happy with the way this all came together.
I hope this leaves you feeling inspired to make something creative!
Here are some close-ups.


Thanks for dropping by.
Amy 😊


Saturday, 21 April 2018

Us with Melinda Sweetman

Hey Colour Blasters and welcome to the blog today! I have a pretty share for you today - something somewhat different for me but today I am scrapping an older photo of me and one of my besties so went pretty!! Here's a little sneaky peek ;)


And, of course, there is a process video on the Colour Blast YT channel which you can see here! I hope you enjoy!

I have used this month's challenge as inspiration and if you have not yet seen it here it is!


And here are my step-by-steps!


A quick, light coat of White Heavy Gesso across my whole 12x12 white cardstock background. By the time I had cleaned up my spatula and work surface the gesso was dry!


I have 2 tubs of white gesso on the go at once - one is thicker than the other. To get your gesso to thicken up just leave it with the lid off while you create your next page and keep doing that until you get the desired consistency! However, I digress, I used my thicker White Heavy Gesso to apply through a stencil on my background. I taped off the parts of the stencil I didn't want the gesso to go through. This I left to dry overnight - I didn't want it to bubble and have the really textured, grungy look.


The next day I used a pipette to add some Colour Shimmer Spray's to a palette to make easy water colouring. I have used Punch, Sunshine and Tangereen Dream (to fit in with this months challenge).


I then added the colour randomly to my dried stencilling in patches, letting the colours blend a little together so I didn't get any harsh lines. I did dry after each colour to prevent the colours from completely blending together and really like the pretty background I have managed to create. I, of course, also added splatters in the same colours but keeping them pretty close in and small.


When that was all dry it was time to add all my layers and photo. I have primarily used the Vicki Boutin All The Good Things range because I knew there were birds in the ephemera pack and I love all the colours!


After my camera was turned off I added a few extra pieces including the torn edge on the left hand side and some black and white phrases. 


With those pops of black I also watered down a little Black Heavy Gesso and added some little splatters with a paint brush and 3 big splatters on the vertical where most of my design is. It's not very common for me to not have anything to say on my pages but for this one I felt those word/phrase stickers were enough and said what I wanted to say so I'm calling it done!


And a last couple of close up's - my little birdies!!


And my final page

You have until the end of the month to get your challenge entries in so head over here for the album and have a look around the group for lots of inspiration from the other girls on the DT but also from all of the other Colour Blast fans in the group!

Until next time, happy scrapping!

Melinda

Saturday, 10 March 2018

Boys. Sheesh ~ Scrapbook Layout with Melinda

Hey hey and welcome to the blog on this Saturday morning!! 
I hope you have some fun scrappy plans for the weekend, I'm pretty sure I do 😉

Have you seen this months challenge?! It’s all about texture! To be honest, I struggled somewhat with what textures I would use and how I would incorporate them into my project. I started digging through my photos and this one of me and my baby inspired me and then I came up with my main idea - hand stitching!! Here’s a peek at my finished stitched centre piece. 


And a refresher of the challenge


Here is my process video if you’d like to see my page come together.

My first step was coming up with my title which I knew I wanted to hand stitch. When I worked out what I was hand stitching I came up with the “sheesh” in my title knowing I had these leatherette alphas in my stash. More texture!


I added some colour to my title but made my own colour to match the collection I was using better. The Indigo Colour Spray was way too purple for what I was hoping for and the Caribbean was way too bright so I sprayed some Indigo Colour Spray onto my desk and mixed in some Caribbean. The quantities were about 6 (Indigo) to 1 (Caribbean). I tested on some scrap white card stock. And also thought I’d make it sparkly by adding a quick coat of Snow White Colour Shimmer Spray, perfect way to add shimmer without changing the base colour!


I used a paint brush and just painted inside the lines of the word my cameo had sketched.


When that was dry I added splatters in the same blue I created and then also added more splatters to match the collection I was using. I've used Blush, Sunshine, Envy and Stormy Weather Colour Shimmer Spray's.


After that was thoroughly dried I poked all the holes for my stitching, put on my current fave TV show and got stitching!


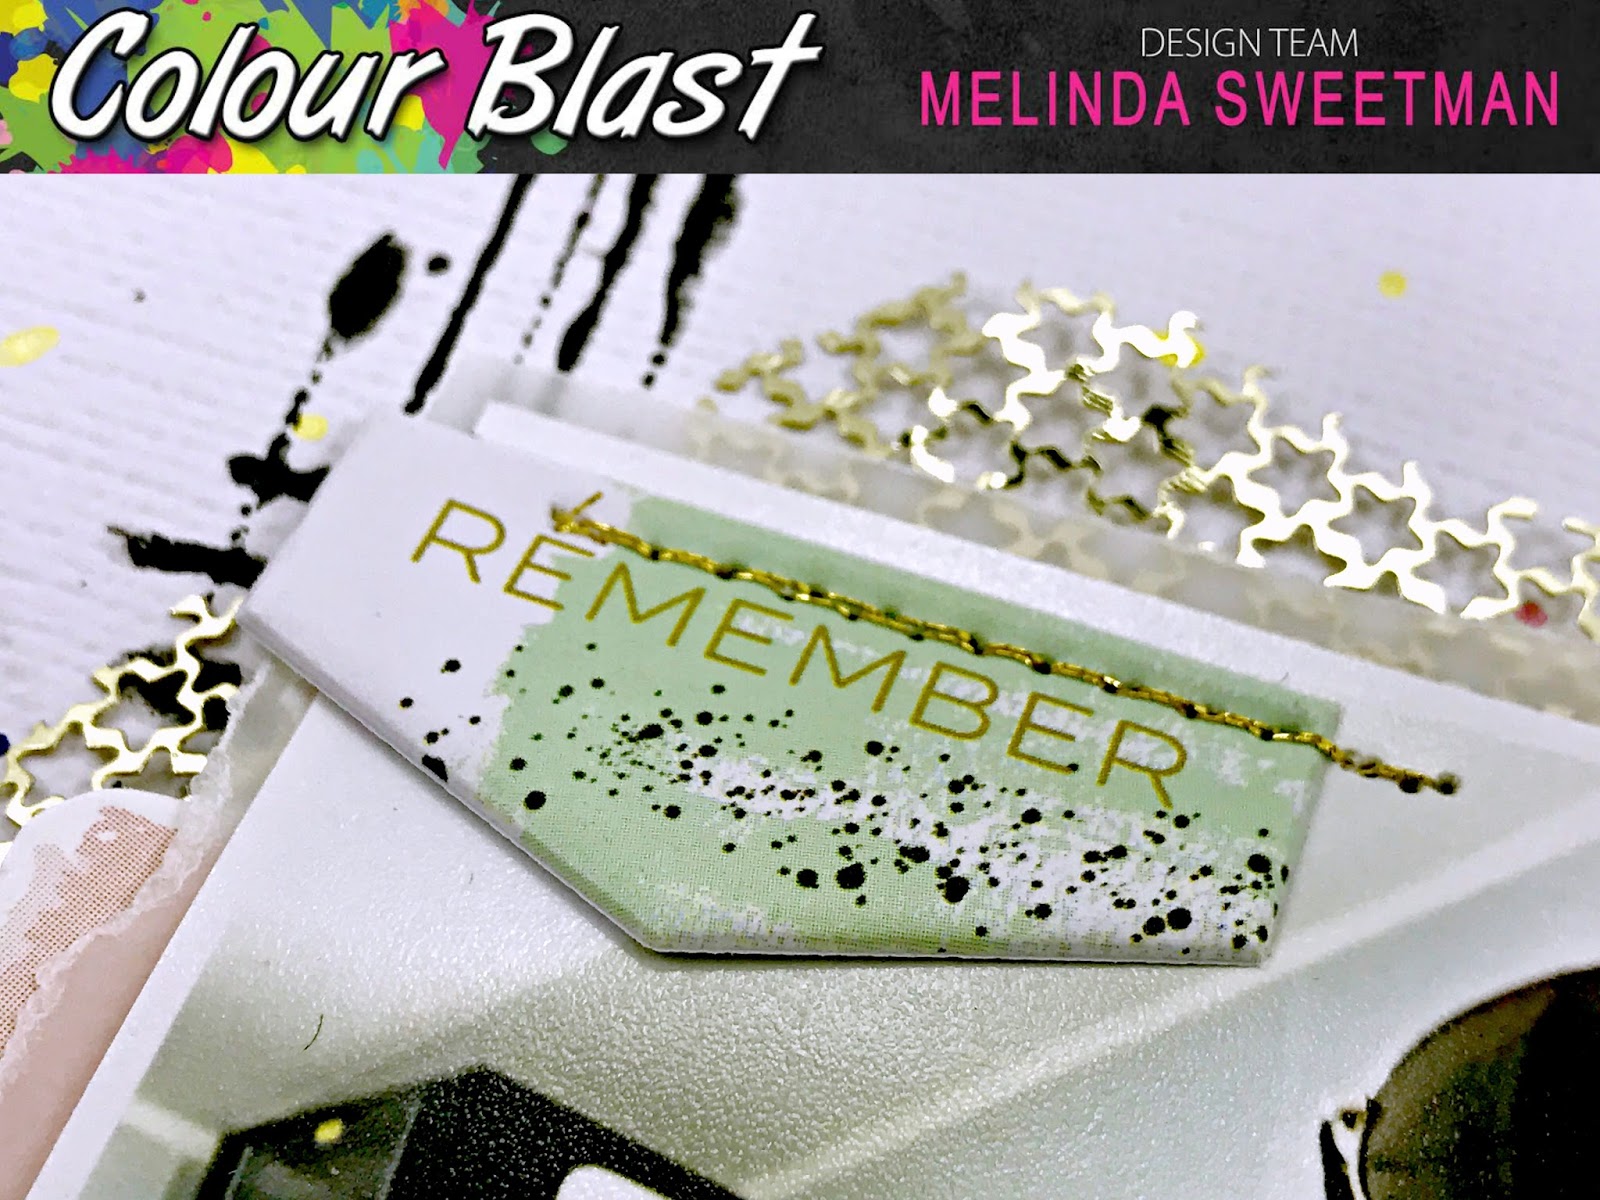
A few layers behind my photo including some patterned paper that had what looked like brush strokes which I fussy cut for more texture. I also added some gold star shaped punchinella as the very back layer behind my photo.


Before I stuck that down I decided I wanted some extra texture behind the photo on the white cardstock so pulled out my Black Heavy Gesso and an old store card and added in some messy lines around the 4 corners where my photo was going to tie in the black stitching.


More texture with some puffy stickers which I ended up stitching through with gold thread on my sewing machine.


I added my journalling and also a strip of paper at the top of the page and my page was done!!


Head over here to load up your take on the March Challenge in the Colour Blast Creative Corner Facebook Group and you could win a $30 voucher to spend in the Colour Blast store!!

Until next time, happy scrapping!


Melinda