Showing posts with label Peacock. Show all posts

Friday, 5 November 2021

Happy Little Moments by Charmane Koch


Happy Friday Everyone! It's starting to look like it's getting to "some kind of normal" for us all again & hopefully we will be able to travel freely soon? We would love to visit family & friends in different states without the stress of quarantine!

Today I am sharing with you the layout I created last weekend using the lovely NEW Chit Chat Range

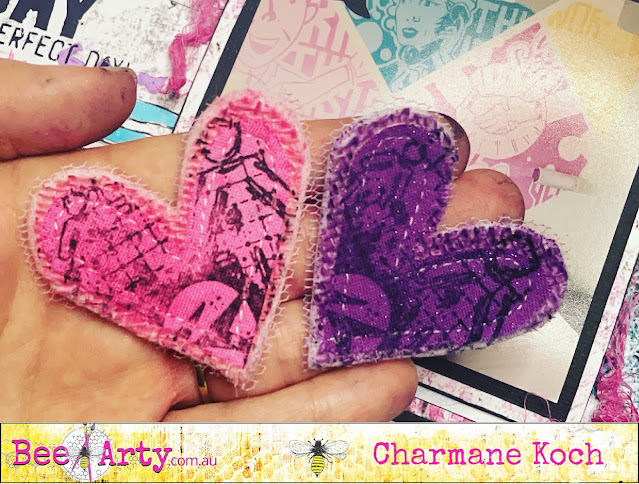
I totally love the colour combo here! When I saw the papers I KNEW which photos I was going to scrap first as soon as I saw them! I also had to have a play with colouring and stamping on my DIY Charms as well!

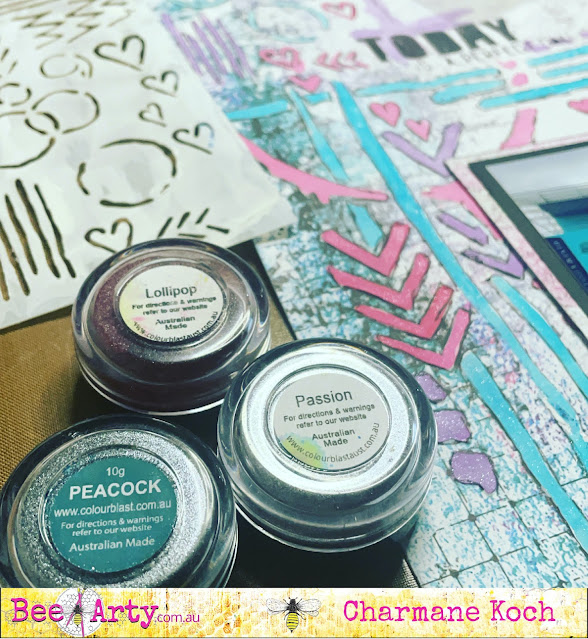
I started off by stencilling with modelling paste onto the fabulous My Heart Paper using NEW Linear & NEW Marked Stencils....

After I have dried with a Heat Gun I have got out the Shimmer Dusts to colour the stencil patterns - I used Lollipop, Peacock & Passion. After they had dried I also outlined in black pen.


I did create a little "quick" video of how I created my layout...


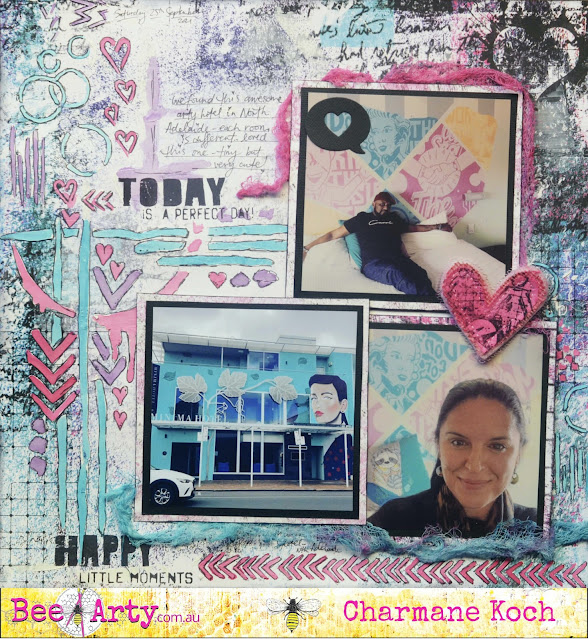
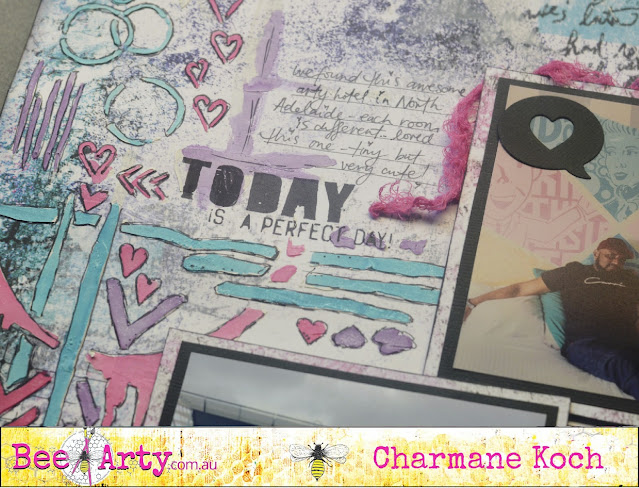
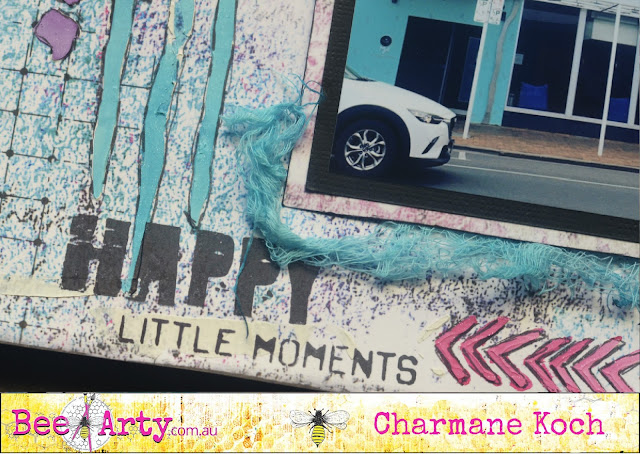
Here is the final layout! As you can see I have also used the Happy Clear stamp & I have also coloured some Muslin using the leftover Shimmer Dust & water I had left in my palette...

You can pop on over to the Bee Arty Hive to see how I coloured and stamped on my Charms DIY Heart HERE! For Some reason it won't upload on the blog!

I chose the Lollipop pink for the layout, the purple was just a bit too dark!
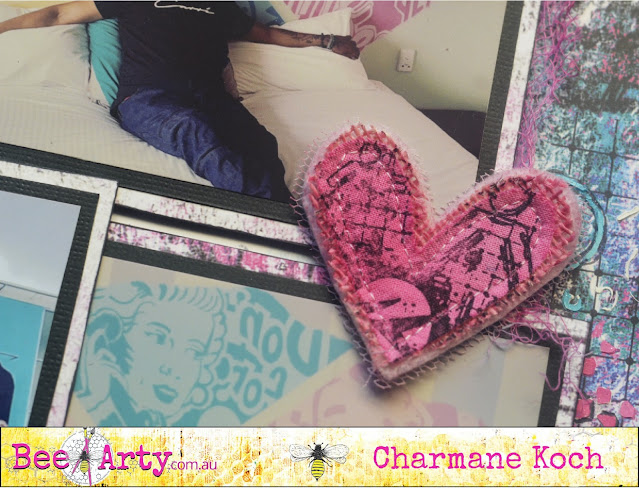

And here are more closeups... PS I did cut out from the Chit Chat Die using leftover Black Cardstock I had left, but only used the one cute speech bubble with the heart in the middle...

Thanks for popping by! I hope I have inspired you to have a play over the weekend!

Happy Scrapping!



XO Charm

Sunday, 26 April 2020

Live Your Art Tags by Tracy Jackson

Morning Bee Arty fans...

Today I am sharing my monthly project - 3 tags


Before i start any project, I always pick out my paper, not only does this give me a colour scheme to go off, it also tends to give me ideas depending how much of it I have.
I had left overs from Arty Farty paper range that I couldn't bear throwing out, which gave me the idea to make tags.


After cutting out a tag shape and gluing a strip down the side and picking out a stencil called Bricked,  I then mixed in some Shimmer Dust - Velvet into some Gesso and put a layer over the stencil on 2 tags and a Shimmer Dust - Paris/Gesso mix onto the last tag.


I then set aside to dry, which didn't take that long while I gathered up what I needed for next stage.


So for Tag 1 - I picked matching flowers that were 2 different sizes. Stamped each a couple times each with Archival Ink onto watercolour paper so the black outline wouldn't run when I coloured them with Shimmer Dust - Duke
Stamp set I used for this is called Floral Delights 2. ( I actually used the flowers from this set for all 3 tags), I also stamped on the tag to cover in some spaces one of the stamps from Meridian
Got to love fussy cutting!


I repeated the process for Tag 2,  but also added the paint brushes and words from Live Your Art stamp set. Shimmer Dust colours used for these flowers are Peacock and Lollipop


Lastly Tag 3 - I stamped on background one of the stamps from Geo Grunge
Shimmer Dust colours used were Duke and Velvet
I also used for the first time in center of flowers... Shimmer Pen... OMGeeee... squeal ... this pen is so cool and leaves such a shimmer!!
..
And so, after assembling them all together, free hand drawing lines around the edges, hole punching and adding twine, I have ended up with 3 bright and fun tags


Hope you have enjoyed this and I have given you some inspiration to not throw out any leftover paper.
Happy Crafting


Monday, 25 November 2019

Sweet Little Sucker by Michelle Henderson

Hi all you crafty people!

My latest layout started out as a grid pattern, but I just couldn't bear to cover too much of the background 😁

Here's a wee taste...just look at that sparkle!


I used Colour Artist Inks to tint some Heavy White Gesso, starting with Oasis. I brayered a section with this, applying it quite heavily as I wanted to create some texture with it.


I added some Colour Shimmer Dust in Peacock, and mixed it a little, but not fully so there would be some striations. 


For the pink parts of the grid, I used Slipper Colour Artist Ink and Lollipop Colour Shimmer Dust. 


After that, I used plain Heavy White Gesso through a stencil for added texture.


As a final touch for the background, I splattered a little of the clear Colour Shimmer Marker


I put everything together using some Cocoa Vanilla that was on my desk. I so love this photo of my great niece!


Thanks for visiting!


Tuesday, 29 October 2019

An Amazing Day by Michelle Henderson

Hi All!

I have a new page today for you that fits into the new challenge using cool colours - have you played along yet? It has now been extended until November 10th.


I started by using a cut file as a stencil all over a page, and then applied White Heavy Gesso through it on to another page.

 
I love the texture that this creates once its dry 💓

I took out 4 of my favourite Colour Shimmer Dust in Paris, Lush, Peacock and Passion, then sprayed the gessoed page very lightly with water then sprinkled a little of the powders here and there.


I touched it up here and there with a brush and the same colours that I had mixed on a messy mat. I had a little colour left over so waste not want not 😉


At this stage, I felt that it would be too much to use the full page as a background, so I cut up some leaf clusters and singles and used them as a design element.

I created shadowing under the leaves with the Water Colour Inspired collection.


The title was embossed with Colour Embossing Powder in Deep Water.


Finally I added my photos and a few bits and pieces from one of my favourite Cocoa Vanilla collections. I also used the tag 💜


I hope you like it as much as I do!


Friday, 12 April 2019

Cheeky Pup by Michelle Henderson

Hi all, I'm back with a scrapbook page again, this is one I started the background for a while ago, but never finished - but I always come back to them eventually!

Here's a teaser for you 😁


I started by using my palette knife and silicon brush to spread some (a lot!) of Colour Paste in Singing the Blues over one corner and dragging it down. I wanted to add some Deep Water also so I made that a little heavier towards the top.


Next, I grabbed a texture stamp, and stamped into the paste, then on to the card to extend the colour.


Look how cool that is!


When that was dry (a few months later haha) I then got out some embellies - I coated the chipboard stars first with Heavy White Gesso, and then two coats of Snow White Colour Embossing Powder.


I had some watercolour paper diecuts, so I used Colour Shimmer Dust in Peacock and Candy to colour those...


I also painted some of the Peacock on the bottom corner, plus a little in the very top left corner.

Time to put it all together, add a few bits and pieces, and -


Thanks for visiting today!


Friday, 1 March 2019

#nofilter by Michelle Henderson

First up today I have a couple of little sneaks for you...


For the first time in ages, I used Kraft cardstock as a base.

I got out my trusty Heavy White Gesso, and using a combination of a brayer and fan brush, went around the edges to create a messy border. I thinned it down a little with water for this first step.


I chose about 4-5 stencils and this time used an old card to smear more gesso (not thinned this time)
just leaving a bit of "white"space towards the centre.


I broke out the Colour Shimmer Dust in Peacock , and mixed very sparingly with water, before using the kissing technique to lay some colour in top right quarter.


I mixed a little Duke up with water also, and soaked some muslin in it to get the strength of colour I wanted. 


Once it was dry, I used it as a layer under my photo, added the rest of my embellies...
and Voila!


Hope you like it!