Tuesday, 21 April 2020

2013, by Amanda Hartmann

Dear Bee Arty fans!

Today I am sharing this page -gold and maroon - first this sneak peek, then full step by step instructions!


Step by step instructions


1.  Gesso a piece of smooth white cardstock, including sticking down a LARGE doily. Because we will use water in adding colour, sealing the cardstock with gesso is important.


2. Mix Colour Mica Powder in Bling, with light modeling paste. This makes the perfect paste and I can add more or less mica powder to get the colour perfect for me.

Also tear and stick some old book paper remnants to the page.


3. Use the Mica powder paste through a stencil. I used the awesome A4 Interwoven stencil from three six five.


4. Once dry, get Colour Artist Ink in Bordeaux. Dropper some colour to the page. Be ready with water spray bottle and wet paintbrush to move the colour on the page.


5. Grab your Colour Shimmer Spray in Bling. Take off the lid, and use a paintbrush to paint and splatter gold on the page.


6. Finish the background with black pen doodling, and some random black stamping with Making your mark stamp

Here is the final page and some close ups!


I also cut some gold glitter diamonds with Forever my always: Diamond metal die. I tucked these in different corners of the page, with muslin and stickers.


Thanks for looking,
Amanda


List of Bee Arty products used:
three six five: A4 Interwoven stencil
Forever my always: Diamond metal die

Monday, 20 April 2020

'All things grow better with love' by Amy

Hi everyone! Last month, Bee Arty had a creative challenge. The theme was 'Flower Power'. I was super-impressed with the fantastic entries that came through: thank you Bee Arty fans!

So today I am sharing a page inspired by the 'Flower Power' theme...


...and this is my take on it...


I created this colourful page by using various Colour Artist Inks, stamps and a stencil from the Bee Arty Store

I started by using Colour Artist Inks mixed with water inside my hand drawn circles. I applied one colour at a time using the following colours: 'Citrus', 'Oasis', 'Slipper', 'Mermaid' and 'Cider'. 


Next, I placed the white cardstock ready for my stencil pattern. I dipped the Bee Arty 'Devotion' A4 Stencil in 'Road Base' Colour Spray mixed with water. I then transferred it across to the coloured areas on the white cardstock and allowed to completely dry.


To continue with this flower theme, I stamped in various places with the 'Floral Delights 2' Clear Stamp Set by Colour Blast. N.B. I used a permanent based ink in black. This is advisable, as it prevents the ink from bleeding and allows for sharp images.


Before I added the photo to the page I added splatters over the background with the Colour Artist Ink in 'Soot' and allowed to dry. I then embellished the page with paper flowers, doily, chipboard by Kinder Kreations. 

The title was a rubon from my stash.

Take a look at these close ups.


Here are the products in store that I used:

Colour Artist Ink - Citrus, Mermaid, Oasis, Slipper, Cider and Soot
Colour Spray - Road Base
Stamp - Floral Delights 2 Clear Stamp Set by Colour Blast
Devotion A4 Stencil by Bee Arty

Other products:
White card stock
Permanent Ink - Black
Fan brush (for splatters)
Paper Flowers 
Doily
Chipboard by Kinder Kreations
Black Sharpie Pen

That's it for today! Thank you for stopping by. Amy ðŸ˜Š


Saturday, 18 April 2020

'Beautiful Soul'
with Lisa Amiet


Hello all!
It's Lisa here today to check in with you all.
I have been busy creating, 
and I have an art journal page to share with you.

'Beautiful Soul'


For this page, I have started with a coat of Heavy White Gesso,
to seal my page. I have then used some of my Colour Sprays,
in Lagoon & Bubblegum, watered down,
on my page. I have moved it around as it dried.


I have then used the Scripted Stencil and modelling paste,
 to randomly stencil through to my page. 
I have also used the Honey Hive Stencil and Heavy White Gesso,
to stencil onto my page.
A bit of stamping with the Geo Grunge Stamp Set


I have used the Forever Always Stamp Set
to stamp the flower lady onto white cardstock, with black ink. 

I have also used the Wildflower Stamp Set, and cut the floral frame in half.
I have then used my Colour Sprays in Lagoon, Saffron, 
Bubblegum & Road Base, to colour in the images. 


I have then fussy cut them out to use on my page. 
I have also fussy cut some bees, tags and the sentiment 
from the Love & Grace papers, layered onto my page, 
with a piece I have cut with the Honeycomb Die.


I hope that you like what I have created,
I love the bright, fun colours and that gorgeous lady!

Until next time!

Lisa


Friday, 17 April 2020

Scooby Doo Party by Tracey Campbell

Hello Bee Arty Fans and welcome, it is my turn (Tracey Campbell) on the blog today and this time I thought I would have a bit of fun with some Colour Artist Inks, the Inspired Collection Watercolour Set and a few of the retired Shimmer Pots.
My youngest daughter picked the theme of "Scooby Doo" for her 10th Birthday this year, which was a bit of a challenge as there is not much Scooby themed party gear here in Australia.So what is a Mum to do?? Make it herself.
I started by joining two huge sheets of cardboard together and hand drawing the Mystery Inc Gang in the Mystery Van, leaving a head space to cut out above the steering wheel.
Next I used the Colour Artist Inks to paint the Mystery Van. I chose to use the Artist Inks for their vibrant colours and their ability to go a long way.
I varied the size of the paint brush depending on the detail of the van and just kept painting until it was all coloured in.
For the Mystery Gang and Scooby Doo I used either the Watercolour Inspired Collection set or the Shimmer Pots and just painted/coloured the details in.
Lastly I cut a hole above the steering wheel for Paige and her guests to pop their head through the photo prop and set it up at the party with the Instamax Camera beside it so that they could take their own photos. It was a huge hit with the kids and adults alike. 
Below I thought I would share a few more of the photos from the party where we all had a great time and filled our bellies.
 Thanks for stopping by and having a look, hopefully I have given you a bit of inspiration for your next party. :)
 Hugs Tracey


Wednesday, 15 April 2020

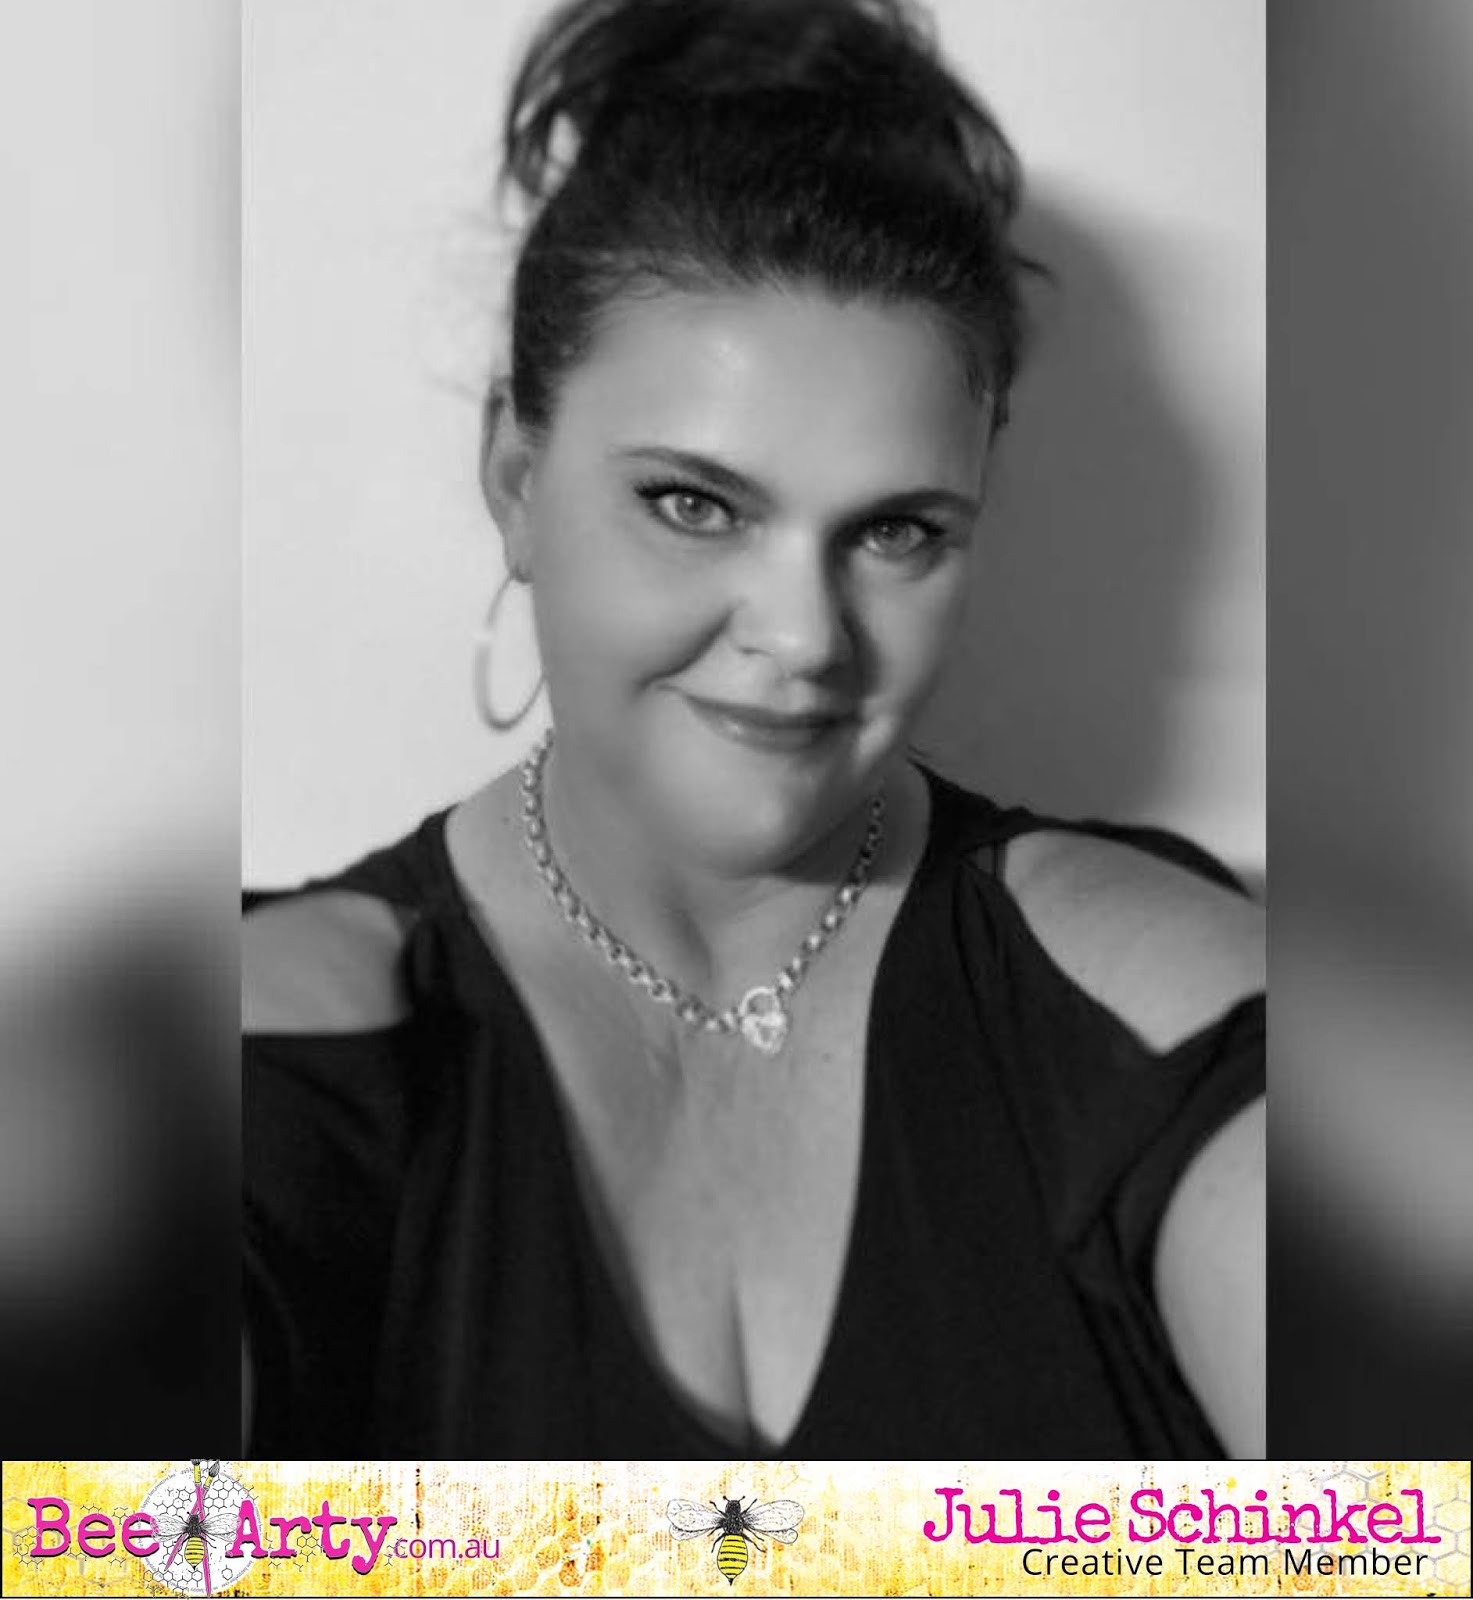
Find Yourself and Be That by Julie Schinkel

 Hi everyone, today I'm sharing a quick and easy mixed media layout using the "Find Paradise" collection designed by Fiona Paltridge. This collection is so much fun, great for holiday snaps or quirky selfies like mine lol. It also fits the theme for this months challenge which is “Monochromatic Magic”.

My apologies for the lighting and page curling and buckling in photos. We had a lot of rain and high humidity when I was creating this layout. 


 To start, take a piece of white cardstock and trim down to 11 inch x 11 inch square.

Take a piece of black cardstock and trim down to 11 1/4 inch x 11 1/4 inch square. Cut out a one inch frame. This will be used to mat the white cardstock base. Use the cut out piece to double mat your photo.

Take the "Secret Garden" 12x12 paper and cut a one inch frame. Set the leftover piece aside for photo matting. Adhere the matted white cardstock base to the "Secret Garden" frame as shown.


Find a scrap piece of plastic (and old product packet) or even a large acrylic block and lightly spritz some water onto it. Add some paint (I've used the Colour Blast water colour paint) but you could also use Mica Powder in "Cool Mint", Shimmer Dust in PeacockColour Spray in "Lagoon"Artist Ink in "Mermaid" or even some Colour Paste in "Envy". Any of those products will work as long as you add water to it. Blend into the water then smoosh across the white cardstock base. Splutter excess across the page using a paintbrush. I wanted a little more depth and contrast for the splutters so I used Colour Spray in "Lagoon" and Artist Ink in "Soot".


Using the "Foilage Stencil" and Colour Paste in "Snow White", add paste over the "berries' only. Rotate the stencil (don't flip it) so you can do both sides. This adds a subtle accent and texture on the page.


Using the same green medium, randomly brush across some scrap white cardstock. Take the "Unwind Stamp Set" and stamp out the two lily stamps. You'll want to stamp some on plain white too to break up the cluster. I stamped five large lilies and three small lilies in green, one large lily and seven small lilies in white. You can add more or less if you like. Fussy cut and set aside. You will also need to fussy cut one large lily from the "Botanicals" 12x12 paper.


Double mat your photo using the centre pieces of paper and cardstock cut out earlier. Arrange and adhere your lilies as shown on the finished layout. Cut out the "Find Yourself and Be That" quote from the "Relax" 12x12 paper and adhere over the large white lily. I've added some matching gems for a bit of extra sparkle. 

Here is the finished layout plus close up photos so you can see how I've created and embellished the page.


Products Used: 
Colour Blast by Bee Arty Paint Set Inspired (currently not available)
Other: 
White Cardstock
Bling/gems 

I hope you enjoyed this layout tutorial. Thanks for stopping by.
Until next time, happy crafting.
Julie xx