Showing posts with label Colour Blast Shimmer Cube. Show all posts

Saturday, 18 September 2021

A Special Moment to Love by Tracey Campbell

 Hello everyone, Tracey Campbell here today to share my latest Bee Arty creation with you, for this project I have used different elements from two separate collection. I have used Three Six Five and Bohemian Bliss as the collections are divine, super soft and feminine, just what I wanted for this sweet photo of my two daughters from a few years ago.

I decided to use the New Year patterned paper from the Three Six Five collection the base as the pins, purples and butterflies kept calling out to me. I wanted to team it with flowers so I also selected the Free Vibe from the Bohemian Bliss collection. Next I used the Pan Water Paints and the Shimmer Cubes to paint the flowers from Free Vibe in a variety of pinks and purple shades. 

Here you can see the shades of pinks and purples on the flowers. After they were dry I fussy cut them all out.


I wanted to introduce a bit of a delicate touch to the paper so I decided to use the flourish from the Love stamp set and some Blush Colour Embossing Powder


Here is where I placed the Blush embossed images on the paper.


I wanted to mat my photo with a purple and pink double mat, so I used some left over purple cardstock  that I created a few weeks ago. If you are interested in how I created my own patterned paper with Bee Arty Products the just click on the link, here. For the pink paper I used some of the Symbolic Patterned Paper from the Three Six Five collection. I hand cut a 2 mm mat of the purple and a 3 mm mat from the Symbolic Patterned Paper. 


Next I adhered the mated photo to the center of the background paper over the embossed flourishes. Then I used 3 dimensional tape to stick the flowers around the photo. 


At this point I decided that I need a bit more texture so placed some cotton thread underneath the fussy cut flowers.


To finish off I cut the words A Special Moment to Love form the Sweet Talk patterned paper in the Bohemian Bliss collection and adhered it them down the left hand side of the flowers. For a finishing touch I added a few pink paper flowers.


Here is the final layout and how it turned out, I really love the soft delicate look, it is pretty and feminine. Bohemian Bliss and Three Six Five collection really work well together and compliment each other nicely.


If you decide to use the two collections together I would really love to see what you come up with, so just leave a comment and I will get in touch to find out how you have used them.


A few  close ups before I go.


I hope I have brought you a bit of inspiration. 
Take care

Hugs
Tracey


Saturday, 15 May 2021

Call me maybe, by Amanda Hartmann

 Hellllllooooooooo Bee Arty fans!

Coming in from RETREAT at Brookfield with Paige and friends! Great time - lots of creativity and LOTS of Bee Arty and Colour Blast.

If you like this page, here are the supplies I used:


I channelled by pinks and golds for this fun page of my daughter.


Here is the full page!


Steps to create:
1. I stencilled the background with a word stencil (non Bee Arty brand sorry!) on the right side with modelling paste and dried this.

2. Then I used the My Lady stencil on the left with modelling paste, focusing on the flower and leaf designs.

3. While the modeling paste from My Lady stencil was still wet, I sprinkled Embossing Powder. Have you seen the awesome bundles? There is a mix of flat, smooth and super glittery ones. I used the Mulberry Sparkle - which is pink and sparkly! Heat set the embossing powder.

4. Then I painted the flowers and the leaves. I used my good old Shimmer Cubes - in Bling (gold) and Blush (soft pink). 

5. I added some splatters with the Shimmer Cubes.

6. I heat embossed (with my Mulberry Sparkle), the chipboard circle frame and some letters for the title.

Then I assembled the page with a few stickers and fun elements!


I love these sparkly embossing powders!

Thanks for looking!

I hope you are getting some creative time this weekend.

Amanda


Wednesday, 12 August 2020

Dream Big Layout by Julie Schinkel

 Hi everyone, I'm back sharing a quick and easy layout using nothing but a Shimmer Cube and some dies.

 
All you need to do is wet your shimmer cube, paint it onto some scrap plastic packaging and smoosh it onto some white cardstock. Concentrate on the top left and bottom right of the photo area. The colour I have used is Just Blue. You could also use the Colour Blast Just Blue Mica Powder mixed with water or the Colour Blast Just Blue Shimmer Spray if you don't have the shimmer cube.
 
Mat your photo using some of the dark blue paper from the Aim High Reach 12x12 paper.

Cut out two die cuts from the Aim High Reach 12x12 paper. I've used the reverse side in the blue area underneath the cogs. Cut another two using the Aim High Explore 12x12 paper. I've used the basket weave print on the reverse side. Cut in half where the two biggest flowers meet.

Cut four die cuts from the Aim High Reach 12x12 paper - one using the full flower and three half flowers from the Flowers Metal Die Set. Trim off the excess from the half flowers.

Cut three die cuts using white glitter cardstock - one using the full flower and two half flowers from the Flowers Metal Die Set. Trim off the excess from half flowers.

Cut out the "Dream Big" from the Aim High Dream Big 12x12 Word Sheet. I've kept the dark blue border to tie it with the rest of the layout.

Assemble layout as shown.


Products Used:
 
Other Products Used:
White/Clear Sequins
White glitter cardstock
White cardstock
 
I hope you enjoyed this project. Thanks for stopping by.
Until next time, happy crafting.
Julie xx

Friday, 17 April 2020

Scooby Doo Party by Tracey Campbell

Hello Bee Arty Fans and welcome, it is my turn (Tracey Campbell) on the blog today and this time I thought I would have a bit of fun with some Colour Artist Inks, the Inspired Collection Watercolour Set and a few of the retired Shimmer Pots.
My youngest daughter picked the theme of "Scooby Doo" for her 10th Birthday this year, which was a bit of a challenge as there is not much Scooby themed party gear here in Australia.So what is a Mum to do?? Make it herself.
I started by joining two huge sheets of cardboard together and hand drawing the Mystery Inc Gang in the Mystery Van, leaving a head space to cut out above the steering wheel.
Next I used the Colour Artist Inks to paint the Mystery Van. I chose to use the Artist Inks for their vibrant colours and their ability to go a long way.
I varied the size of the paint brush depending on the detail of the van and just kept painting until it was all coloured in.
For the Mystery Gang and Scooby Doo I used either the Watercolour Inspired Collection set or the Shimmer Pots and just painted/coloured the details in.
Lastly I cut a hole above the steering wheel for Paige and her guests to pop their head through the photo prop and set it up at the party with the Instamax Camera beside it so that they could take their own photos. It was a huge hit with the kids and adults alike. 
Below I thought I would share a few more of the photos from the party where we all had a great time and filled our bellies.
 Thanks for stopping by and having a look, hopefully I have given you a bit of inspiration for your next party. :)
 Hugs Tracey


Tuesday, 8 May 2018
"Really" Scrapbook layout + process video by Louise

Hi Colour Blast fans

It's Louise with you on the blog today.
I've got a fun reverse cut file technique with a little bit of mixed media thrown in to share with you.

Here is my finished layout.

"Really"


For this page I've used the following

Colour Spray Carribean
Colour Shimmer Spray Envy

***

Firstly, at the end of this blog post you will find a video link - I'd encourage you to watch it so that you can see how I achieved this reverse cut file.

I'll try and explain it, but it's much easier to watch ...

After you have cut out your cut file - leave the remaining pieces on the sticky mat.
Add glue to the left over cut file pieces and then place a piece of 12x12 paper/cardstock over the glue.
Allow to dry overnight and then peel all the pieces off the mat.
You are left with the reverse cut file - so cool!
  

I've given my page a coat of clear gesso.
Then in each square I'm going to use a paint brush to add Colour Spray Carribean, Colour Shimmer Spray Envy and Colour Shimmer Cube Deep Water.
Using my stamp block, I then pressed the colour to smudge it around.


Add as much or as little colour as you desire.


I allow my colour to dry naturally overnight - but a heat gun works also.
Once dry, I used black pen to draw around the cut file.


I felt like the background still need a little something, so I added some Black Heavy Gesso through a stencil using a sponge.


Finally, I chose some papers, stickers and elements to enhance my photos.


I just love how you can really see the layers in the page:
paper, mixed media, paper, photo.

***

You can see the whole process in the video below.


Thanks for visiting.
Happy Scrapping


Saturday, 28 April 2018

"Birthday Dinner", by Amanda H

Hello Colour Blast fans!

Today I use humble kitchen baking paper to create an interesting background - made all the better with some Colour Blast of course!

Here is a sneak peek of the project... You can't go past a white, blue and copper colour combo!


Let's look at the steps I took to create the page.

On a messy mat I added some Heavy White Gesso, Colour Artist Ink in Oasis, and some sprays of water.

I mixed and combined the products in a messy random way on the mat.
Then I took a sheet of kitchen baking paper and placed it on the paint mixture.
I pressed and scrunched the paper, creases and all, into the paint. And then I left it to dry overnight.
Once it had dried totally, I turned it over to see wonderful variations in colour and loads of texture to the paper. To attach the baking paper to my Kraft cardstock base, I used glue, and my brayer to make sure it was flattened and adhered well to the background. I also used some machine stitching to attach the paper, which you will see in some of the close ups later.
  
While everything had been drying, I used my Colour Blast products to add colour to my chosen embellishments.
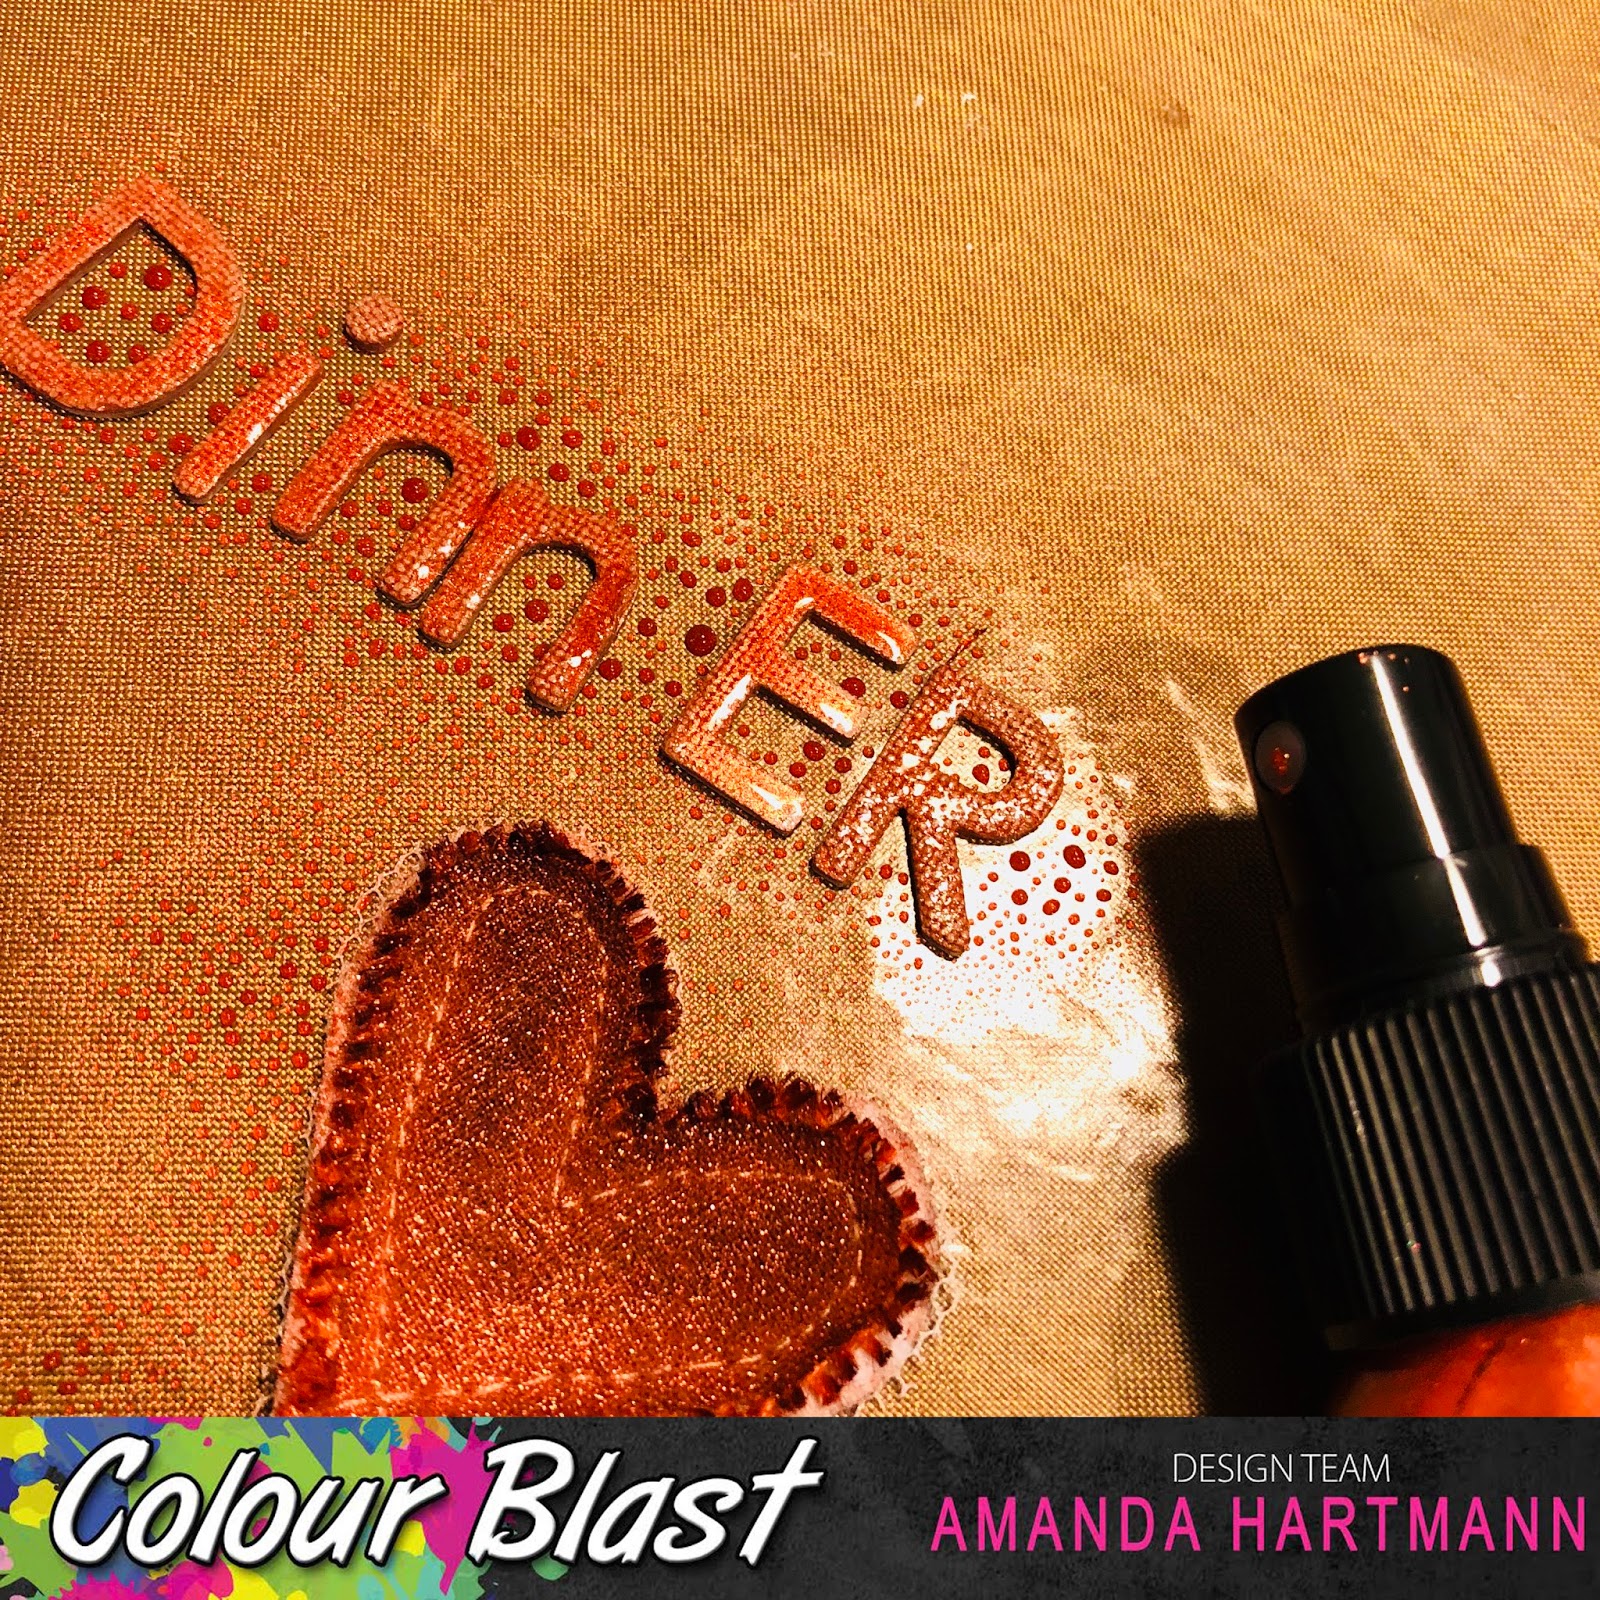
Firstly, I coloured a Charms Creations DIY heart. These hearts are white and canvas and are perfect for colouring with Colour Blast. After spraying with some water, I painted the heart with Colour Artist Inks in Rust.
I chose some canvas letters for my title, and needing some colour and shine, I grabbed by Colour Shimmer Spray in Sienna. The cooper tones of Sienna make it one of my favourites!
I gave both the letters and the heart a good spray with the Sienna spray.
I chose a few 2Crafty chipboard pieces, and inked with Versamark ink before embossing with Colour Embossing Powder, also in Sienna. I only did a single coat of embossing powder on this occasion. This gave a rough textured feel to the chipboard, which I feel suited the page. For a smoother embossed finish, you need to do two coats of embossing.
Once I started assembling my page, I knew I needed some splatters. I used my Colour Shimmer Cube in Sienna, to add some lovely copper splatters to the entire page.
And now to put it all together! Here is my completed page!
 I love the colour and texture of that baking powder!
Here are some  close ups. You will see how I combined my chipboard, Charms heart, with flowers, muslin, leaves, wire and stickers to create some interesting clusters.

Thanks for looking !

Amanda